Landlord Said No Holes? This Lowe’s PVC Lattice Frames a Wall
11 october 2026Our rental living room had an 8-foot stretch of blank wall behind the sofa, but the lease made a nail-mounted molding frame a bad bet. We tested a lightweight Lowe's molding alternative, painted PVC lattice, and found a way to create crisp panel lines with removable adhesive instead of holes.
The result depends on careful measuring, light materials, and a removal plan from the start. The frame looks intentional because every piece was chosen for the wall, the furniture, and the eventual move-out.
What you will find inside
- Measure the Wall Before Buying Trim
- Choose Lightweight PVC Lattice
- Mock Up the Frame With Tape
- Cut Straight Runs With a Fine-Tooth Saw
- Build Clean Corners With Overlaps
- Sand the Cut Edges Before Painting
- Paint the Pieces on a Drop Cloth
- Test the Adhesive in a Hidden Spot
- Mount the Bottom Piece First
- Leave a Small Shadow Gap
- Frame One Strong Focal Area
- Hide Seams With Matching Touch-Up Paint
- Remove the Frame Slowly at Move-Out
- Reuse the Trim in the Next Room
Measure the Wall Before Buying Trim
We started with the wall behind a rental living room sofa, where a broad rectangle of empty paint looked unfinished but the lease ruled out nails. A typical 8-foot wall section needs about 32 linear feet of trim for a single inset frame, so measuring the perimeter first prevents an expensive pile of leftovers.
Use a steel tape measure and record each wall edge separately, including baseboards, outlets, and corners that are slightly out of square. This quick drawing became our shopping list at Lowe's, and it kept the frame proportional to the room instead of forcing the room to fit the frame.
Choose Lightweight PVC Lattice
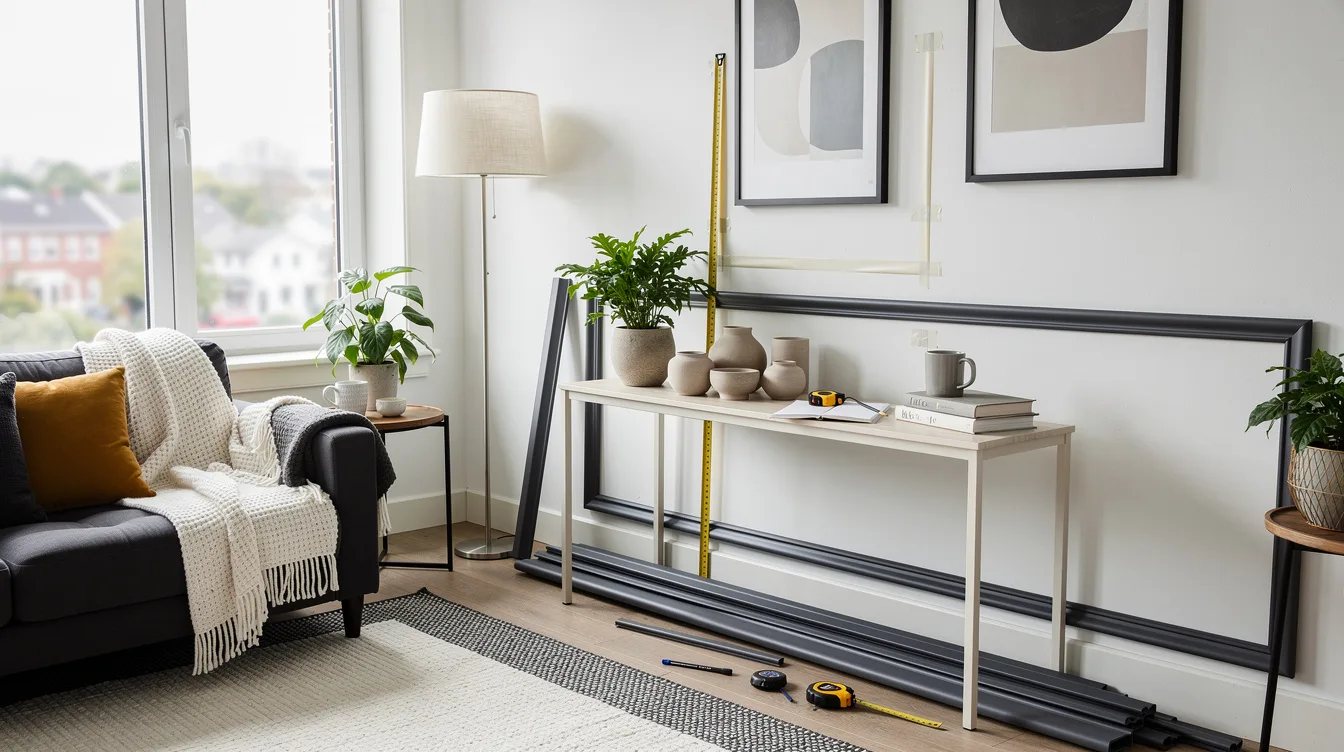
Our favorite Lowe's molding alternative was a lightweight PVC lattice strip, roughly 1/4 inch thick and typically 8 feet long. It has enough stiffness to read as architectural trim while staying light enough for removable mounting, and a typical strip costs around $10 to $20 depending on width and finish.
Choose a flat profile with a clean face rather than a deeply grooved piece that needs heavy adhesive. The goal is a narrow shadow line around the wall, so bulky molding works against the rental-friendly installation.
Mock Up the Frame With Tape
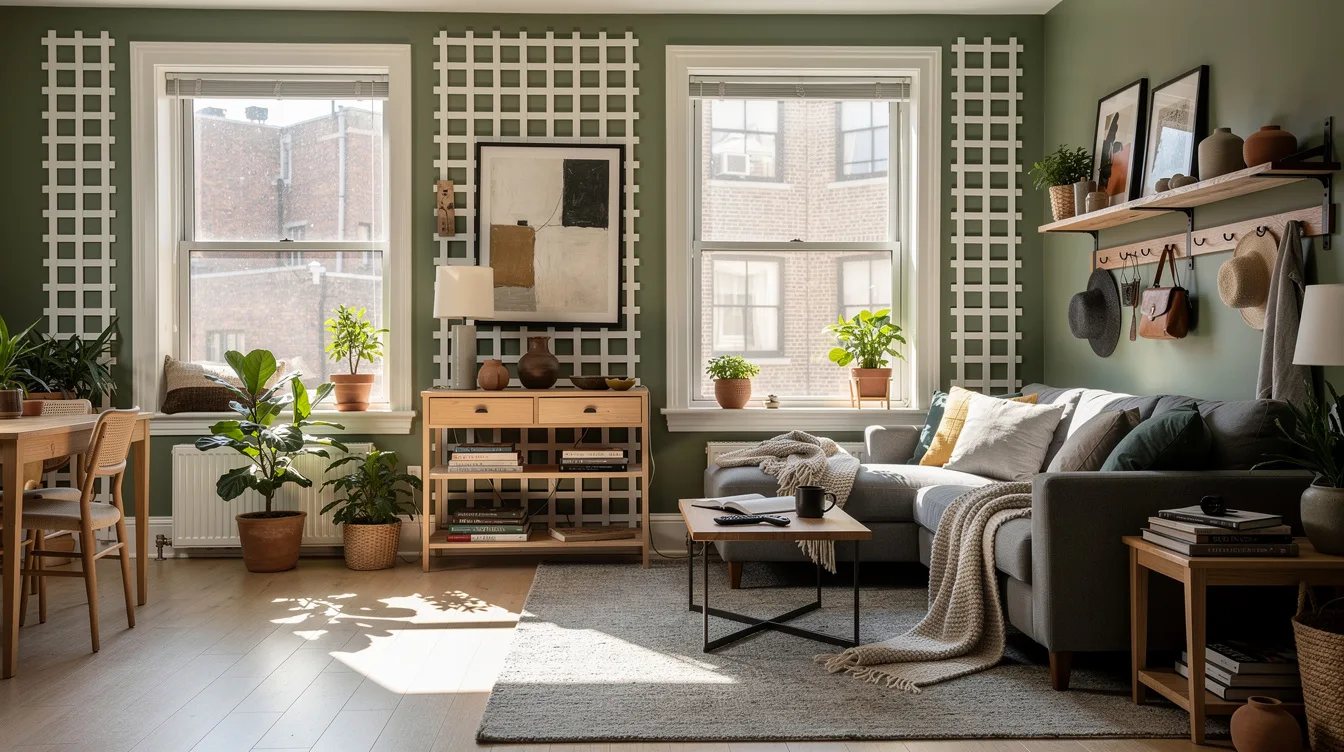
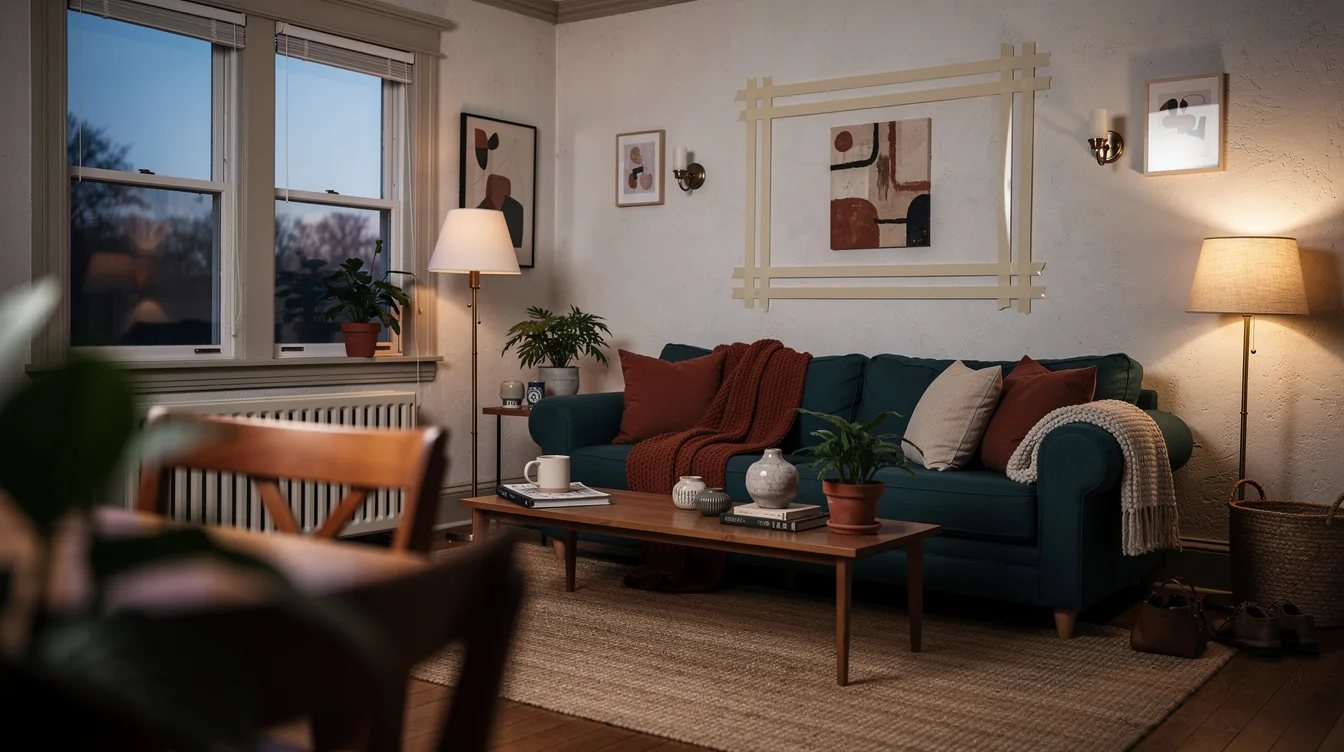
Before cutting anything, we mapped the frame with blue painter's tape directly on the wall. A panel about 18 inches above the floor and 10 inches below the ceiling usually leaves enough breathing room around furniture, but the exact placement should follow the sofa, console, or bed beneath it.
Stand across the room and check the taped outline from the main doorway, the dining table, and the nearest hallway. This low-cost rehearsal catches a crooked visual center before the PVC trim is cut, painted, or attached.
Cut Straight Runs With a Fine-Tooth Saw
We cut the long sections first, using a fine-tooth handsaw and a stable work surface. A simple straight cut leaves the cleanest seam for a rental frame, especially when the trim will be painted the same color as the wall.
Mark each piece on the back with its location, such as top, left, or sofa side. The small labels matter when four pieces look identical, and they reduce handling that can scuff the painted trim before it reaches the wall.

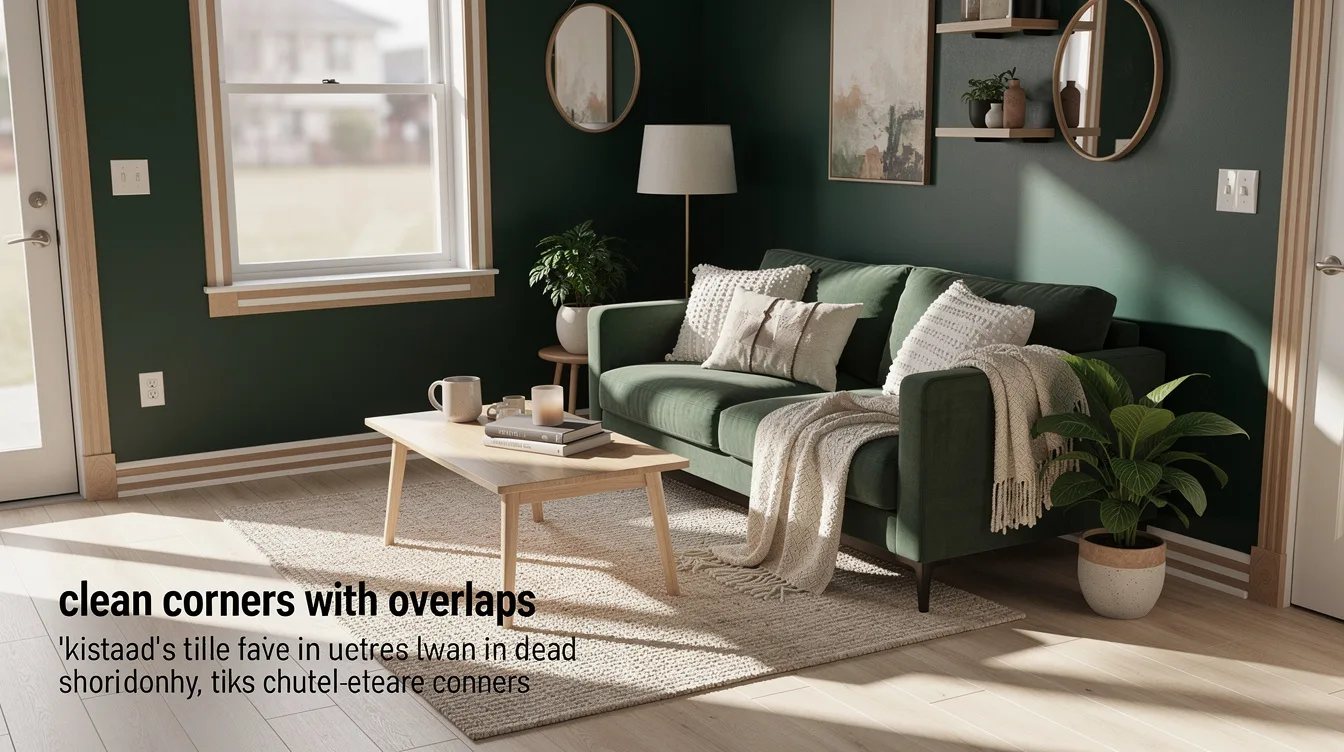
Build Clean Corners With Overlaps
For a forgiving installation, we used overlapping square-cut joints instead of complicated angled cuts. Place the top and bottom pieces between the side pieces, then keep the visible face aligned so each corner reads as a deliberate stop.
This method suits uneven rental walls because the frame can follow the taped layout without requiring a perfect carpenter's corner. A thin bead of paintable filler on a stubborn seam can help, but skip permanent caulk where the lease requires a fully reversible finish.
Sand the Cut Edges Before Painting
Cut edges can feel rough even when they look acceptable from across the room, so we smoothed each end with fine-grit sandpaper. Round only the sharpest edge, since over-sanding makes the joint look soft and uneven.
Wipe away dust with a dry cloth before applying water-based paint. PVC has a slick surface, and a light scuff gives the finish a better chance of gripping without adding a thick, brittle layer.
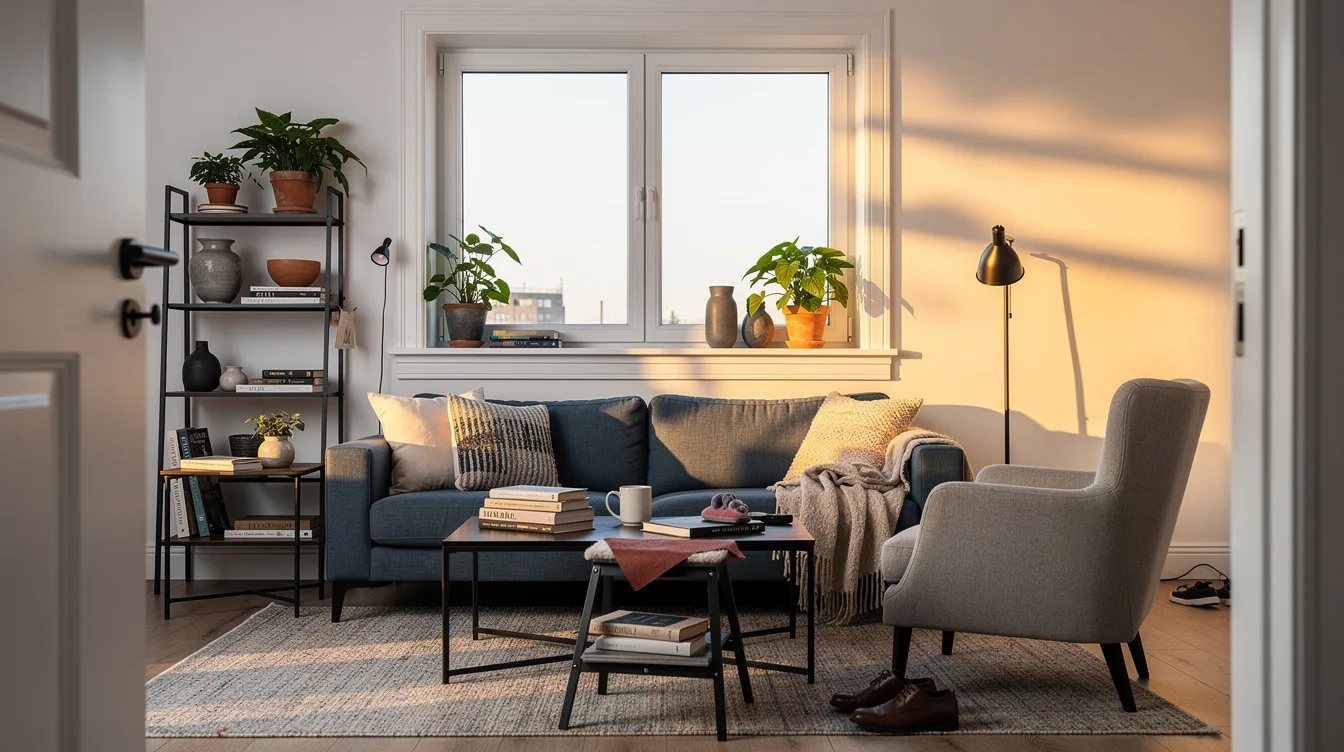
Paint the Pieces on a Drop Cloth
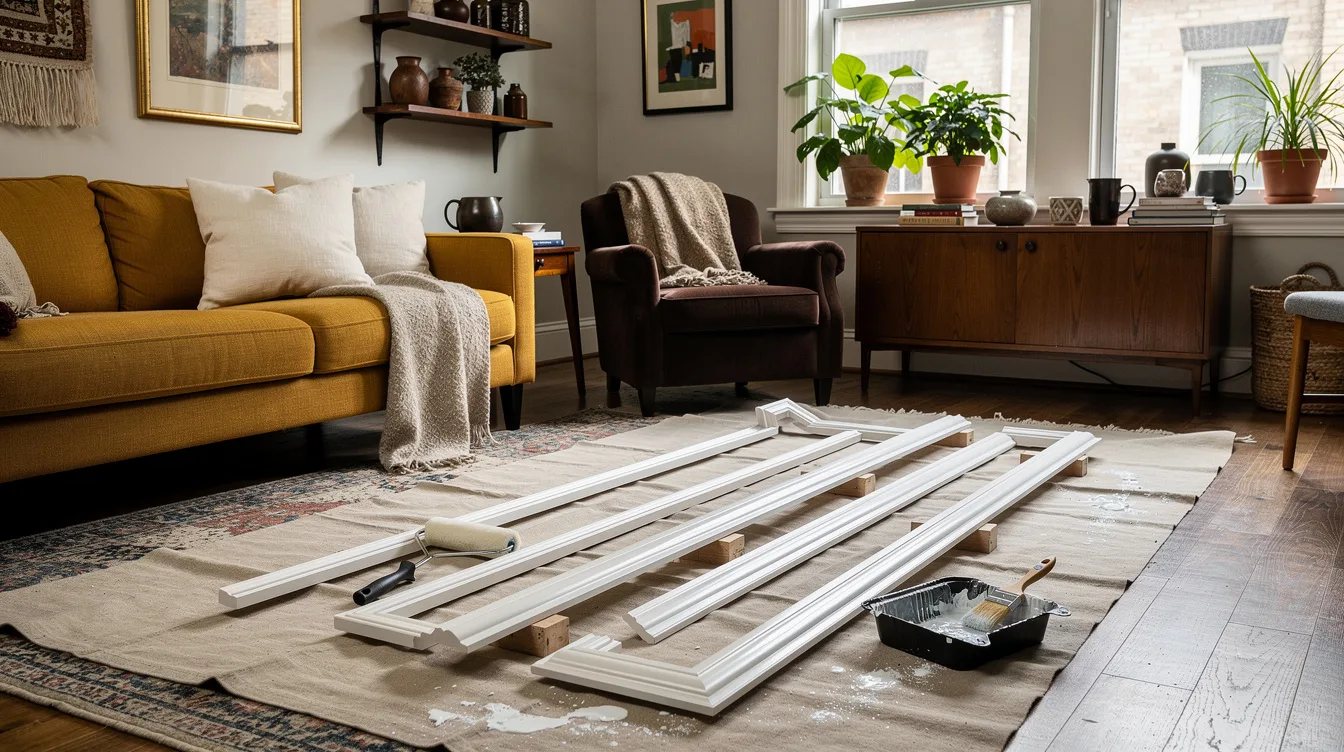
Painting the trim before mounting kept the rental wall cleaner and made the installation faster. We used the same color as the wall for a quiet built-in effect, though a muted contrast can work when the room already has matching furniture.
Apply two thin coats rather than one heavy coat, allowing each coat to dry according to the label. A typical frame needs only a small amount of paint, so a sample-size container can be enough when the color is already available in matte paint.
Test the Adhesive in a Hidden Spot
Removable adhesive is the part that deserves the most caution, because rental paint varies widely in age, sheen, and strength. We tested a short offcut behind the sofa and left it in place before committing to the full frame.
Press the adhesive onto the back of the PVC molding, never over a dusty or freshly painted wall, and follow the package weight guidance. If the strip pulls up paint during the test, stop there and ask the property manager about an approved mounting method.

Mount the Bottom Piece First
Starting at the bottom gave us a stable reference line and kept the rest of the frame from drifting upward. We aligned the piece with the tape mockup, pressed along its full length, and checked it with a level before attaching the sides.
Keep a narrow gap above the baseboard when the baseboard projects from the wall, or the new frame can look pinched. A deliberate gap of about 1/2 inch often reads cleaner than forcing the white baseboard and trim to touch.
Leave a Small Shadow Gap
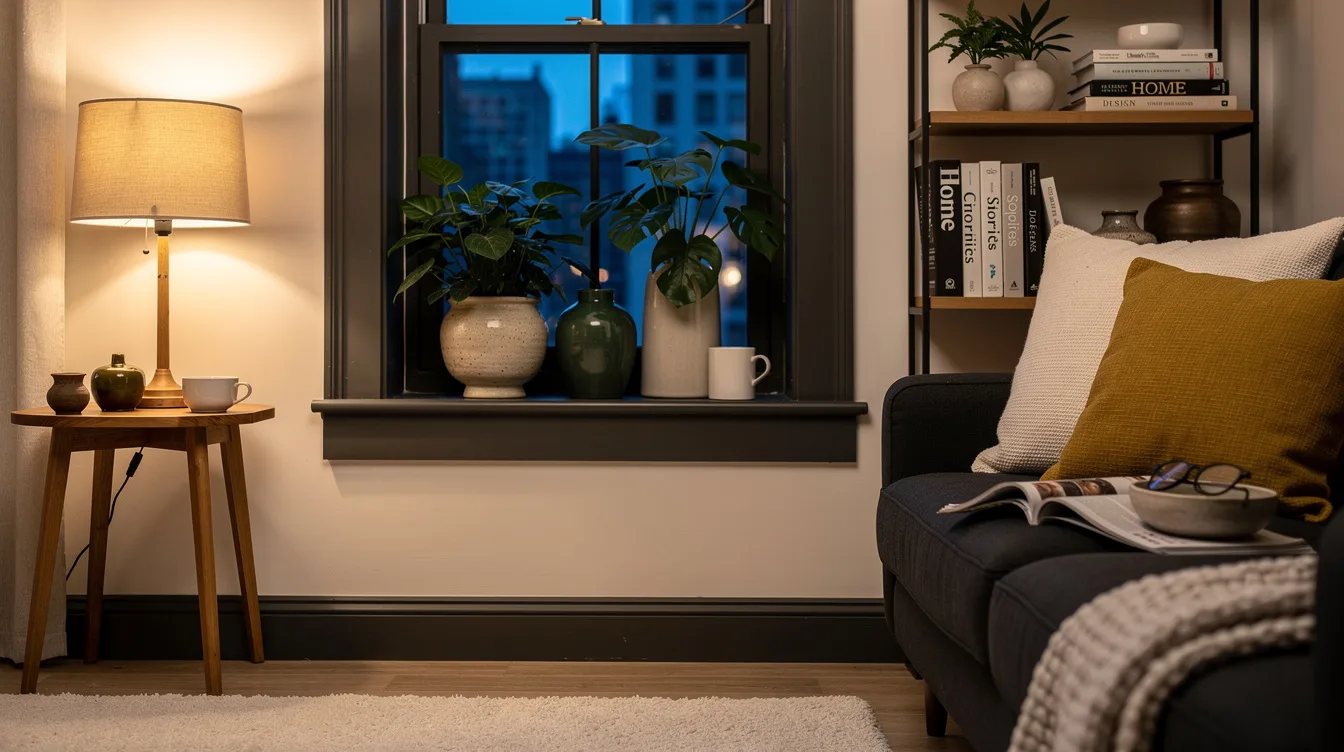
A tiny space between the trim and the wall can make the frame look intentional while hiding minor waviness in the rental surface. We kept the gap consistent by using the same pencil-width reference around each side instead of pressing every piece hard against the drywall.
That line also gives the wall some visual relief when the frame and paint share one color. Glossy surfaces exaggerate uneven edges, so a low-sheen eggshell finish is the more forgiving choice for this project.
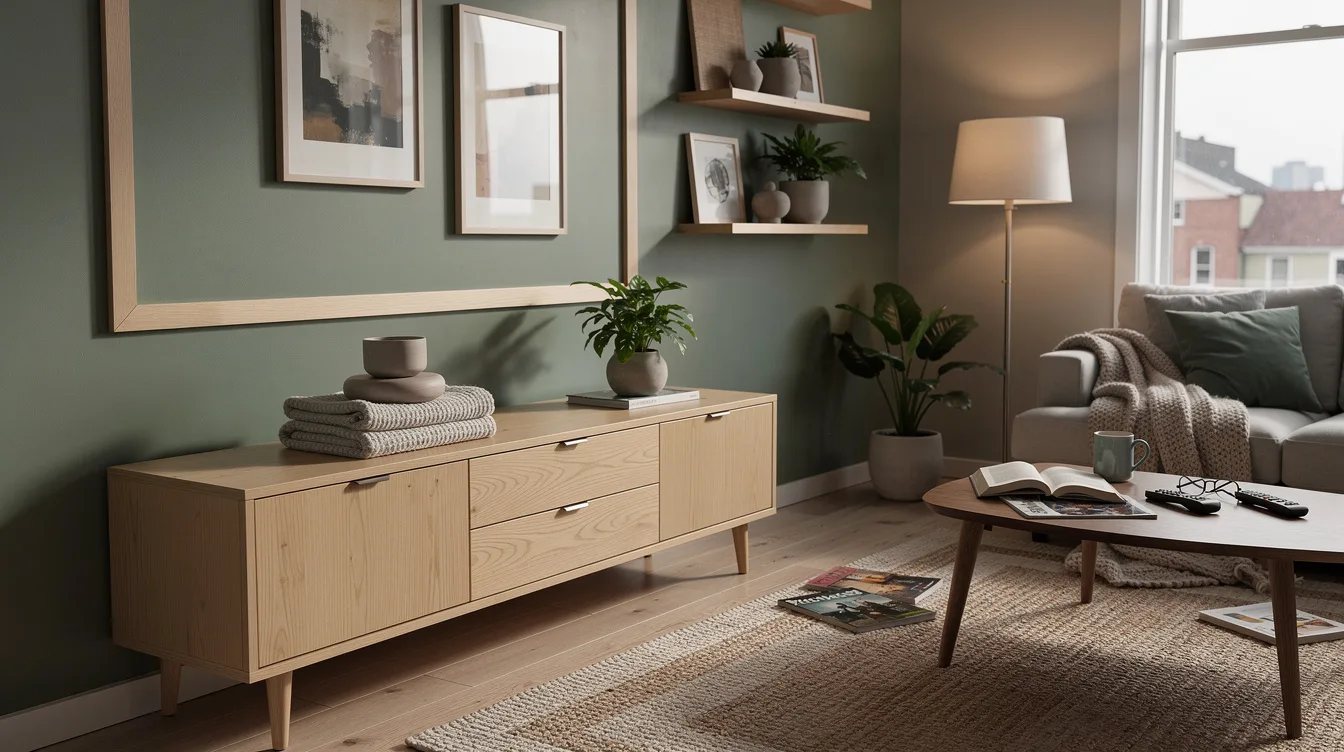
Frame One Strong Focal Area
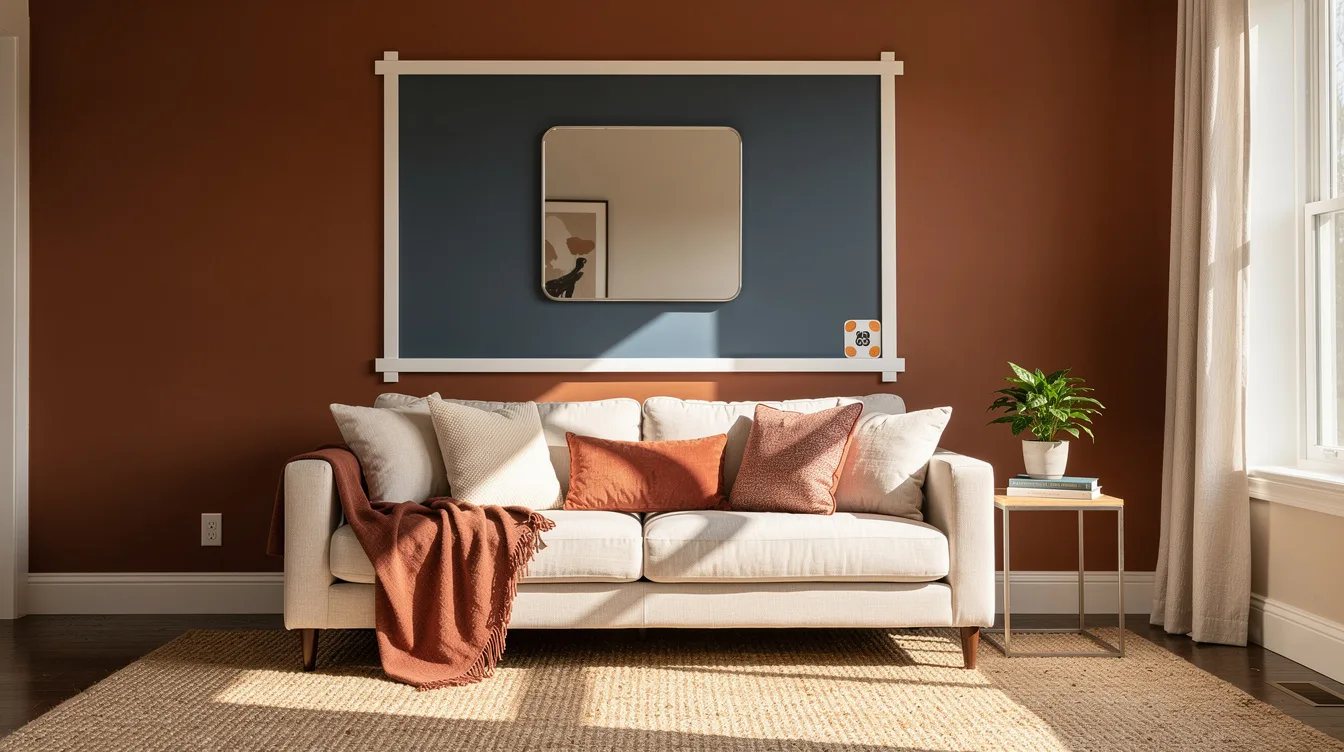
We used one large frame behind the sofa rather than scattering several small rectangles across the room. The larger outline gave the rental a finished backdrop for a mirror, a slim picture light, or a single oversized print without adding holes.
Keep the interior open enough for the furniture below it to feel connected to the wall. A frame that is too narrow can make a 54-inch sofa look crowded, while a wider border usually feels calmer and more architectural.
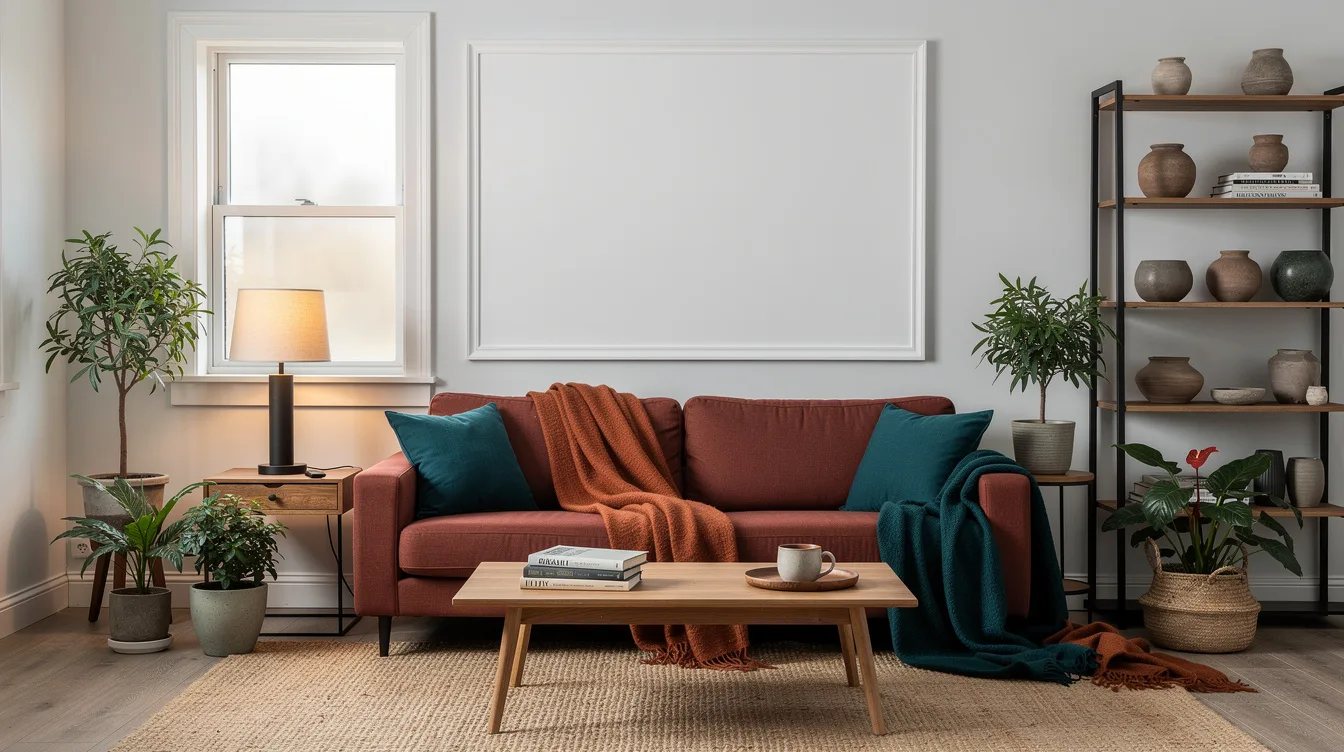
Hide Seams With Matching Touch-Up Paint
Once the frame was mounted, we inspected every joint from normal standing height and filled only the seams that remained visible. A tiny brush loaded with matching wall paint disguised small marks without repainting the entire panel.
Do this touch-up after the adhesive has settled, since pressing and repositioning the trim can create new scuffs. Keep the paint sample and one spare trim offcut in a labeled bag for future repairs or a later move.
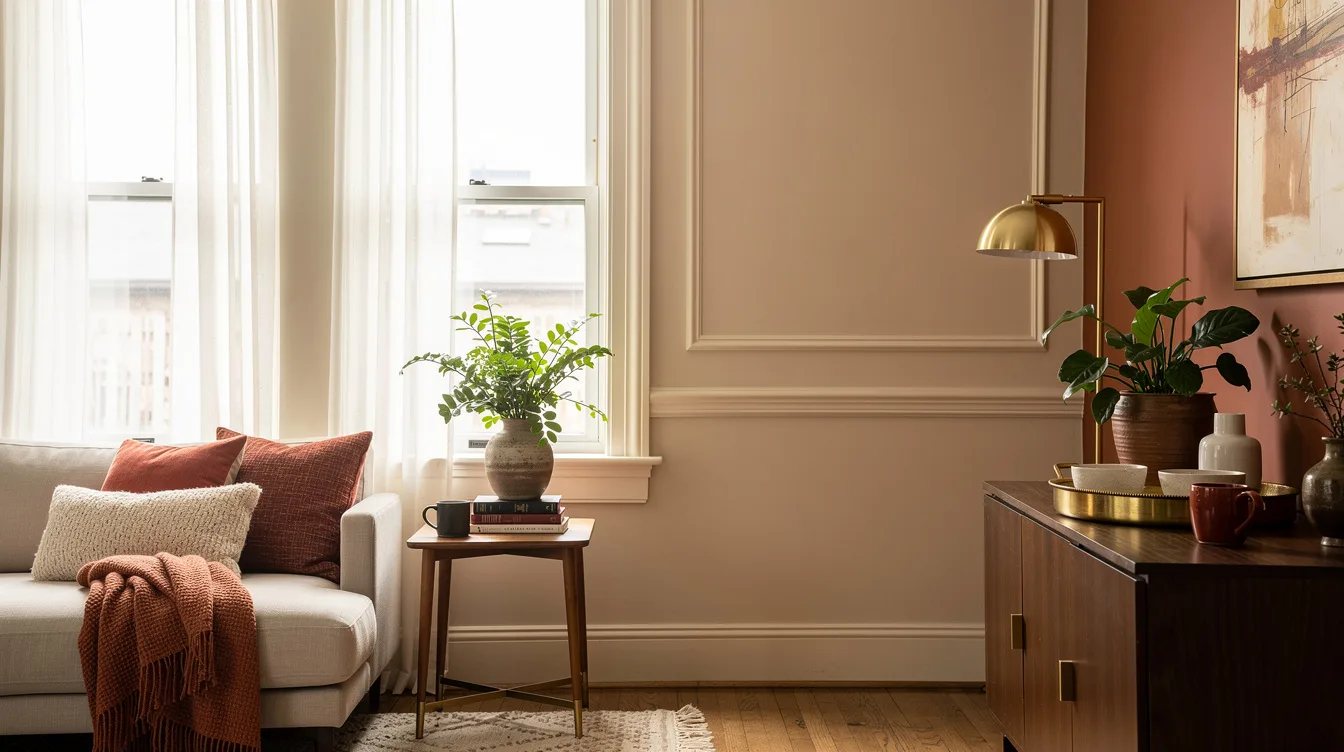
Remove the Frame Slowly at Move-Out
Removal should begin at one corner, with the adhesive released gradually rather than pulled straight away from the wall. We supported the trim with one hand and followed the adhesive maker's release direction to reduce stress on the rental paint.
Warm air from a hair dryer on a low setting may soften stubborn adhesive, but test that approach on a hidden section first. Patience matters more than force when the rental drywall is older, chalky, or already showing previous repairs.
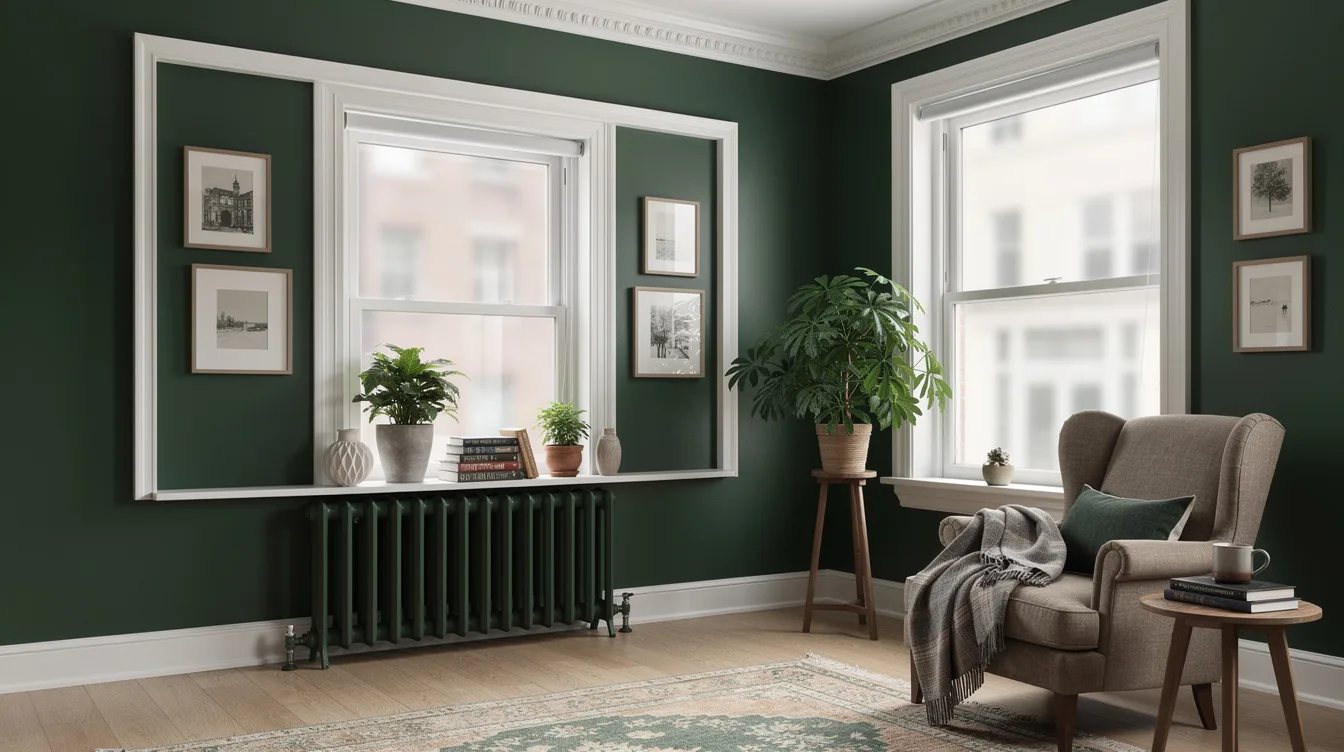
Reuse the Trim in the Next Room
Because the pieces were labeled and cut as simple straight runs, we could save the frame for another room after removal. A bedroom, entry wall, or dining nook may need a smaller arrangement, and the longer pieces can be recut if the visible faces remain clean.
Store the painted PVC strips flat with paper between them so they do not rub together or pick up dust. That small bit of planning turns a temporary rental detail into a reusable decorating kit.
Keep reading
- Landlord Said No Holes? These 12 Home Depot Finds Do Anyway
- Landlord Said No Holes? These 14 Command Finds Work Anyway
- No Closet in Your Rental Bathroom? 12 Lowe's Fixes Under $200
Start with one taped rectangle behind the room's main piece of furniture, then test a short trim offcut before buying enough for the whole wall. That small trial will tell you whether the paint, adhesive, and profile can live together without risking the deposit.


