Sad Rental Bath? These Home Depot Peel-and-Stick and Lighting Fixes Fake a Reno
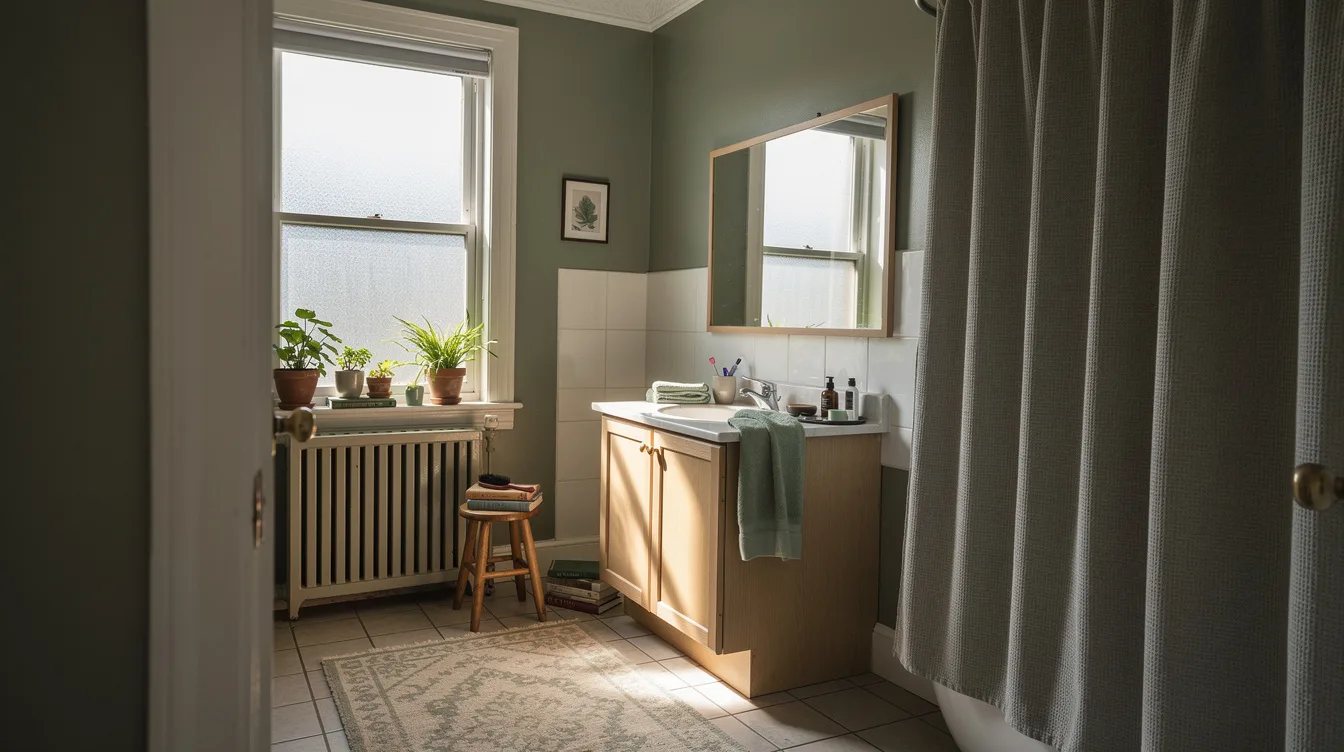
18 november 2026A sad rental bathroom often needs less material than better light. Start with matching 3000 K bulbs in the existing vanity, then consider one narrow backsplash behind the sink instead of an entire accent wall.
At current Home Depot U.S. Pricing, the simple material fix runs roughly $30 to $70. A new vanity bar, bulbs, and two packs of white backsplash tile bring the total to about $130 to $150 before tax and installation.
The best rental update is the one that looks planned, stays inside the sink zone, and has a clear move-out plan.
What you will find inside
- Match the Bulbs Before Touching the Wall
- Choose Frosted Glass for Visible Bulbs
- Confirm the Socket and Base
- Install One Narrow White Backsplash
- Measure the Vanity Before Peeling
- Add Emerald Color Only at the Sink
- Test Adhesive on a Hidden Spot
- Replace the Bar Only When It Is the Eyesore
- Check the Backplate Before Removing Anything
- Cover an Ugly Floor Only With Permission
- Use Wood Look for a Warmer Floor
- Make the Move-Out Plan Before Installation
Match the Bulbs Before Touching the Wall
Start with matching EcoSmart frosted A19 LED bulbs in the existing vanity light, set to 3000 K so every exposed bulb gives off the same warm-white tone. This is the fastest way to find out whether the bathroom is genuinely tired or simply washed out by mismatched lighting.
The four-pack is rated at 60 watts equivalent, and a typical budget is about $10 to $16, depending on the pack. Match the existing socket before buying, because the bulb shape and screw base both need to fit.
We would make this the first purchase, even if a backsplash is already on the wish list. Consistent light costs less, leaves no adhesive behind, and gives every later color decision a fair test.
Choose Frosted Glass for Visible Bulbs
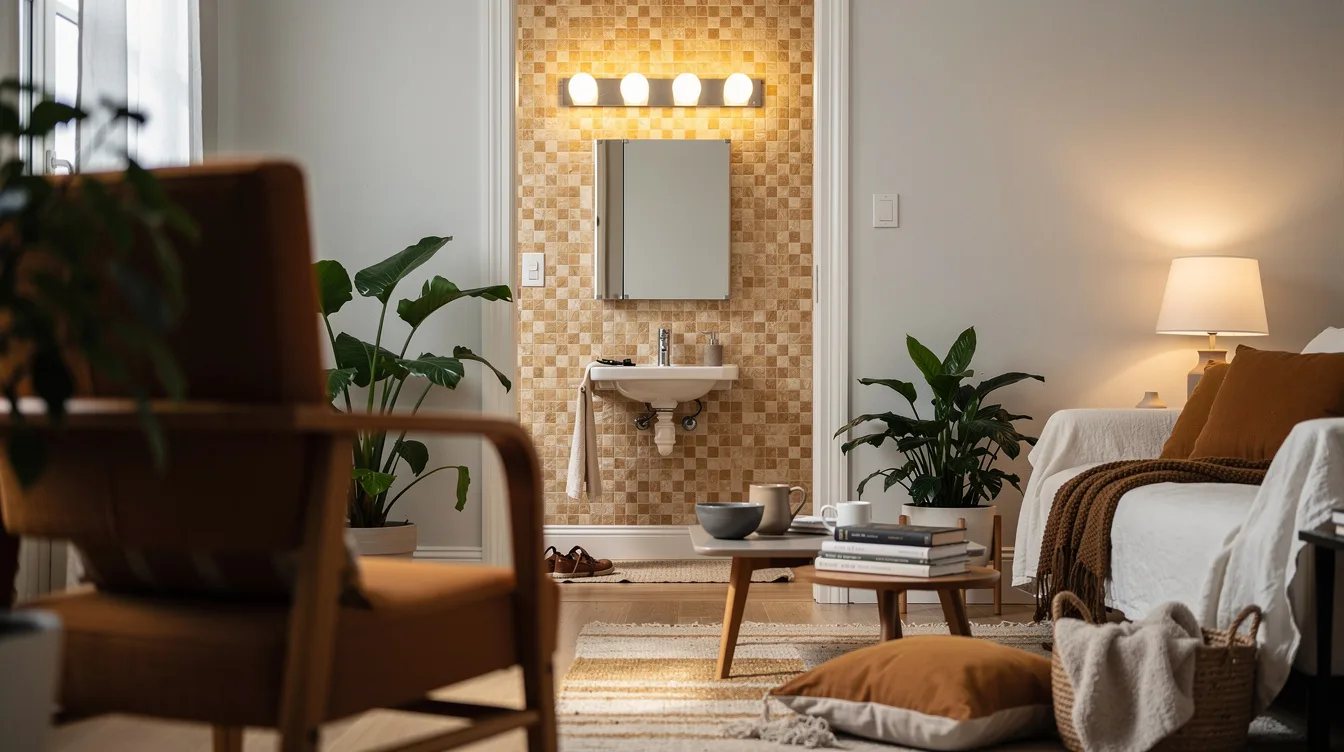
Visible bulbs need a softer finish, which makes frosted glass our practical pick for an open vanity fixture. Clear bulbs can look harsh when the fixture sits close to the mirror, especially in a small rental bath with white walls.
Keep the bulb shape consistent across the bar rather than mixing globe, spiral, and vintage styles. The goal is a calm row of matching light sources, not a collection of unrelated hardware.
Frosting also makes the existing fixture easier to live with while you decide whether a replacement is worth the cost. A small lighting correction can make a dated vanity feel deliberate enough to keep.
Confirm the Socket and Base
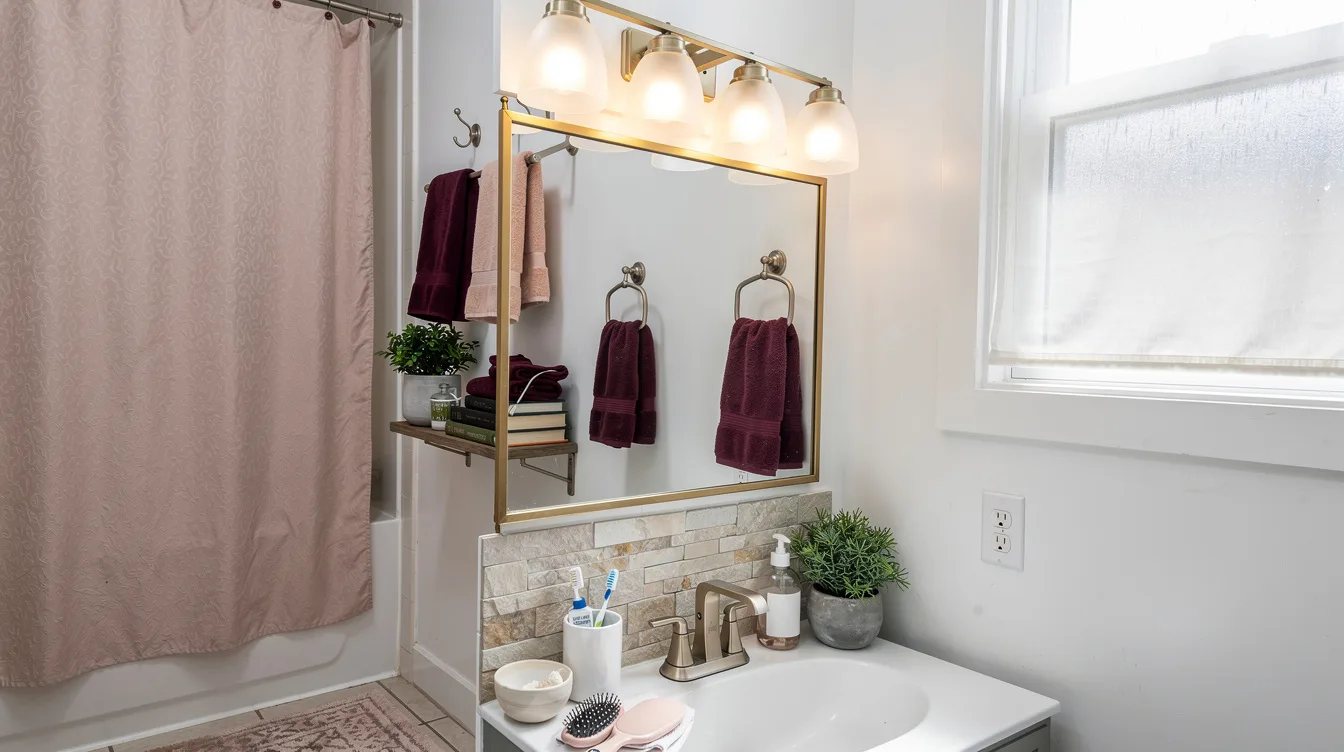
Check the existing socket before ordering replacements, because an A19 describes the bulb shape while an E26 screw base describes the standard connection. The EcoSmart pack works only when the fixture accepts that matching base.
Turn off the fixture before removing a bulb, and compare the old bulb with the replacement at the store or on the package. This simple check prevents buying a full pack that cannot be used in the vanity.
Keep the original bulbs in a labeled bag if they still work. Rental changes are easier to reverse when every small part has a known home, especially when move-out rules are strict.
Install One Narrow White Backsplash
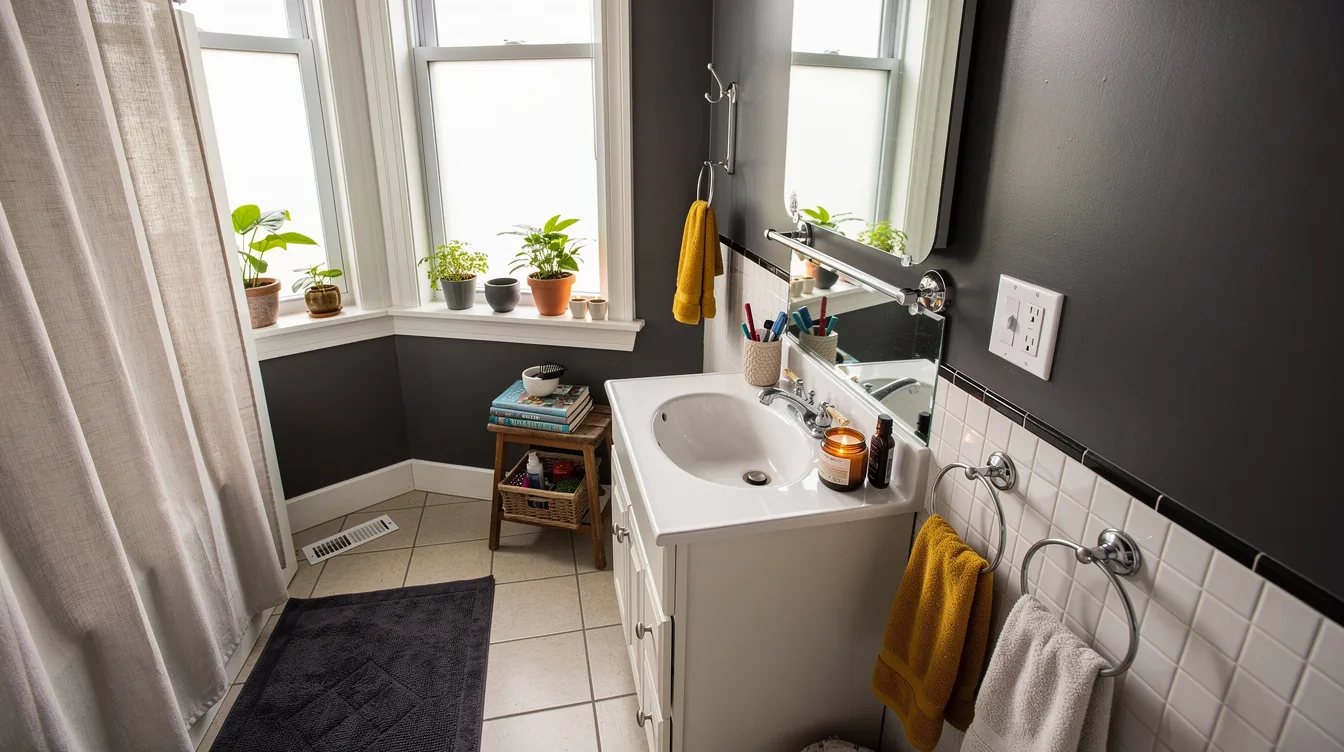
If the wall still looks tired after the bulb swap, place Smart Tiles Metro Blanco directly behind the sink instead of covering the entire wall. The raised gel surface gives the narrow strip enough texture to read as a finished sink zone.
Each sheet is listed at about 11.56 by 8.38 inches, and one four-sheet pack covers about 3 square feet. The white subway-look vinyl keeps the fix restrained, which matters in a bathroom where a full accent wall could feel oversized.
At about $19 on sale, with a listed comparison price of $27.81, this is the strongest low-risk visual change in the list. The opinionated move is to stop at the vanity width and leave the rest of the wall quiet.
Measure the Vanity Before Peeling
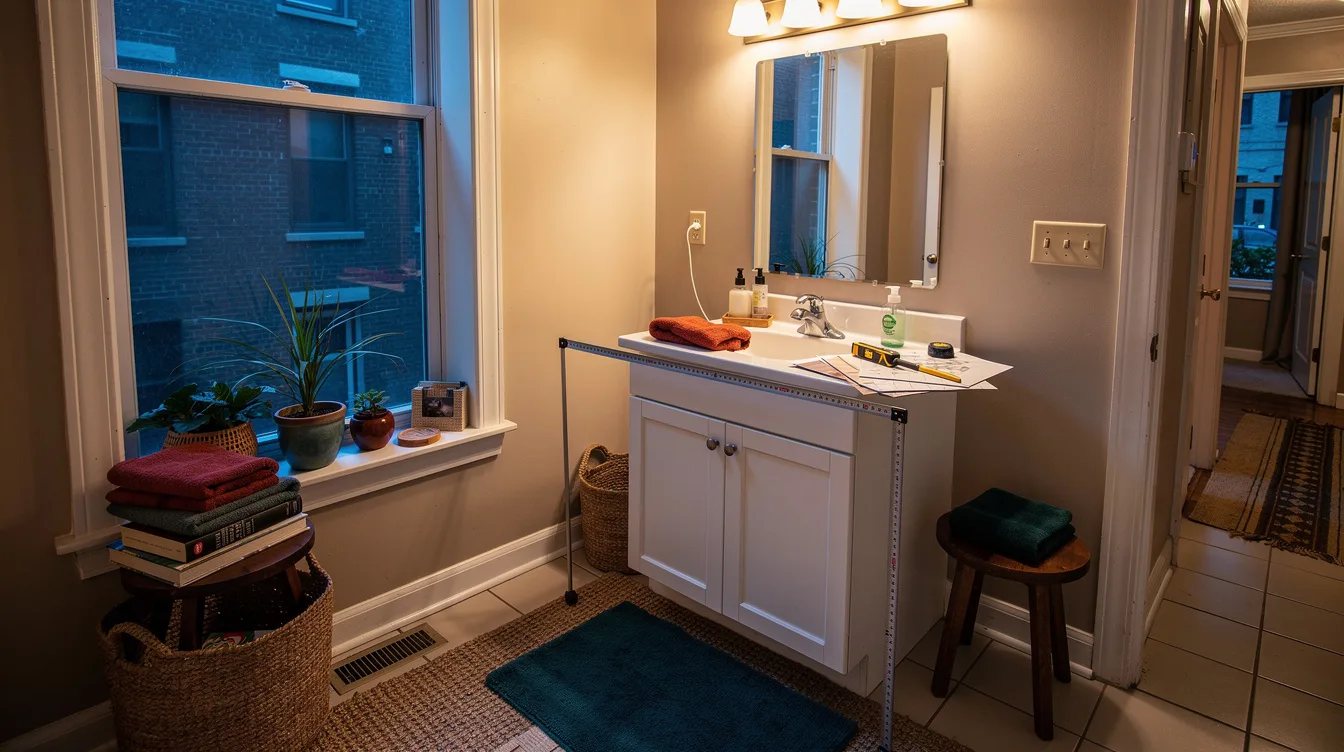
Lay out the backsplash beside the sink before removing the backing, especially when working with a 30-inch vanity. An approximately 8-inch-high strip uses only about 1.7 square feet, but faucet clearance and end cuts decide whether the result looks intentional.
For a panel around 36 by 16 inches, plan on roughly two packs, or about $38 to $56. Dry-fitting first reveals awkward seams, outlets, mirror edges, and the small gap where the counter meets the wall.
Use a straightedge and a removable pencil mark to set the top line. A narrow, centered band looks finished; a strip that stops randomly beside the faucet looks like leftover material.
Add Emerald Color Only at the Sink
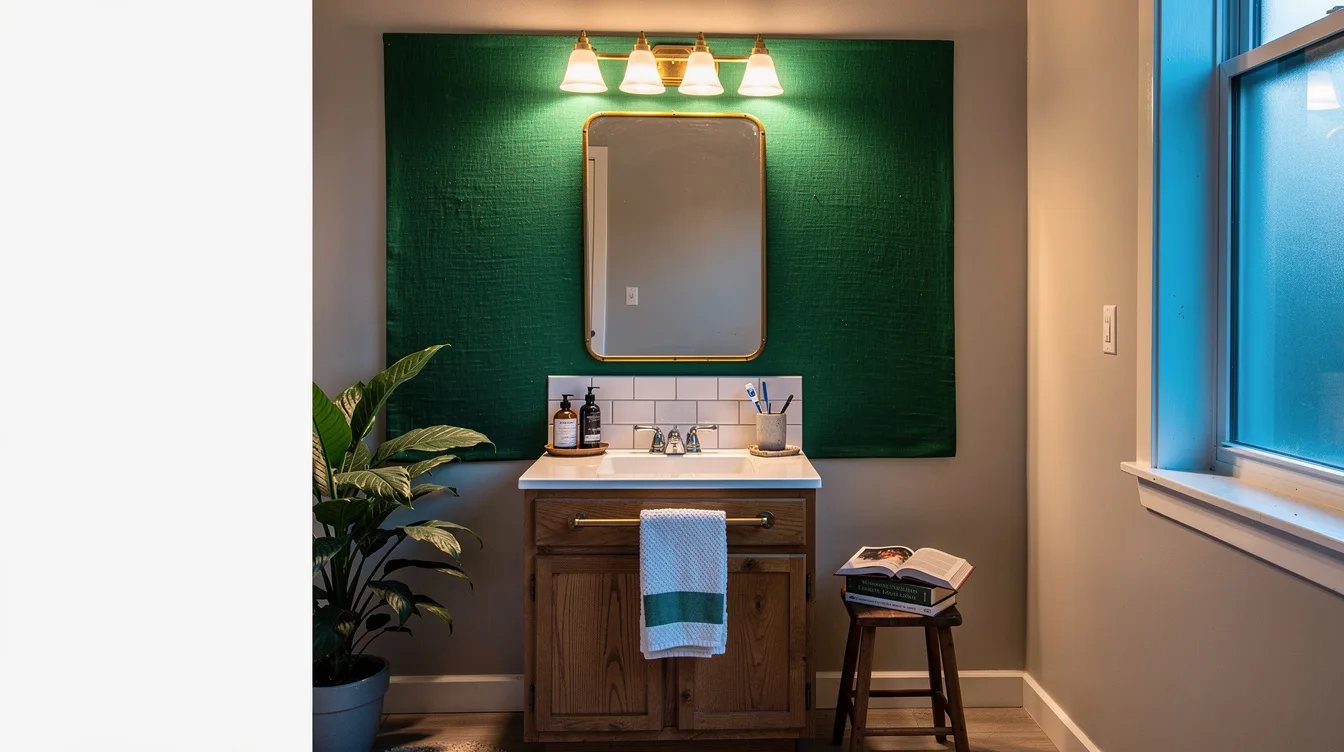
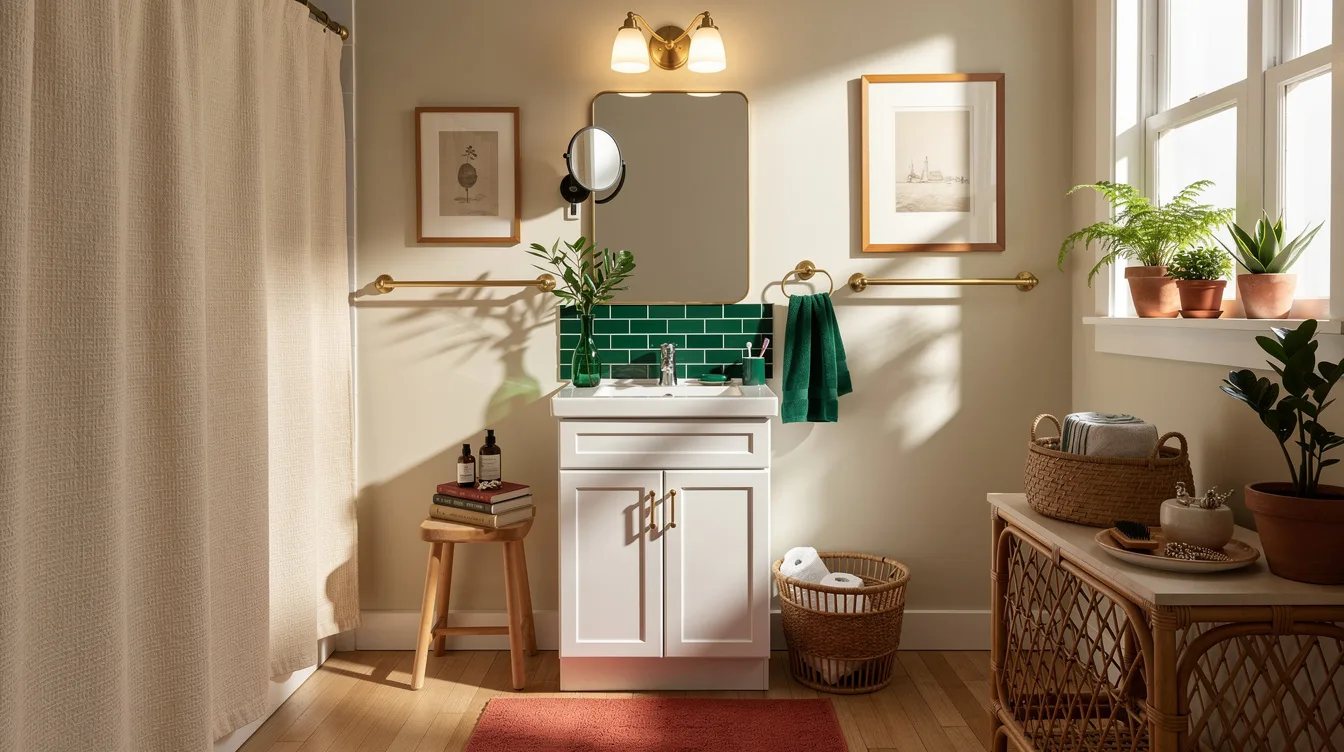
For a stronger change, use Sunwings Subway Emerald Green in the same narrow sink-zone shape rather than tiling the whole bathroom. The deep green gives a sad rental bath a clear focal point while keeping the ceiling, mirror, and remaining walls visually calm.
The sheets are listed as about 0 inch thick and roughly 11.3 by 10.8 inches, with ten sheets covering about 8.56 square feet. A case costs $59.99, so this option makes sense when color matters more than the lowest possible budget.
Use this finish only on a stable wall, because the manufacturer warns that the strong adhesive can lift weak paint. Emerald is worth choosing when the surface is sound and the landlord has approved the change in writing.
Test Adhesive on a Hidden Spot
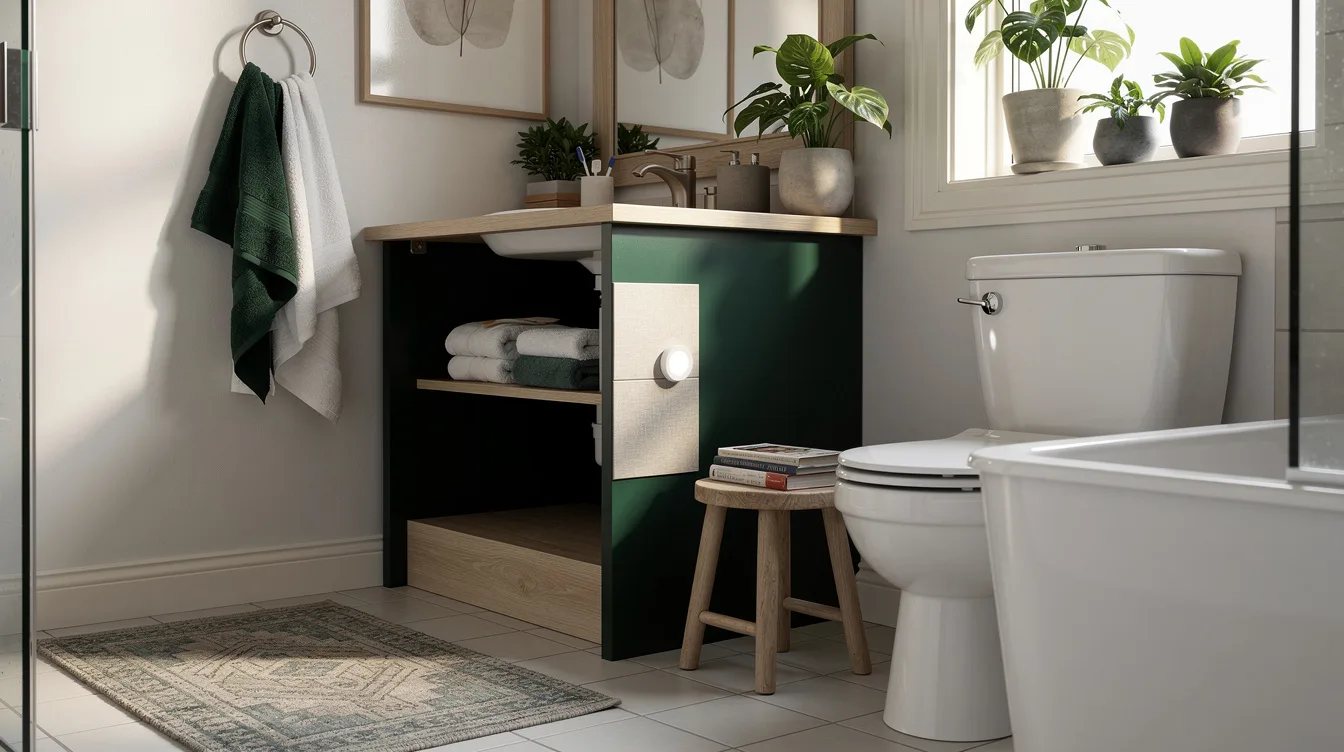
Before applying any peel-and-stick material, test a small section behind or below the vanity on the smooth painted wall. Wait long enough to see whether the paint pulls away, bubbles, or loses its finish when the sample is lifted.
Keep the adhesive in the sink zone, where its job is to protect and define the area behind the faucet. Standard backsplash sheets belong outside the shower, where repeated water exposure creates a different installation problem.
Smart Tiles recommends warming the adhesive with a hair dryer and peeling gently from a corner during removal. That method can reduce stress on the surface, but weak paint may still come off with the tile.
Replace the Bar Only When It Is the Eyesore
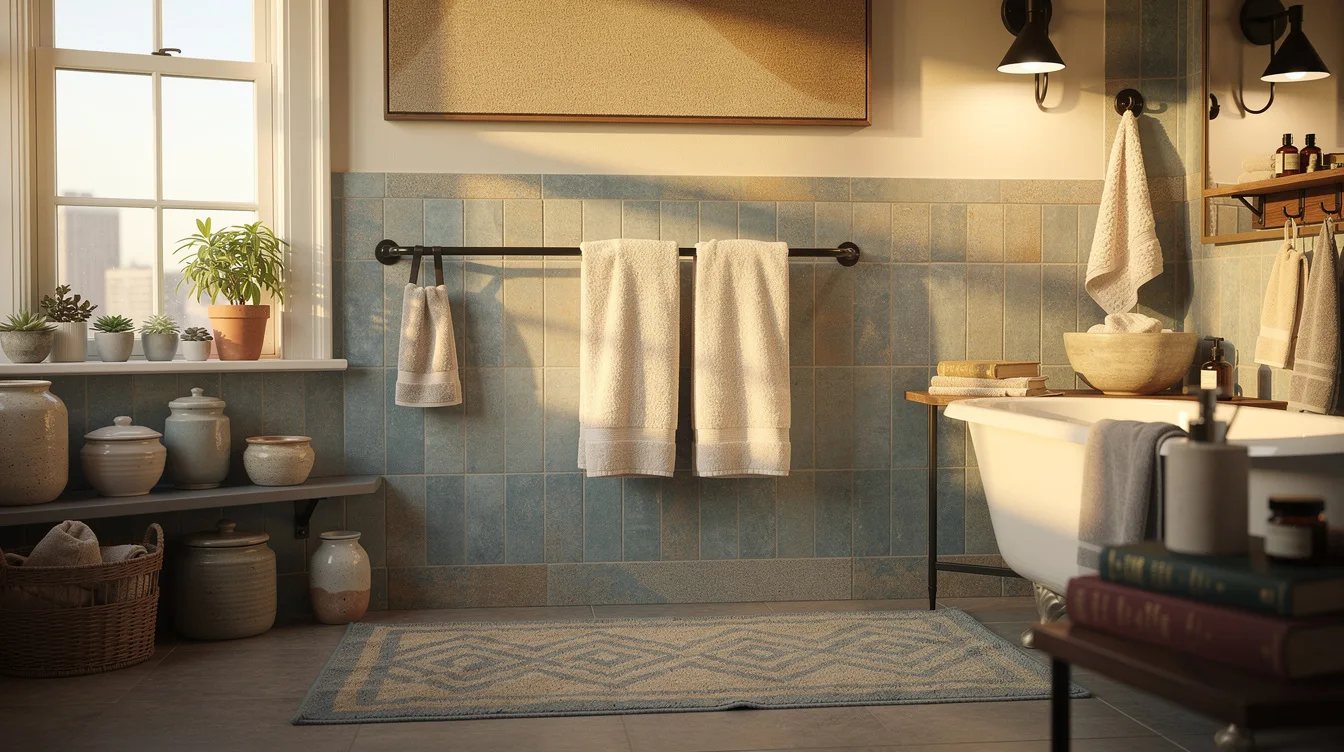
If the fixture itself dominates the room, consider the Hampton Bay Marsden vanity bar in matte black with clear glass shades. The hardwired, damp-rated fixture measures about 23.5 inches wide and takes three E26 bulbs, which are sold separately.
The bar is listed at about $79.97 before bulbs and installation. A new vanity bar, matching bulbs, and two packs of white backsplash tile come to roughly $130 to $150 before tax and installation.
This is the right upgrade when the existing metal is chipped, discolored, or visually bulky. If the current bar is merely plain, spend the money on bulbs first and keep the fixture.
Check the Backplate Before Removing Anything
The Marsden has a 5.62-inch square backplate, so measure the old fixture footprint before ordering it. A smaller plate may expose screw holes, an unpainted patch, or a darker outline left by a long builder-grade strip.
Measure the clearance above the mirror as well as the distance between the existing mounting points. A fixture can fit the wall and still look crowded when the shades sit too close to the mirror or ceiling.
The matte-black bar is a strong visual choice, but it should solve an actual problem rather than create another repair. Get written approval for the hardwired swap, use maintenance or an electrician as required, and keep the original fixture for move-out.
Cover an Ugly Floor Only With Permission
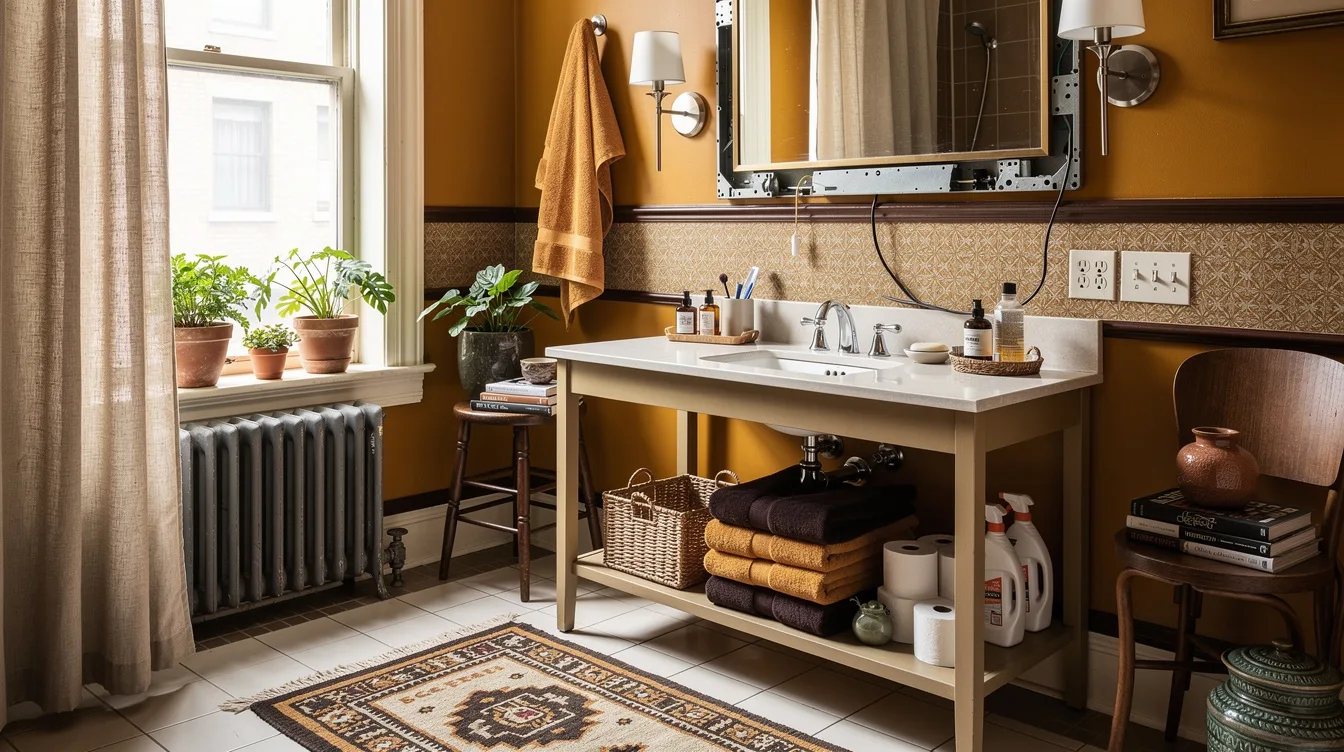
When the floor is the main source of regret, ask about permission before using TrafficMaster Carrara Marble peel-and-stick vinyl. The water-resistant tiles are listed at about 12 by 12 inches, with roughly 30 square feet in a case priced around $44.70.
These tiles are a flooring change, not temporary décor, even though they can be installed without a full renovation. Check the door swing, toilet clearance, baseboard edge, and existing floor condition before buying a case.
Carrara's pale marble look can brighten the room, but it also makes uneven cuts and dirt more visible. Choose it only when the landlord approves the material and the existing floor gives you a clean, stable surface.
Use Wood Look for a Warmer Floor
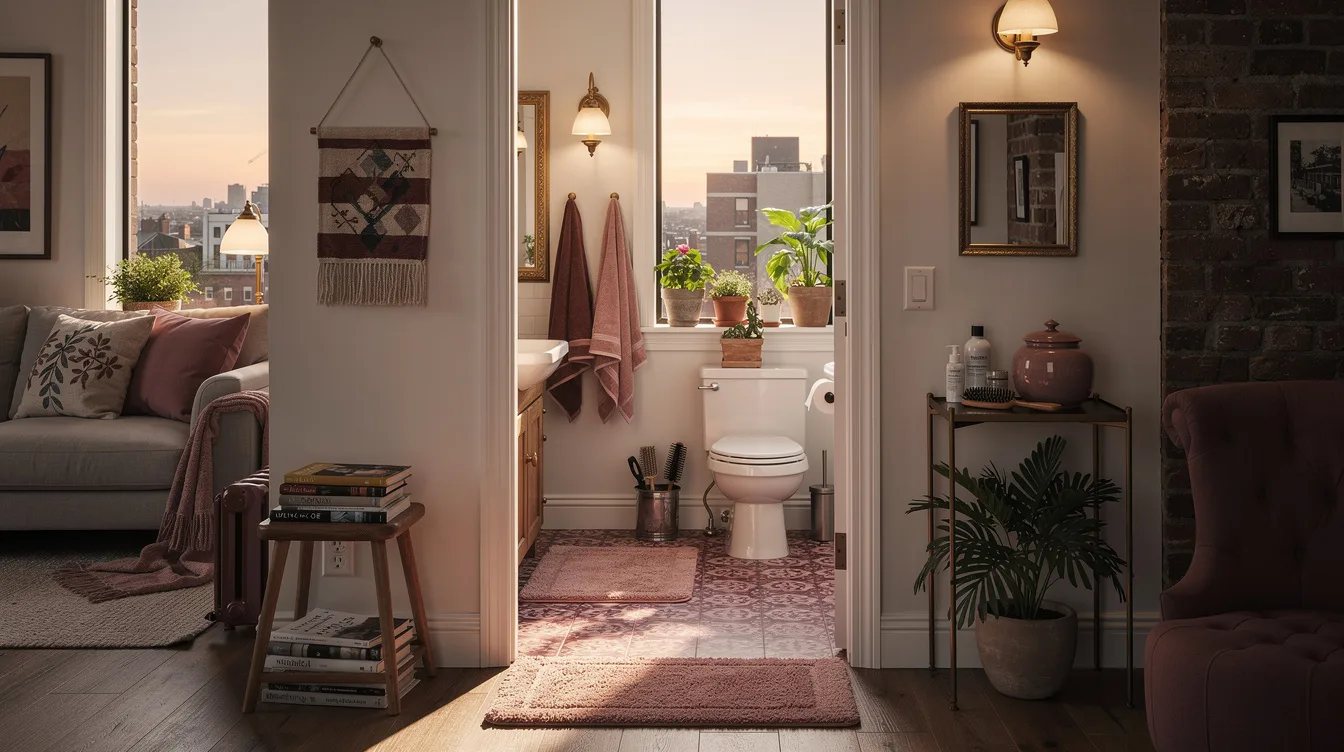
For a less stark floor, TrafficMaster Taupe Oak offers a warmer wood look in planks listed at about 6 by 36 inches. One case covers roughly 36 square feet and costs around $60.84, so measure the room before assuming a single case will be enough.
The longer format can make a small bathroom feel more directional, but it also makes crooked walls and uneven seams easier to notice. Dry-lay the pieces first and decide where the visible cuts will land near the vanity, toilet, and doorway.
Treat this as a real flooring modification and secure written permission before installation. If approval is uncertain, skip the floor and put the budget toward lighting or a removable countertop accessory instead.
Make the Move-Out Plan Before Installation
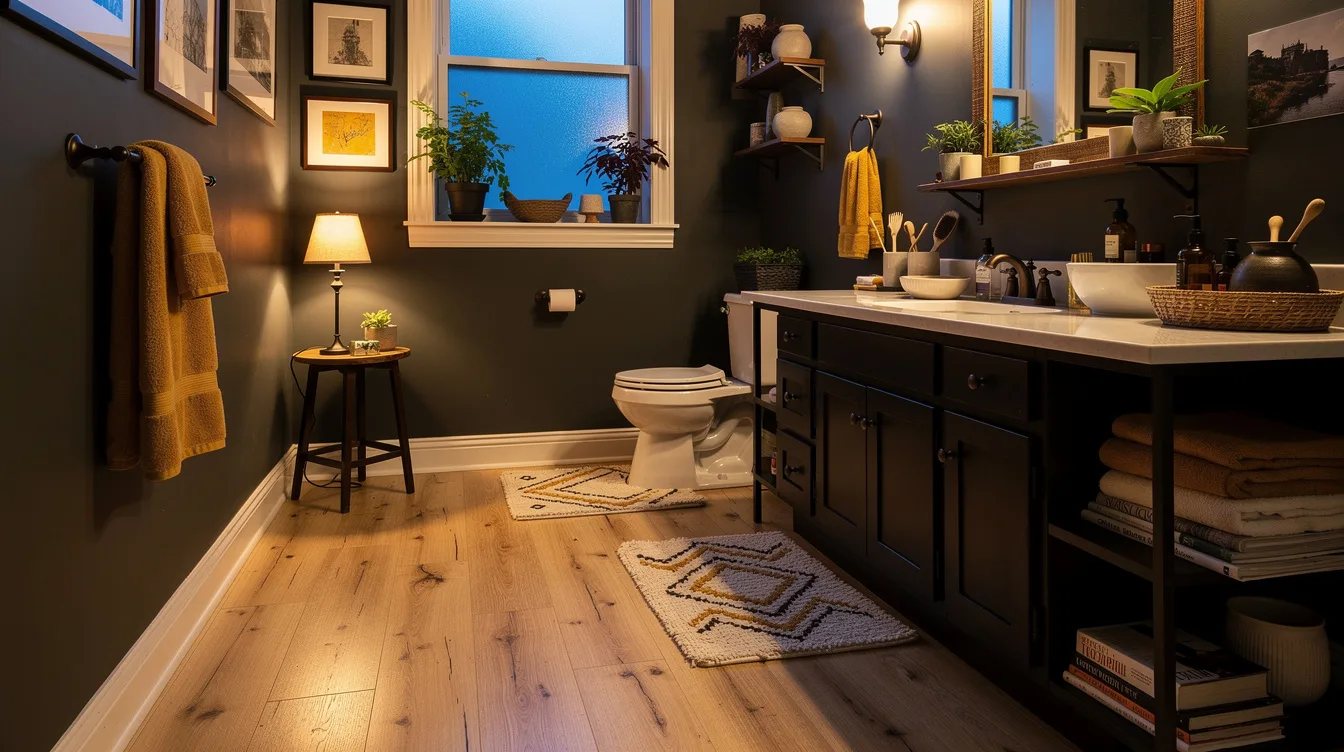
Keep the original fixture, unused bulbs, product packaging, and permission record together before making any adhesive or wiring change. This small file gives you a clear path back to the rental's starting condition.
Photograph the wall, vanity, and floor before installation, then record which products went where. That documentation helps separate normal wear from a change you introduced and makes removal less improvised.
When the landlord will not approve adhesives or wiring, stop at the bulb swap. It is the cheapest improvement, leaves no adhesive to remove, and lets you judge the existing finishes under consistent light before spending more.
Keep reading
- Dated Rental Bathroom? 14 Home Depot Finds Fake a Custom Reno
- Dated Oak Kitchen? 14 Home Depot Fixes That Fake a Reno
- Dated Kitchen Wall? 12 Home Depot Finds Under $80 Fake a Reno
Change the light first, test the wall second, and approve every adhesive or wiring step before it begins. That order keeps the bathroom calmer, the budget visible, and the move-out repair list short.