Dated Oak Kitchen? 14 Home Depot Fixes That Fake a Reno
10 october 2026A typical 10-by-10-foot kitchen can feel locked in the past when honey-oak doors, yellow light, and tiny knobs all repeat the same tired message. The good news is that a full remodel is not required, especially when the cabinet boxes still close properly.
Home Depot has enough paint, lighting, hardware, trim, and styling materials to reset the room in stages. Start with the change that controls the most square footage, then let smaller fixes support it.
What you will find inside
- Paint the Oak Before Replacing the Cabinets
- Choose a Color That Calms Honey Oak
- Replace Tiny Knobs With Longer Pulls
- Mix Black Hardware With One Warm Metal
- Install Brighter Under-Cabinet Lighting
- Paint the Backsplash Wall for Contrast
- Use Peel-and-Stick Tile Only on a Smooth Surface
- Cover an Island End With Painted Beadboard
- Swap the Faucet for a Taller Silhouette
- Warm the Floor With a Washable Runner
- Replace Bulky Window Treatments
- Edit Countertop Appliances by Frequency
- Add Open Shelving Only Where It Earns Its Space
- Hide the Cabinet Gaps With Simple Trim
Paint the Oak Before Replacing the Cabinets
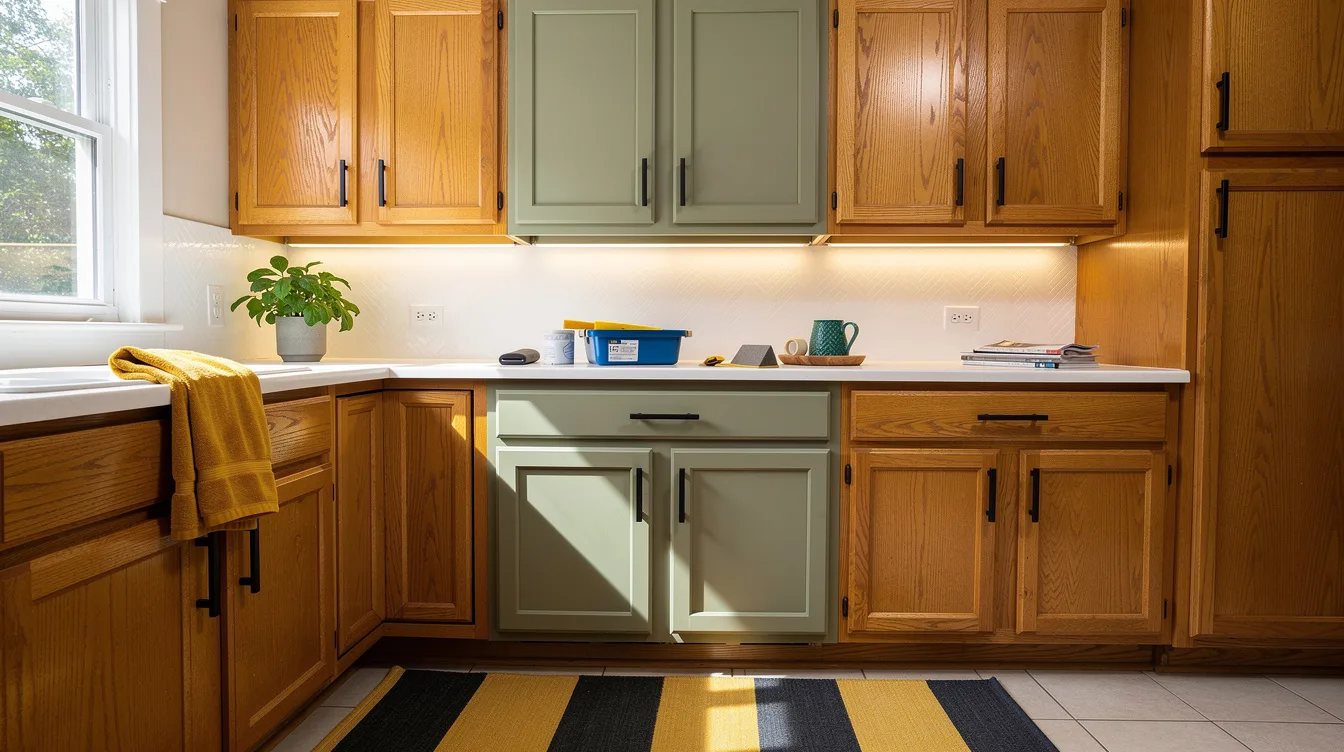
Orange-toned oak dominates a room because every cabinet door repeats the same grain and color. A coat of Home Depot cabinet paint in a soft warm white, muted sage, or deep charcoal gives the kitchen a new visual anchor without changing the layout.
Clean the doors with a degreaser, scuff the finish, and use a bonding primer before painting. A typical gallon of cabinet paint costs about $40 to $60, making this the strongest budget move when the boxes are still sturdy.
Choose a Color That Calms Honey Oak
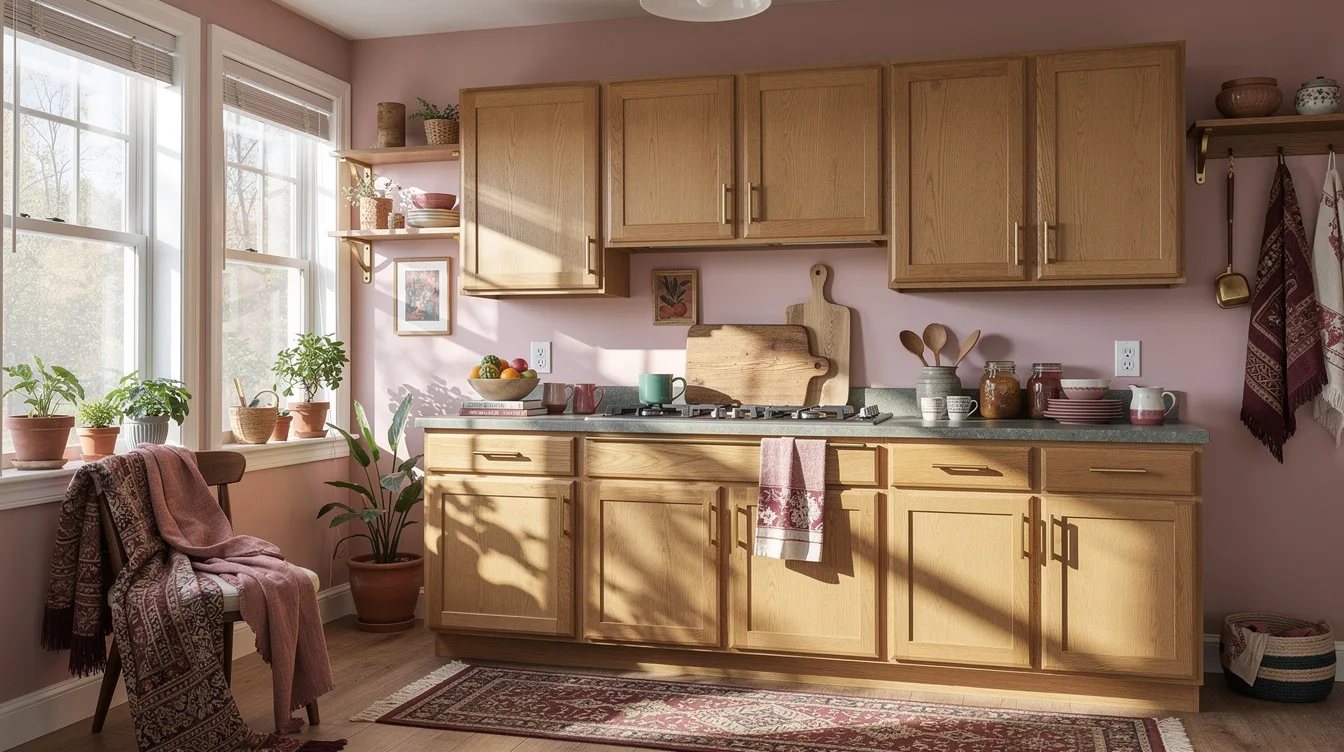
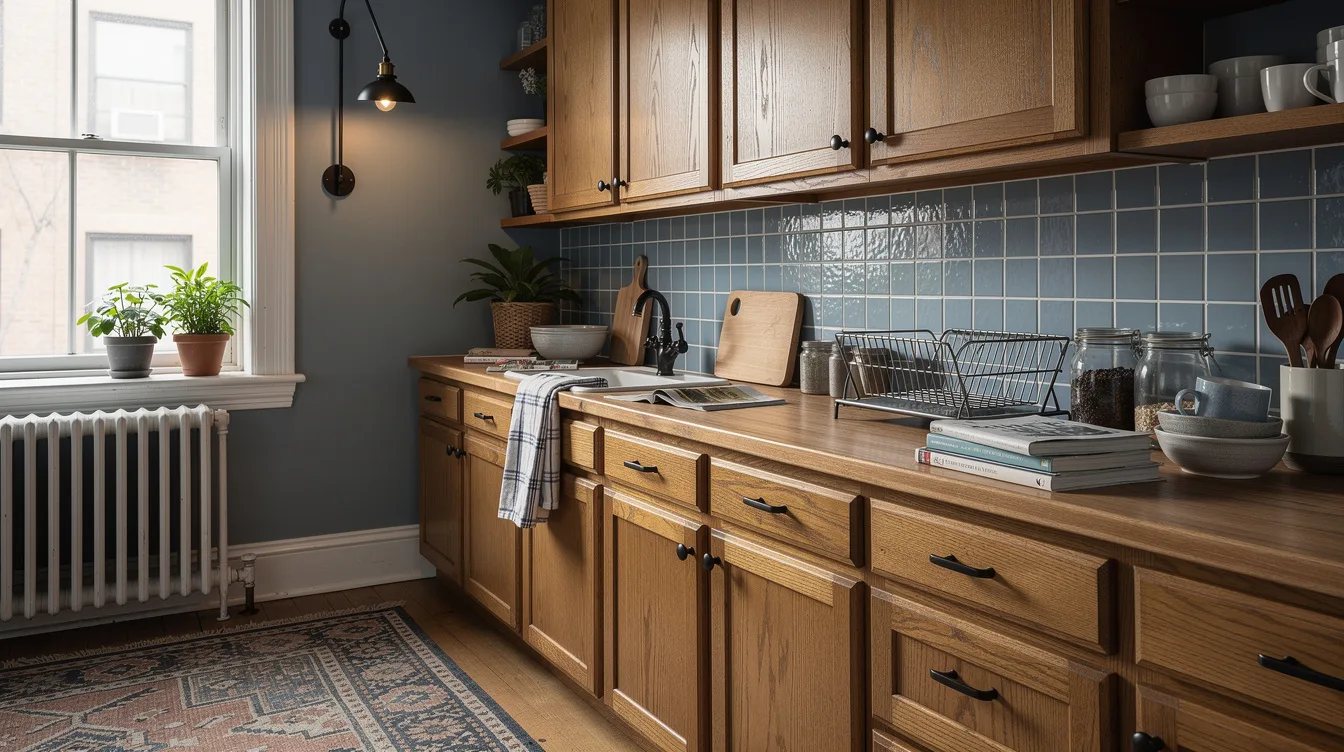
Pure white can make dated oak look more orange by comparison, especially under warm bulbs. Use a creamy off-white, dusty olive, mushroom, or pale blue-gray from Home Depot instead.
Test a few large swatches beside the countertop and flooring during both daylight and evening light. The winning shade should soften the wood, not fight it, and satin is usually easier to wipe than flat paint.
Replace Tiny Knobs With Longer Pulls
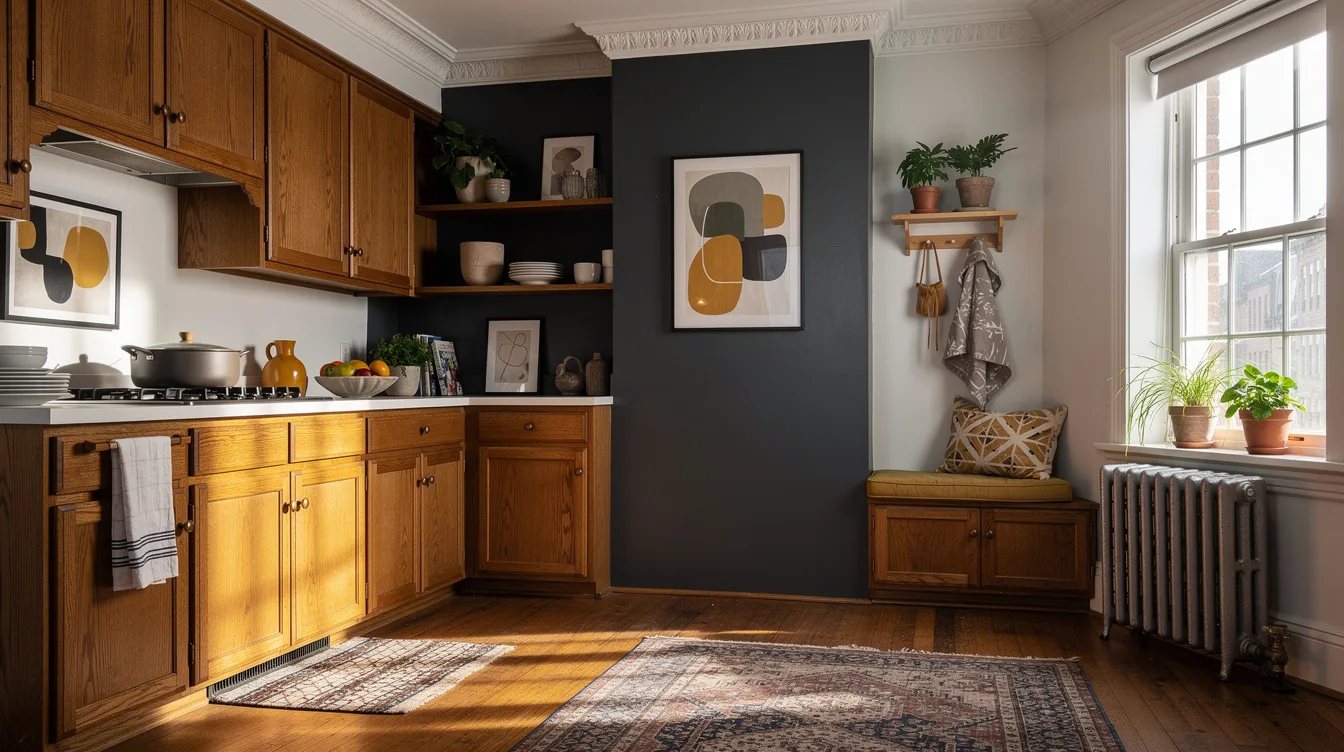
Small oak knobs often make a kitchen feel stuck in its original decade. Install matte-black cabinet pulls from Home Depot to create a crisp line across the doors and drawers.
Measure the existing holes before shopping, then match the hole spacing throughout the room. Pulls in a typical 4- to 6-inch center-to-center range cost about $4 to $10 each, depending on the finish and material.
Mix Black Hardware With One Warm Metal
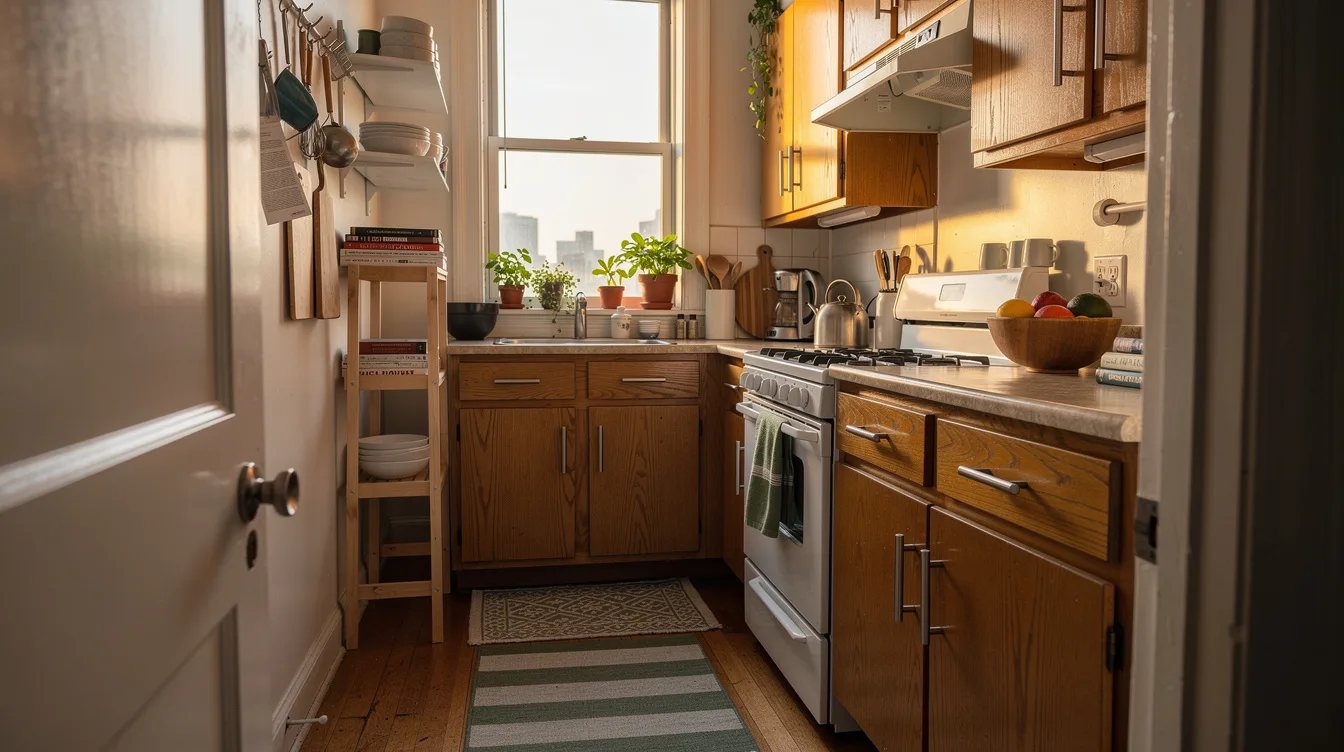
Using one metal everywhere can make a low-budget update look overly planned. Let matte-black hardware handle the cabinets, then repeat a small amount of aged brass on a light fixture or picture frame.
Keep the warm metal limited to two or three visible pieces. A single brass-toned soap dispenser or framed print is enough to connect the oak's warmth to the new hardware without creating a finish collection.
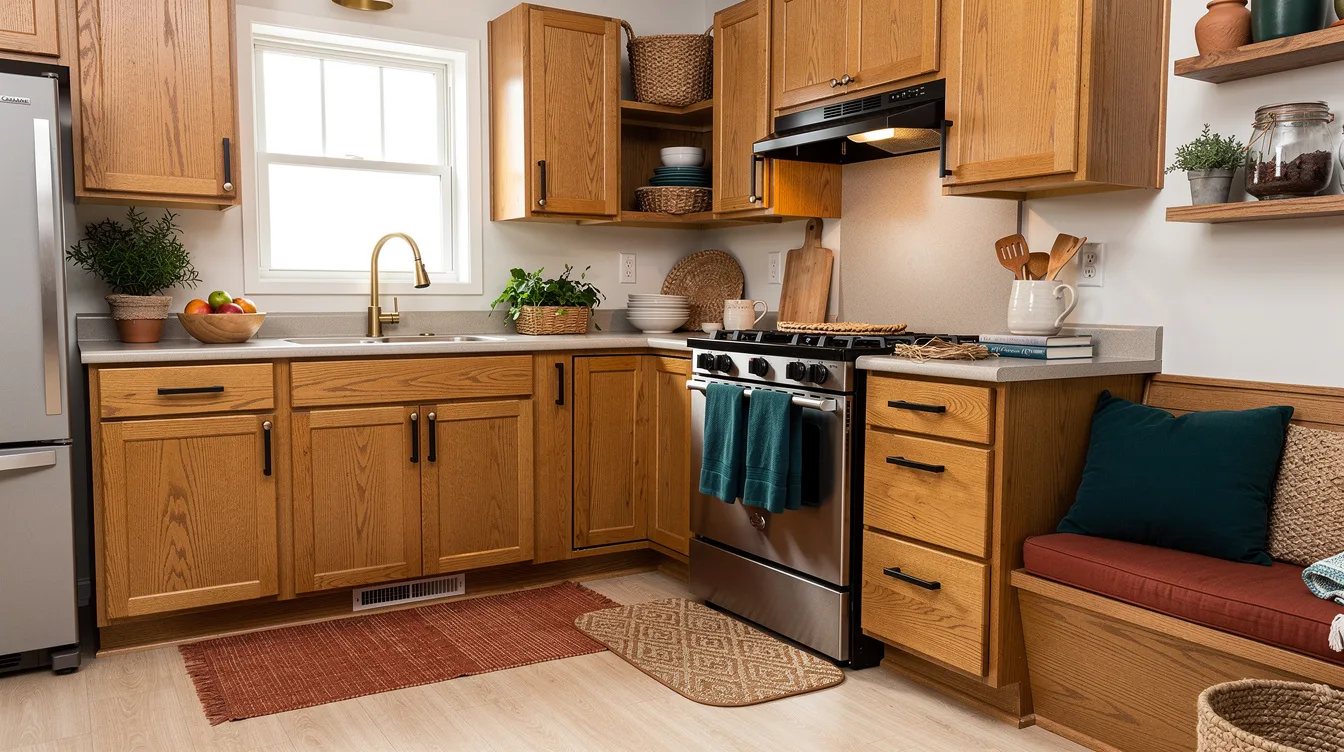
Install Brighter Under-Cabinet Lighting
Yellow ceiling light makes honey oak look darker and more orange than it does in daylight. Add LED strip lights from Home Depot beneath the wall cabinets, with a warm-neutral color temperature around 3000K.
Choose a plug-in kit if you want to avoid opening drywall or hiring an electrician. Hide the cord along the cabinet underside, and place the switch where it can be reached from the main work area.
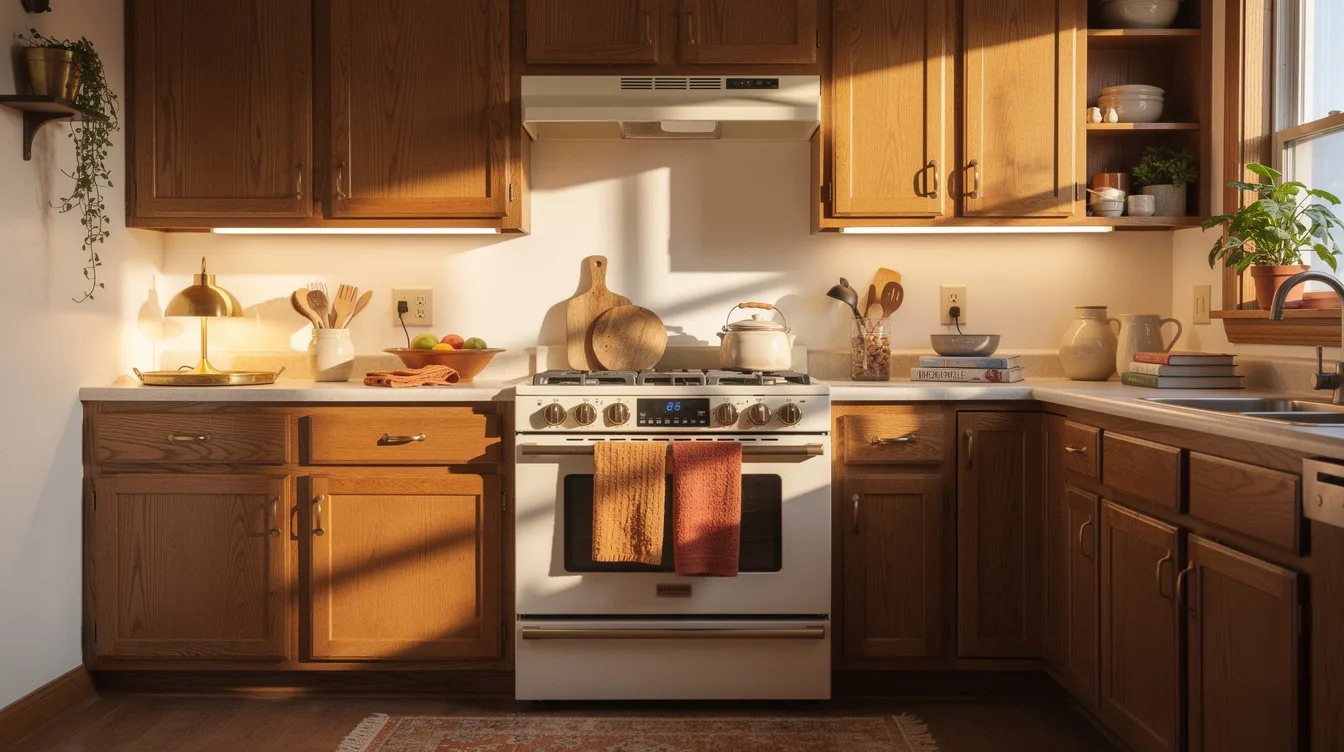
Paint the Backsplash Wall for Contrast
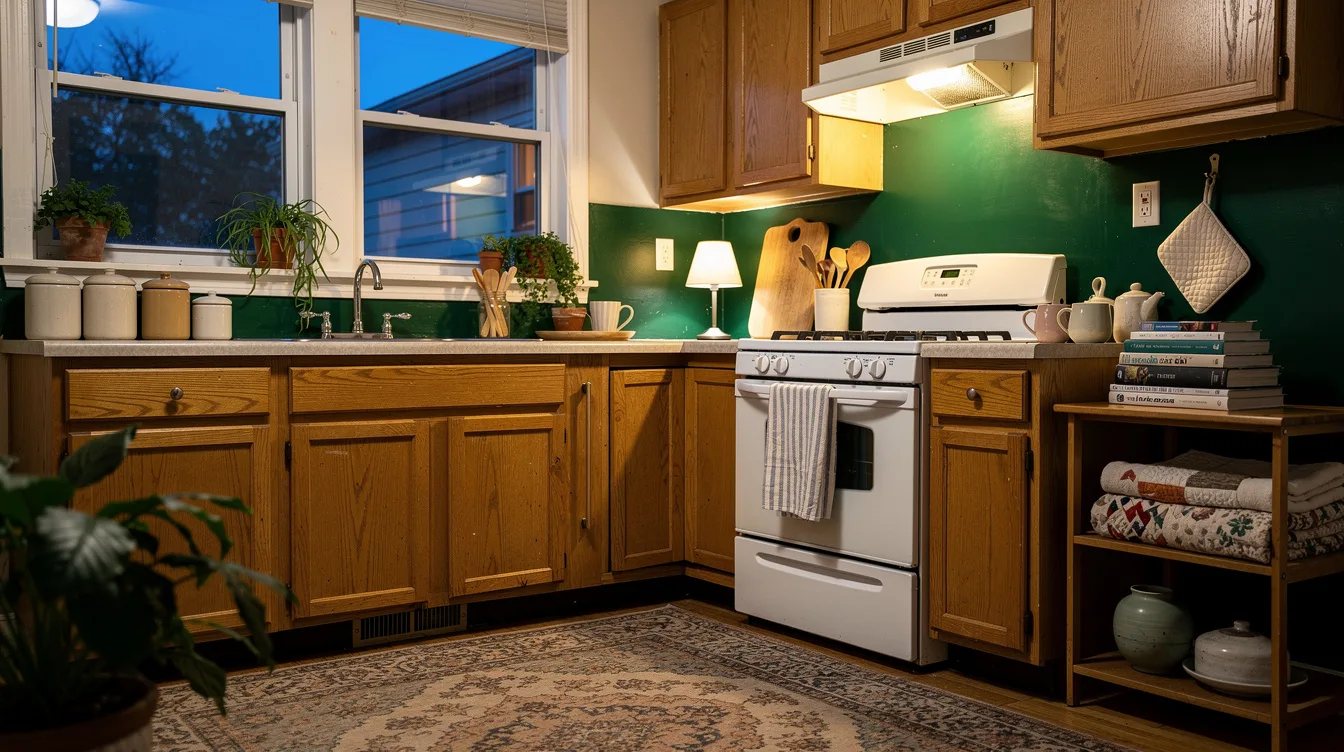
A dated backsplash can make the entire kitchen feel older, even after the cabinets are painted. Use a washable kitchen wall paint in a color that clearly separates the counter from the upper cabinets.
Warm white works with busy granite, while a muted green or blue-gray can steady pale quartz and laminate. Spend time taping the countertop edge carefully; a clean boundary makes inexpensive paint look intentional.
Use Peel-and-Stick Tile Only on a Smooth Surface
Peel-and-stick backsplash panels can cover an awkward tile pattern when the wall is flat, clean, and dry. Choose a simple white subway tile panel from Home Depot rather than a loud mosaic that competes with oak grain.
Degrease the surface, remove loose grout, and press each panel firmly with a seam roller. This is a temporary visual fix, so keep it away from areas with constant steam or a damaged wall.
Cover an Island End With Painted Beadboard
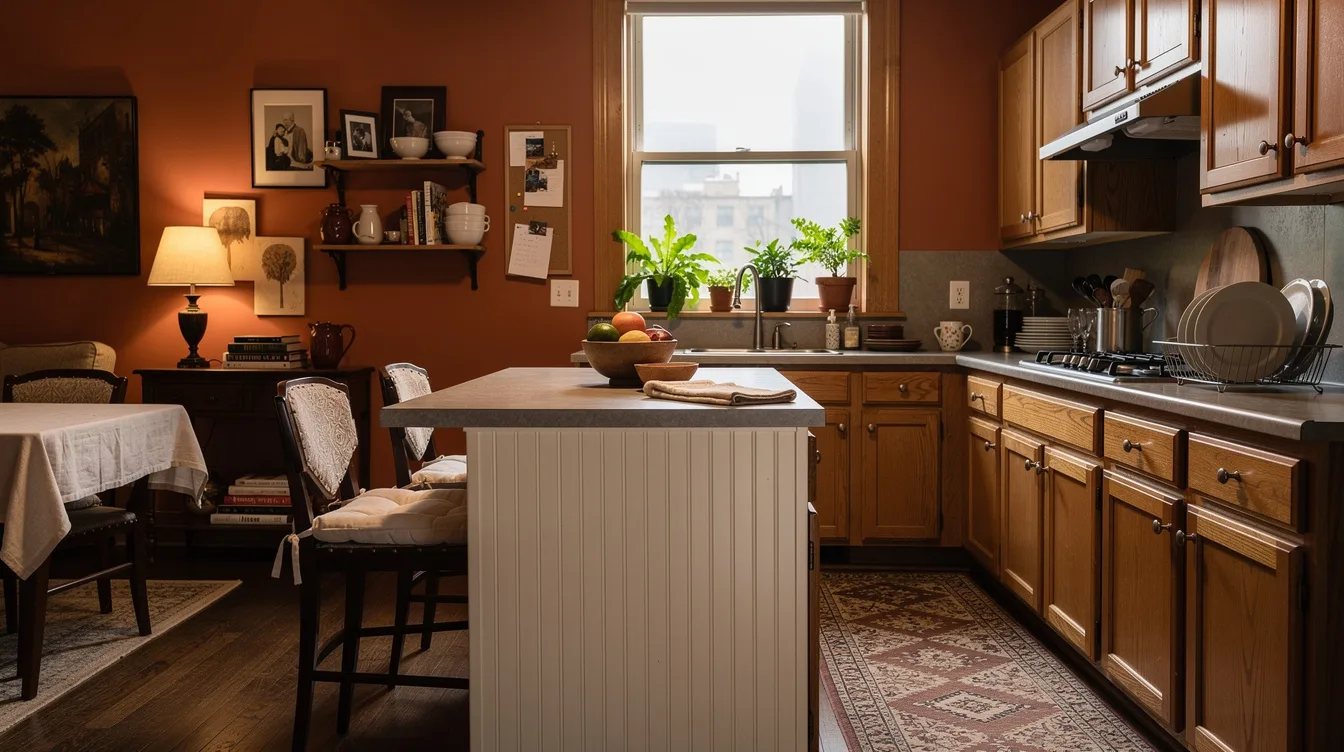
Oak islands often look like large wooden blocks in an otherwise dated kitchen. Add painted beadboard to the exposed end panel, then finish it in the same color as the lower cabinets.
Thin paneling from Home Depot can usually be cut to fit with basic tools, but measure around outlets and trim first. The vertical lines add structure and make the island feel like a designed piece of furniture.
Swap the Faucet for a Taller Silhouette
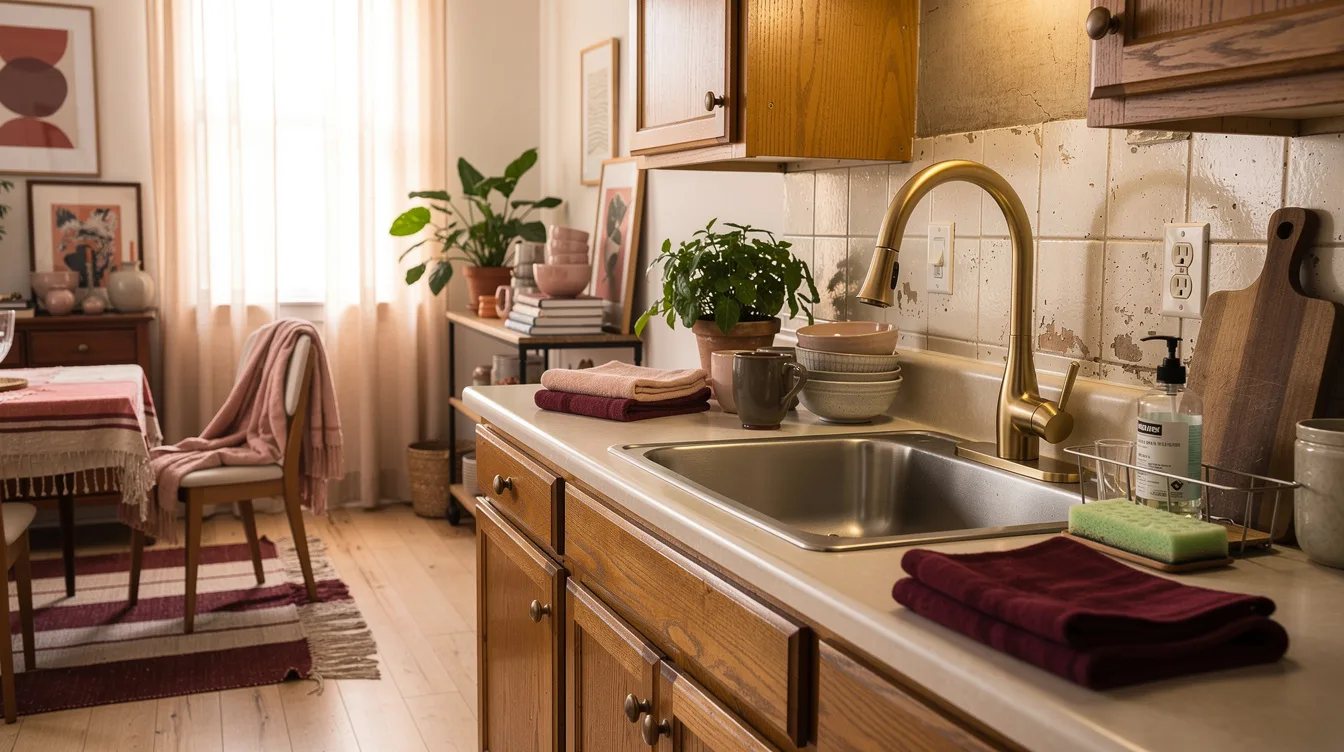
An old low-arc faucet can keep even freshly painted cabinets looking tired. Replace it with a single-handle pull-down faucet from Home Depot in matte black or brushed stainless steel.
Check the number of holes in the sink deck before buying, and choose a model with a matching deck plate if needed. A typical budget faucet costs about $80 to $180, so this is worth doing only after paint and hardware are settled.
Warm the Floor With a Washable Runner
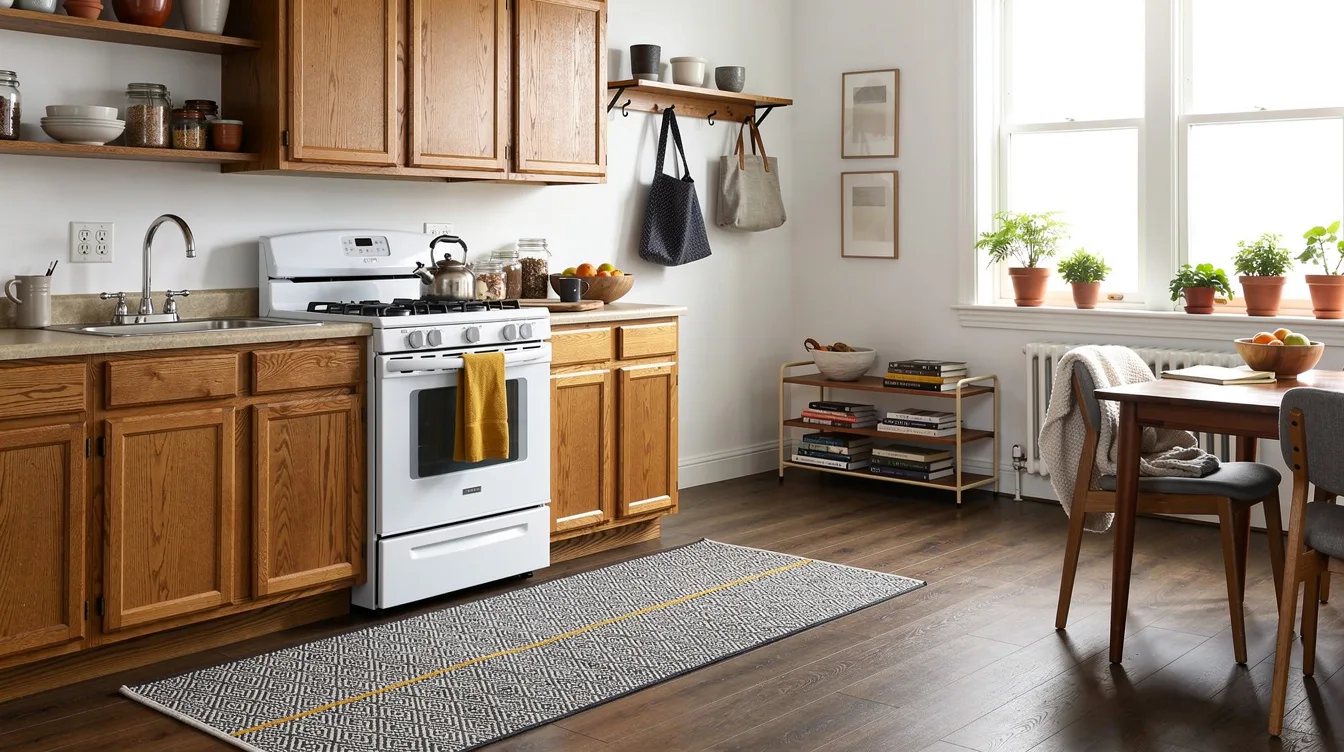
Cold patterned tile and orange oak can create visual noise underfoot. A low-pile washable runner in faded blue, rust, cream, or charcoal gives the long cabinet run a calmer foreground.
Choose a runner that leaves the refrigerator and oven doors fully clear, usually about 2 to 3 feet wide for a standard galley path. Add a non-slip pad so the textile stays flat during cooking.
Replace Bulky Window Treatments
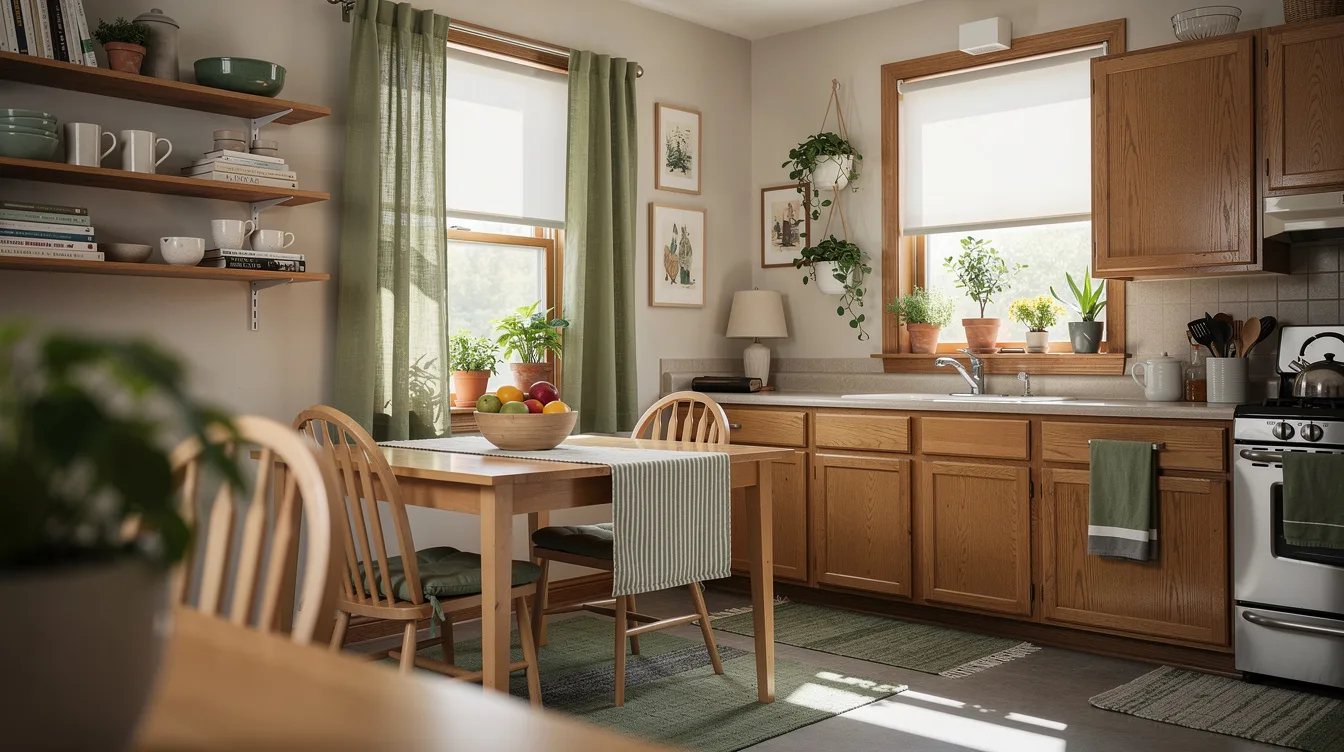
Short fabric valances and heavy floral curtains can make oak cabinets feel even more dated. Hang a simple woven shade or inside-mount roller shade from Home Depot to bring texture without adding another pattern.
Choose a natural tan only when the countertop is fairly quiet; with busy granite, use a solid linen-look shade in cream or gray. Keep the window treatment close to the frame so it does not crowd the work surface.
Edit Countertop Appliances by Frequency
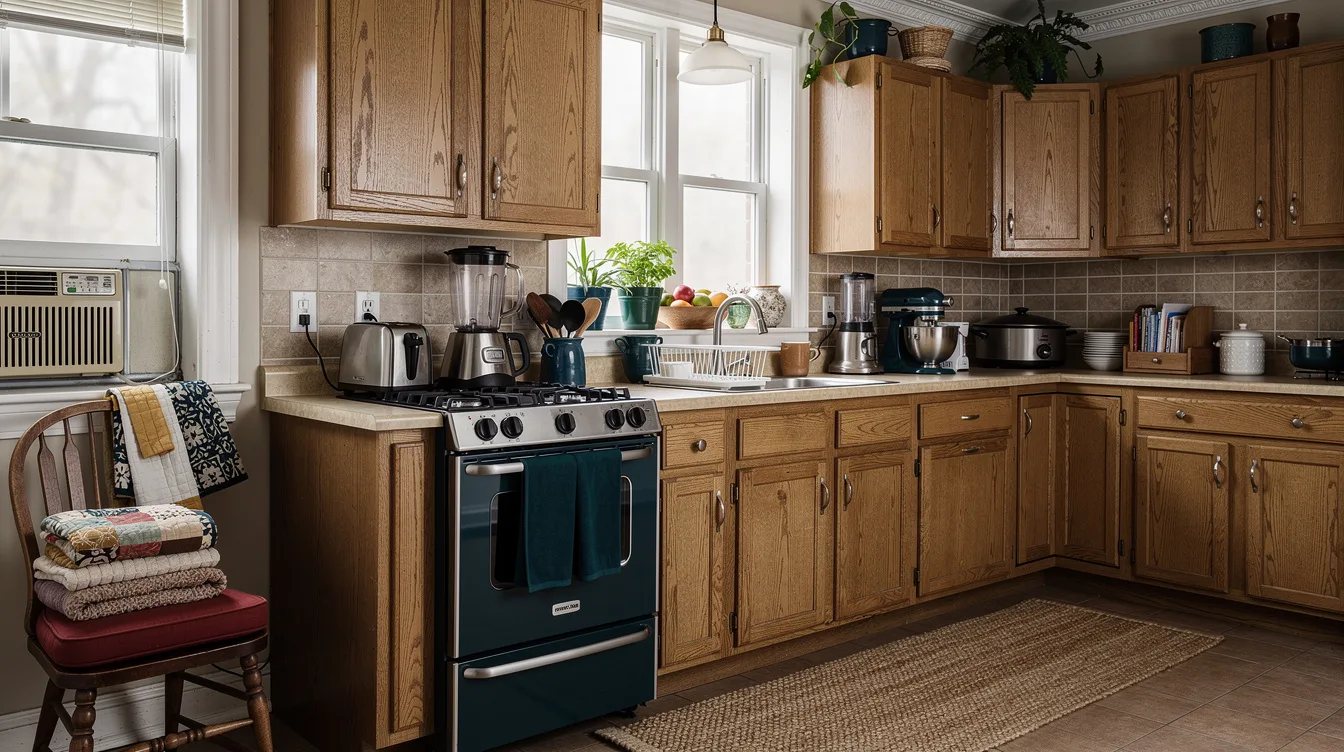
Even attractive cabinets look old when every appliance remains on the counter. Keep the coffee maker, toaster, or air fryer that gets used daily, then move occasional equipment into a wood countertop tray or a nearby cabinet.
Group cooking oils on one washable tray and keep cutting boards upright beside the prep area. This costs about $15 to $35 for a useful tray, but the clear counter creates more visual change than another decorative object.
Add Open Shelving Only Where It Earns Its Space
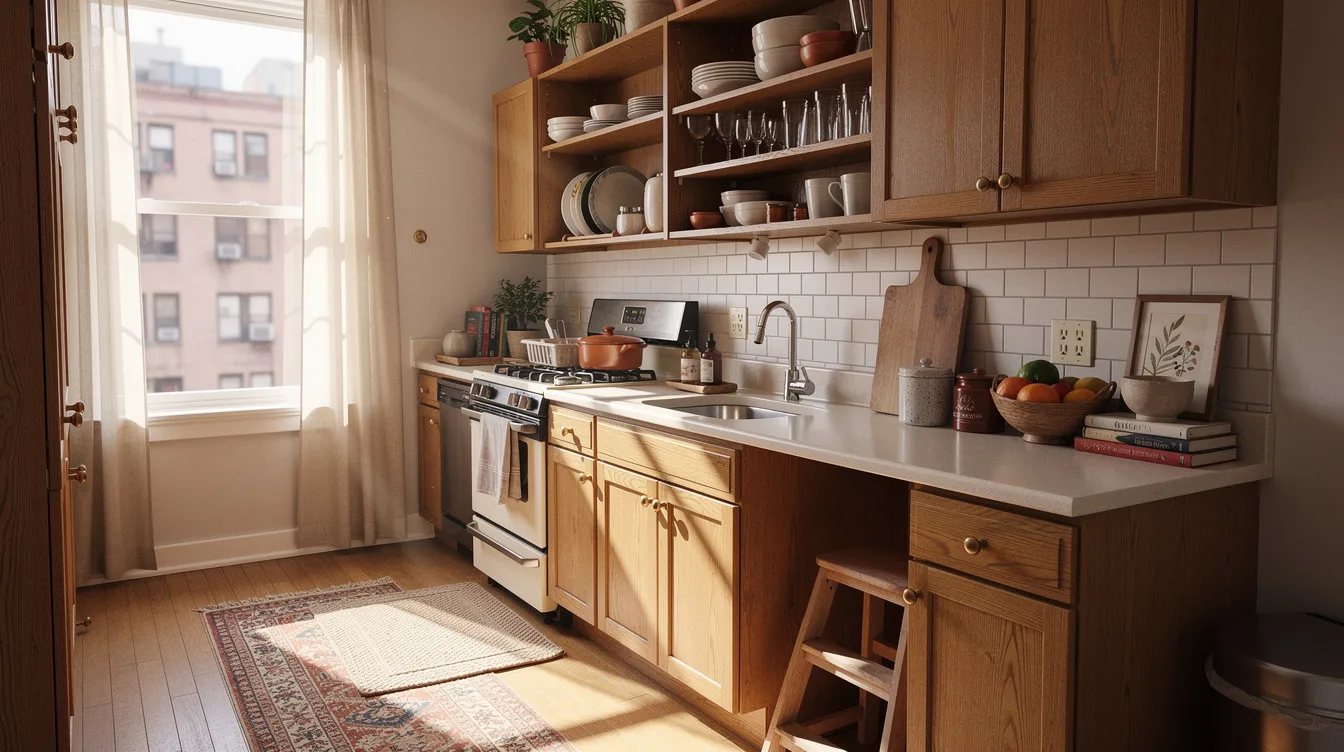
One short shelf can break up a long run of upper oak cabinets, especially beside a window or range hood. Install a solid wood shelf from Home Depot with simple black brackets, then use it for everyday bowls and one framed print.
Do not fill it with every pretty dish in the house. Leave visible breathing room around the useful pieces, and choose shelf depth carefully so cabinet doors and work zones remain easy to use.
Hide the Cabinet Gaps With Simple Trim
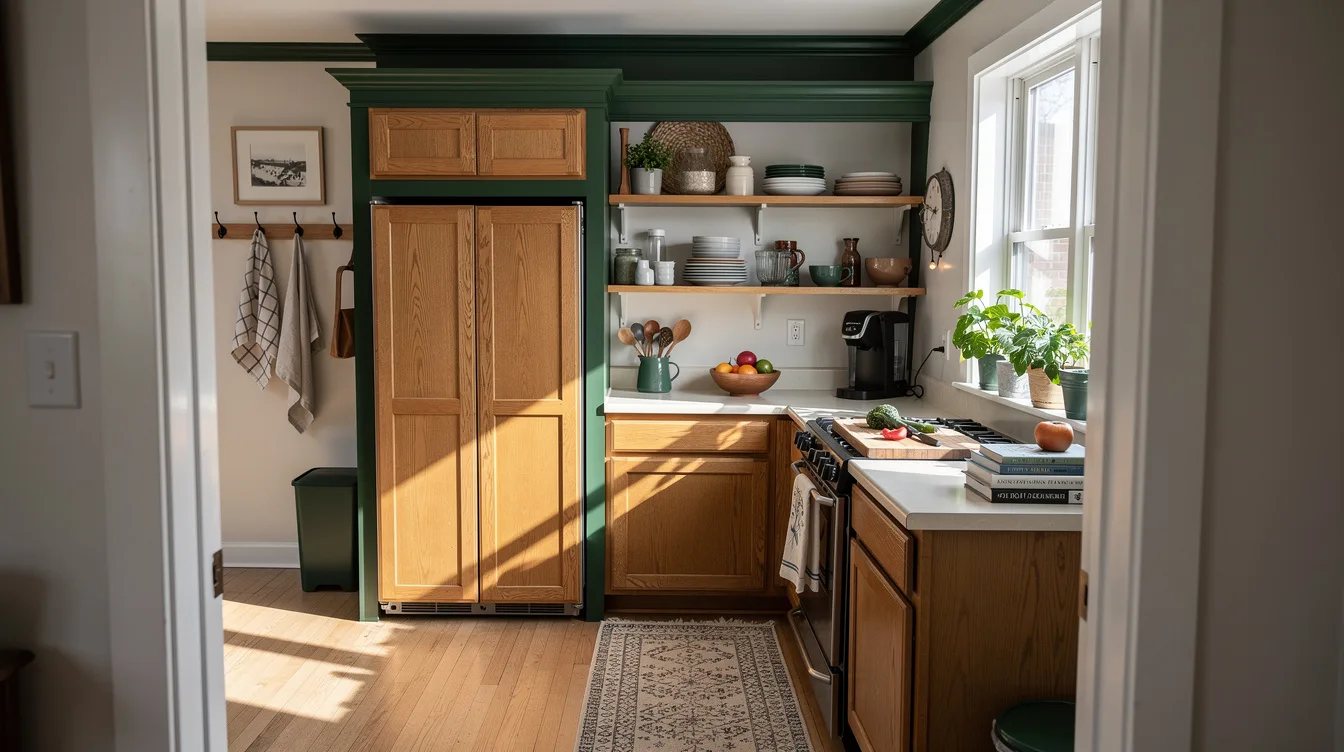
Uneven fillers, exposed hinges, and empty gaps can reveal a dated cabinet layout after painting. Add paint-grade trim from Home Depot around exposed sides and between cabinet runs, then paint it to match.
Use narrow molding where the gap is small and a wider matching panel where the cabinet ends beside a wall. This fix rewards accurate measuring, so mark every piece before cutting and keep the grain direction consistent.
Keep reading
- Dated Rental Kitchen? These 10 Home Depot Finds Refresh It for Less
- Dated Rental Bathroom? These 12 Home Depot Swaps Skip the Plumber
- Exposed Wire Shelves? These 14 Home Depot Upgrades Look Custom
Begin with a cabinet color sample, a new pull, and brighter under-cabinet light before buying anything decorative. Those three decisions will show whether the oak needs a full paint job or only a more disciplined supporting palette.
Keep the receipts and work in one zone at a time. A dated kitchen usually improves through proportion and editing long before it needs new cabinets.


