The Backsplash Height Detail That Makes a Kitchen Look Custom
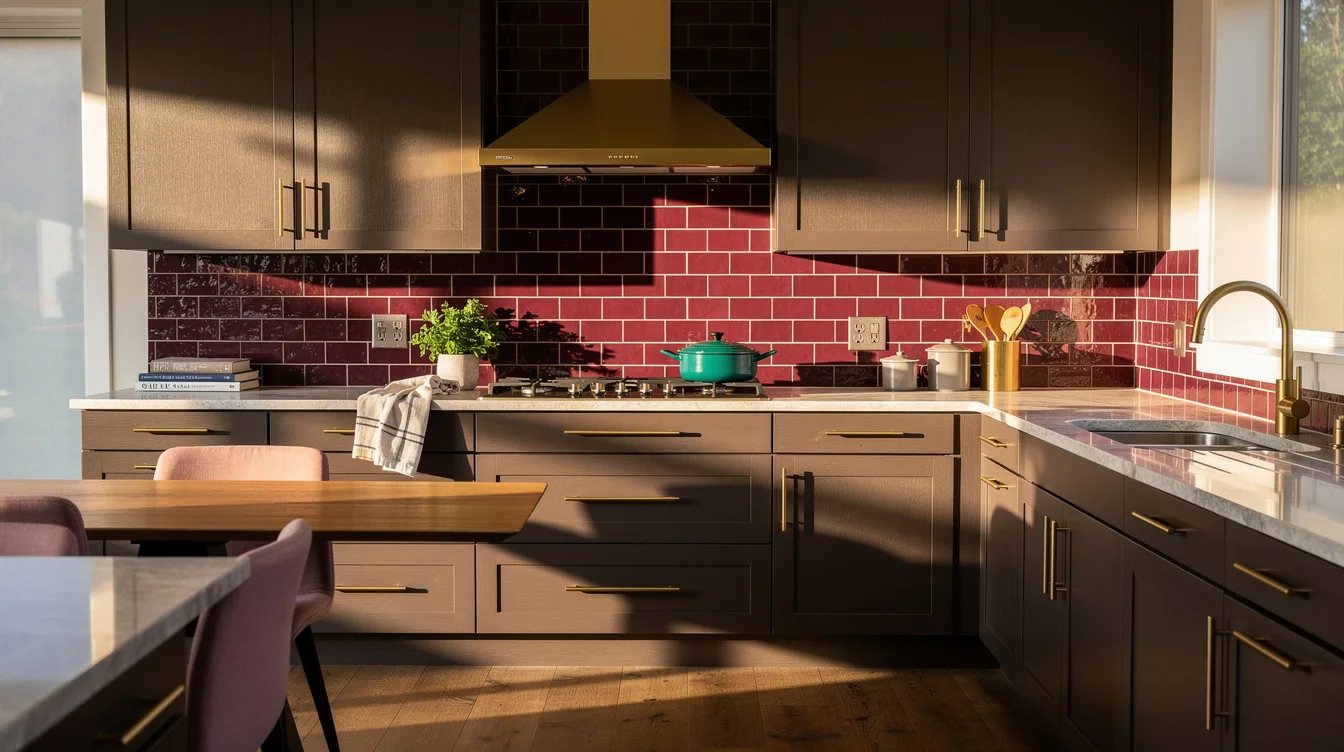
18 november 2026The backsplash decision that changed our kitchen plan was the stopping point: under upper cabinets, the tile ended at the cabinet underside, typically about 18 inches above the finished countertop.
On the range wall, we carried the same surface to the hood, while a cabinet-free stretch received a deliberate ledge instead of a random cutoff. That small shift made the room feel planned without paying to tile every wall.
What you will find inside
- Measure From the Finished Countertop
- Match the Cabinet Underside
- Keep a Four-Inch Upstand Quiet
- Fill the Working Gap Under Uppers
- Add a Ledge Above a Cabinet-Free Run
- Take the Range Wall to the Hood
- Let an Open-Shelf Wall Meet the Ceiling
- Use the Room's Proportions Before Tiling
- Repeat One Tile Through Two Heights
- Price a Tall Run in Affordable Ceramic
- Let Handmade Tile Stop at Cabinet Height
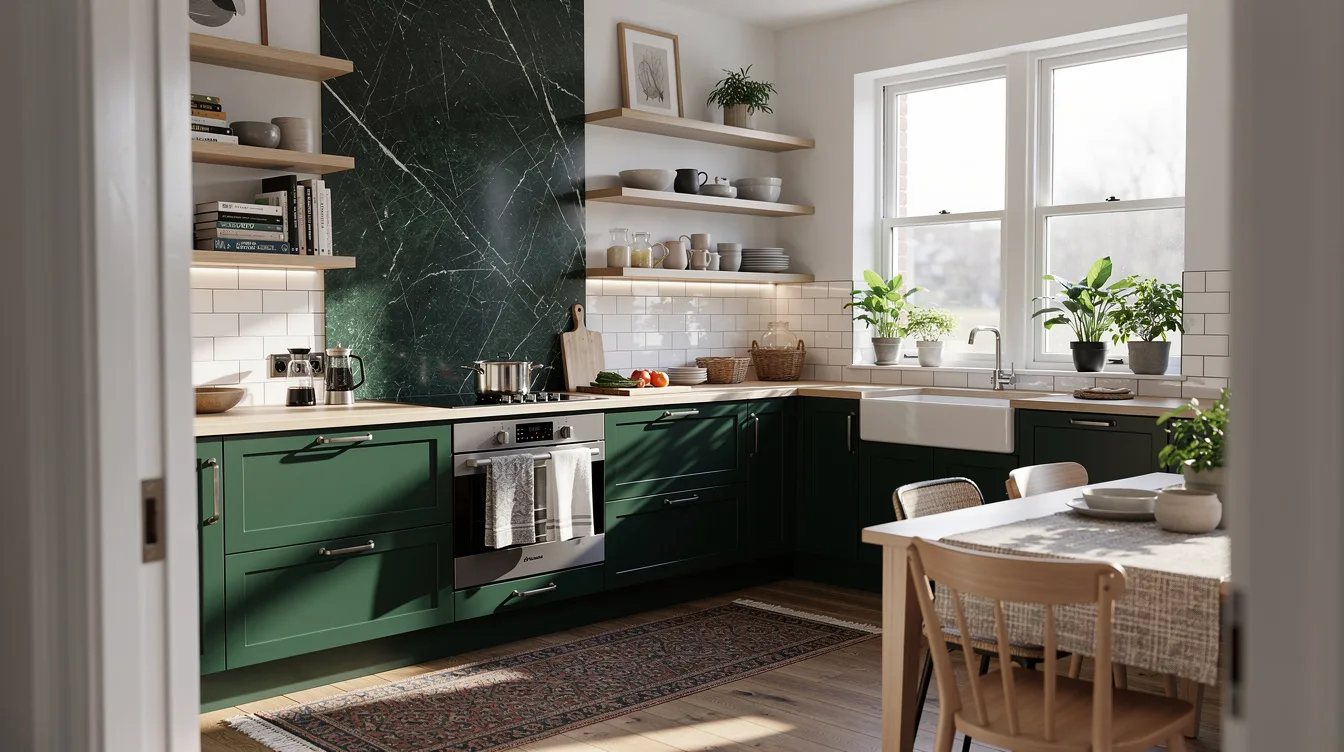
- Reserve Slab for the Visual Focal Point
- Protect the Budget for Prep and Cutouts
- Set the Endpoint Before Ordering Material
Measure From the Finished Countertop
The backsplash height starts at the finished countertop, not the cabinet box or the framing behind it. We mark the actual surface after installation because a small change in counter thickness can shift the endpoint enough to make the upper line look careless.
For a quiet run, a matching quartz upstand at about 4 inches keeps most of the wall painted. It works best away from the sink and range, where fewer splashes reach the wall.
Match the Cabinet Underside
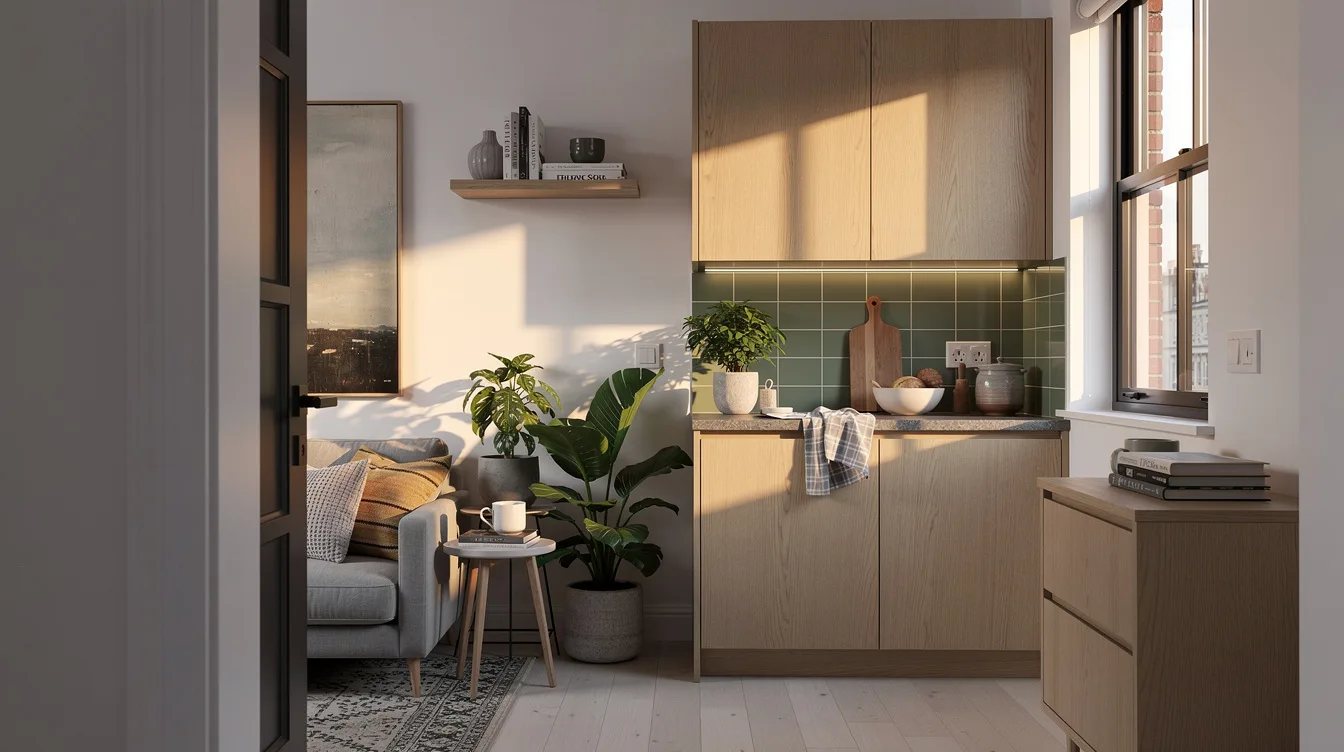
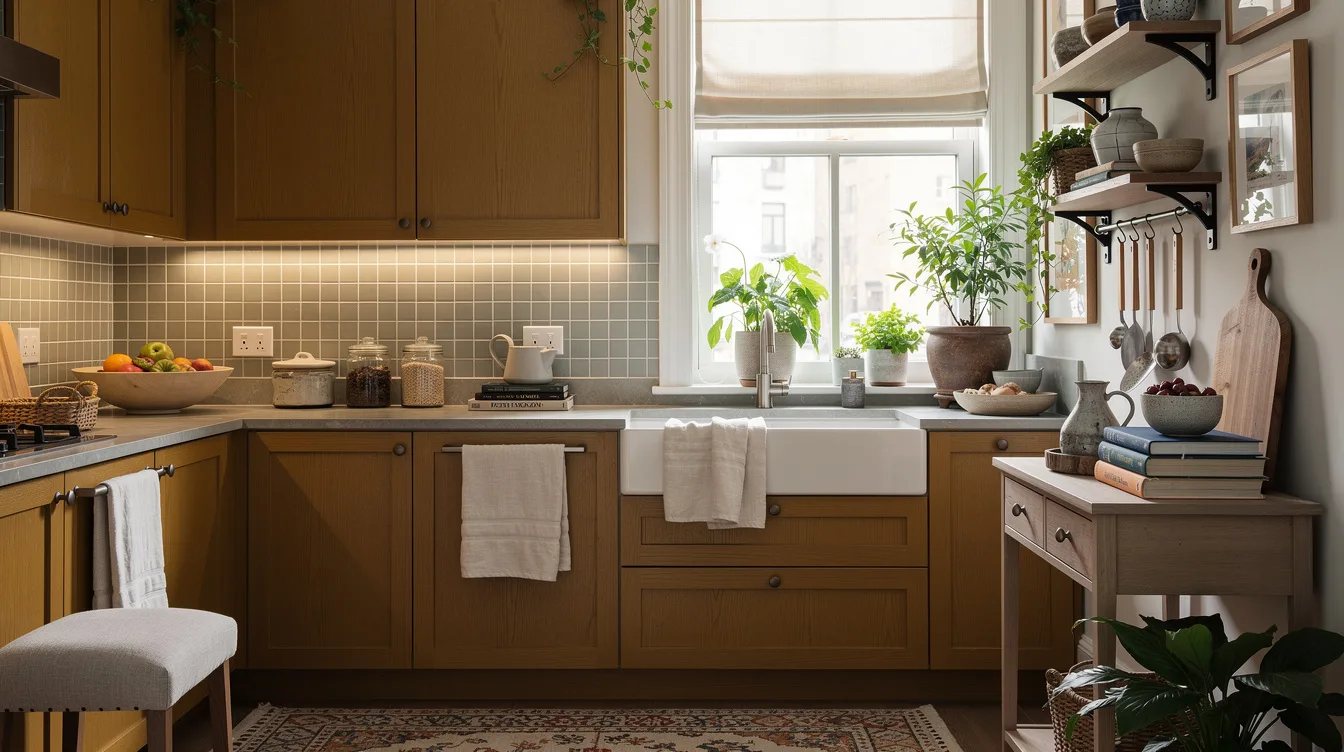
Under upper cabinets, take the backsplash to the underside of the cabinets, typically about 18 inches above the finished countertop. The real measurement matters more than the standard dimension, especially when the cabinets sit slightly higher or lower than expected.
We prefer a clean finish against the cabinet bottom because it removes a stray strip of painted wall. A continuous ceramic tile run also gives the working gap a finished edge without adding another horizontal line.
Keep a Four-Inch Upstand Quiet
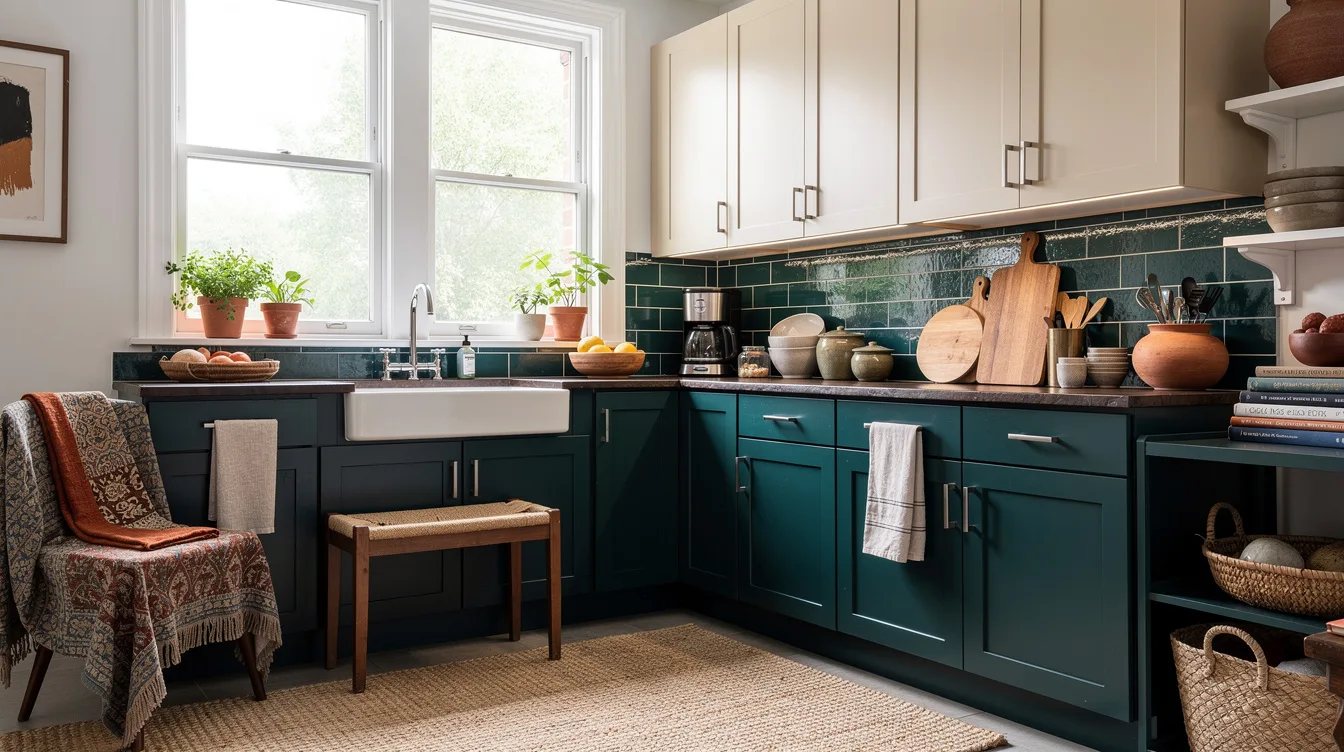
A short backsplash works when the counter itself deserves attention. About 4 inches of matching granite or quartz creates a restrained transition and leaves the rest of the wall available for paint, art, or open shelving.
This height is a poor choice directly behind a busy range or sink unless the wall has another protective treatment. The exposed paint may look calm on move-in day, then collect splashes where cleaning becomes annoying.
Fill the Working Gap Under Uppers
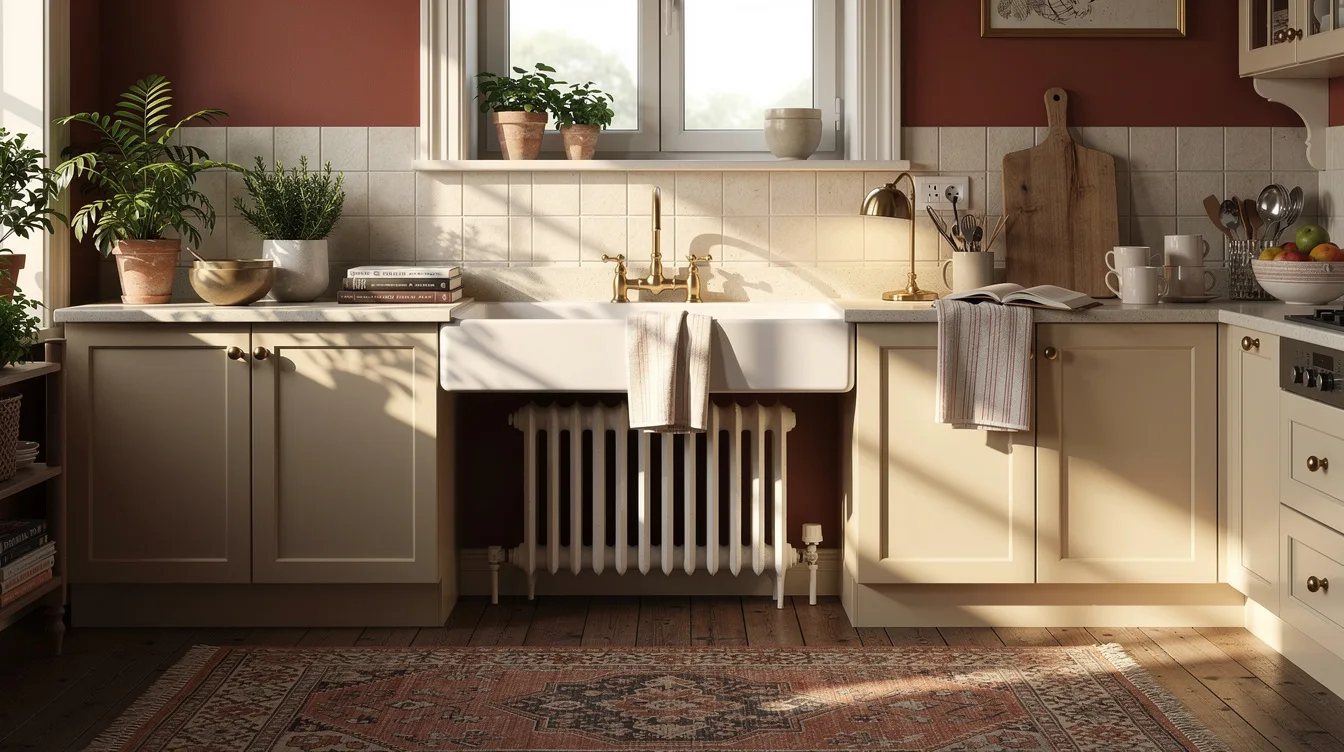
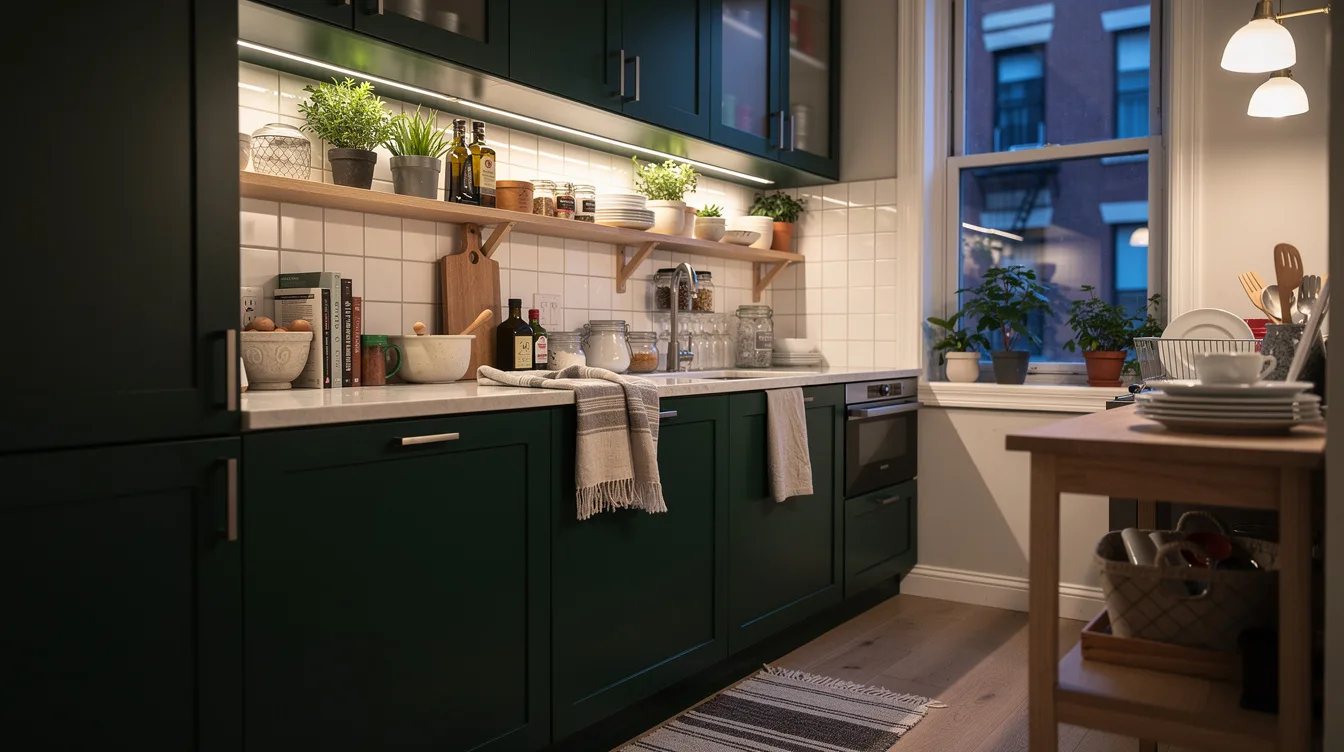
The standard cabinet-height backsplash is the most dependable choice for a kitchen with regular upper cabinets. It fills the space between counter and cabinet, protects the wall, and lets the room keep its existing proportions.
Use the actual underside as the stopping point for glossy white tile, even when the nominal height is about 18 inches. Gloss catches light across the run, so a crooked top edge will show quickly.
Add a Ledge Above a Cabinet-Free Run
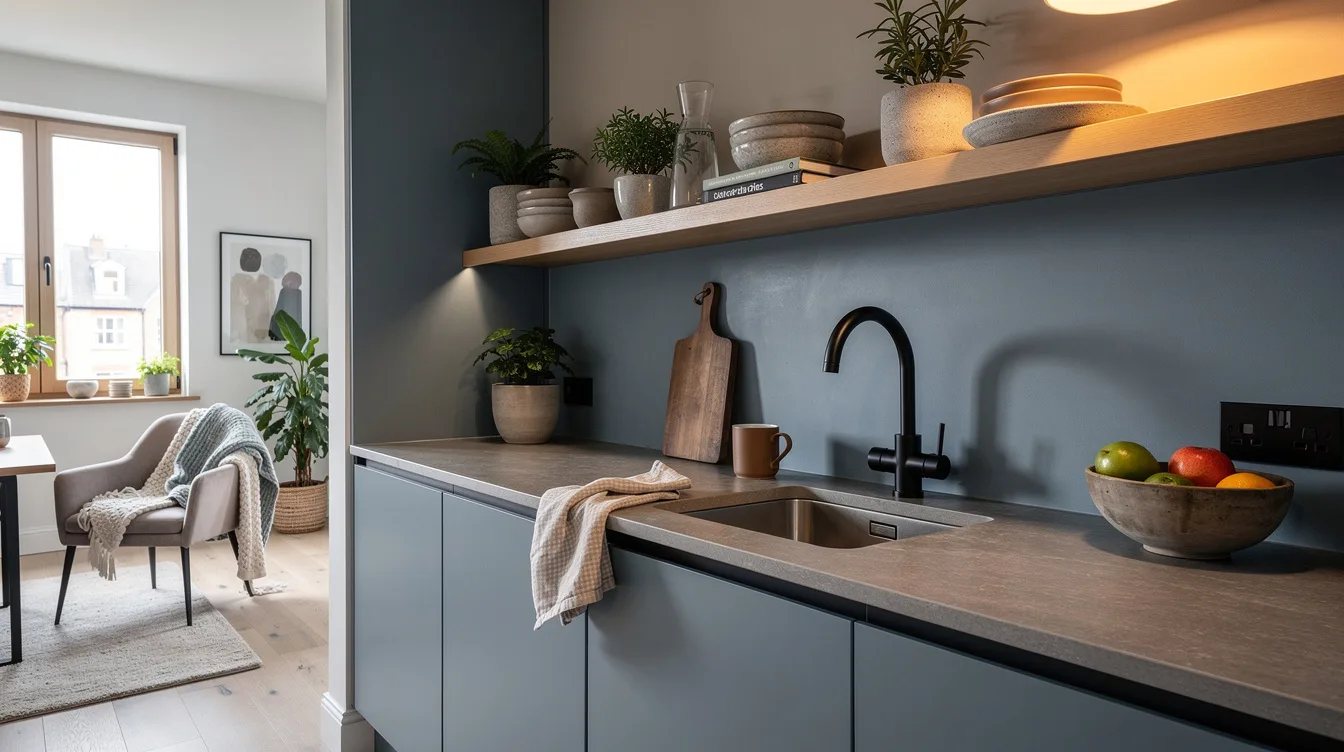
When a wall has no upper cabinets, stop the backsplash at a deliberate ledge rather than an arbitrary line. A matching stone ledge at about 18 to 24 inches above the counter gives the top edge a practical reason to exist.
This approach suits a coffee station, prep zone, or short stretch beside a window. The stone ledge can hold a small cutting board or a few everyday objects, while the painted wall above keeps the room from feeling over-tiled.
Take the Range Wall to the Hood
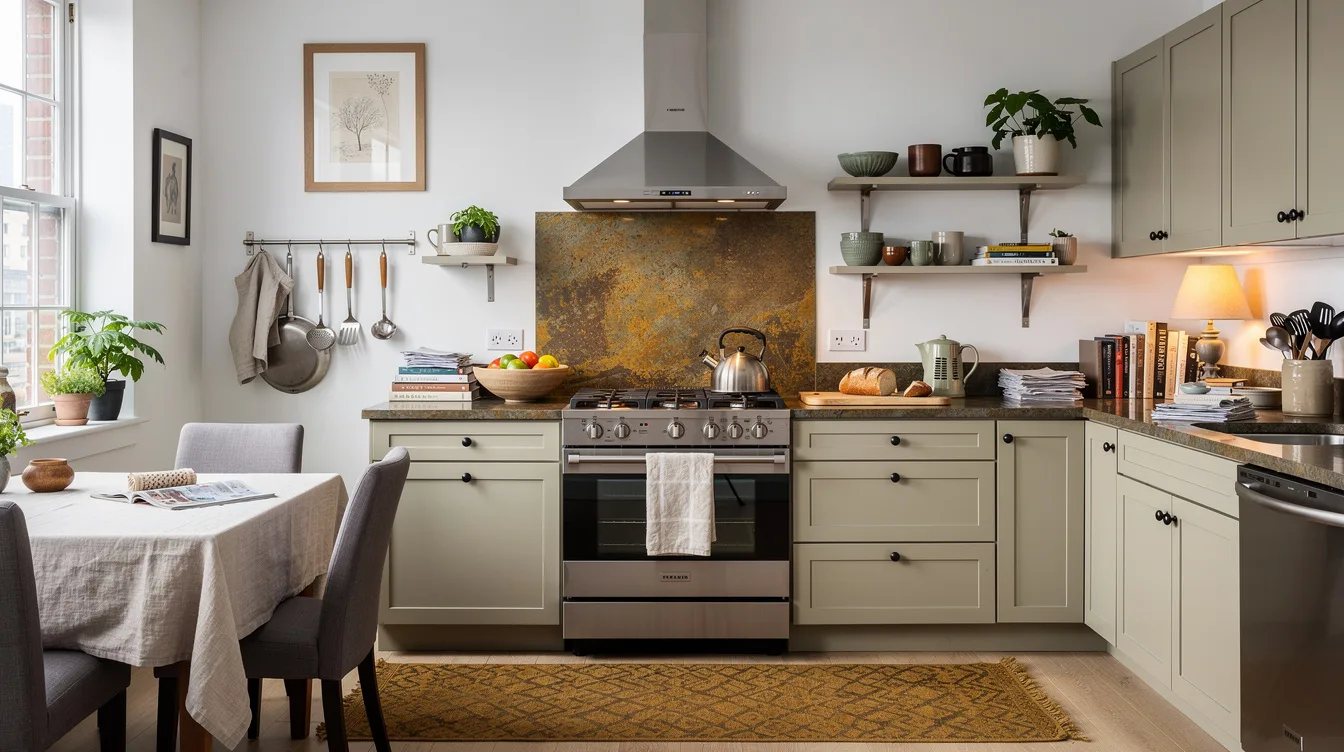
The range wall is where extra height earns its keep. Carry the backsplash to the underside of the hood so heat, steam, and cooking residue meet a surface designed for regular wiping.
Before setting the final endpoint, follow the appliance and hood manuals for required clearances. A tall field of porcelain tile can become the room's strongest visual anchor, but safety measurements come first.
Let an Open-Shelf Wall Meet the Ceiling
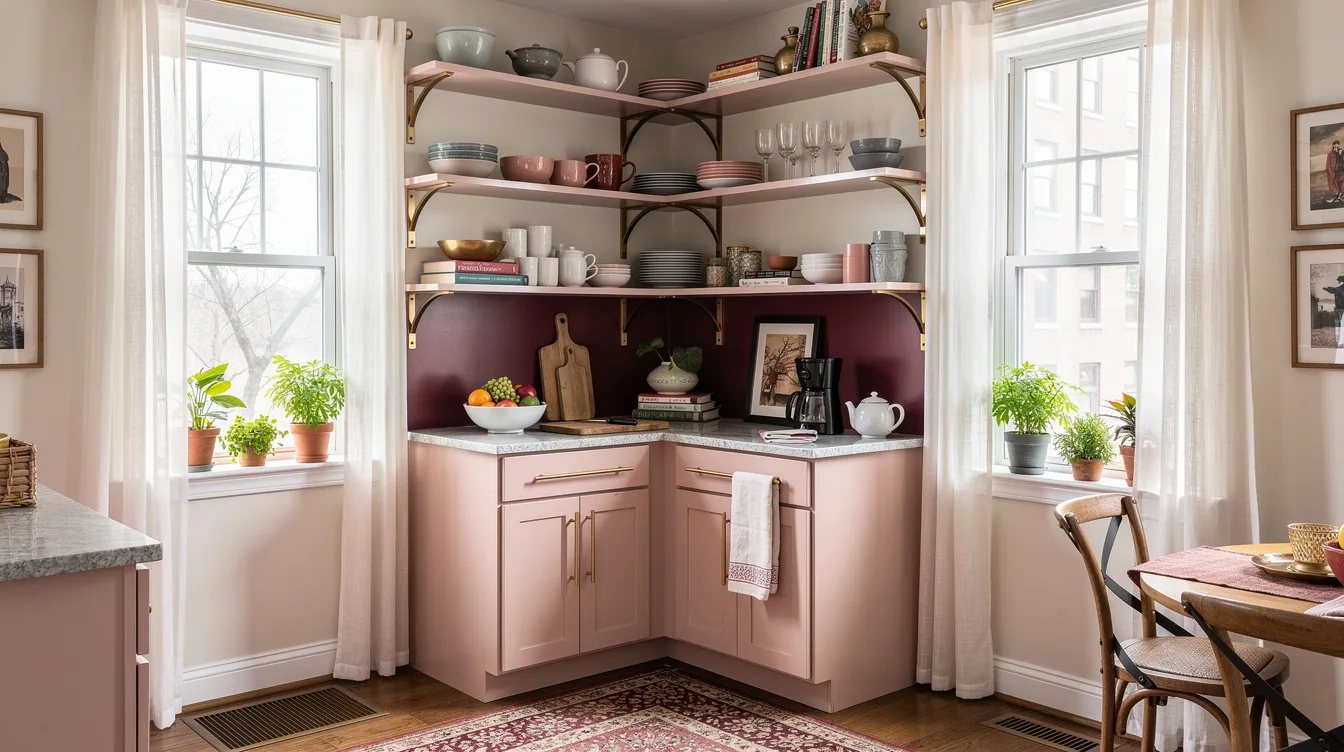
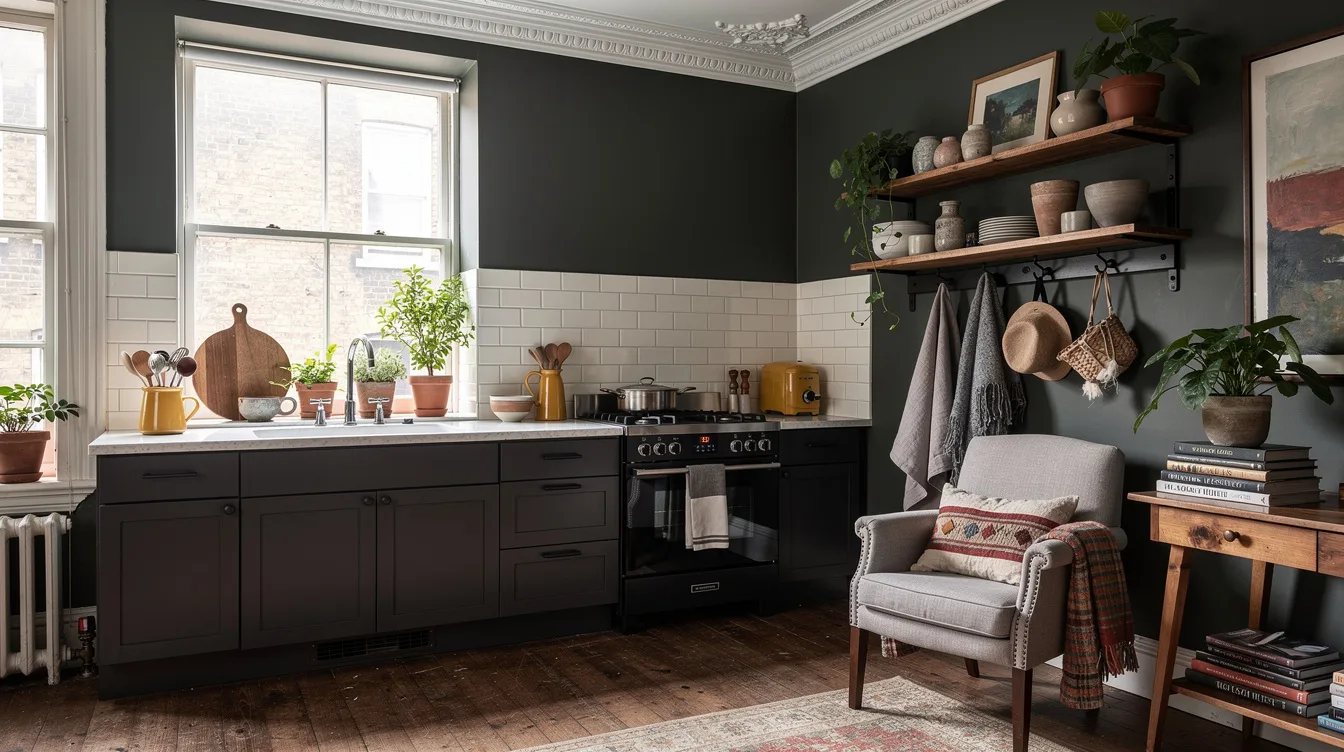
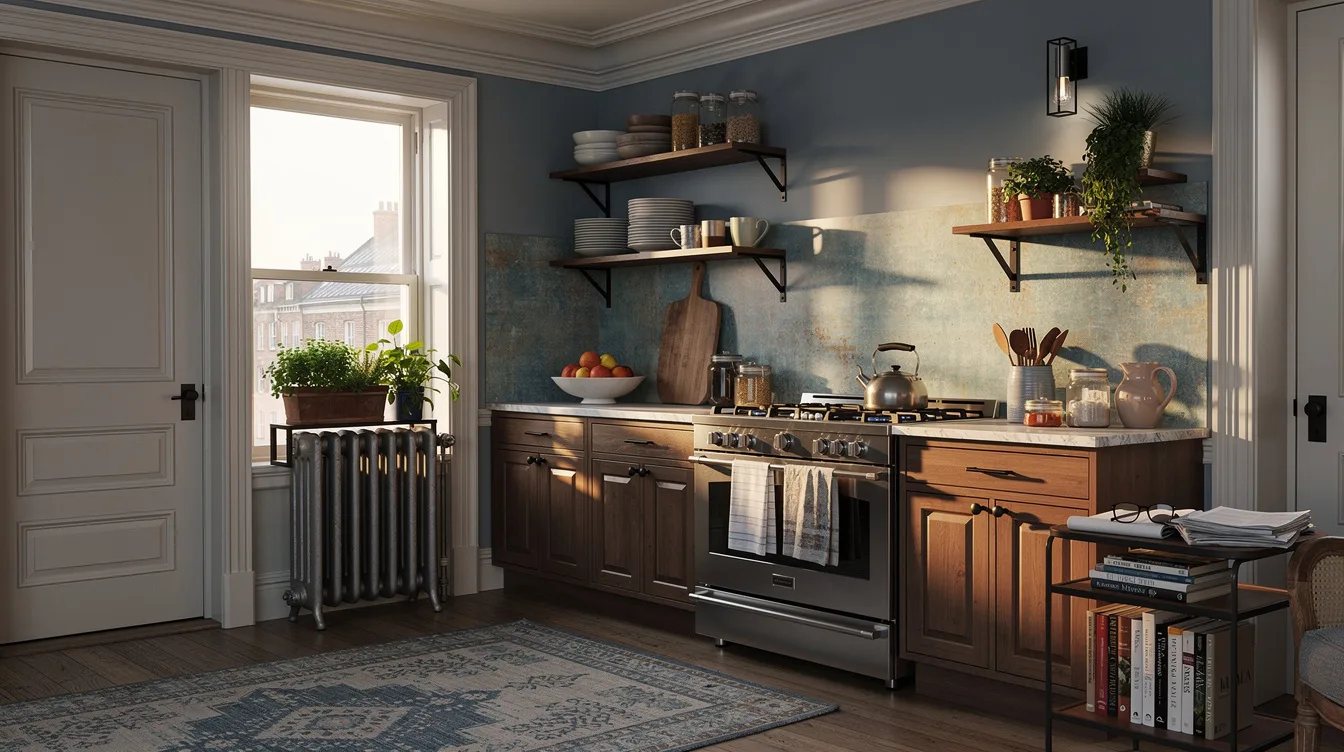
An open-shelf wall often needs a taller finish because there is no cabinet underside to stop the eye. Taking the backsplash to the ceiling makes the wall read as one intentional plane rather than a counter with an unfinished gap above it.
We would reserve this move for one focal wall, especially with handmade tile whose variation deserves room to show. Repeating the same height on every wall can make a small kitchen feel visually heavy.
Use the Room's Proportions Before Tiling
Look at the wall in relation to the ceiling before choosing a full-height finish. A typical 36-inch counter beneath an 8-foot ceiling leaves about 60 inches of wall, which is enough vertical space for a strong range-wall statement.
A tall marble slab can make that proportion feel intentional, while a short tile band may look stranded in the middle. Draw the elevation first, including the hood, shelves, outlets, and window trim.
Repeat One Tile Through Two Heights
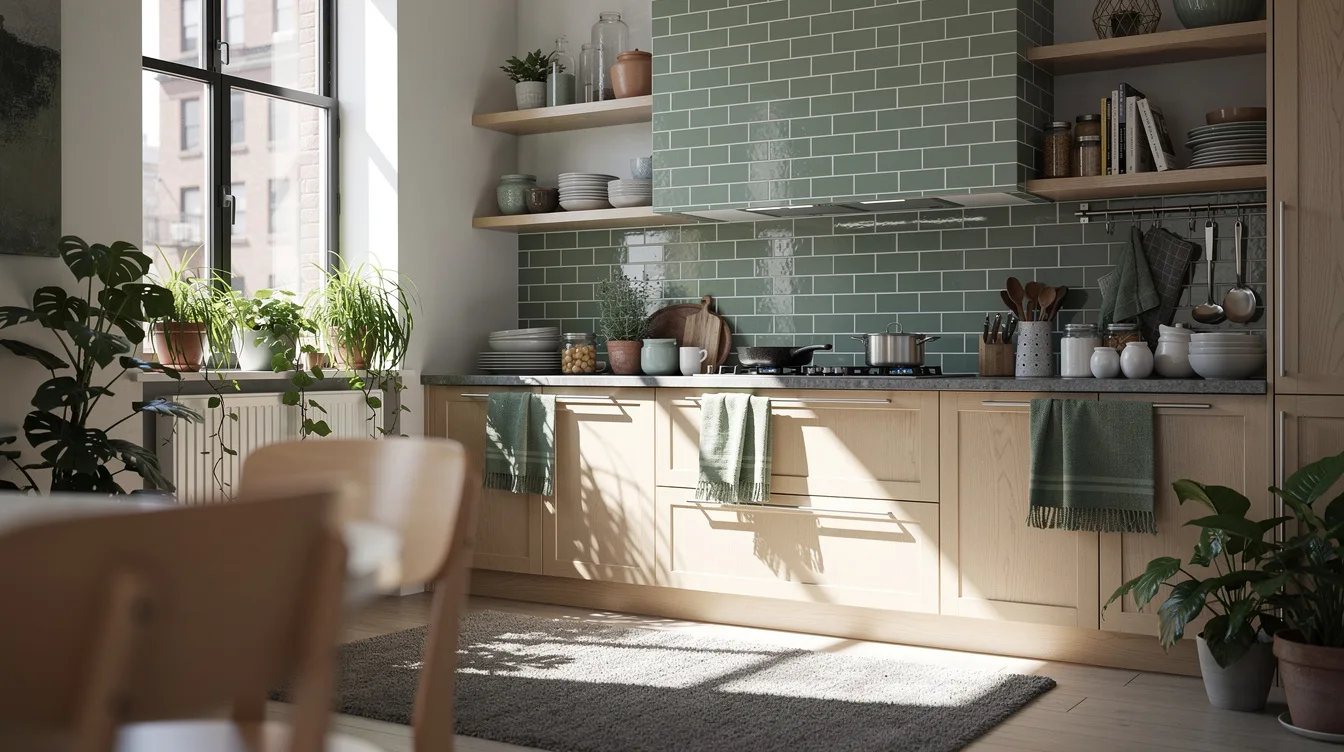
The most convincing height change often uses one material in two locations. Keep the backsplash at the cabinet underside on the main runs, then carry the same tile higher behind the range or along an open-shelf wall.
Using one subway tile keeps the transition calm while the different endpoint creates the focal area. The height supplies the drama, so a second pattern is usually unnecessary.
Price a Tall Run in Affordable Ceramic
Inexpensive ceramic tile can make a taller backsplash practical. A bright white glossy 3-by-6-inch tile sold through Home Depot was listed at about $1.20 per square foot, or roughly $15 for a case covering about 12.5 square feet.
A regional Northern Virginia installation benchmark places white subway tile at roughly $15 to $28 per square foot installed. That is a local example, but it shows why carrying an affordable tile to the hood can cost less than covering the entire kitchen in slab material.
Let Handmade Tile Stop at Cabinet Height
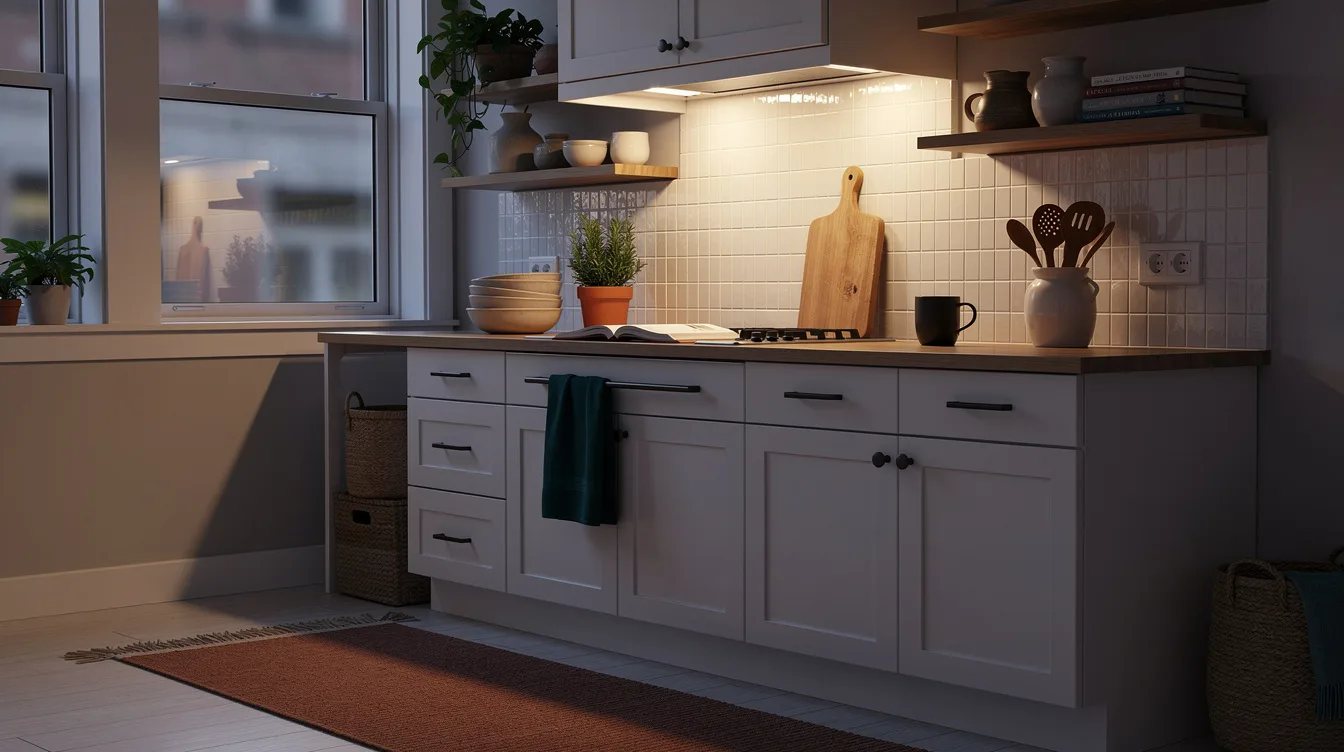
Handmade tile brings texture, so it does not need a full wall to make an impression. A 4-inch square zellige-style tile listed at around $19.85 per square foot gives a cabinet-height run enough variation to feel substantial.
Stopping at the upper cabinets keeps the material focused on the working zone and limits the square footage. With zellige tile, the irregular edges and changing sheen already create movement, so the height should stay disciplined.
Reserve Slab for the Visual Focal Point
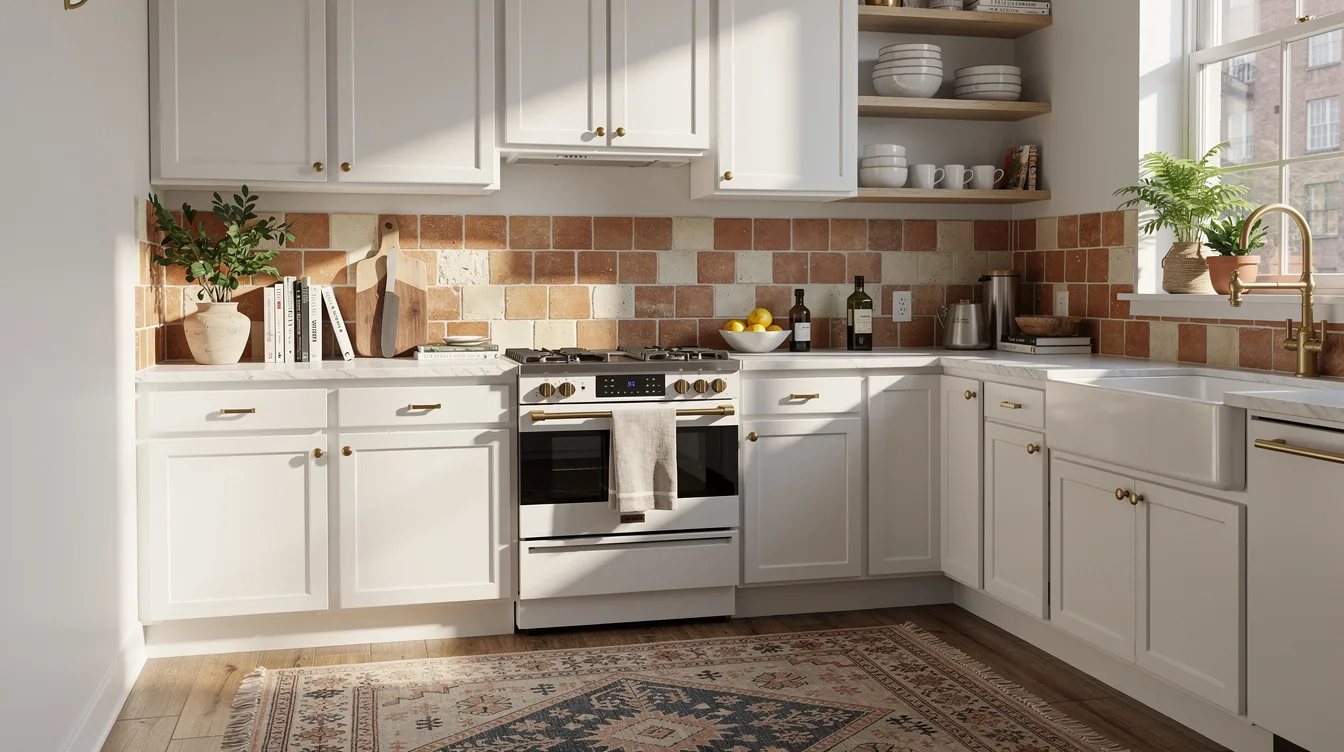
Running the countertop material up the wall creates the cleanest surface because there are no grout lines. A regional benchmark puts installed quartz slab at roughly $60 to $150 per square foot, while marble or quartzite can reach about $100 to $250.
For a full-height slab addition, the same regional example lands around $1,500 to $4,000. Using the slab only behind the range gives the room its strongest visual change without paying to cover every wall.
Protect the Budget for Prep and Cutouts
Tile quantity is only part of the backsplash budget. Removal, wall preparation, outlet cutouts, edge finishing, and fabrication can push the installed cost well beyond the material price.
A broad U.S. Benchmark places a professionally installed backsplash at about $480 to $1,500, with an average close to $1,000. Treat that as a whole-project guide, then ask for separate numbers for countertop stone, labor, demolition, and electrical cutouts.
Set the Endpoint Before Ordering Material
Choose the endpoint before ordering tile, stone, or trim. The best stopping points are visible and defensible: the cabinet underside, the hood, a ledge, the ceiling, or the edge of a window opening.
We mark those lines on the wall with painter's tape and review them from the doorway before committing. That simple test exposes awkward gaps around open shelving and prevents a beautiful material from ending in the wrong place.
Keep reading
- Rental Kitchen Looking Cheap? 13 Target Finds Make It Look Custom
- Small Kitchen Feeling Flat? 12 Color-Blocking Ideas Add a Custom Look
- Forget Anthropologie Prices: Target’s $30 Bedroom Finds Look Custom
Measure from the finished countertop to every real endpoint, then reserve the taller treatment for the range or open-shelf wall; that order keeps the visual payoff while protecting the budget.