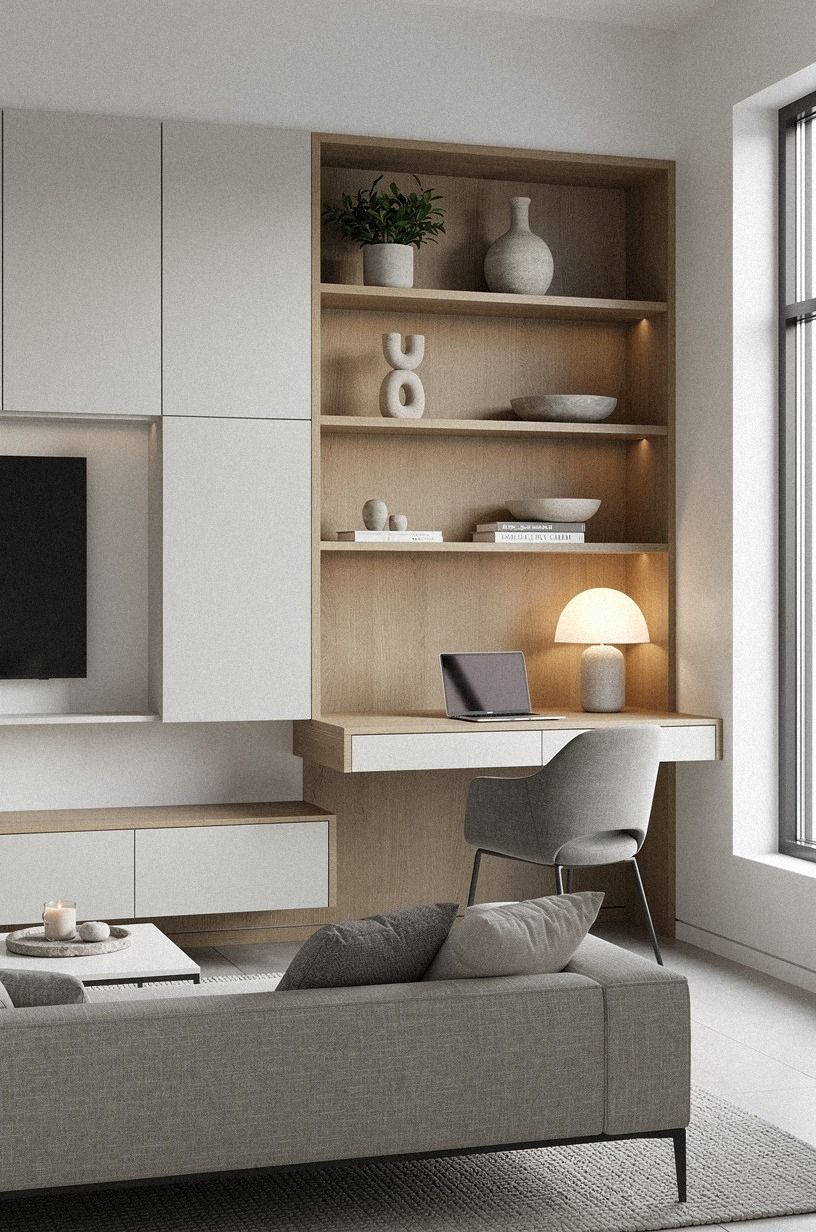
How to Build a Media Wall With a Built-In Desk for a WFH Corner - 17 Ideas
18 november 2026The short answer: a media wall with a built-in desk runs about $300 to $1,200 if you're hacking cabinets, and it's the only way I've found to get a TV and a real work surface on one wall without the room feeling like a cubicle. I spent two winters with a laptop on the coffee table. Never again.
- Start by measuring the wall before you buy a single board
- Anchor the layout with the desk, not the TV
- Build the base from cabinets, not from scratch
- Float a real wood top across the whole run
- Skip the wall-mounted TV bracket, at least at first
- Layer three heights of light: The Three-Source Rule
- Paint the back of the shelves a deeper color
- Hang a bookcase and tv unit combination that actually breathes
- Hide the cables before you love the setup
- Give the desk chair 36 inches of clearance
- Mix two woods, never three: The Two-Wood Rule
- Should the desk be the same height as the cabinets?
- Frame the whole wall with trim so it reads built-in
- Soften the hard edges with textiles
- Style the desk surface for the camera you're on
- Add a closed cabinet over an open shelf for the ugly stuff
- Live with it for two weeks before you drill the last holes
1Start by measuring the wall before you buy a single board
Pull the tape before you fall in love with anything. You want the full wall width, the ceiling height, and the distance from the wall to where your sofa sits, because TV distance should land around 1.5 to 2.5 times the screen diagonal.
A 65-inch screen wants roughly 8 to 13 feet of viewing distance. If your sofa is closer than that, you're building a headache.
Write the numbers on painter's tape and stick it to the wall. Sounds fussy. It isn't, and it's saved me from two returns.
I made the mistake of eyeballing a reclaimed weathered teak run once and ended up with a four-inch gap I had to trim out with quarter round. Measure the outlet heights too, because you'll want the desk surface to clear them.
2Anchor the layout with the desk, not the TV
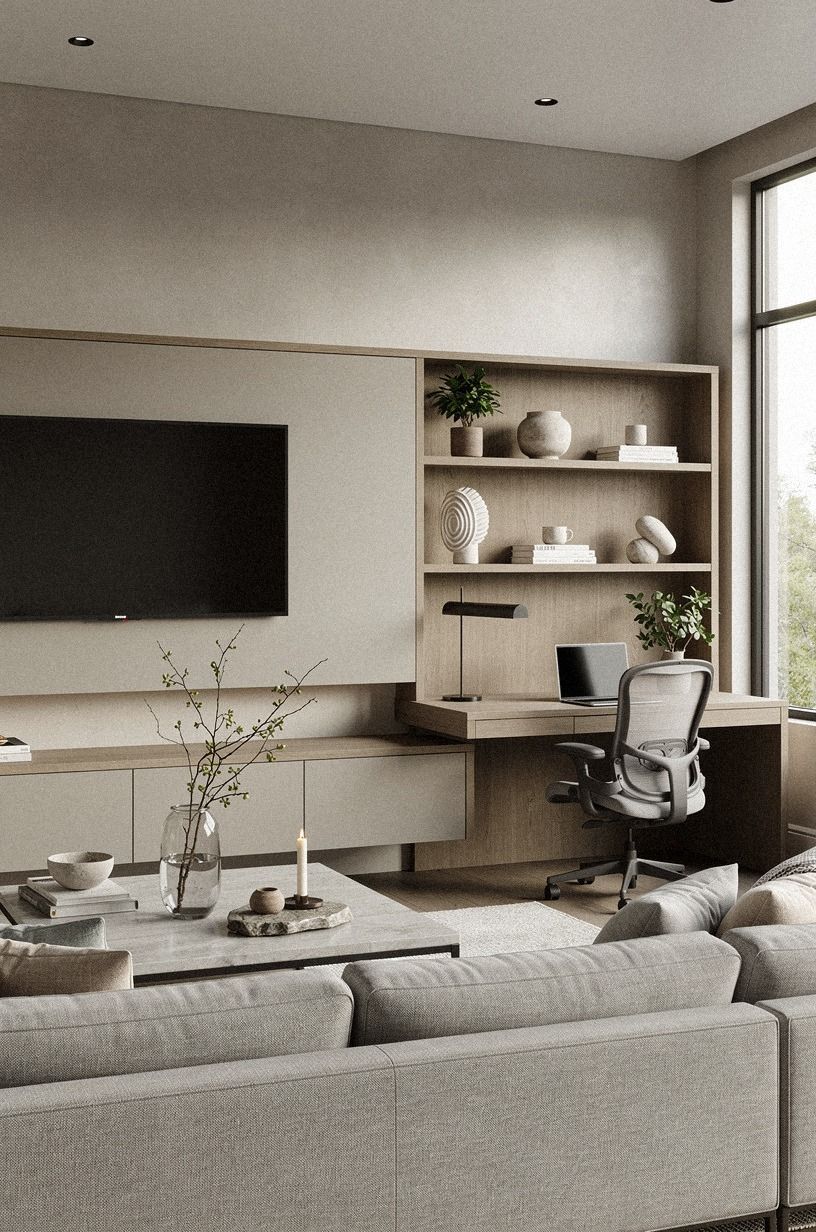
Here's the thing most people get backwards. They center the television, then squeeze the desk into whatever's left, and the desk ends up 28 inches wide and useless.
Do it the other way. Decide where you'll actually sit, give that spot 45 to 60 inches of surface, then build the media wall around it.
The desk is where you'll spend forty hours a week. The TV is where you'll spend six. Give the working zone the good wall, the one with natural light coming from the side rather than behind your monitor.
If you're rethinking the whole room's flow first, our living room layout guide walks through the seating math. And honestly?
The asymmetry looks better anyway. A perfectly centered entertainment wall reads showroom.
An off-center one reads like someone lives there.
3Build the base from cabinets, not from scratch
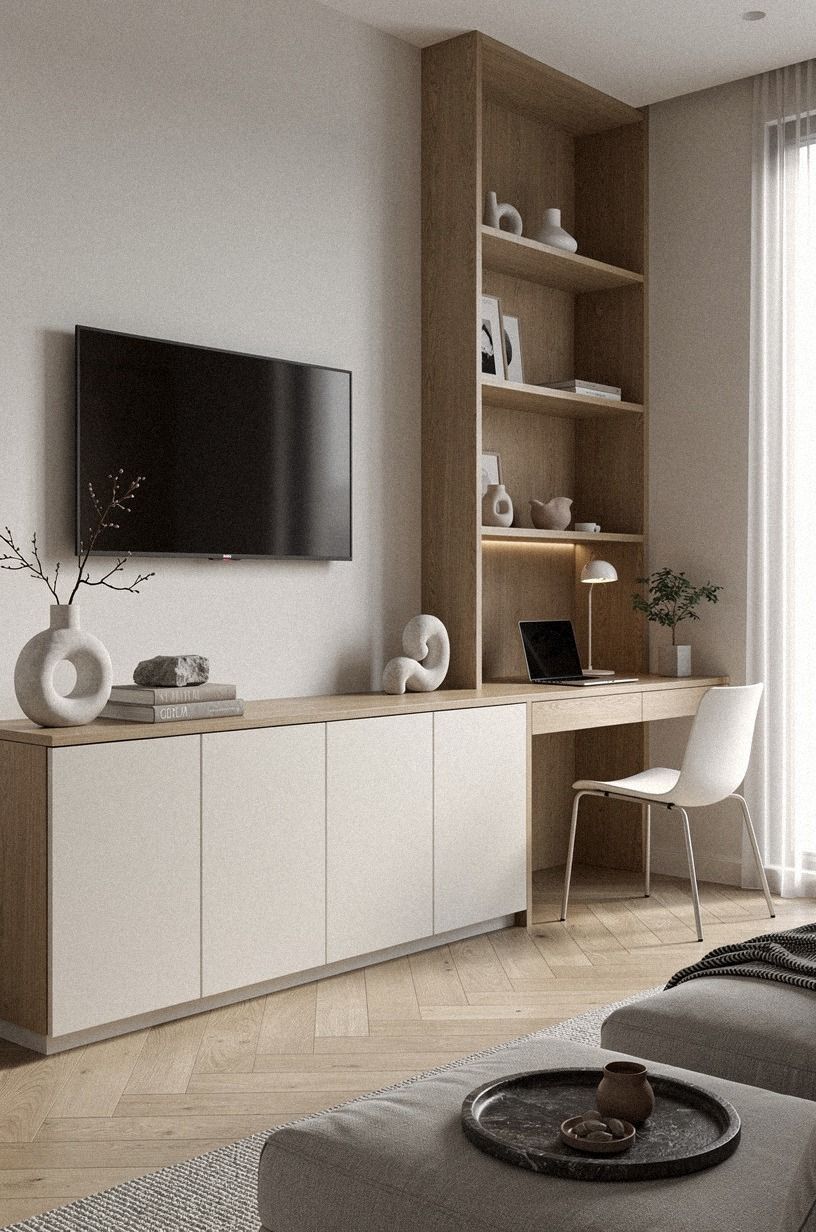
You don't need to be a cabinetmaker. A run of stock base cabinets gives you the built-in look for a fraction of custom millwork, and the whole thing takes a weekend instead of three. IKEA SEKTION boxes at 15 inches deep work well here, or BESTA if you want the shallower profile, and both take a solid wood top.
Level them first. Cabinets on an uneven floor will haunt you forever, so shim the low side until a four-foot level reads true across the whole run, then screw them together through the face frames before you attach anything to the wall. Skip the toe-kick trim if you're renting, since a floating base is easier to pull out later.
4Float a real wood top across the whole run
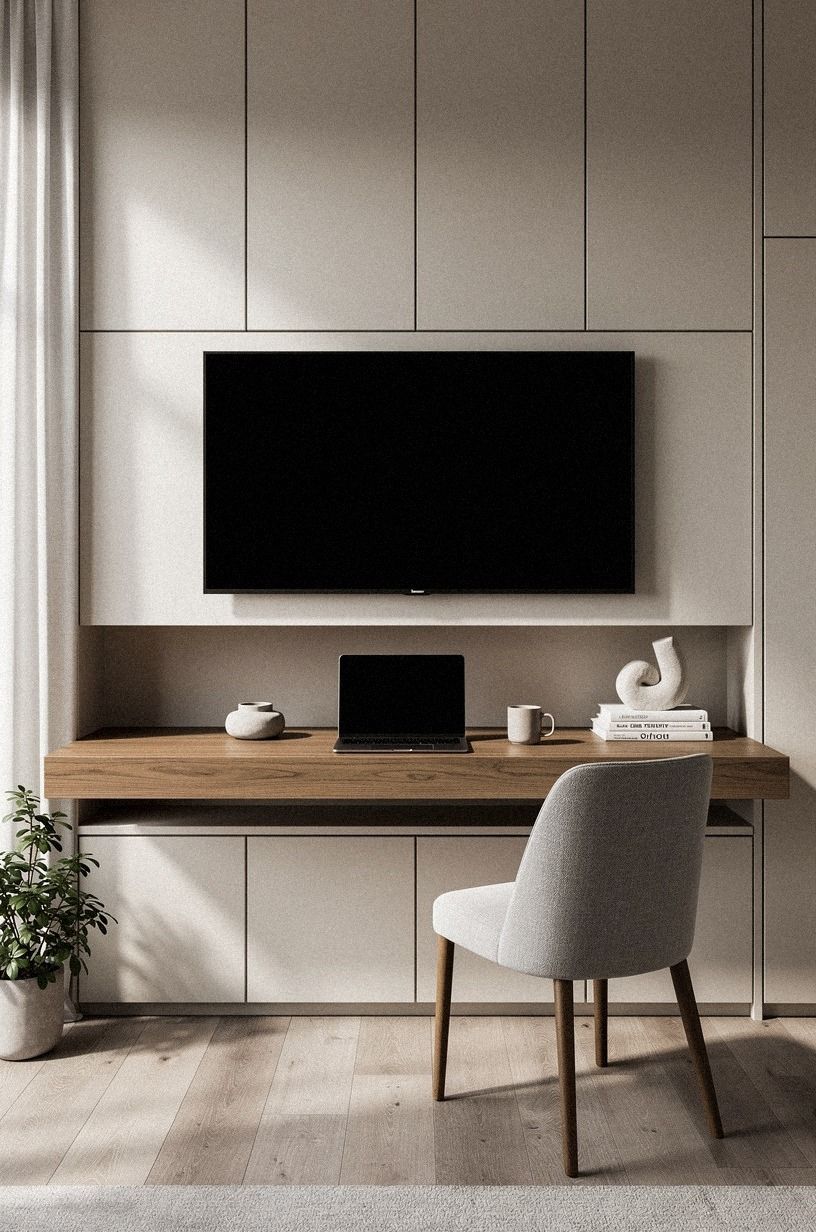
This is the part that sells it. One continuous slab, running from cabinet to cabinet and across the desk opening, is what makes a pile of boxes read as millwork.
Use 3/4-inch solid wood, edge-glued, and bring in shagreen accents rather than another heavy finish. Finish the top with hardwax oil rather than polyurethane so you can spot-repair scratches.
A 10-foot run of butcher block costs about $300 to $500 at most home centers. Cheaper than an oak coffee table, and it does more work.
Sand the front edge to a soft round, not a sharp square, because your forearms will thank you by month two. I ran a square edge on my first build and had a red line across my wrist for a week.
5Skip the wall-mounted TV bracket, at least at first
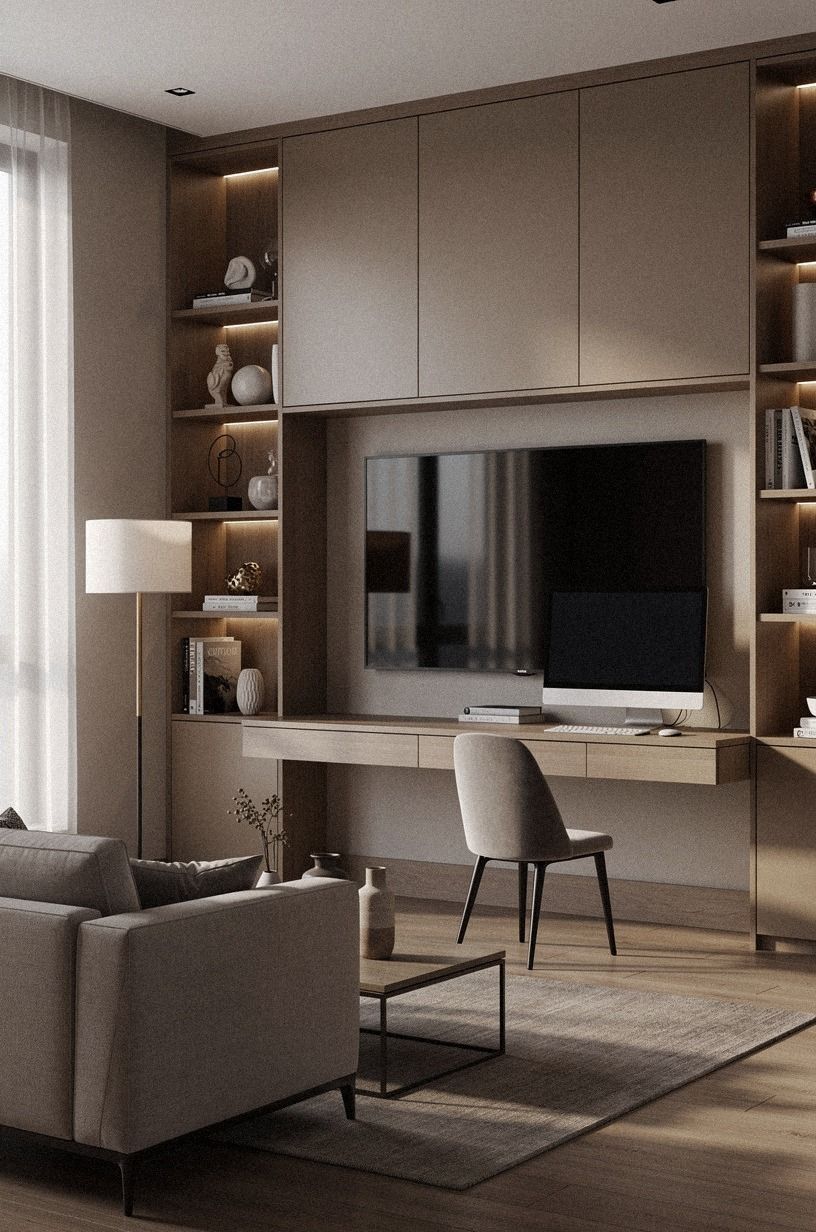
I'd skip mounting the TV flush to the wall on a fixed bracket. It's tidy, sure, but you lose every bit of adjustability, and in a corner setup you almost always want to swivel five degrees toward the sofa. A full-motion arm costs $60 to $120 and pays for itself the first time you rearrange.
Set the screen center around 42 inches from the floor if you're mostly watching from a sofa. Higher than that and you'll be craning. The exception: if the TV sits above the desk, raise it and tilt it down slightly, because you're now viewing from a chair rather than a lounging position.
6Layer three heights of light: The Three-Source Rule
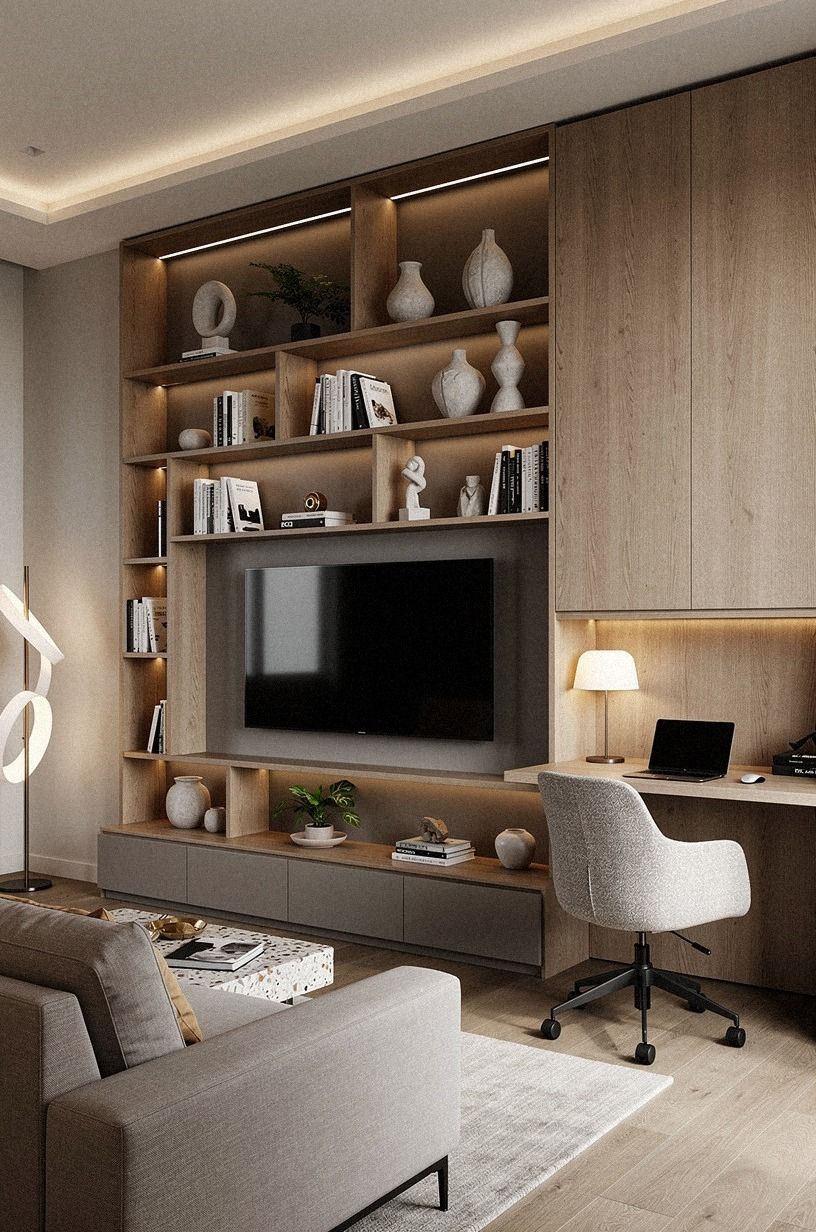
Ceiling light alone will make your desk zone feel like a break room.
7Paint the back of the shelves a deeper color
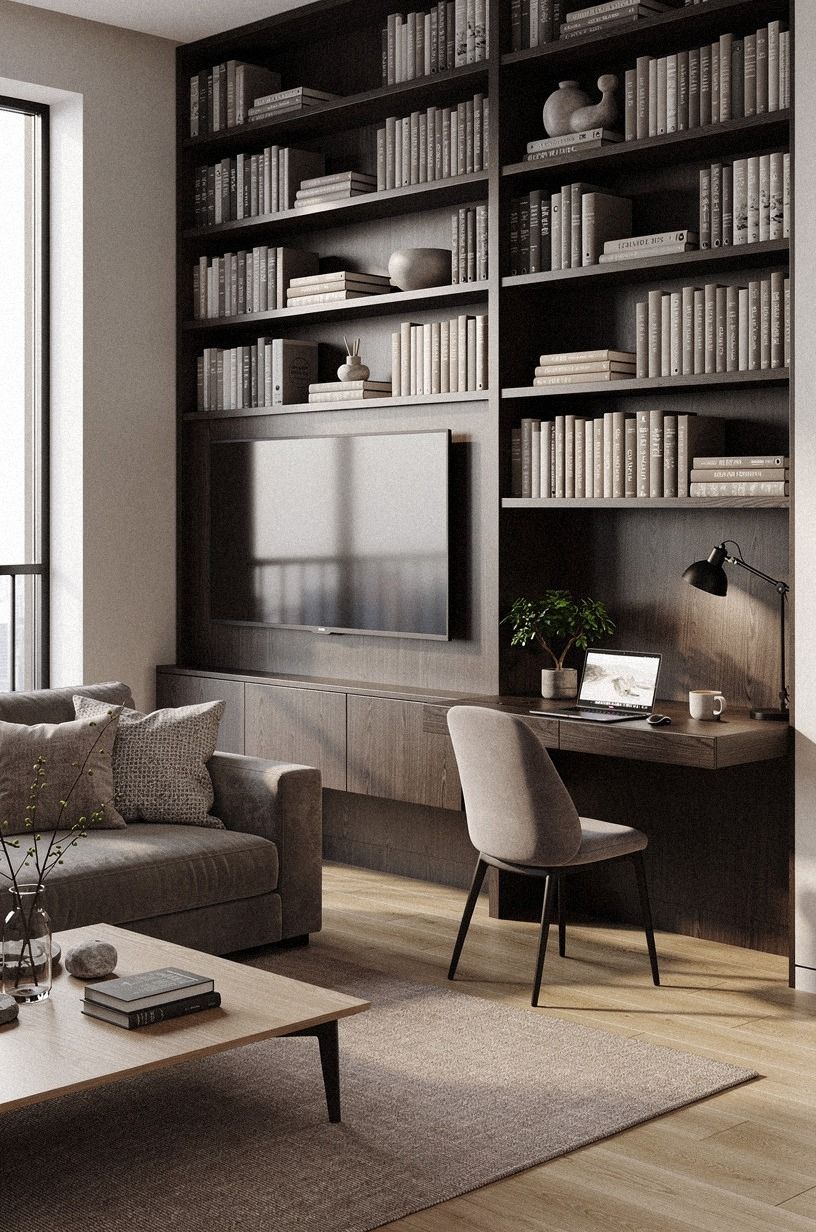
Here's where a media wall stops looking like storage and starts looking intentional. Paint the interior backs of your open shelving in a saturated tone while the boxes and trim stay light. The contrast makes objects pop and gives depth to what's otherwise a flat plane.
Forest green is my default for this in a north-facing room. It goes deep and moody in low light without going black. A rust-toned accent is the softer call if your room already leans warm.
Keep the cabinet fronts in natural oak and add unlacquered brass hardware so the back panels do all the talking.
8Hang a bookcase and tv unit combination that actually breathes
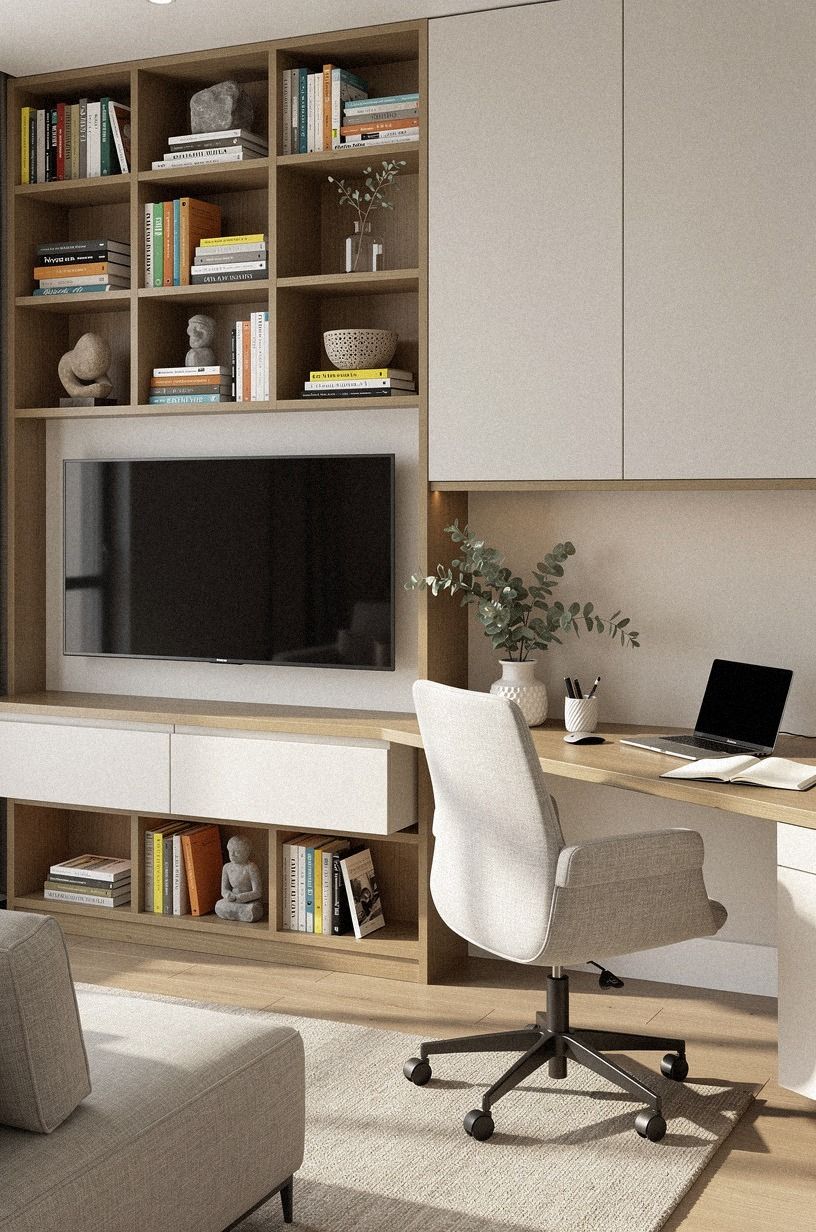
A built in bookcase and tv unit fails when every cubby is full. You need negative space, roughly a third of the shelf area left empty, or the whole wall reads as clutter and your eye has nowhere to rest.
Stack books horizontally in some spots and vertically in others. Add one object per shelf that isn't a book: a hand-thrown ceramic vessel, a small framed photo, a brass bookend.
Let a few shelves hold almost nothing. If you're styling the shelves themselves, our bookshelf styling guide breaks down the ratio in more detail.
The restraint is what makes it look designed rather than stuffed.
9Hide the cables before you love the setup
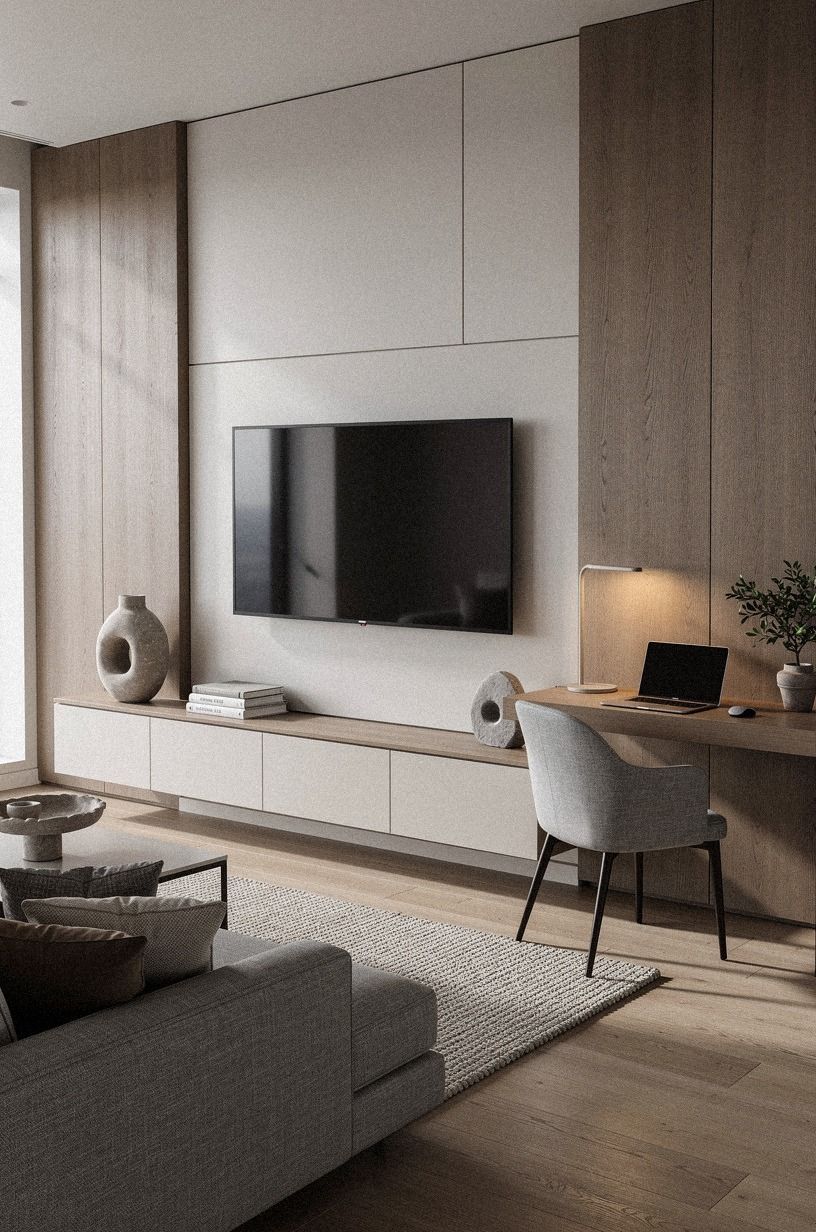
Do this now, not later. Nothing kills a media built ins moment faster than a cable snake, and the fix takes twenty minutes if you do it during the build and two hours if you do it after.
Drill 2-inch grommet holes through the back of each cabinet and the desk top, spaced roughly every 30 inches. Run a surge strip inside one cabinet and mount it to the side wall with two screws so it doesn't slide around.
Velcro ties, not zip ties, because you'll be swapping devices. A wall-mount cable raceway finished to blend with the wall handles the run up to the TV if you can't go in-wall.
10Give the desk chair 36 inches of clearance
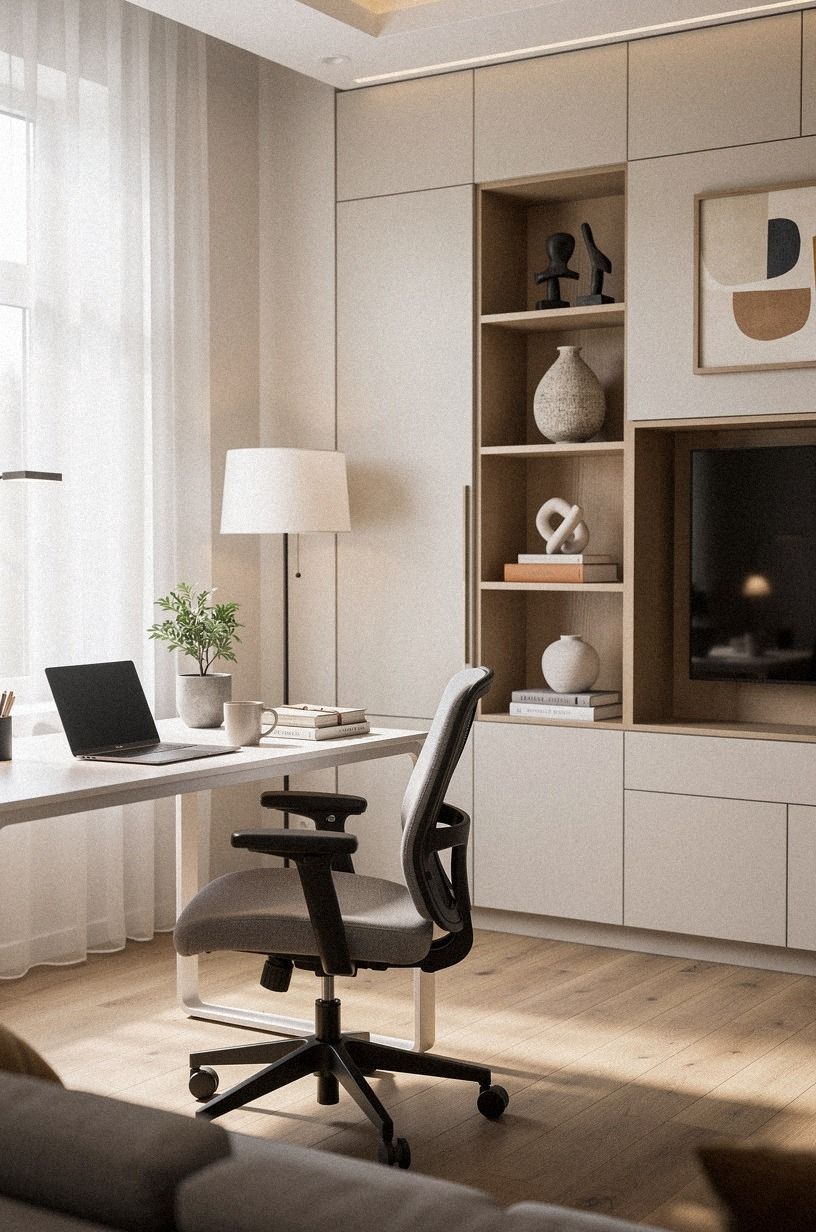
Measure behind the chair. You want 36 inches minimum from the desk edge to whatever's behind you, and 42 if there's a walkway. Anything tighter and you'll be doing the sideways shuffle every time you get up, which sounds minor until you do it eight times a day.
This is also why the corner placement works. You borrow circulation space from the room instead of carving a dedicated office out of it.
A reclaimed weathered teak chair at the desk keeps things visually light and pulls double duty when you have people over. Bulky task chairs read office; a lighter frame keeps the living room reading like a living room.
11Mix two woods, never three: The Two-Wood Rule
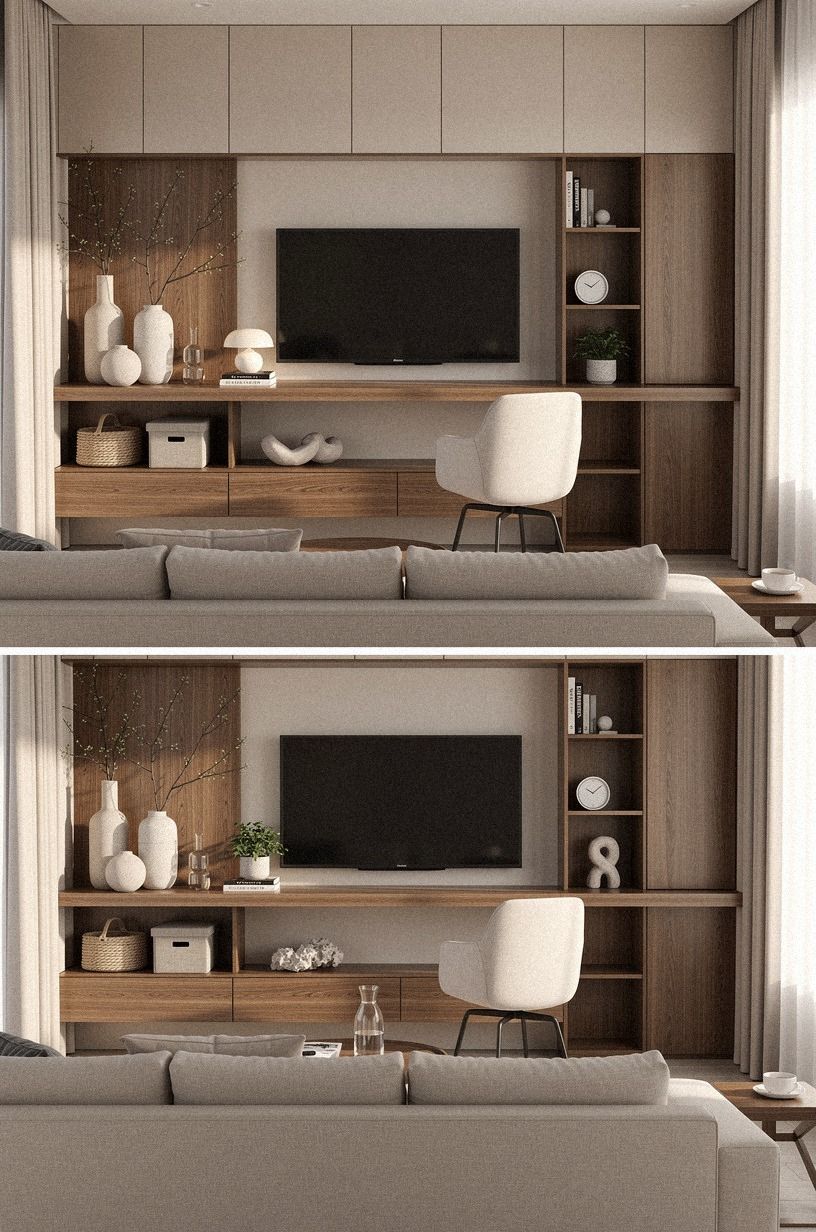
Two wood tones look collected. Three look accidental. Pick your desk top and cabinet finish as the primary pair, then let everything else in the room echo one of them.
Natural wood on the top with a painted base is the easiest version, since paint counts as a neutral rather than a third wood. Bring in washed Belgian linen for warmth and texture, and keep the desk in the same natural-wood family. What you don't want is a pale wood top, dark shelves, and a cherry-toned media console fighting for attention on the same wall.
I did that once. It looked like a furniture showroom clearance sale.
12Should the desk be the same height as the cabinets?
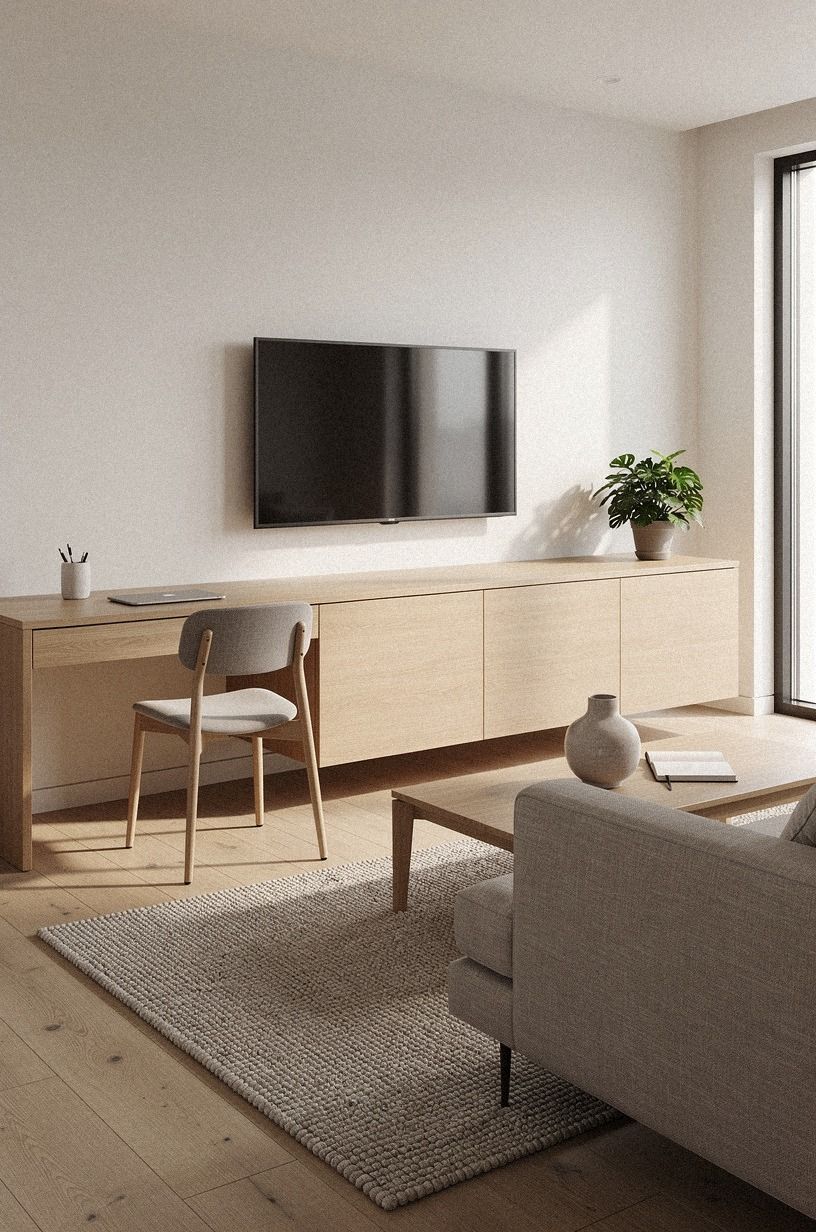
No, and this is where most builds go wrong. Standard counter height is 36 inches, which is fine for a bar and terrible for typing. Desk height should land at 29 to 30 inches, so you'll need to step the top down or build the desk section on shorter boxes.
The step-down is a feature, not a compromise. It breaks up a long horizontal run and gives your eye somewhere to land.
Use a lower cabinet or a simple apron with two legs for the desk section, and keep the top material continuous across the transition so it still reads as one piece. A simple cerused white oak support on the outboard side holds a surprising amount.
13Frame the whole wall with trim so it reads built-in
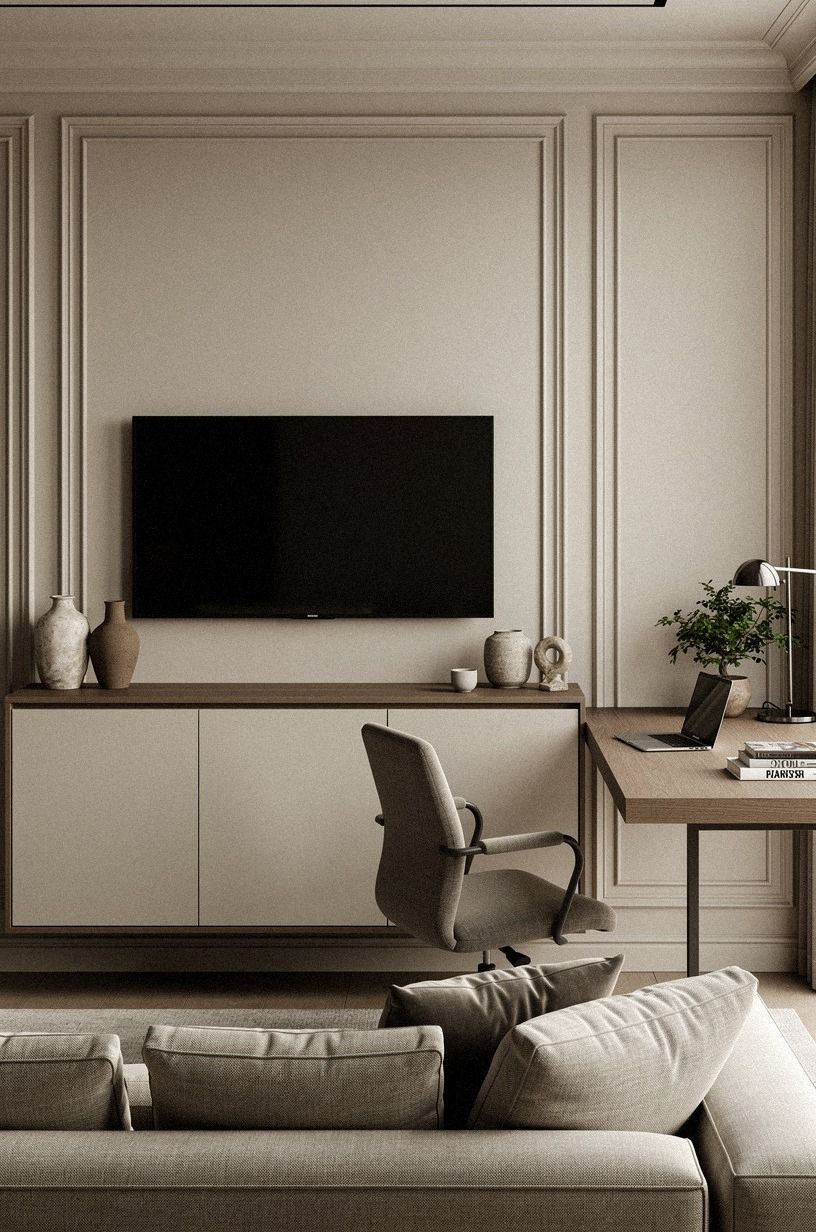
The gap between cabinet and ceiling is what gives away flat-pack furniture.
14Soften the hard edges with textiles
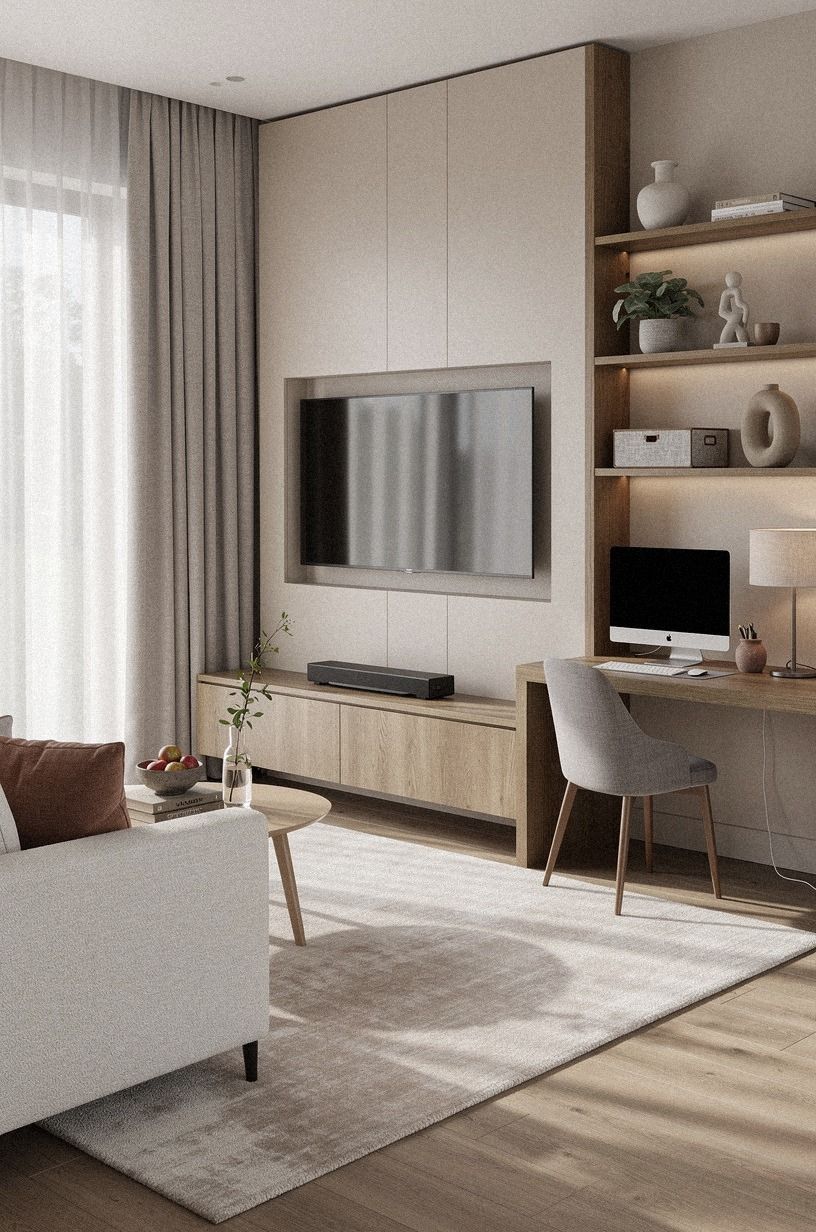
A wall of wood and screens gets hard fast. You need something that absorbs sound and light, or the corner will feel brittle every afternoon.
Book-matched walnut on the wall gives the corner a richer anchor. Add a deep-pile mohair velvet cushion to the desk chair and a rug underneath to soften the floor.
One throw over the chair back if you want it softer without buying anything new. Textiles are also the cheapest way to make the workspace stop feeling like work at six o'clock.
15Style the desk surface for the camera you're on
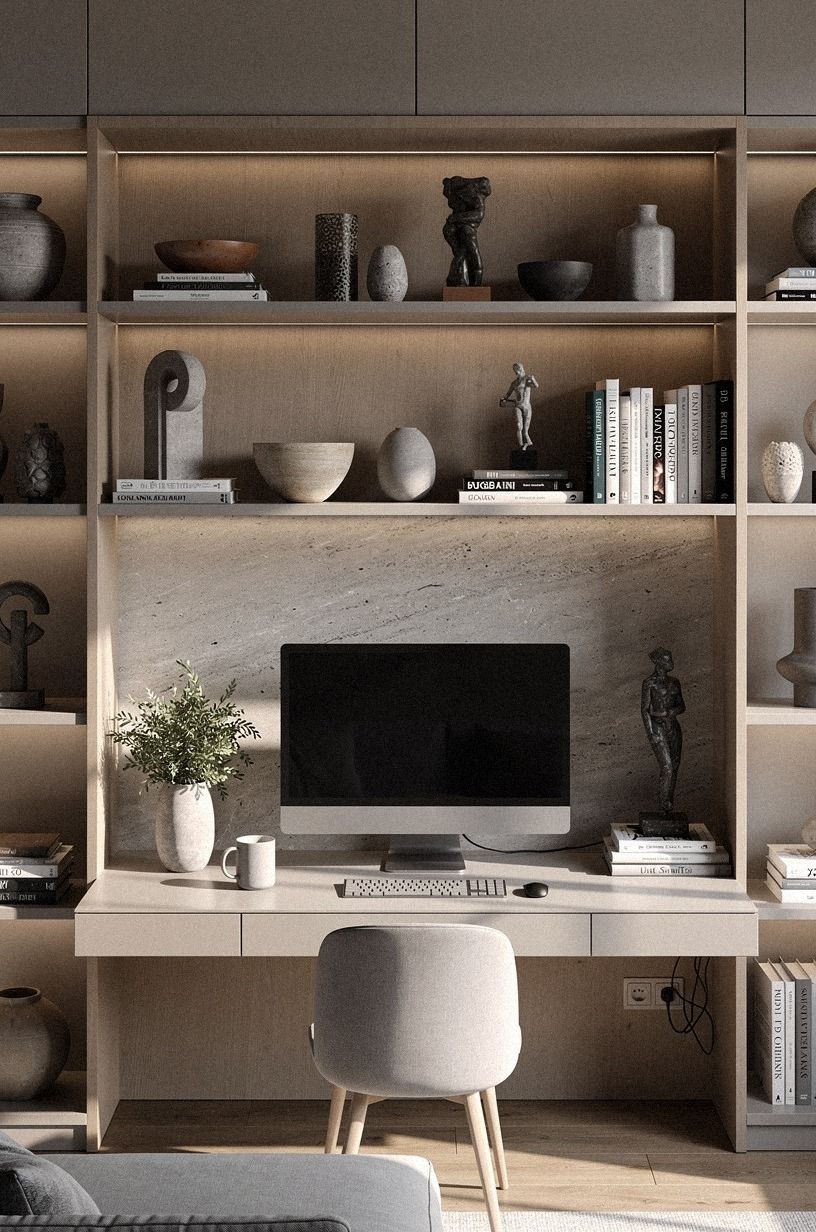
You're on video calls. What's behind you matters, but so does what's beside you. Keep the desk surface to three things maximum when you're not working: a lamp, a plant, one stack of books.
Everything else goes in a drawer or a lidded box. An organic bouclé basket on the bottom shelf swallows chargers, notebooks, and the mail pile in one move.
The plant should be real if you can keep it alive, because a fake fiddle leaf looks instantly artificial during a call. A snake plant survives a corner with mediocre light, which is exactly what most desk zones have.
16Add a closed cabinet over an open shelf for the ugly stuff
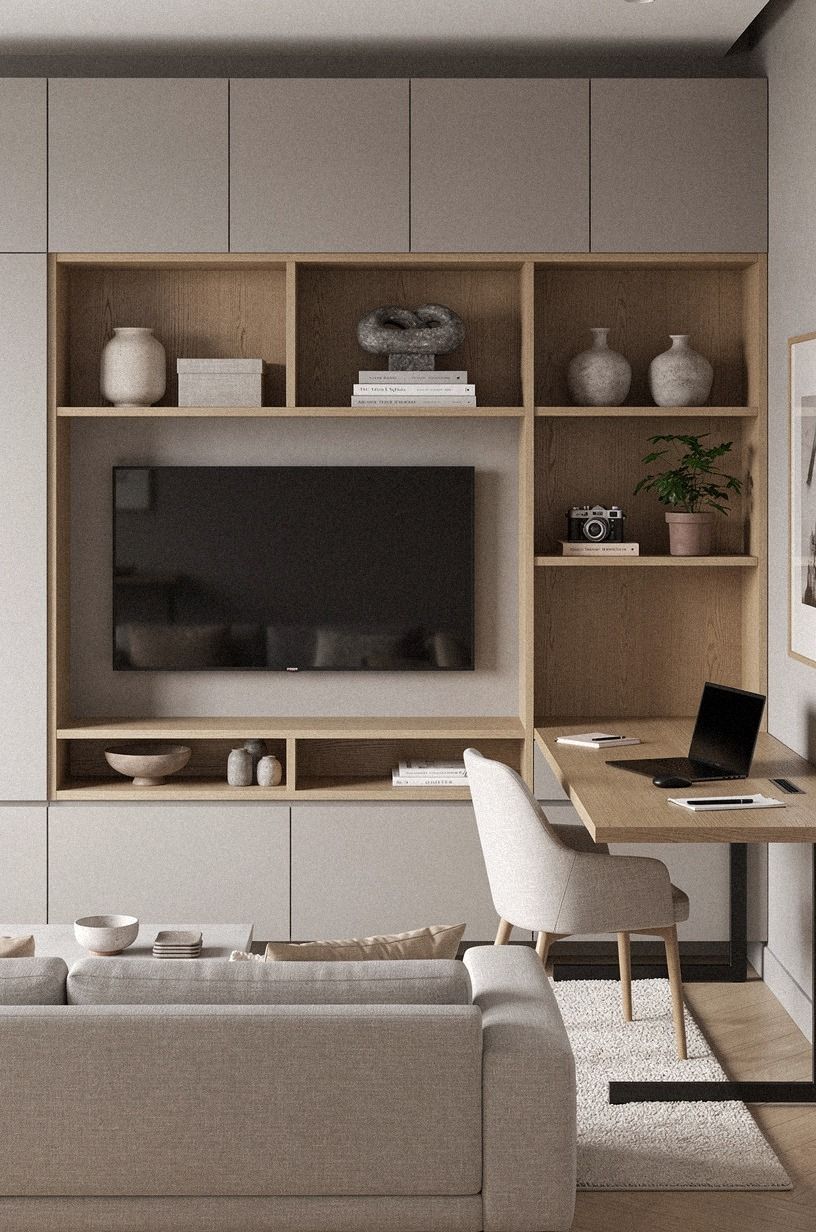
Open shelving everywhere is a trap. You need at least two closed doors on this wall, minimum, or the printer and the router and the box of cables will end up somewhere visible.
Put the closed storage low and to one side, so the eye reads open shelving at eye level and solid mass below. Slab-front doors in a matte finish disappear better than shaker if you want the wall to feel modern.
A shallow pull-out tray behind one door holds the router at the right height for the cable run. Boring?
Yes. But it's the difference between a wall you keep tidy and one you give up on by March.
17Live with it for two weeks before you drill the last holes
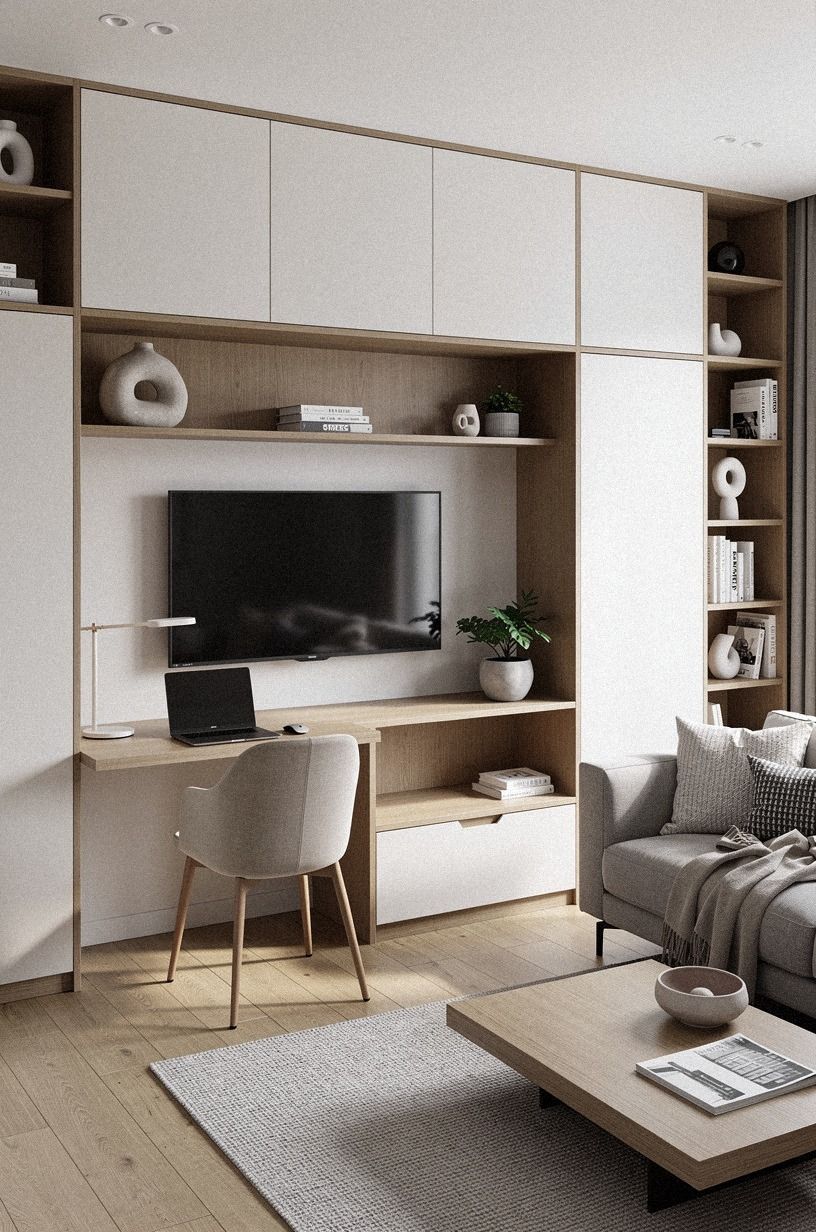
Don't finalize the shelf pin heights or the monitor arm position until you've worked at the desk for ten business days. You'll discover you need more clearance above the desk than you thought, or that the shelf you planned for books is where the printer wants to live.
Leave the top two shelves adjustable. Use shelf pins rather than fixed cleats on that section, since a $6 bag of pins buys you a year of second-guessing.
I moved my monitor shelf twice in the first month and I'd do it again. The build that works is the one you adjusted after using it, not the one you got perfect on paper.
What this actually costs
Here's the honest math for a living room, since a media wall with a desk sits somewhere between a furniture purchase and a renovation. Most people land in the budget or mid tier and get most of the effect.
And for the individual pieces around it, so you know where the money goes:
The cabinet-tip version of this build sits at the low end of the budget tier if you already own the TV. Custom millwork for the same wall starts around the high tier and climbs fast.
Why the work-from-home wall finally makes sense
I resisted this build for years. A desk in the living room felt like a failure of zoning, like admitting the house didn't have room for a proper office, and I kept telling myself I'd carve out the spare bedroom eventually. Then I spent two winters working from the sofa with a laptop burning a square into my thigh, and I got over it.
Here's what changed my mind. The old objection to a living room desk was that it made the room feel like an office, and that was true when the only option was a metal desk shoved against a wall with a task chair in front of it.
But when the desk is part of the architecture, when it shares a wood top and a paint color with the media wall around it, your eye stops registering it as furniture. It reads as a countertop.
Nobody walks into a kitchen and thinks the counter looks industrial.
The other thing I got wrong was the sequencing. I thought I needed to solve the whole room before I solved the wall, so I spent a season pricing sofas and rugs and doing nothing.
Wrong order. The wall is the fixed element. Everything else in a living room moves, gets replaced, gets reupholstered, but a built-in stays for a decade.
Build the permanent thing first and let the movable things arrange themselves around it.
And I'd push back on one piece of common advice, which is that you should hide the desk when you're not using it. Fold-down surfaces, cabinet doors that close over the workspace, all of it.
I've tried it and I stopped, because the friction of setting up every morning is enough to send you back to the sofa. A desk you have to unfold is a desk you won't use.
Leave it out, style it so it looks good empty, and let it be part of the room.
The version of this I'd build again, given everything: cabinet bases, one continuous oak top, dark paint behind the shelves, and three light sources. Under $1,000, one weekend, and it's the single change that made the house feel like it worked.
What People Always Want to Know
What is the best media wall with a built-in desk setup for a small living room?
Go shallow. A 15-inch deep IKEA BESTA run with a floating top gives you the built-in look without eating floor space, and the desk section can be as narrow as 45 inches.
The payoff is a real work surface that doesn't shrink the room. Skip anything 24 inches deep.
Where can I buy media wall pieces on a budget?
IKEA for the cabinet boxes, Wayfair for the top and hardware, Target for baskets and lamps. The best value is usually secondhand: check Facebook Marketplace for discontinued BESTA and SEKTION runs, which people sell cheap when they move. A butcher block top from a home center beats custom every time.
How much does a media wall with a built-in desk cost?
Expect about $300 to $1,200 for the cabinet-tip version, depending on the top and how many boxes you need. Paint and styling are basically free if you've got leftover cans. Custom millwork for the same wall runs several thousand, which is a different project entirely.
Can I build a media wall on a budget?
Yes, and here's how. Use cabinets you already own as the base.
Paint the backs of existing shelving instead of buying new ones. Swap the desk lamp bulbs to 2700K, which costs about $12 and changes the whole feel of the corner after dark.
Our budget living room guide has more.
Is a media wall with a built-in desk worth it in a small space?
More than in a big one. Small rooms benefit most from one wall doing three jobs, since you're not spending floor area on a separate desk. Keep the depth under 16 inches and run the unit wall to wall so it reads as architecture, not as furniture crowding the room.
Is this a good idea for a rental?
Yes, with swaps. Use freestanding cabinets instead of anchoring to studs, a peel-and-stick wallpaper panel behind the shelves rather than paint, and a floating top that rests on the boxes without screws.
Command strips handle the cable raceway. Everything comes out in an afternoon.
How long does the whole build take?
A weekend for the cabinet version, if you've got the pieces on hand. Day one is leveling and assembly, day two is the top and the trim. The trim is what takes the longest and it's also what makes it look built-in, so don't rush it.
The Step I'd Do First
If I had to pick one step, I'd start with the continuous wood top. It's the piece that turns three separate boxes into one built-in, and until it's on, nothing else you do to that wall will read as intentional. Everything after it gets easier.