Exposed Wire Shelves? These 14 Home Depot Upgrades Look Custom
09 october 2026A single wire shelf can make a carefully organized closet feel temporary, especially when its bright grid catches every hanger and storage bin. ClosetMaid wire-to-wood upgrades sold at Home Depot and Lowe's offer a cleaner direction, but the result depends on more than swapping one board for another.
The strongest closets use wood where the eye lands, wire where airflow matters, and hardware that can handle the load. These are the mistakes designers want removed before the first bracket comes down.
What you will find inside
- Stop Leaving Wire Shelves Fully Exposed
- Measure Around Every Bracket
- Match the Wood to the Closet Trim
- Seal Every Cut Edge
- Anchor the Upgrade Into Framing
- Keep Shelf Depths Consistent
- Break Up Long Horizontal Runs
- Vary Spacing for Real Clothing
- Plan the Rod-to-Shelf Transition
- Respect the Shelf’s Load Limit
- Hide Wire Only Where It Helps
- Skip the Glossy Wood Finish
- Coordinate Baskets With the New Shelves
- Finish With Light and Clear Zones
Stop Leaving Wire Shelves Fully Exposed
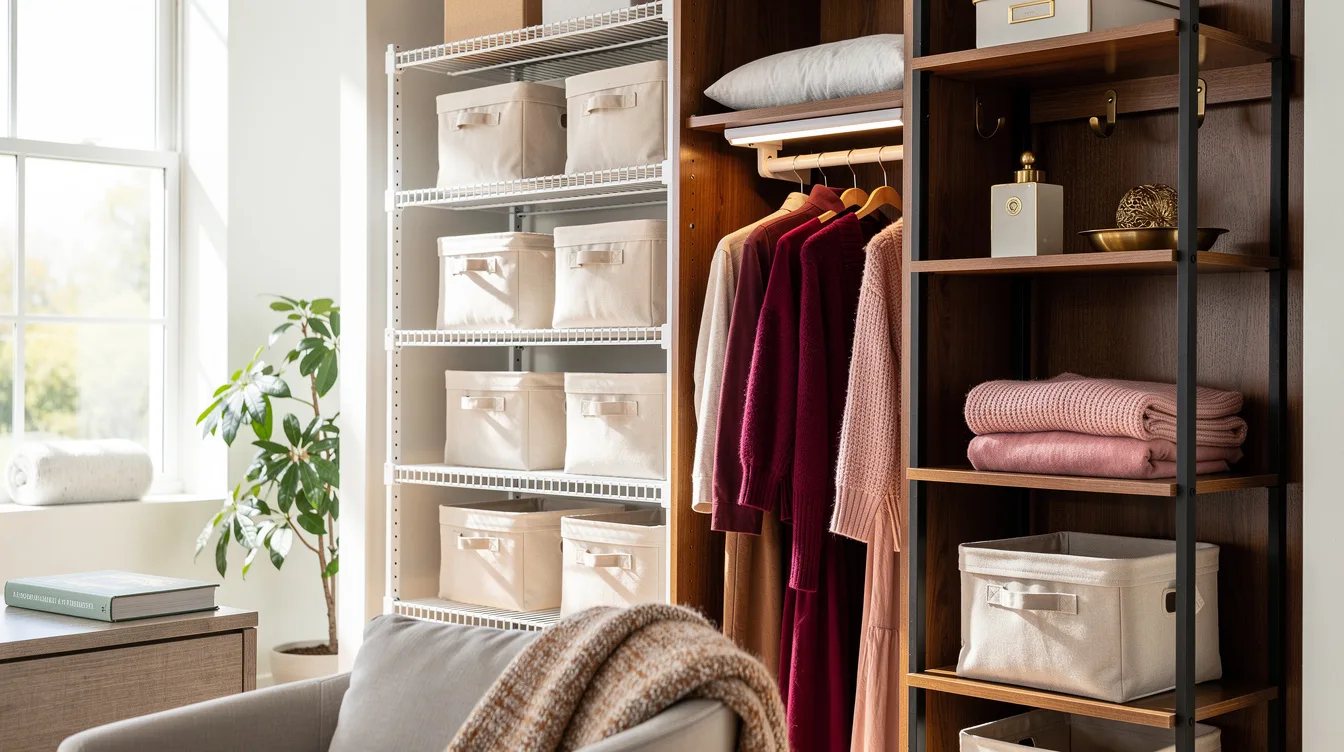
A visible ClosetMaid wire shelf can make a closet feel unfinished, especially beside painted trim or a wood door. Keep wire for ventilation where it helps, then place wood shelving in the most visible zones, such as the center stack or eye-level storage.
That small shift gives the closet a deliberate focal point without forcing every surface into the same material. Home Depot and Lowe's carry the components needed for this kind of mixed-material upgrade.

Measure Around Every Bracket
Measure the wall, shelf depth, bracket position, and rod clearance before buying a wood replacement. A wood shelf may occupy the same general footprint as wire, yet its thicker edge can interfere with doors, baskets, or hanging clothes.
Write down the usable span between side walls rather than trusting the old shelf length. This is where many attractive upgrades fail: the new board fits the wall but crowds the hardware.
Match the Wood to the Closet Trim
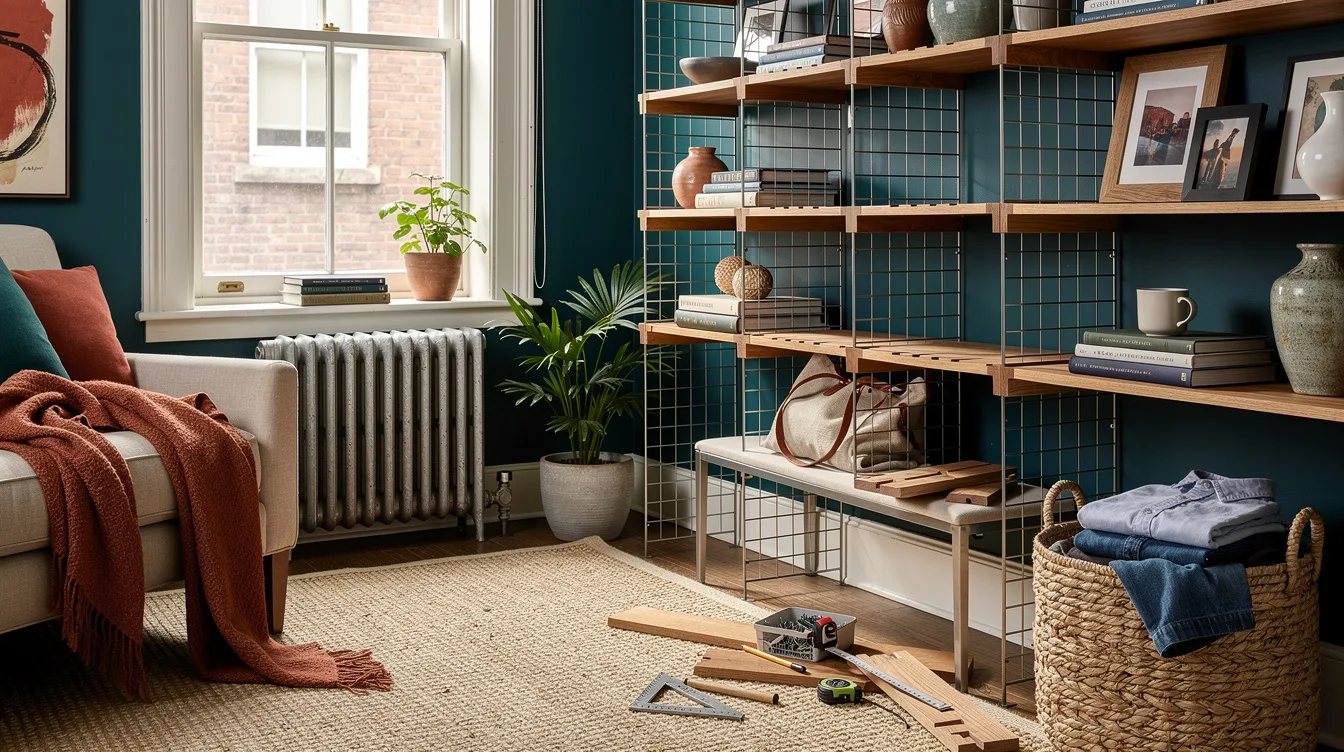
Choose a wood tone that relates to the room outside the closet. A warm oak finish works beside honey-colored flooring, while a pale painted shelf usually looks cleaner with cool white trim and light walls.
Random wood tones create visual noise in a small space. If the closet already has several finishes, a painted shelf is the calmer choice, and a satin surface is easier to live with than a highly reflective one.

Seal Every Cut Edge
Never leave a raw cut edge facing the doorway. Apply matching edge banding or a careful coat of paint so the shelf reads as finished from every angle.
We especially recommend sealing edges near shoes, handbags, and cleaning supplies, where bumps and moisture are common. The front edge receives the most attention, but the side and back edges deserve the same care.
Anchor the Upgrade Into Framing
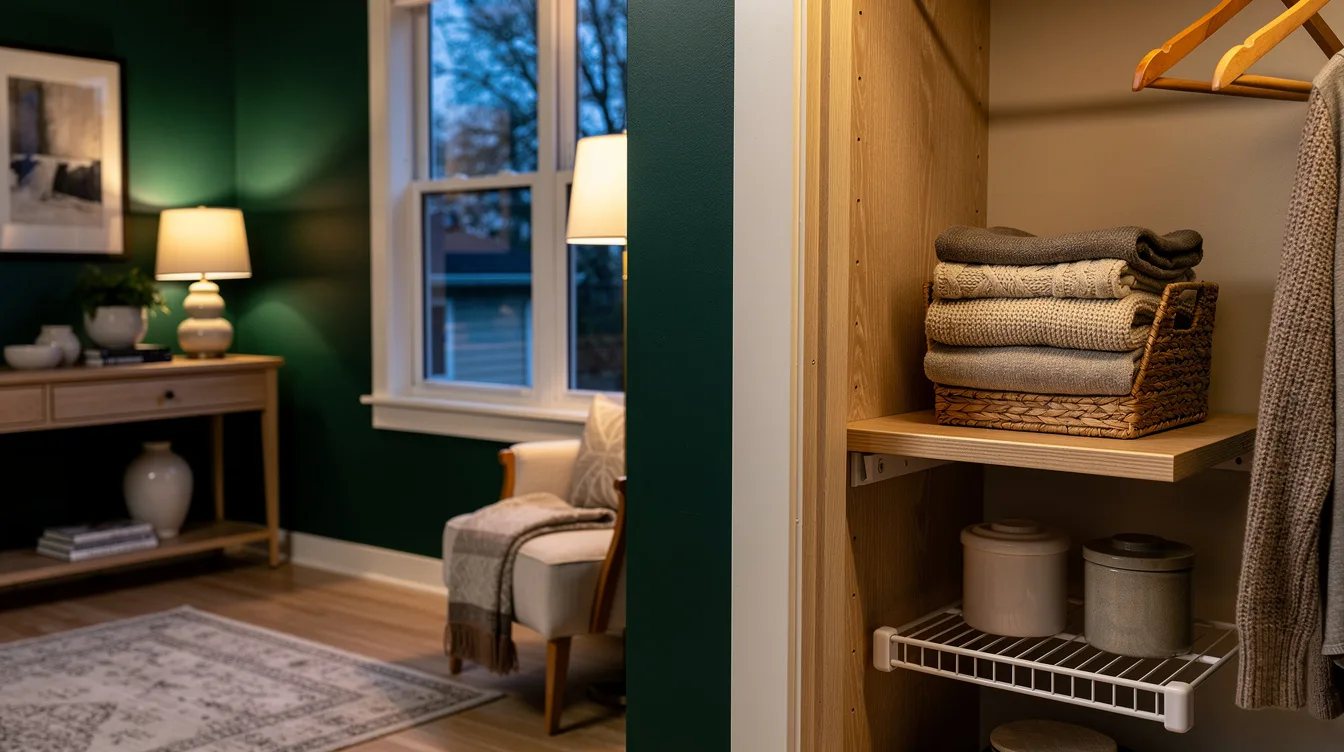
Drywall alone is a poor foundation for a heavily loaded shelf. Secure the brackets to studs when possible, or use anchors rated for the actual load of folded clothing and storage bins.
Home Depot and Lowe's offer several mounting options, but the package rating only helps when the fastener suits the wall material. A level shelf with weak support is a repair waiting to happen.

Keep Shelf Depths Consistent
Mixing a deep upper shelf with a shallow lower shelf can work, but accidental depth changes look like a mistake. Use one primary depth for folded items, then reserve a different size for a specific purpose, such as shoes or handbags.
A typical reach-in closet benefits from a clear front line. When the wood shelving projects farther than the old wire system, check that the closet door still opens freely and that clothing remains easy to reach.
Break Up Long Horizontal Runs
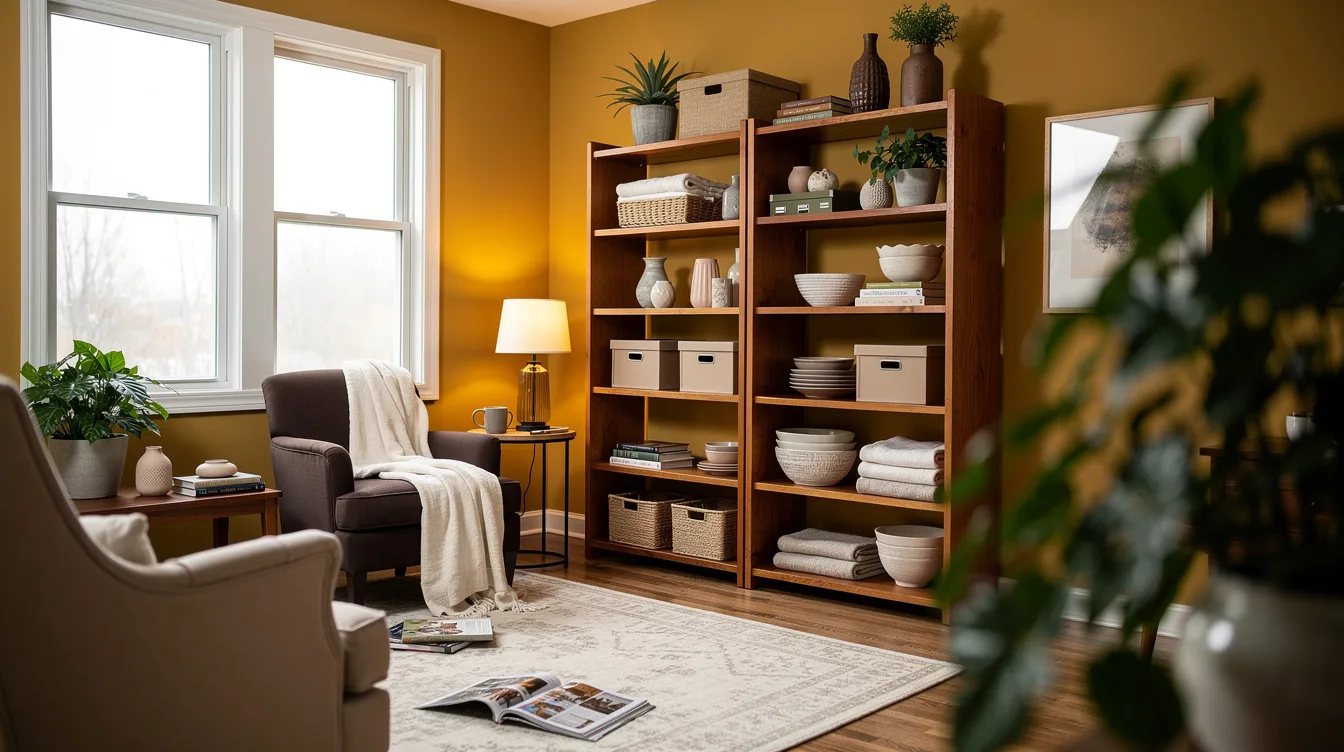
One uninterrupted shelf can make a closet feel flat and difficult to organize. Add a vertical divider, a drawer unit, or a shorter shelf section to create useful zones for folded clothes, accessories, and daily items.
The divider should have a job, not serve as decoration. A black bracket can also provide a clean visual break when the surrounding shelves are light wood or white.
Vary Spacing for Real Clothing
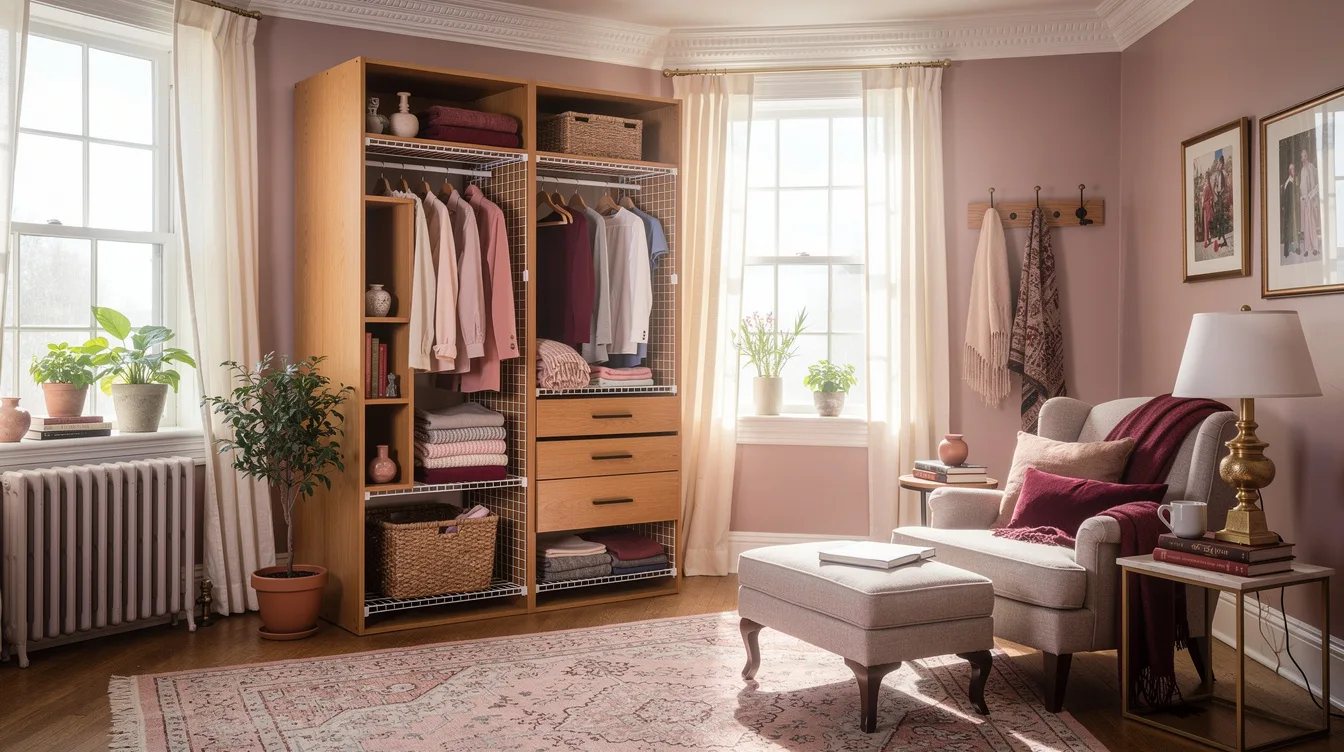
Equal shelf spacing looks tidy on an empty day but wastes room once sweaters, jeans, and bags arrive. Set the tallest opening around the largest items you actually store, then use tighter spacing for smaller stacks.
We prefer two or four purposeful shelf heights over a row of identical gaps. A folded sweater stack needs breathing room, while small accessories can share a lower compartment without disappearing.
Plan the Rod-to-Shelf Transition
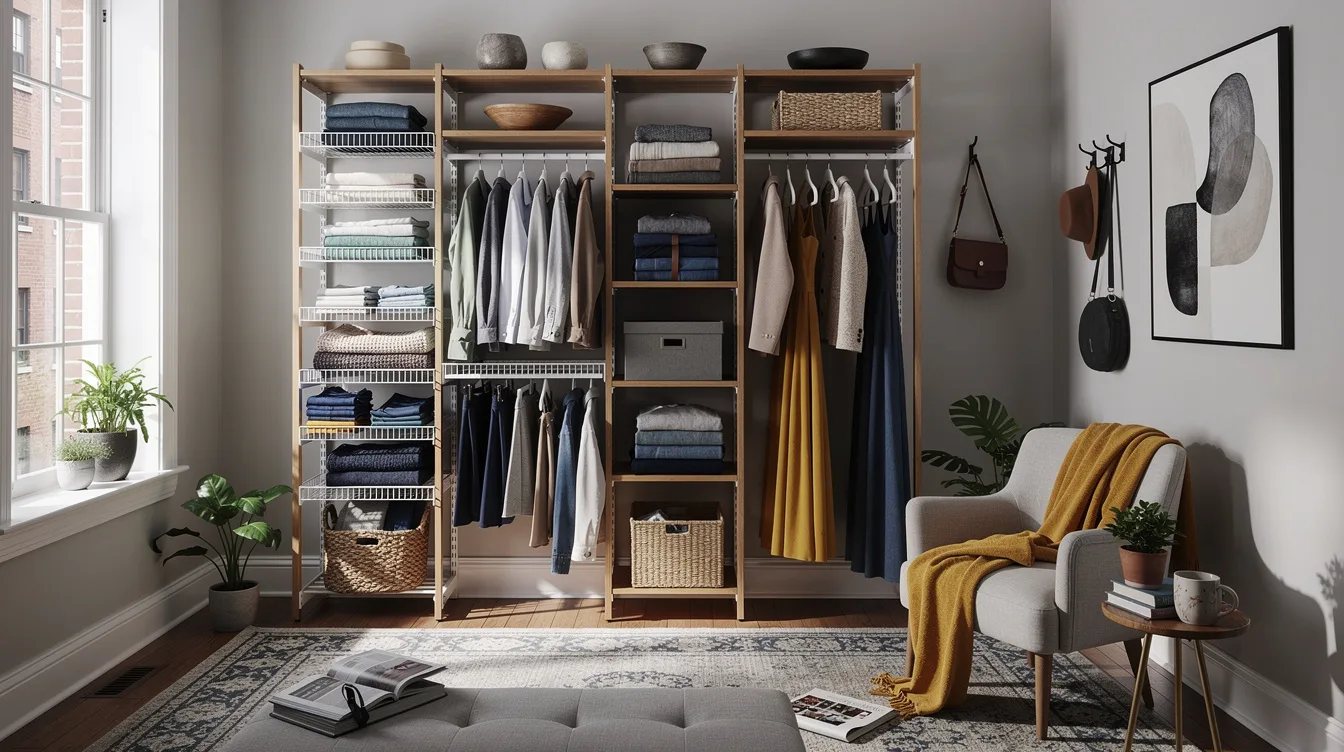
Wire-to-wood upgrades often stop where the hanging rod begins, leaving an awkward change in material. Treat that boundary as a design line and align the shelf edge, rod support, and side panel.
A wood closet rod can repeat the shelf finish, but it should not crowd the hanger path. Leave enough clearance for sleeves and hangers to move without scraping the new surface.
Respect the Shelf’s Load Limit
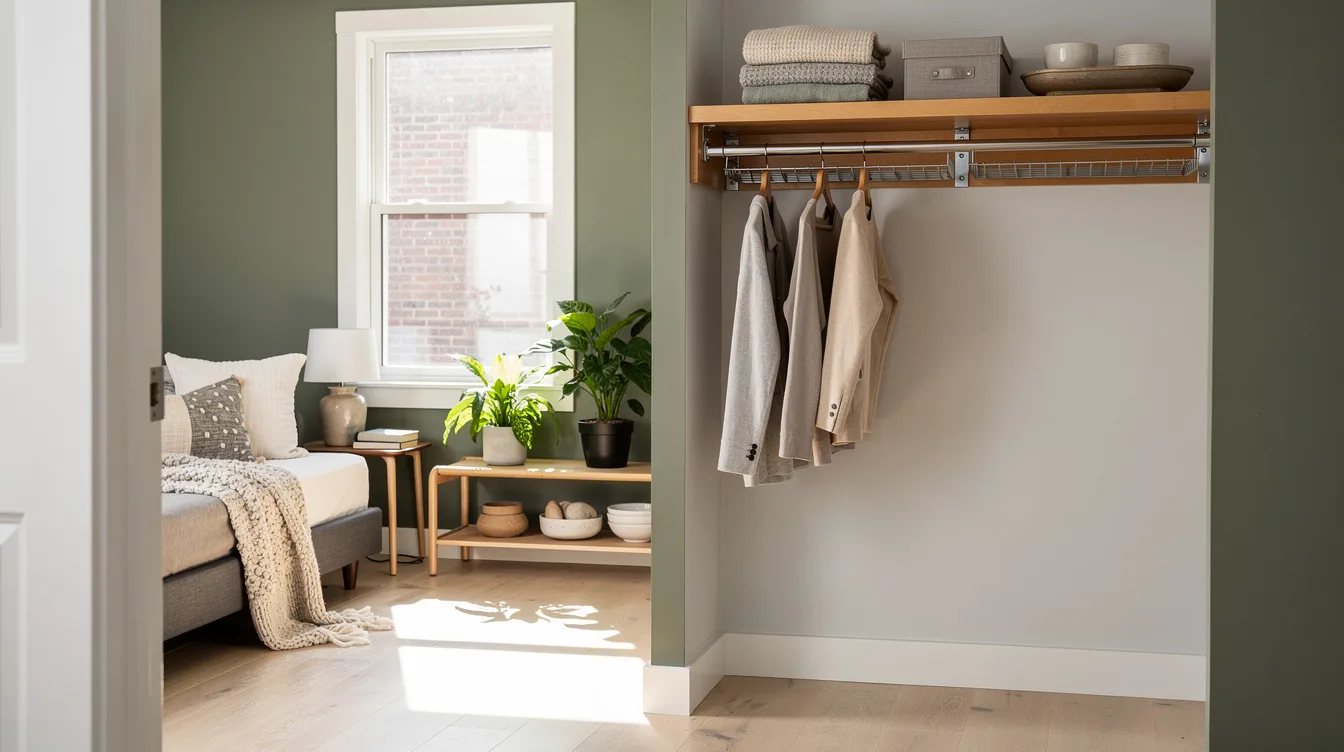
Wood looks stronger than wire, but appearance does not determine capacity. Use closer bracket spacing for books, shoes, or dense storage bins, and keep lighter clothing on longer spans.
ClosetMaid hardware should remain properly seated and level after installation. If a board bows when loaded, reduce the span or add support instead of hoping the curve will disappear.
Hide Wire Only Where It Helps
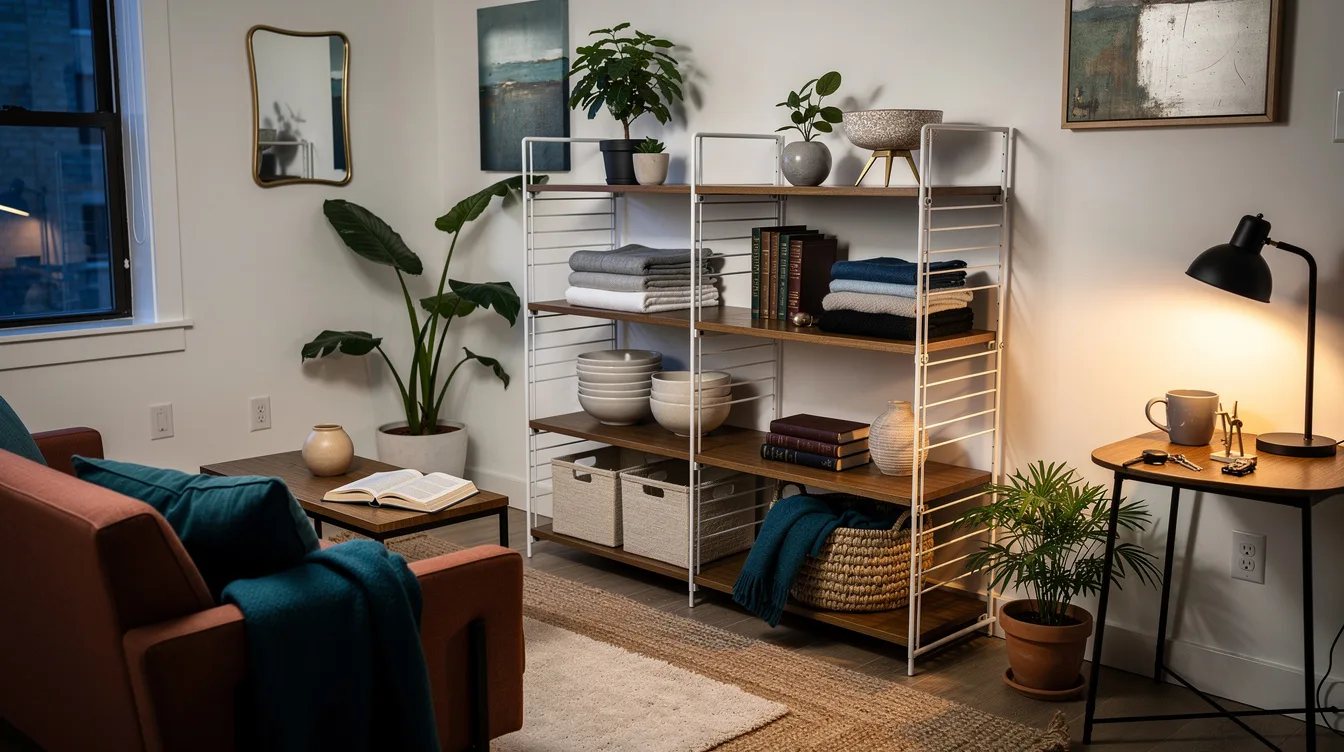
Covering every wire shelf can make the closet bulky and harder to clean. Use a wood insert or shelf cover on the surfaces that need a solid landing place, then keep ventilated wire in areas where airflow and visibility are useful.
This selective approach also protects the budget without making the room feel unfinished. A white shelf liner can soften a utility zone, but it should stay flat and easy to remove.
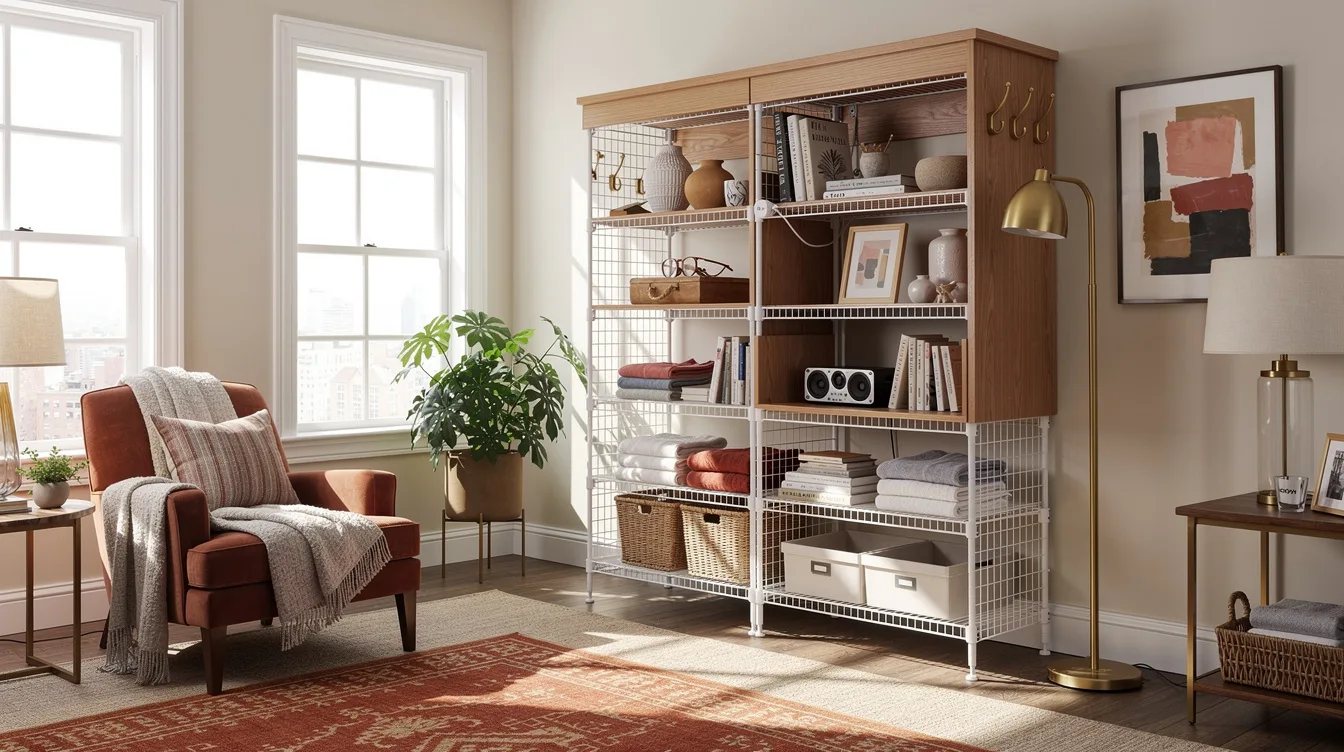
Skip the Glossy Wood Finish
High gloss reflects every bulb, hanger, and uneven edge inside the closet. A matte or satin painted wood shelf hides small wear marks better and feels more connected to ordinary home trim.
Gloss can work on a carefully styled cabinet, but it is rarely the right choice for open storage. Choose a finish that can be wiped clean without turning daily maintenance into a visual event.
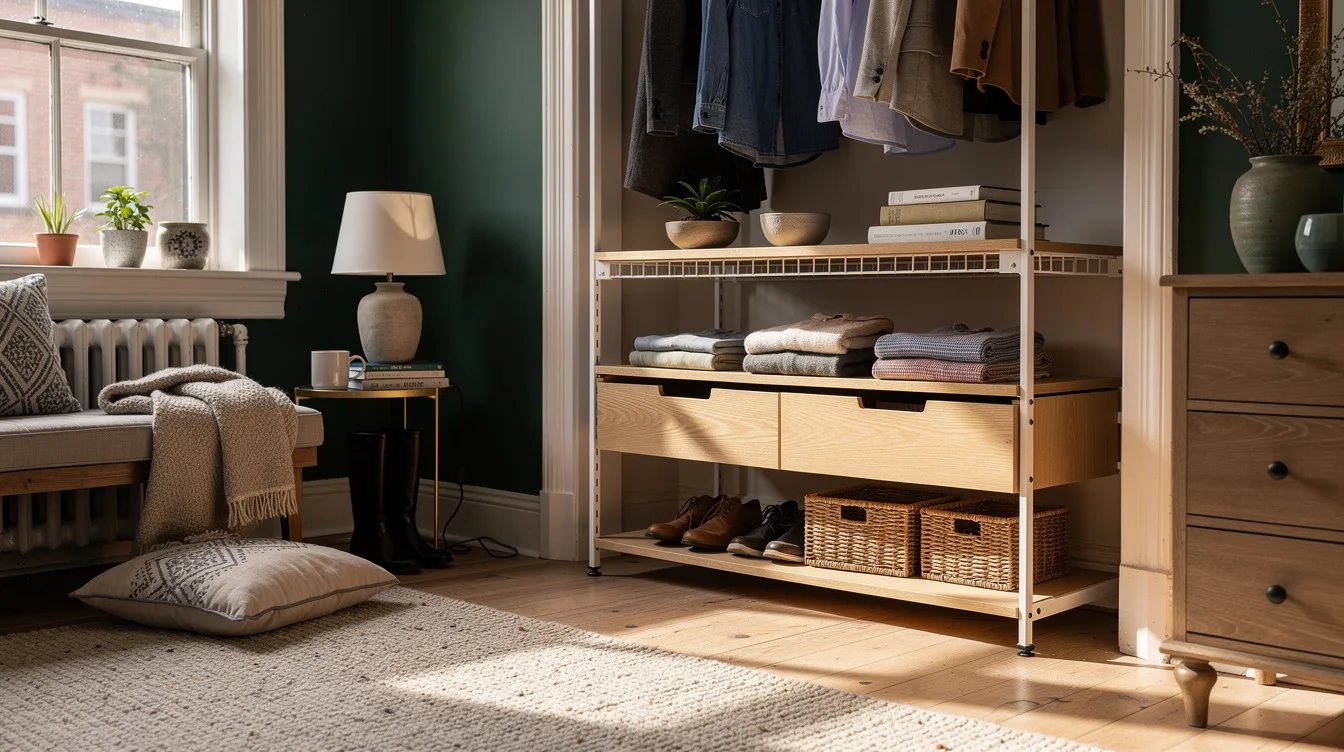
Coordinate Baskets With the New Shelves
Old plastic bins can undercut a carefully selected wood surface. Replace only the most visible containers with matching fabric, wood, or woven baskets, and keep rarely used storage higher or farther back.
A canvas storage bin brings softness to a closet filled with hard edges. Measure each opening before shopping so the baskets sit fully inside the shelf instead of hanging over the front.

Finish With Light and Clear Zones
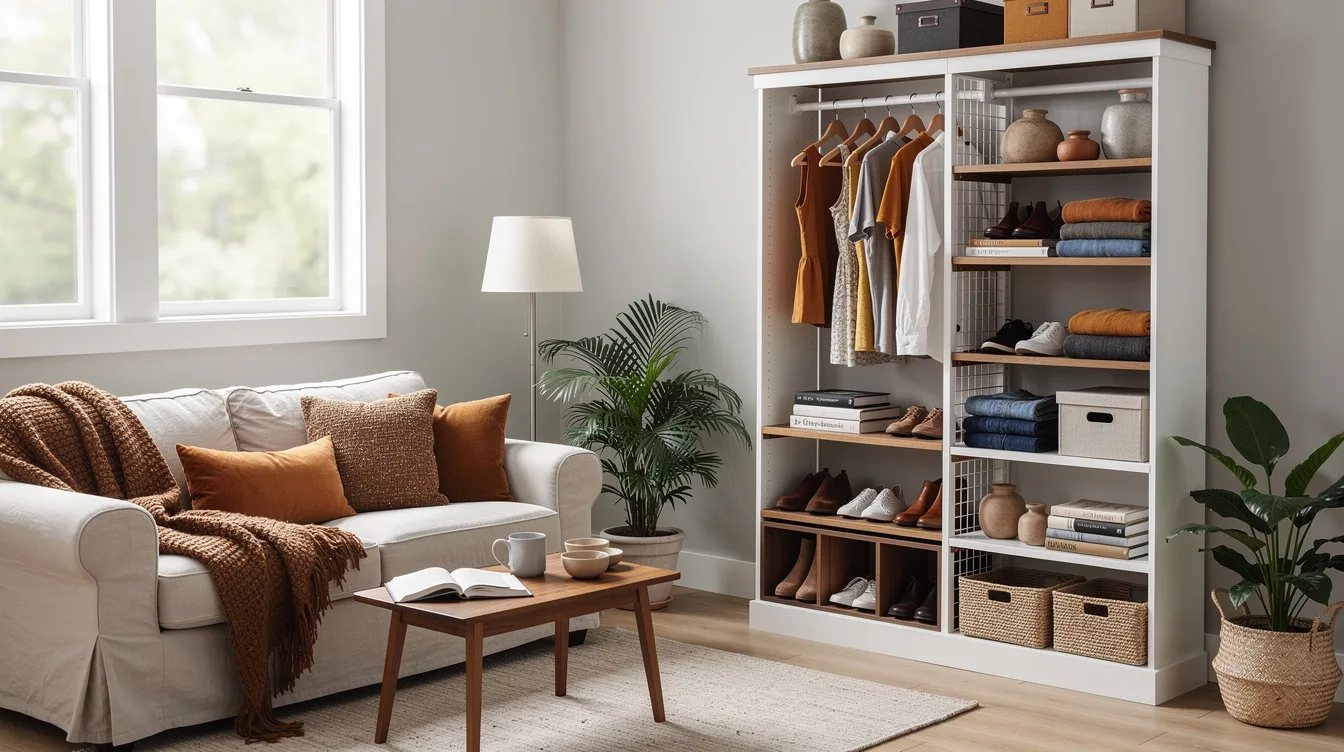
The final mistake is treating the shelf swap as the entire upgrade. Add a simple rechargeable light, keep the most-used items between waist and shoulder height, and leave one small area open for daily circulation.
Warm-white closet lighting makes wood grain easier to read and helps separate white clothing from white walls. Start with the shelf that receives the most attention, then repeat the finish only where it improves use.
Keep reading
- 12 Spa Bathroom Upgrades That Look Custom Without Renovating
- 13 Budget Rental Bathroom Vanity Upgrades That Look Custom
- 12 Home Depot Lighting Upgrades That Need No Rewiring
Begin with the shelf directly in your sightline, measure its full hardware footprint, and choose the finish that already belongs in the room. That first well-supported section will set the standard for every remaining upgrade.


