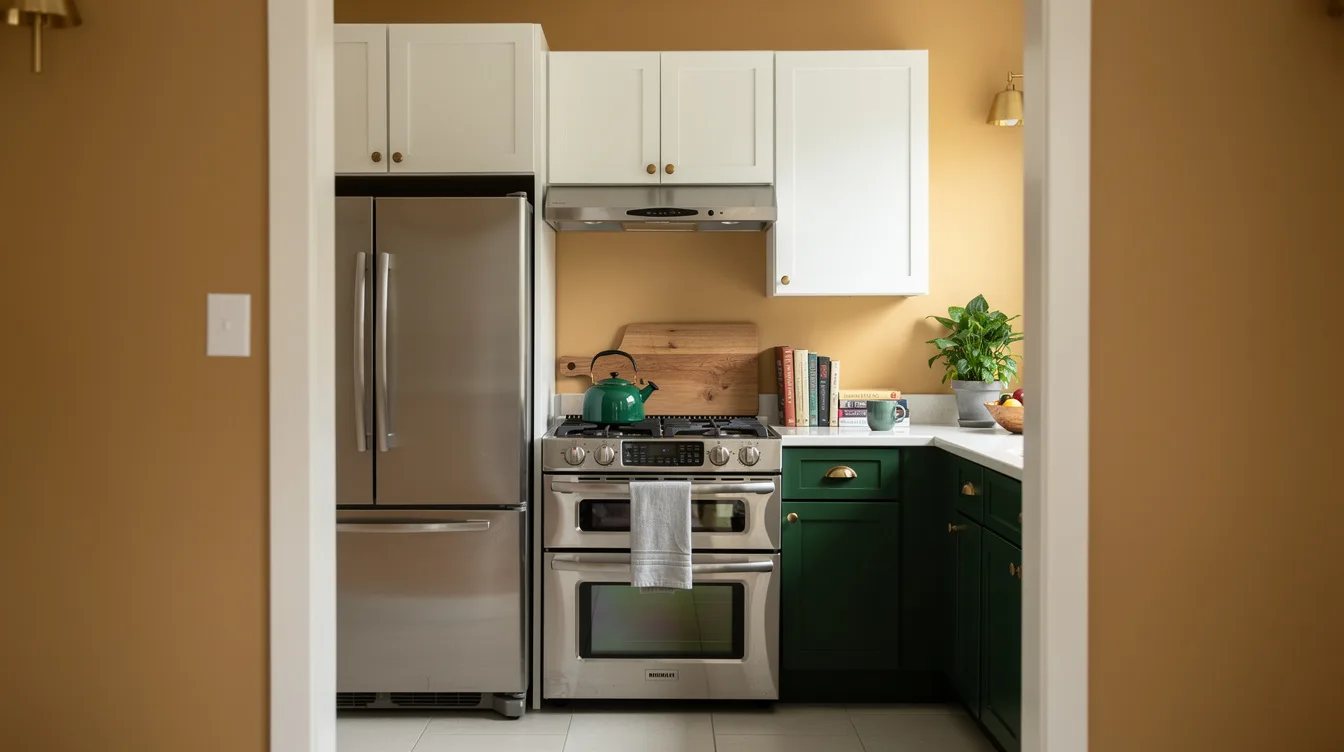
Compact Kitchen Refrigerator Wall Looking Chaotic? 14 Fixes That Fake a Reno
09 november 2026A refrigerator wall can make a compact kitchen feel unfinished when the appliance ends in a blank strip of wall or a dead zone above it. Our recommendation starts with one coordinated color and a 24-inch-deep over-fridge cabinet, with an IKEA example listed at about $148.
Keep the wall useful, calm, and deliberate. A matching cabinet front, one warm wood accent, and very little loose decoration can make the entire appliance zone feel planned.
What you will find inside
- Paint the Entire Refrigerator Bay
- Install a Matching Over-Fridge Cabinet
- Choose the Deeper Cabinet Format
- Match the Cabinet Door to the Run
- Align the Cabinet Tops
- Add One Warm Wood Accent
- Keep the Refrigerator Top Visually Clear
- Store Occasional Items Behind Doors
- Coordinate the Side Panels Carefully
- Repeat One Wall Color Nearby
- Use Satin Paint for a Working Wall
- Give the Cabinet a Clear Width
- Keep Hardware in the Same Family
- Build the Wall Around Function
Paint the Entire Refrigerator Bay
A refrigerator wall looks more intentional when its color continues from floor to ceiling instead of stopping in a small patch behind the appliance. BEHR PREMIUM PLUS Swiss Coffee #12 works with white cabinets and a white refrigerator, giving the metal and doors one calmer backdrop.
For white cabinets with stainless steel, try BEHR PREMIUM PLUS Norwegian Blue N470-5 and repeat the blue in one small accessory elsewhere. A full gallon and basic supplies create an estimated DIY allowance of about $60 to $100, depending on what is already in the tool drawer.
Install a Matching Over-Fridge Cabinet
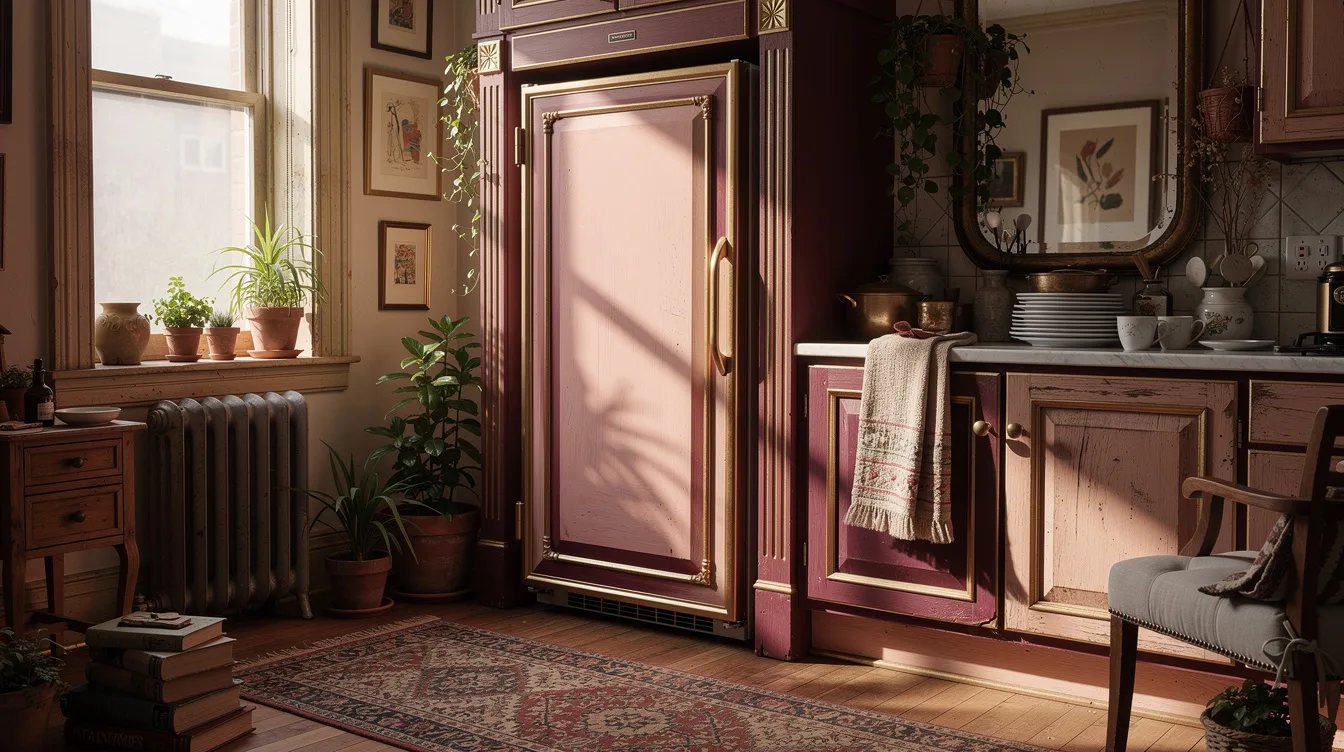
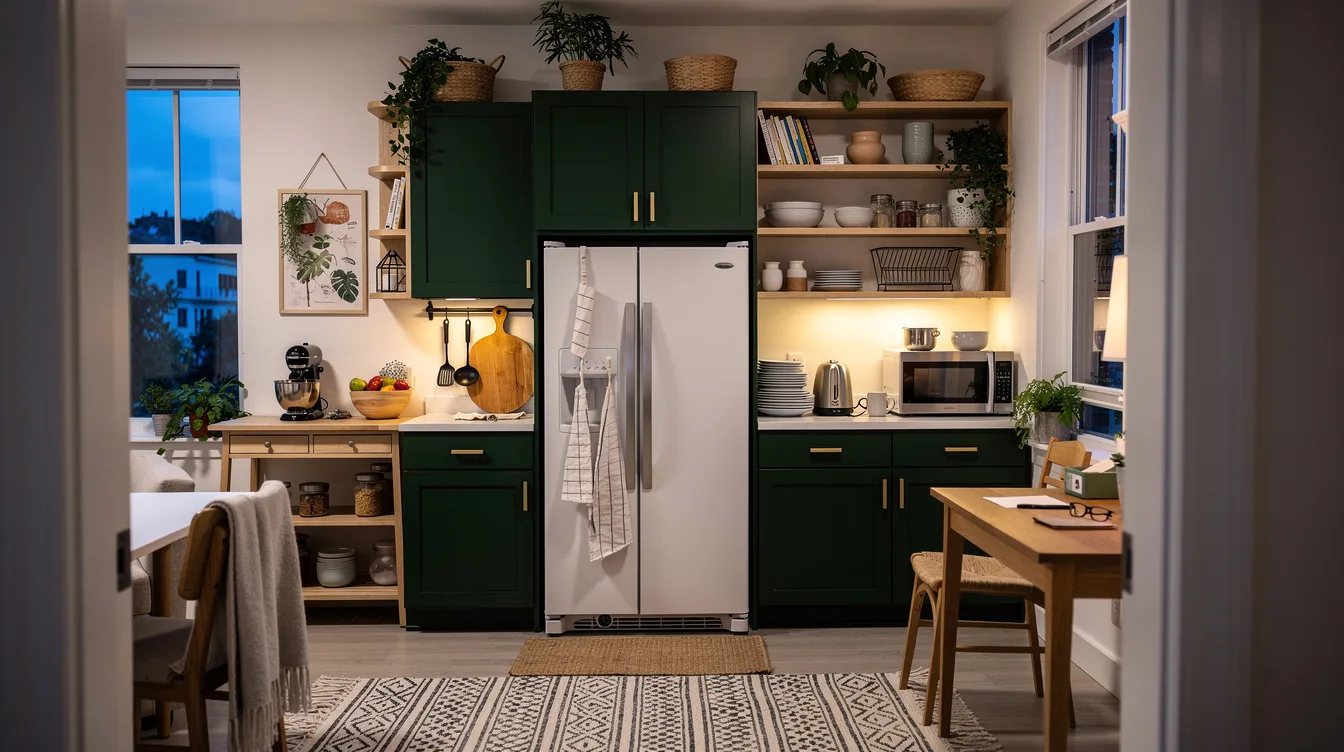
The empty space above a refrigerator is often the loudest unfinished spot in a compact kitchen. A matching IKEA SEKTION and VEDDINGE cabinet gives that gap a clear purpose, with the 30-inch-wide, 24-inch-deep, 15-inch-high example listed at about $148.
Use the closed compartment for serving pieces, paper goods, or seasonal cookware rather than displaying loose objects above the appliance. The door should visually continue the neighboring cabinet run, so the refrigerator wall reads as one composition.
Choose the Deeper Cabinet Format
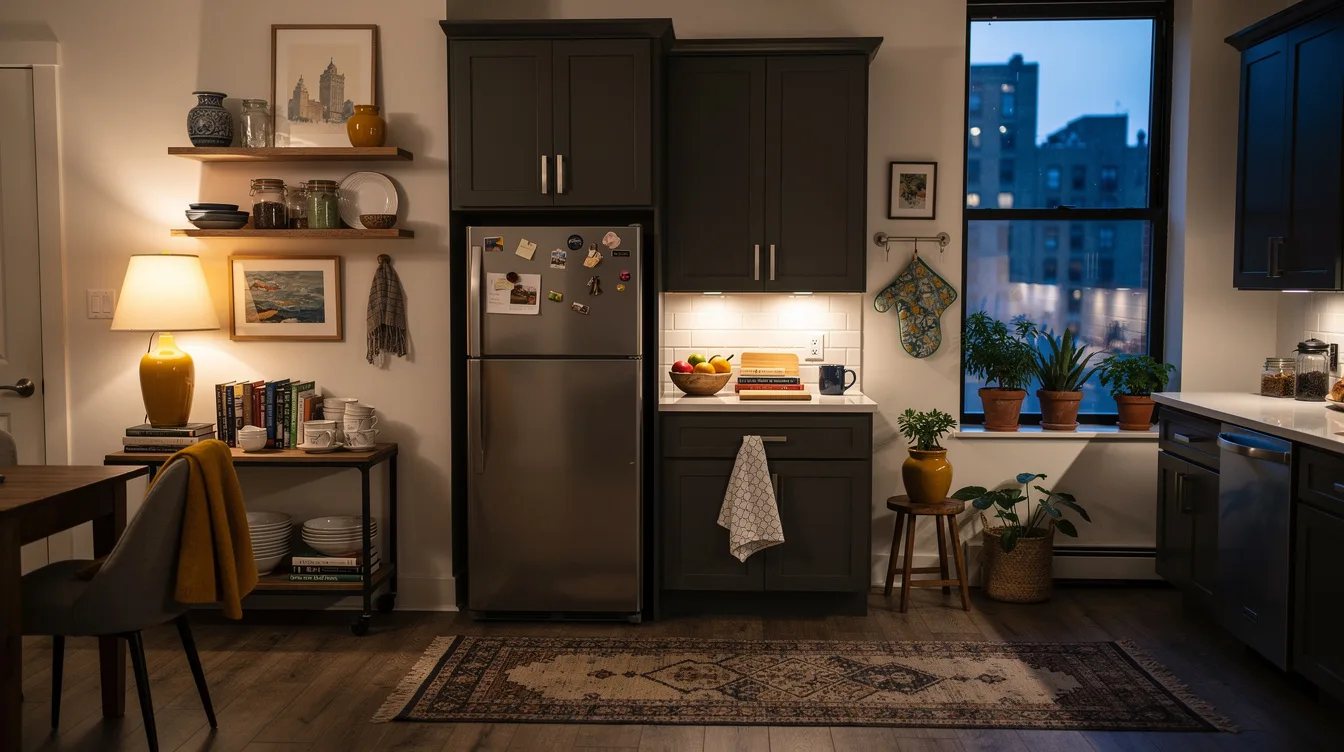
A conventional upper cabinet is roughly 12 inches deep, while an over-fridge cabinet is typically 24 inches deep. That added depth brings storage forward and makes the cabinet feel proportionate to a full-size appliance, although it does not guarantee a flush fit with every refrigerator.
The deeper melamine-faced particleboard construction used in SEKTION frames is practical for a hidden storage zone. Measure the refrigerator, wall, trim, and door swing before ordering, because nominal cabinet dimensions are only the starting point.
Match the Cabinet Door to the Run
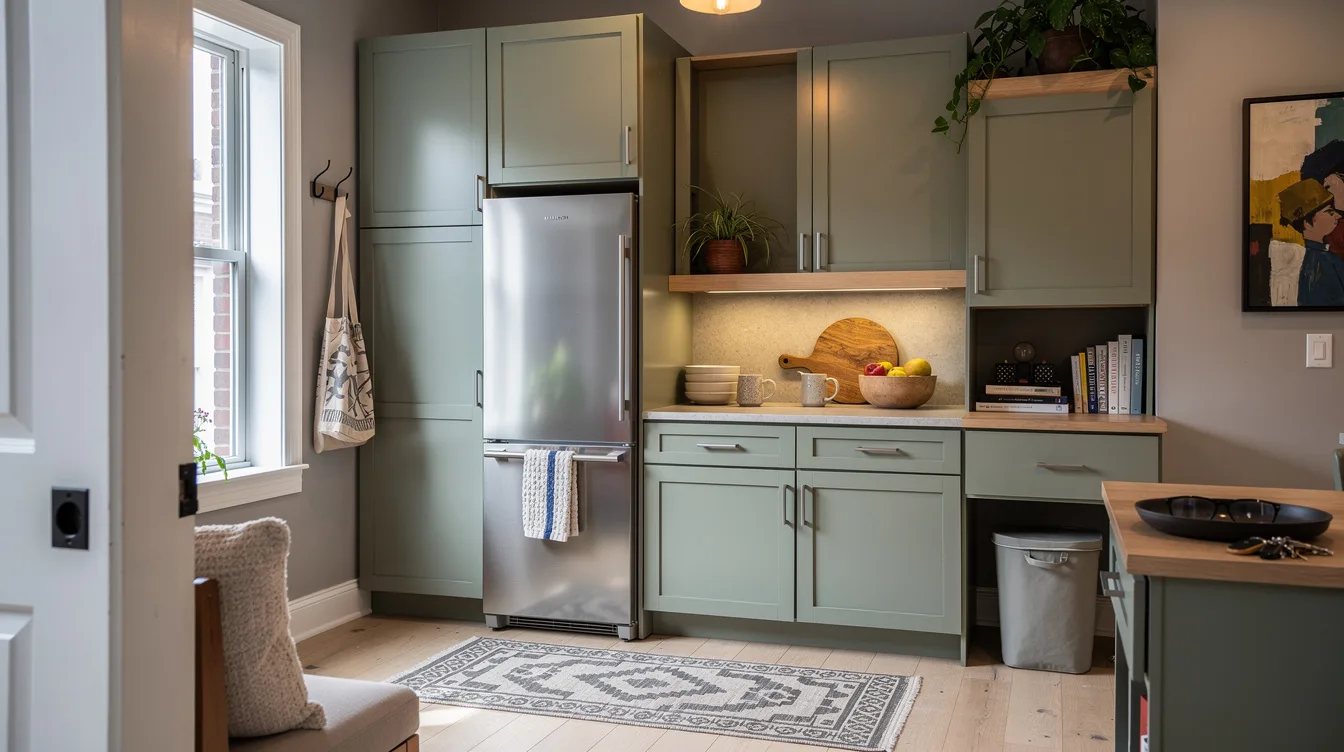
Matching the refrigerator cabinet front to nearby doors creates the strongest visual connection in a compact kitchen. A white VEDDINGE cabinet front belongs with a white cabinet run, while a beige or muted finish should repeat a tone already present in the room.
Keep the door style simple and flat if the existing kitchen has a clean profile. Mixing a decorative glass door or a dramatically different panel adds another focal point exactly where the wall needs visual discipline.
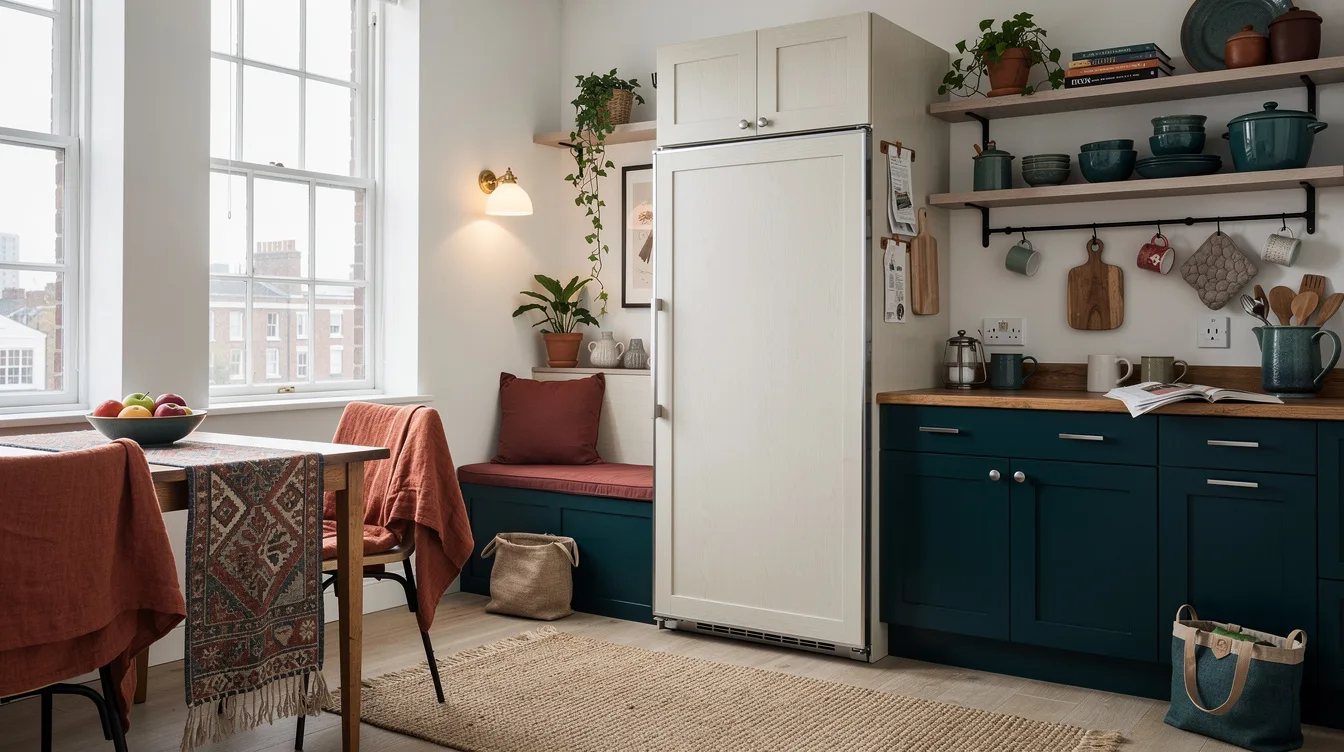
Align the Cabinet Tops
Line up the top of the refrigerator cabinet with the top edge of the adjacent cabinetry whenever the construction allows it. This horizontal line gives the wall structure and makes a small kitchen feel more deliberately planned.
If the refrigerator bay is lower or taller than the cabinet run, let the difference look intentional through a coordinated wall color rather than forcing a bulky filler. Warm white paint can soften a small height change without competing with the appliance.
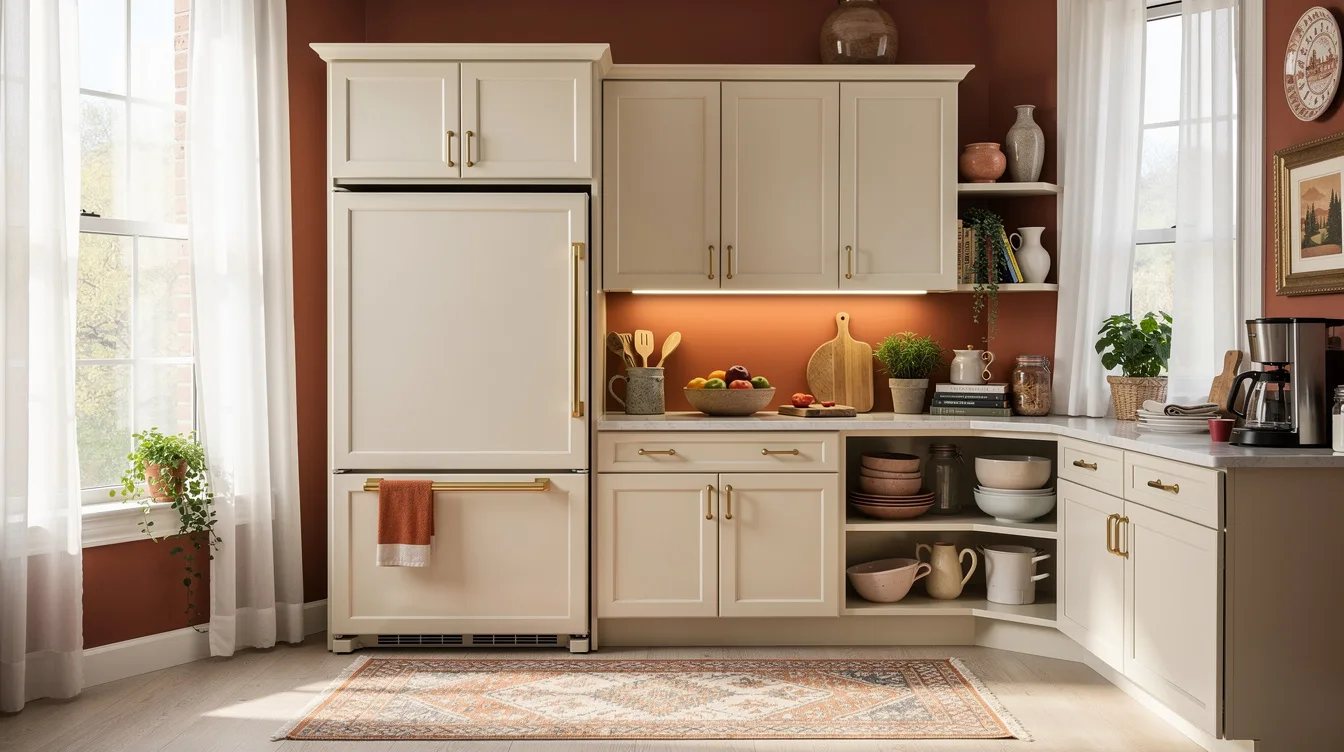
Add One Warm Wood Accent
Our recommendation for an existing kitchen is one warm wood accent, not an expensive new refrigerator surround. A walnut tray, oak cutting board, or simple wood shelf can bring necessary softness beside cool stainless steel and painted cabinetry.
Keep the accent substantial enough to register from across the room, but limit it to one main object. Natural oak has enough texture to warm the refrigerator wall without turning the narrow area into a collection of unrelated decorations.
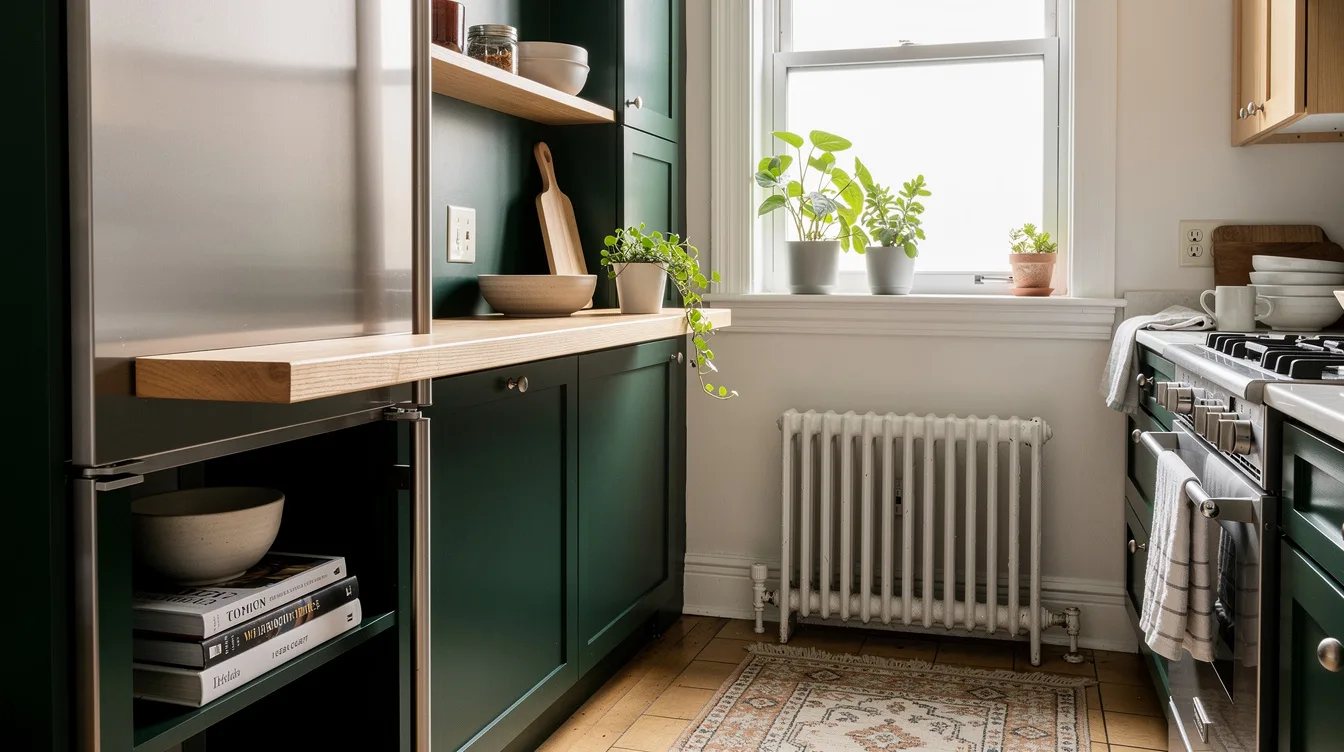
Keep the Refrigerator Top Visually Clear
The top of the refrigerator should support the composition, not become a storage shelf in plain sight. Put rarely used items inside the over-fridge cabinet and leave the appliance top clear whenever possible.
If something must remain above the refrigerator, use one low, useful object such as a wood serving tray rather than several containers. Loose plastic bins, paper bags, and mismatched boxes make a compact kitchen look crowded within seconds.
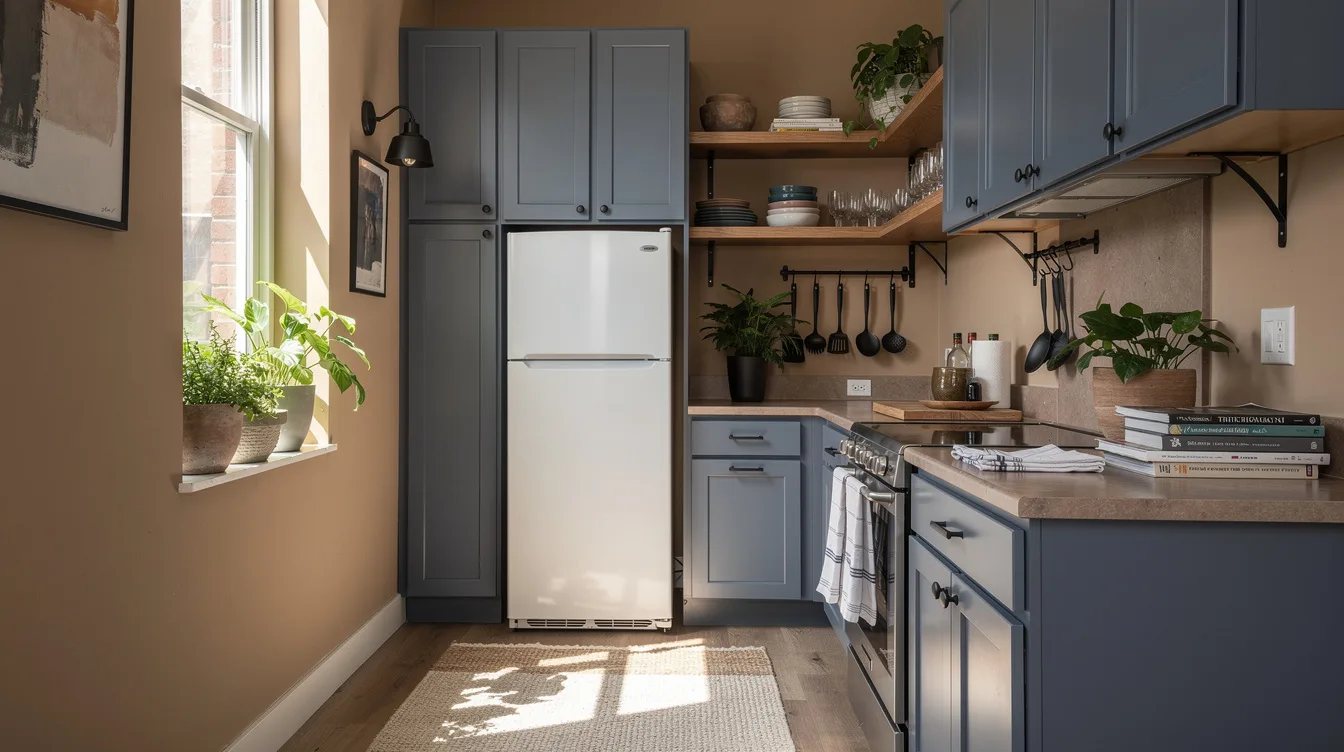
Store Occasional Items Behind Doors
Closed storage above the refrigerator is best reserved for objects that do not need daily access. Baking supplies, holiday serving pieces, and extra pantry goods can disappear behind a matching SEKTION cabinet door while the counter stays available for everyday work.
Use a small label inside the door if the cabinet becomes hard to remember, but skip exterior labels and decorative baskets. The refrigerator wall benefits from a quiet front and useful storage behind it.
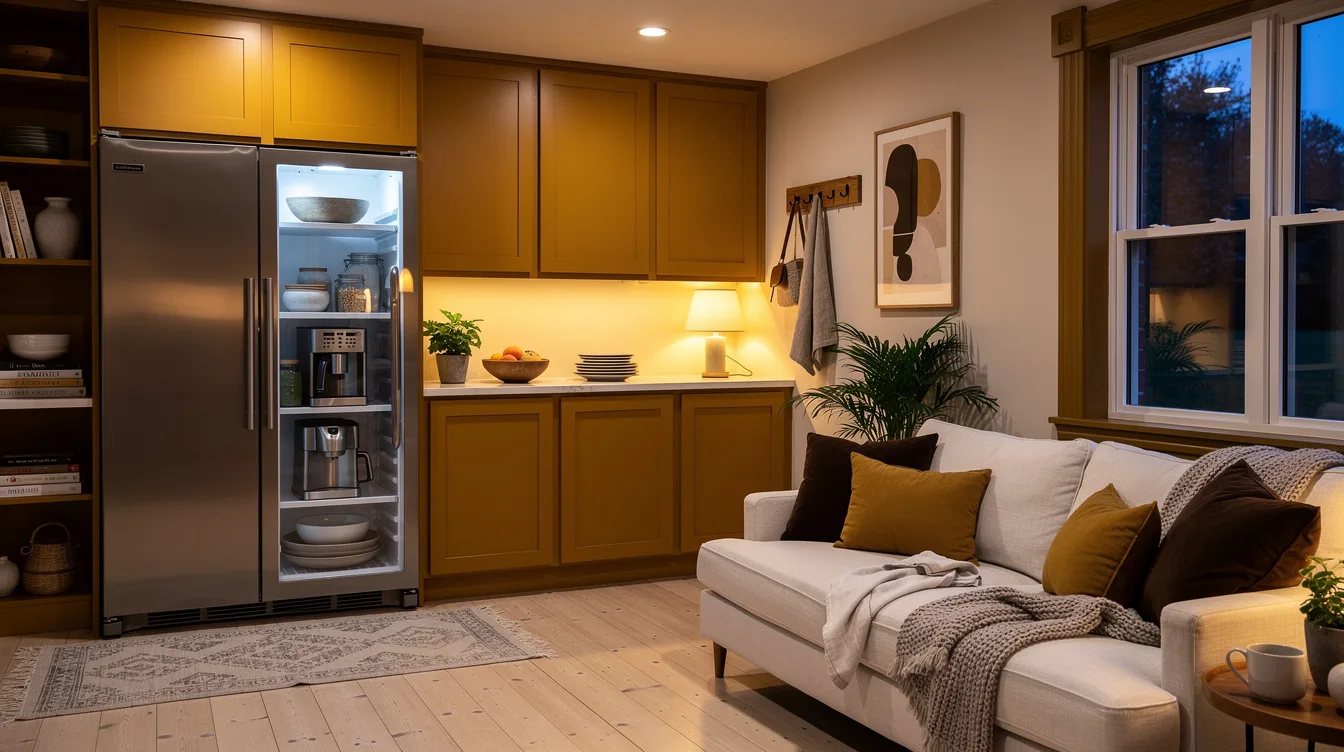
Coordinate the Side Panels Carefully
Side panels can make a refrigerator wall feel more finished when they repeat the surrounding cabinet material. A matching laminate cabinet panel creates a clean edge beside the appliance and reduces the visual effect of a freestanding metal box.
Resolve ventilation, appliance clearances, and door movement before adding panels. A polished side is never worth restricting airflow or making the refrigerator difficult to open for everyday use.
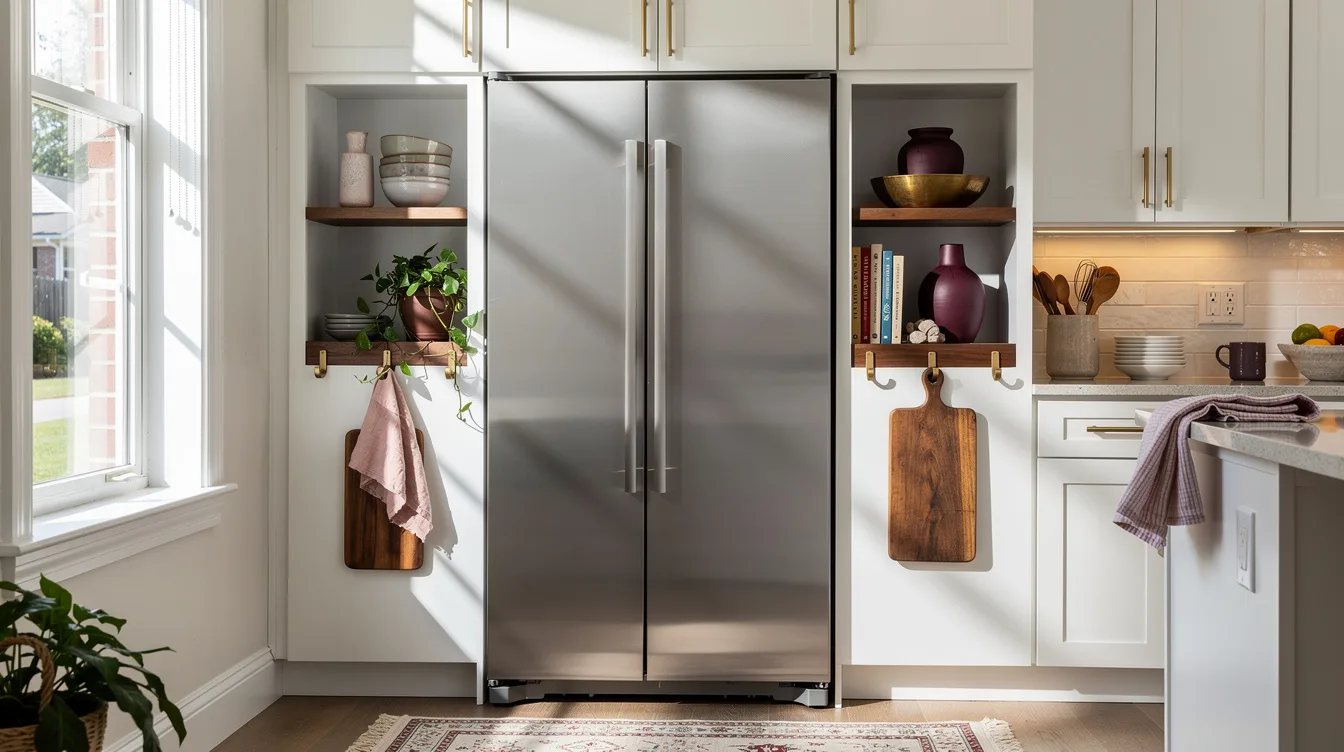
Repeat One Wall Color Nearby
A painted refrigerator bay works best when its color appears once more somewhere in the kitchen. A small ceramic bowl, runner, or framed print in the same muted blue as Norwegian Blue N470-5 can connect the wall to the rest of the room.
Keep the repeat small and deliberate rather than scattering the color across every surface. One echo helps the wall feel related to the kitchen, while a whole collection of matching accessories starts to look staged.
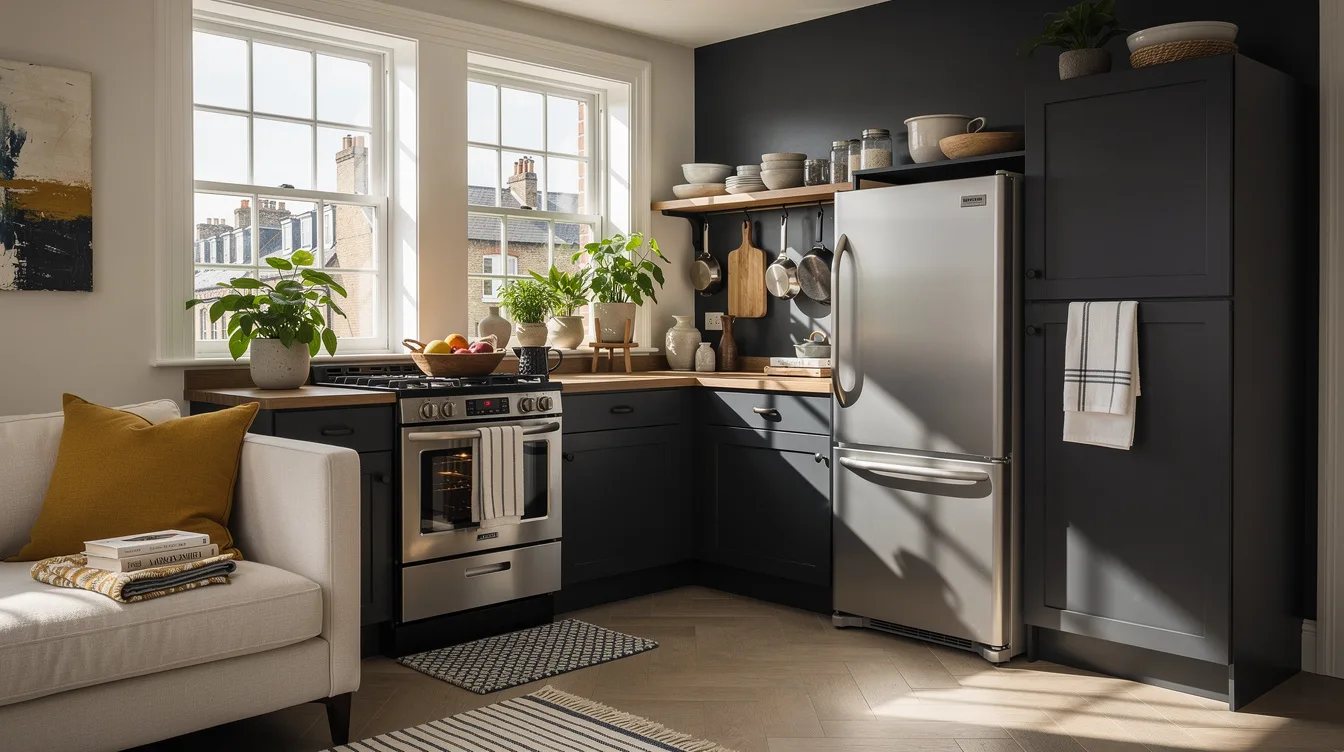
Use Satin Paint for a Working Wall
The wall beside a refrigerator deals with fingerprints, splashes, and frequent traffic, so a washable satin finish is a practical choice. BEHR PREMIUM PLUS satin enamel is listed for prepared kitchen walls and can support a polished look without requiring a specialty coating.
Prepare the surface before painting and follow the product directions for coverage and drying. The finish should serve the kitchen first, especially in a narrow bay where chairs, bags, and appliance doors pass close by.
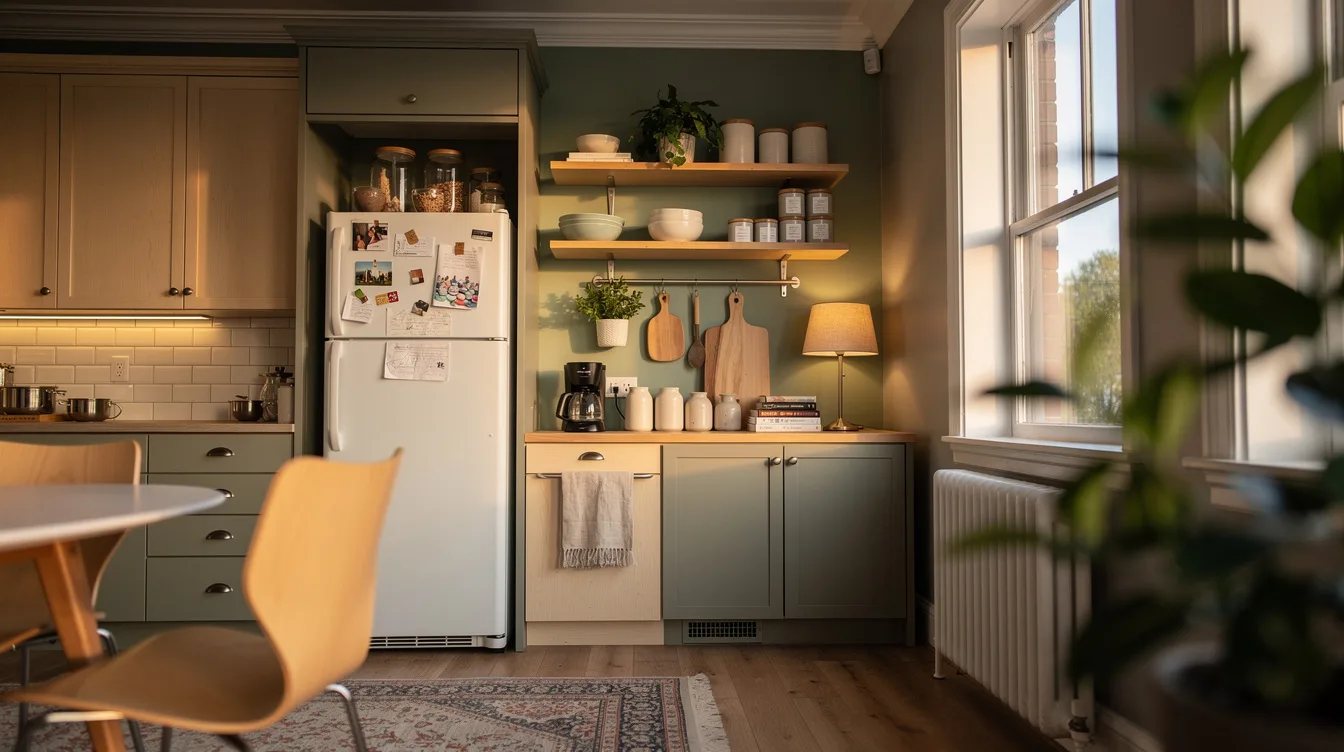
Give the Cabinet a Clear Width
Choose the over-fridge cabinet width based on the actual opening, not on a hopeful visual estimate. The IKEA examples include a 36-inch-wide, 24-inch-deep, 15-inch-high option listed at about $164 and a 36-inch-wide, 24-inch-deep, 20-inch-high option listed at about $178.
The taller cabinet can create a stronger connection to a high refrigerator wall, while the shorter version leaves more breathing room above the appliance. Check the finished depth, which can be approximately 24 and three quarters inches for some listed combinations.
Keep Hardware in the Same Family
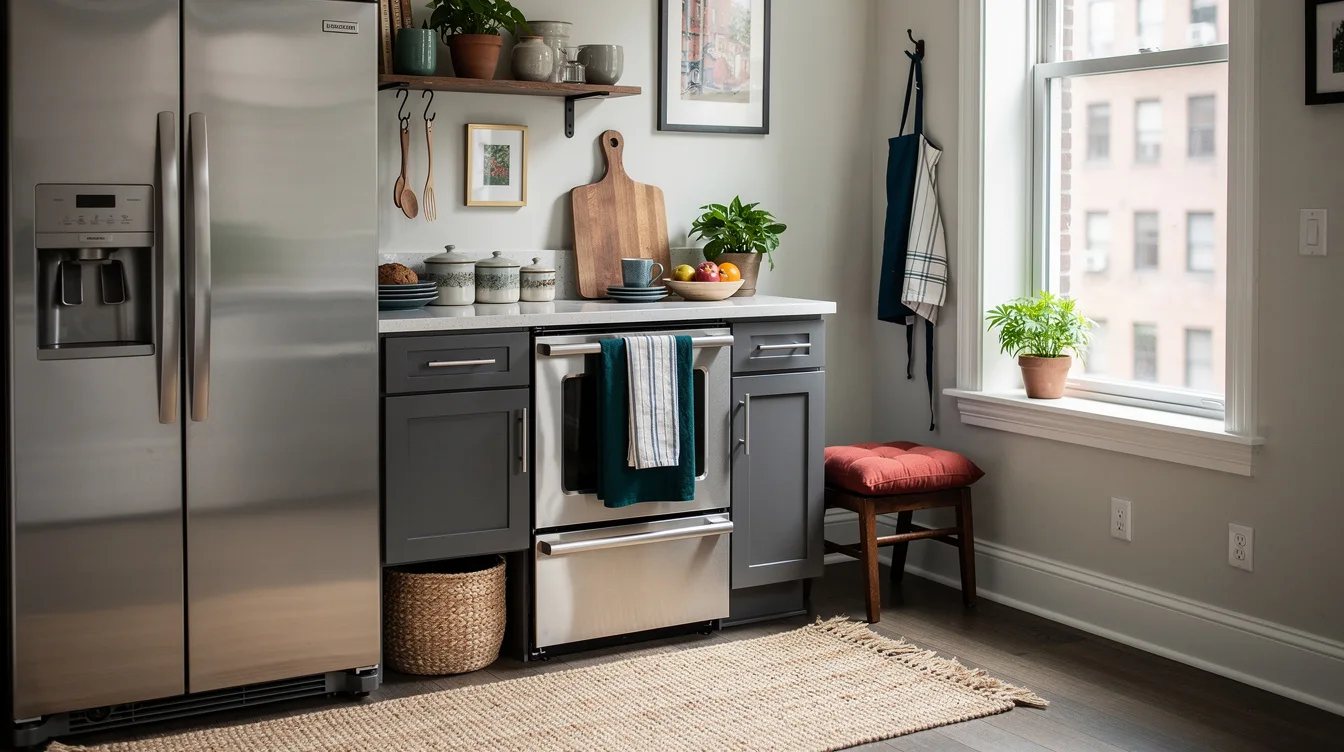
Cabinet hardware is small, but it sits directly beside the refrigerator handle and can interrupt the wall when its finish feels unrelated. Repeat the existing brushed nickel hardware or another finish already used in the kitchen instead of introducing a third metal.
Simple pulls usually work better than ornate knobs in a compact refrigerator bay. The goal is a consistent hand feel and visual rhythm, not another detail competing with the appliance doors.
Build the Wall Around Function
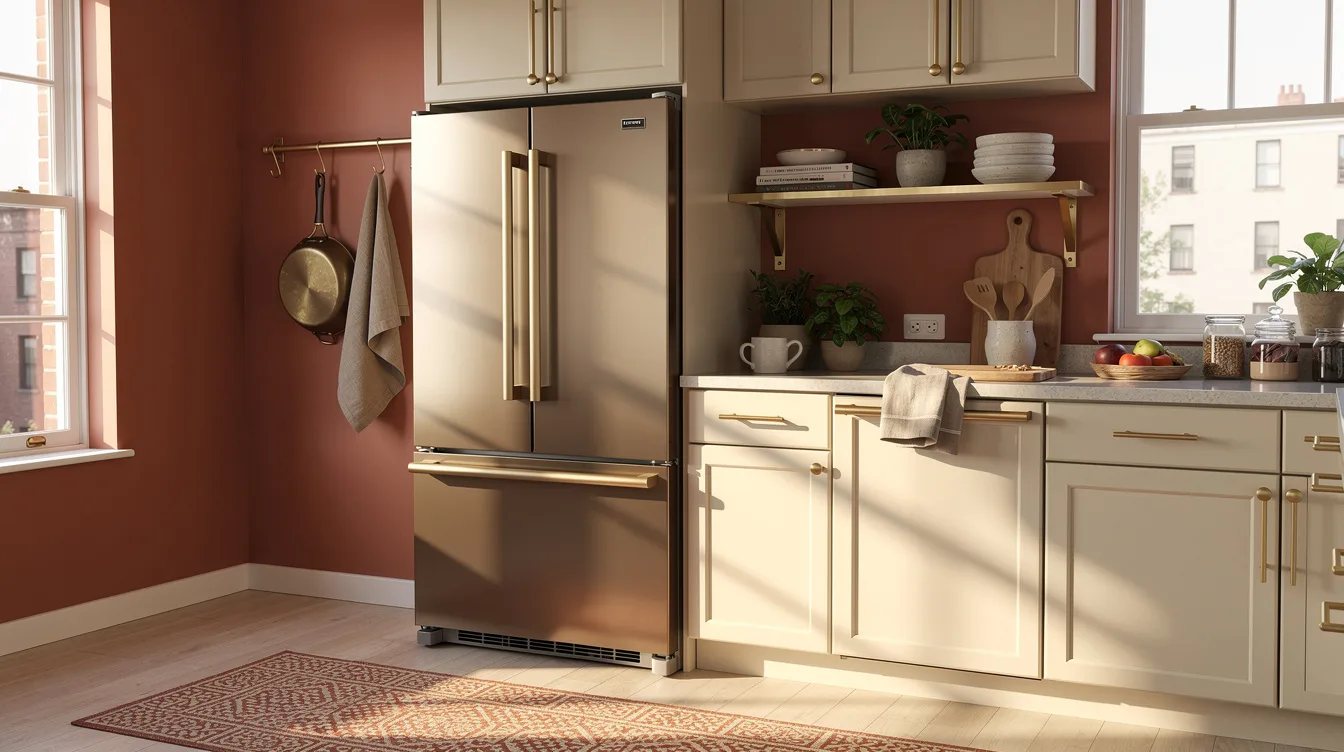
Before buying decor, decide what the refrigerator wall needs to do: conceal occasional storage, connect cabinet colors, and leave the appliance easy to use. A matching cabinet front, coordinated paint, and one wood accent cover those needs with fewer decisions.
Project allowances should include the cabinet, paint, hardware, and installation materials while excluding tax, delivery, and a replacement refrigerator. Start with measurements and ventilation checks, then spend the remaining budget on the one finish that will be visible every day.
Keep reading
- Dated Kitchen Wall? 12 Home Depot Finds Under $80 Fake a Reno
- Dated Oak Kitchen? 14 Home Depot Fixes That Fake a Reno
- Walmart Kitchen Drawers Looking Chaotic? These 12 Organizers Start at $8
Measure the refrigerator bay first, then choose the cabinet and wall color together. That order protects your clearances and gives the compact kitchen one strong visual direction before any accessories enter the room.