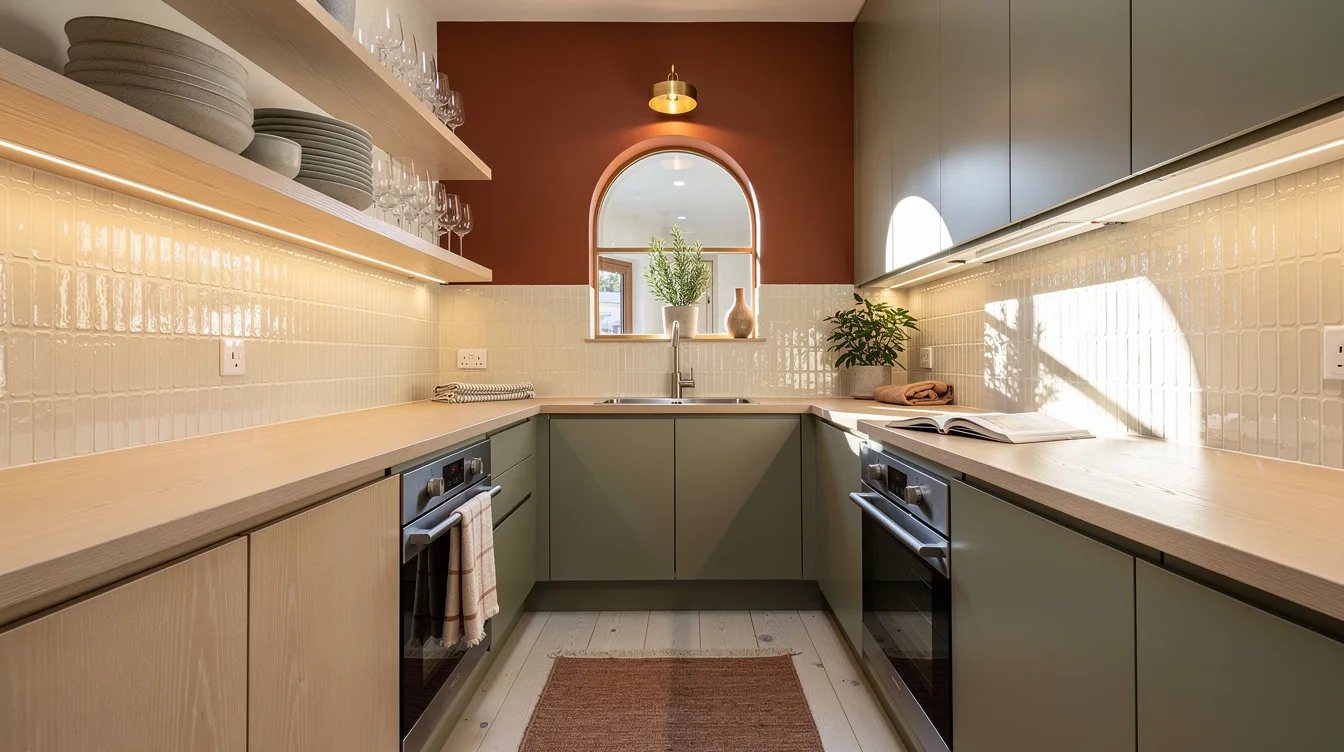
If Your Galley Kitchen Feels Like a Tunnel, These 14 Moves Fix It
15 september 2026Most galley kitchens fail by about six inches. The clear aisle measures 36 inches, the code minimum, and one open dishwasher door turns the whole room into a blocked passage.
The fix is almost never a gut job. Across the narrow kitchens we've restyled, lighting, one lighter wall of storage, and a real destination at the far end did most of the work.
What you will find inside
- Measure the Clear Aisle Before You Pick a Single Finish
- Hold the Working Aisle at 42 Inches, 48 If Two of You Cook
- Strip the Upper Cabinets From One Side Only
- Keep Open Shelves Under 10 Inches Deep
- Stop the Upper Run Short of the Far Wall
- Paint the Far Wall a Deeper Shade Than the Sides
- Hang Something Worth Walking Toward
- Slide the Sink Under the End Window
- Cluster the Tall Units at One End
- Shrink One Run to 15 Inches When the Room Is Under 7 Feet
- Light the Counters From Underneath
- Specify Flat Fronts and Integrated Pulls
- Take the Backsplash Up to the Shelf Line
- Cut a Pass-Through at the Dead End
Measure the Clear Aisle Before You Pick a Single Finish
Face to face, counter edge to counter edge: that's the only number that matters here, and it isn't the number printed on a cabinet plan.
Measure appliance fronts too, because a refrigerator door typically bulges past the boxes by an inch or two.
Two standard 24-inch base runs plus a 42-inch aisle needs roughly 7 feet 6 inches of wall-to-wall width before finishes. That math tells you in one minute whether two full runs are even on the table.
Write the figure on the wall in pencil and leave it there while you shop. Every rule below either protects that number or steals from it.
Hold the Working Aisle at 42 Inches, 48 If Two of You Cook
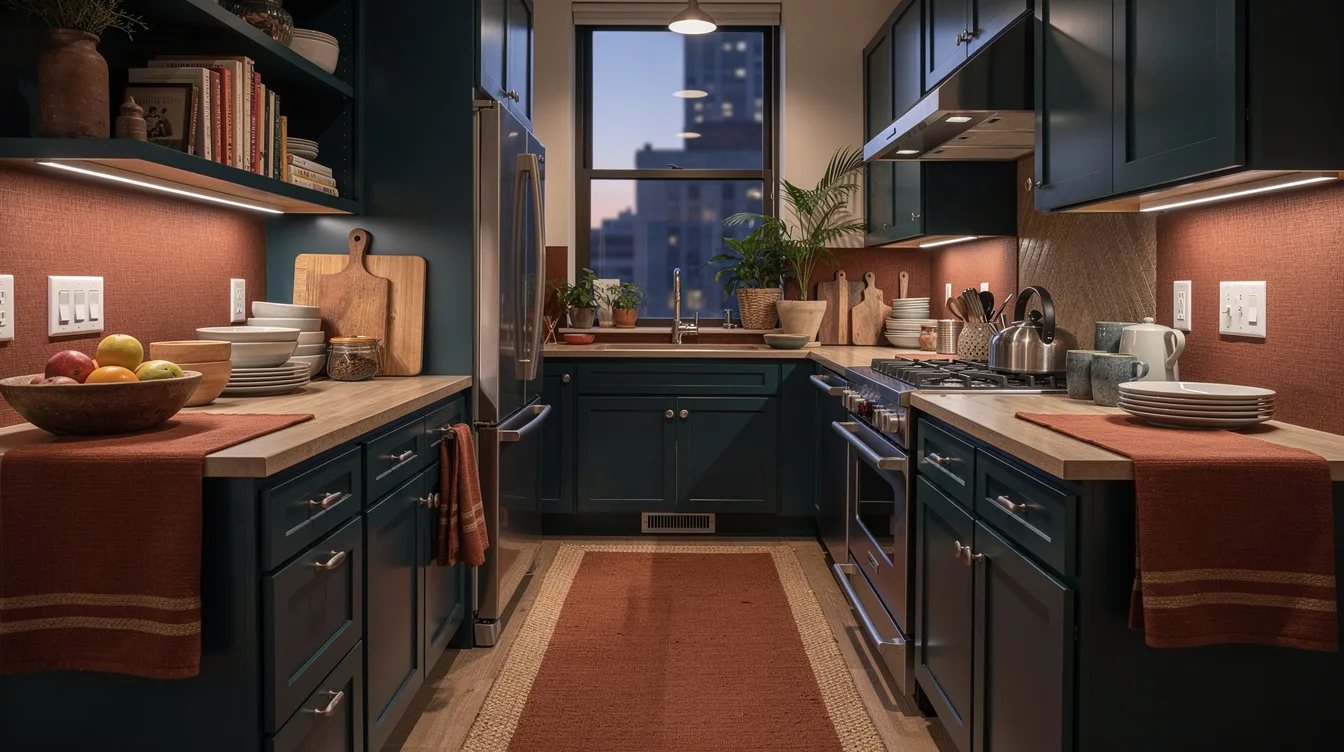
Kitchen design guidance typically puts the working aisle around 42 inches for one cook and about 48 inches once more than one person is in the room.
At 36 inches you can cook, but an open dishwasher door consumes the entire passage and the space reads as a hallway with a range in it.
If the galley is also the route to the yard or the laundry, aim for 54 to 60 inches so somebody can pass behind a cook without a shuffle.
That extra foot buys more daily comfort than any finish you could specify. We'd give up a bank of cabinets for it without much debate.
Strip the Upper Cabinets From One Side Only
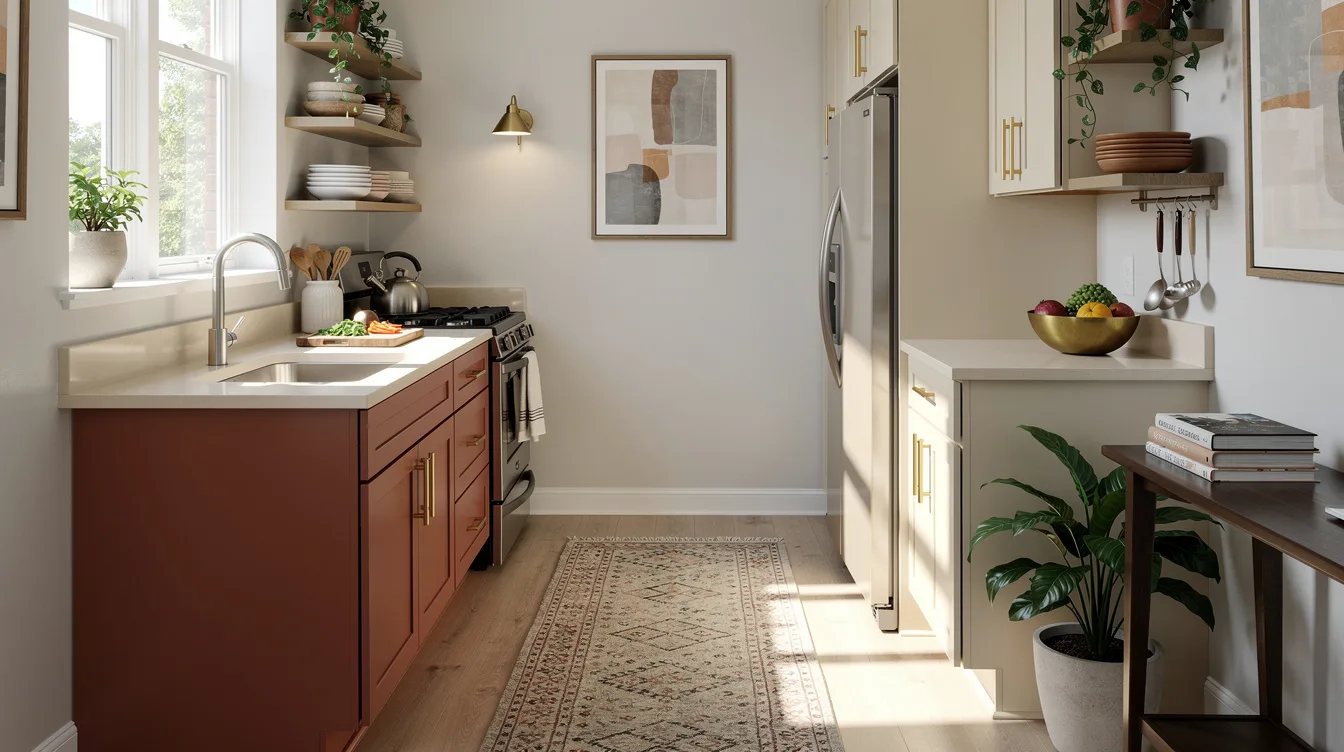
Two continuous rows of 12-inch-deep wall cabinets cause the corridor effect more than anything else in the room. They squeeze the space at eye level, which is exactly where you read width.
Pull them off one side and keep the other run intact so your storage stays real. Choose the darker side to stay closed, and let the brighter wall go open.
Used IKEA SEKTION uppers sell fast secondhand, so the swap costs less than people assume.
The change registers before the paint dries. It's the one move we'd make first in a rental.
Keep Open Shelves Under 10 Inches Deep
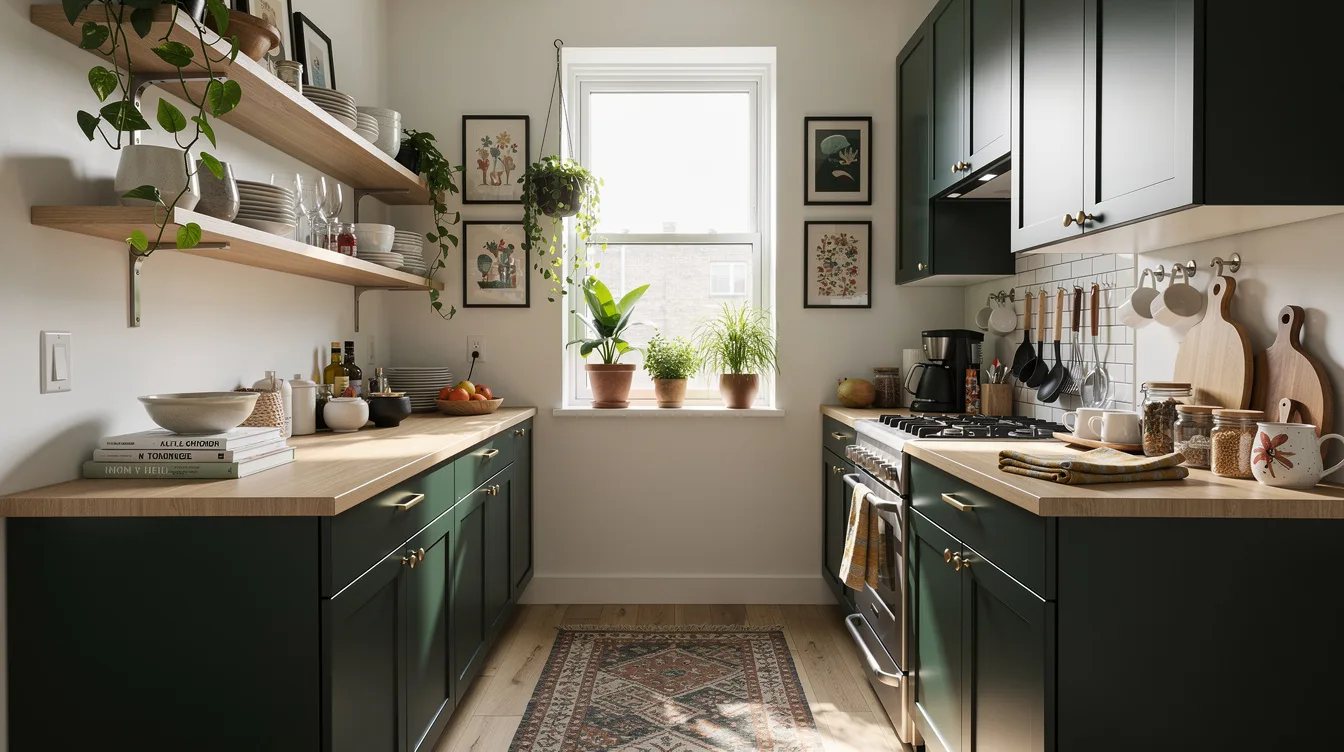
Open shelving only helps when it's shallow. Anything past about 10 inches projects back into the sightline, and you've traded cabinets for a bulkier version of the same problem.
An IKEA KUNGSFORS stainless shelf runs around $50 and sits tight to the wall.
Home Depot and Lowe's both stock 8-inch poplar and pine boards you can bracket up for less than that, cut to length in the store.
Fill them with the dishes you reach for every day. Everyday bowls and drinking glasses stay in rotation, so they never collect the greasy film that makes open storage look abandoned.
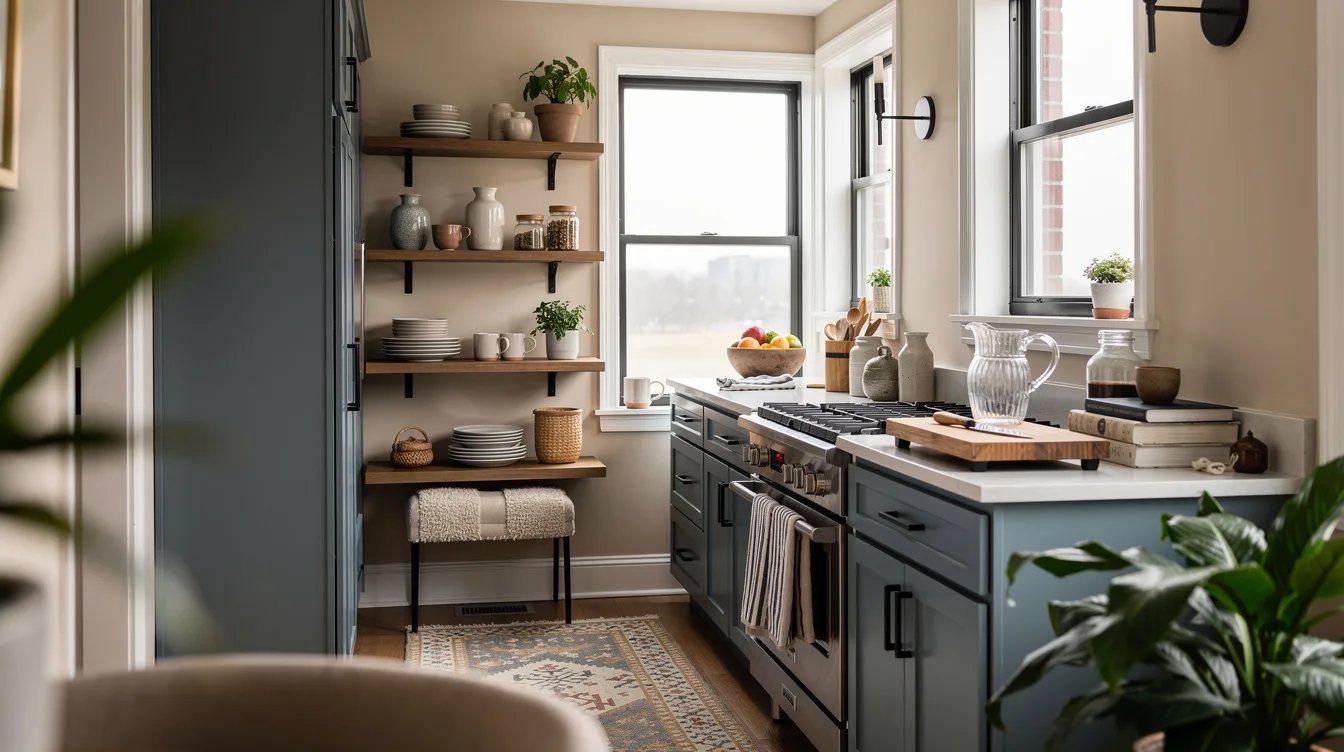
Stop the Upper Run Short of the Far Wall
Carry wall cabinets all the way to the end and you frame the room like a tunnel mouth. Stop them 12 to 24 inches short instead.
That gap turns into a niche. One ceramic pitcher. A small framed print.
Three cookbooks leaning on the plaster.
The end of the room reads as a wall again, which is the whole point, and it costs nothing when the cabinetry is still on order.
Already installed? Removing the door and shelf from the last box gets you most of the way there for an afternoon of work.
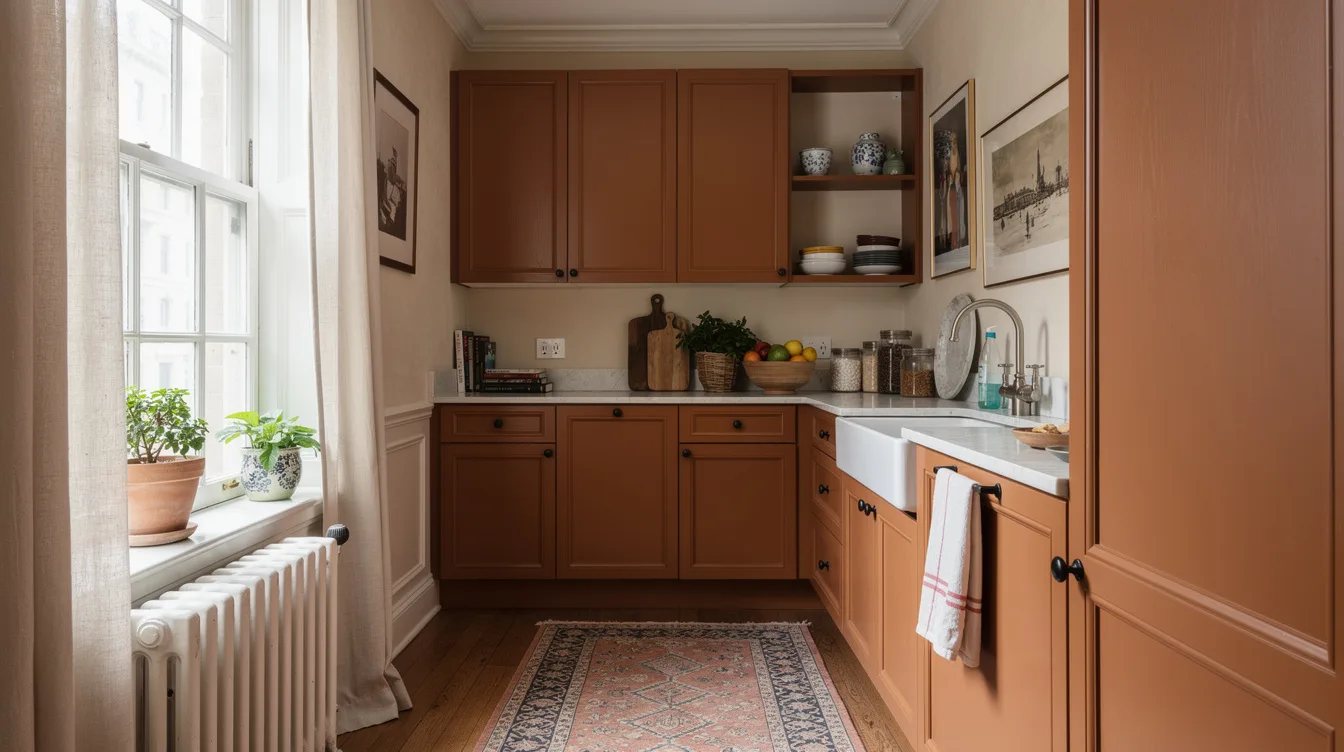
Paint the Far Wall a Deeper Shade Than the Sides
Keep the long walls light and give the end wall some body. Terracotta, clay, muted olive, smoky blue: color with weight pulls the eye forward rather than sideways.
A quart usually covers one end wall, and a gallon of Behr Marquee typically runs about $50 at Home Depot if you want leftovers for touch-ups.
Do not repeat the deep shade on both side walls. That closes the width right back up, and narrow rooms have none to spare.
Test the swatch at night under your actual bulbs. Galley kitchens rarely see much daylight past midday, so the evening reading is the honest one.
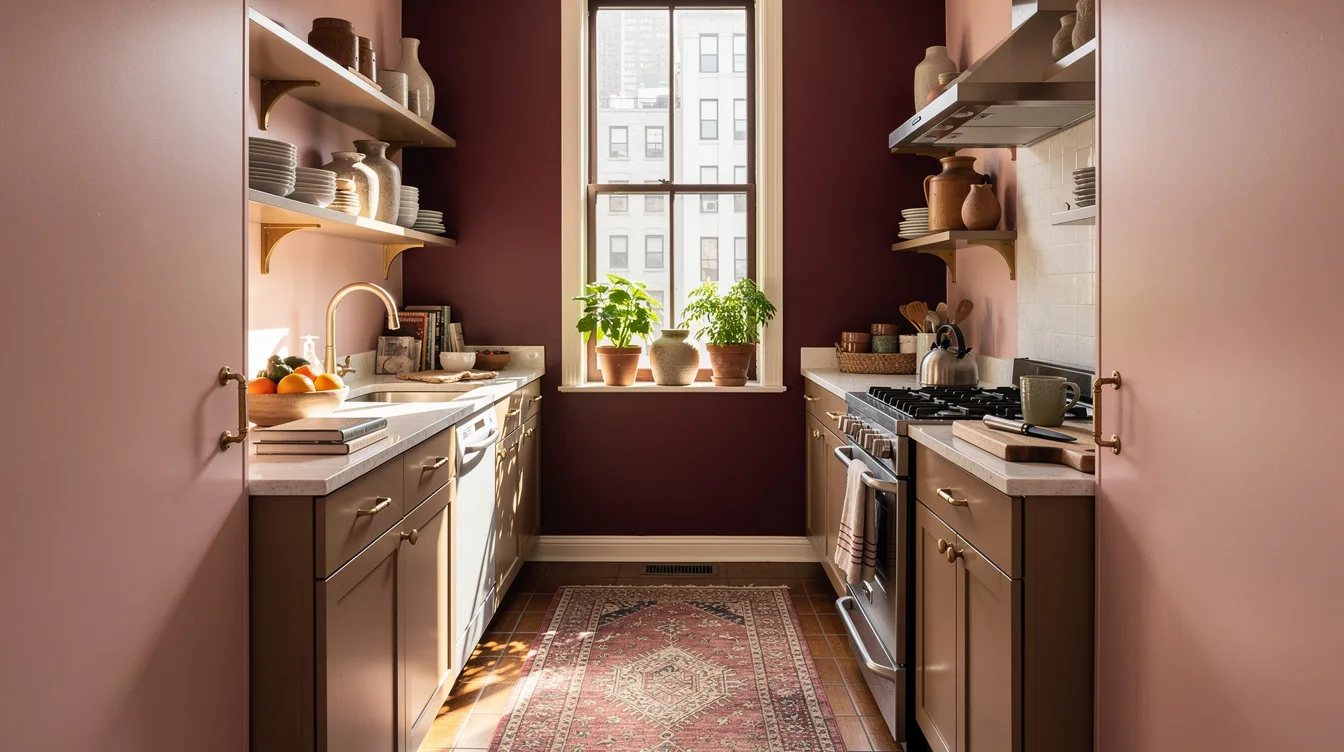
Hang Something Worth Walking Toward
A blank end wall gives the eye nothing to do, so it registers the distance instead. Give it a destination.
A mirror 24 to 36 inches wide works hardest, since it borrows light and fakes depth in the same move. Target and Wayfair both carry arched and rectangular versions in that range, typically well under $200.
Art works too, as long as the piece is large enough to hold the wall by itself.
One oversized image beats a cluster of small frames in a room this tight. Little frames read as noise from 10 feet away.
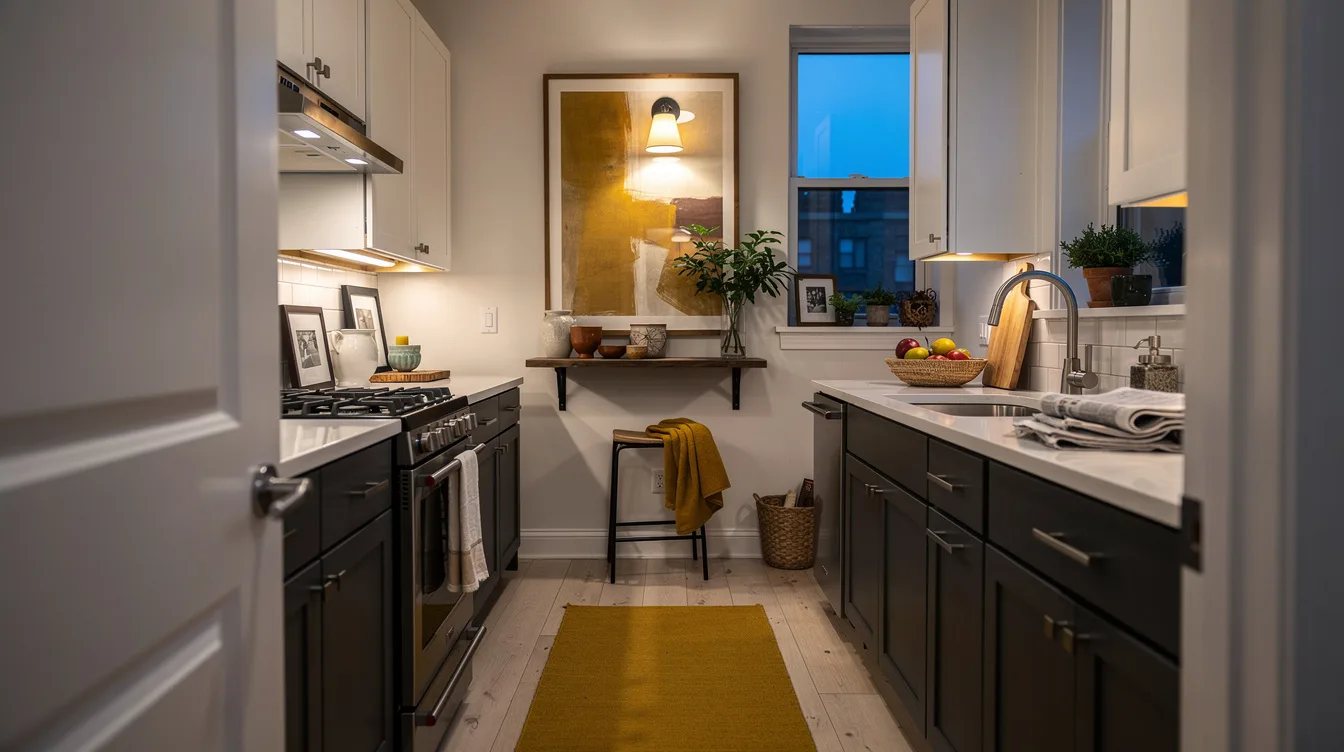
Slide the Sink Under the End Window
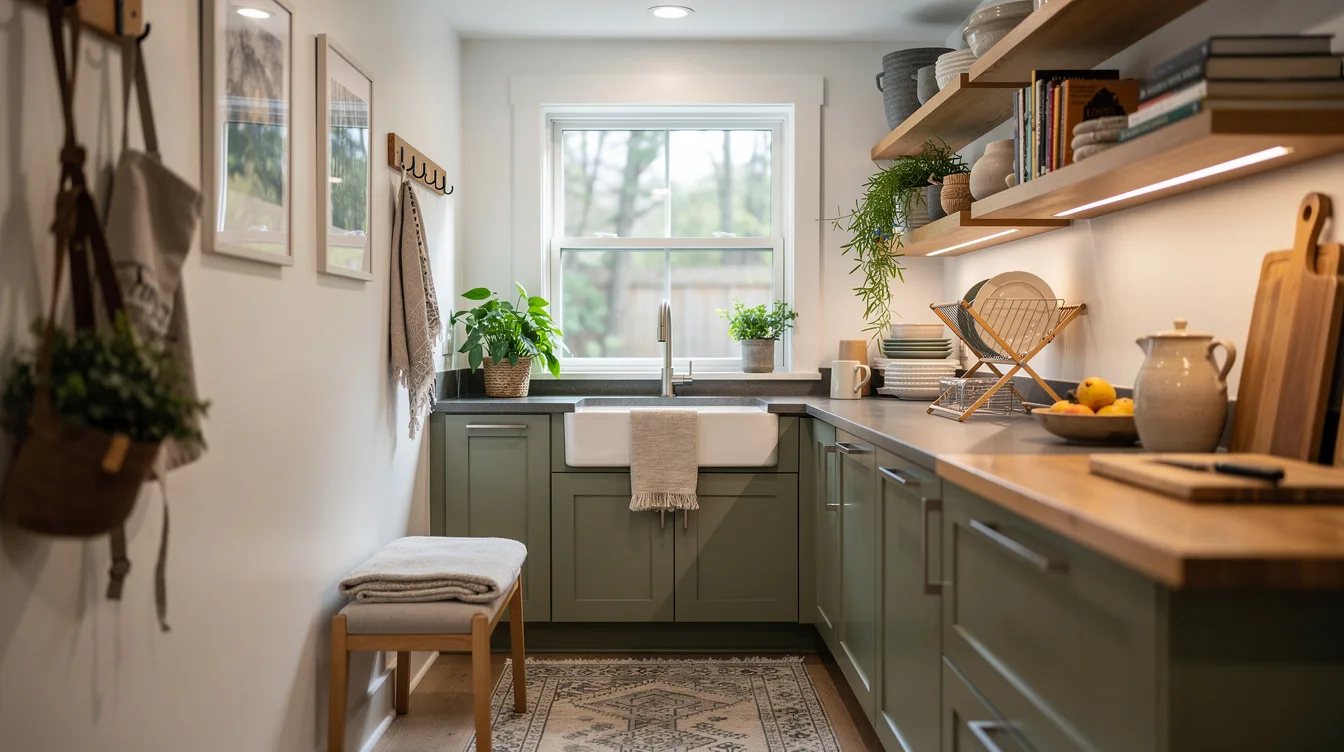
When the plumbing can move and a window sits at the far end, put the sink there. You gain a view at the end of the run, which is the cheapest anti-hallway device in the kitchen.
Budget it honestly: relocating a drain line typically runs several hundred dollars in labor, before anyone recuts the countertop.
If the sink stays put, at least clear the sill. A potted rosemary and nothing else beats a row of bottles blocking the glass.
Hang a simple linen shade rather than a blind with a heavy valance. Anything bulky at the top of that window shortens the room.
Cluster the Tall Units at One End
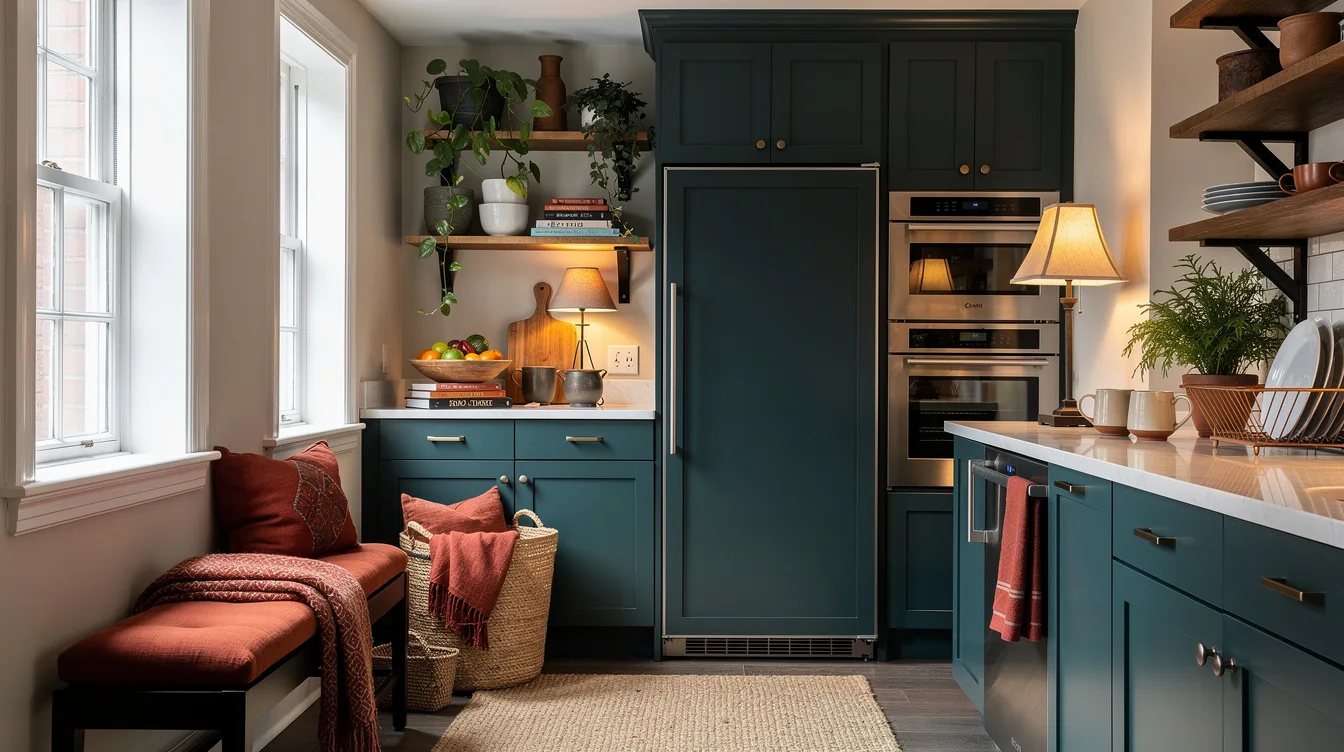
Put a refrigerator here and a pantry tower 6 feet away, and both runs read full height for their entire length. Group every tall unit at one end instead.
The rest of the kitchen then reads low and open, with counters at 36 inches doing the visual work. Diamond NOW cabinets at Lowe's make this straightforward, since pantry widths line up beside a standard fridge opening.
Never park the refrigerator in front of the only end window. That single placement cancels most of this list.
Same goes for a broom closet at the far end. Tall storage belongs where you enter, not where you look.
Shrink One Run to 15 Inches When the Room Is Under 7 Feet
Below roughly 7 feet of total width, two full 24-inch runs will never leave a workable aisle. Stop fighting the plan and change it.
Run one side at full depth for the sink, cooktop, and dishwasher, then drop the facing side to 15 or 16 inches for plates, pantry goods, and small appliances.
IKEA SEKTION 15-inch base units handle this well, and bathroom vanity cabinets from Home Depot come in similar depths for less money.
You surrender some storage and recover close to a foot of aisle. In a room this narrow, that's the better half of the trade.
Light the Counters From Underneath
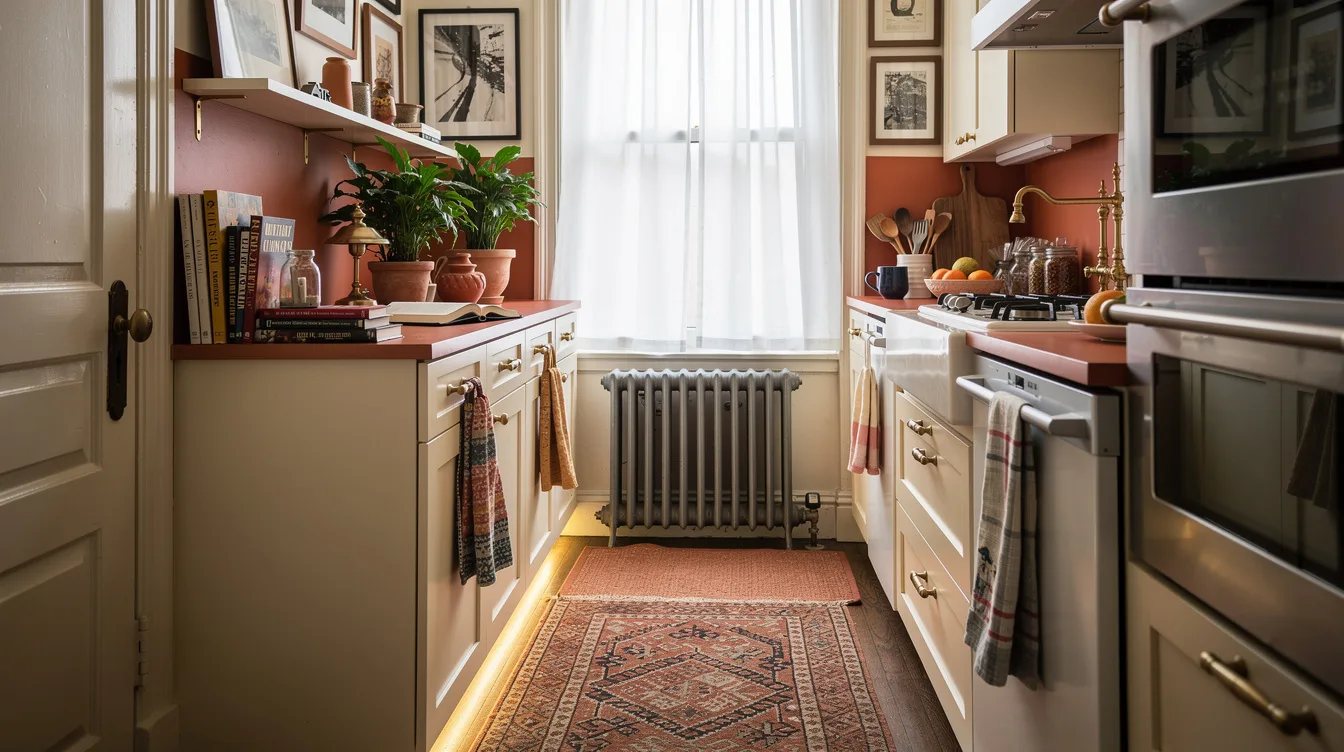
One fixture in the middle of a galley makes a bright center and two dim ends, which is precisely how a hallway is lit.
Move the light onto the countertops. LED bars typically run about $30 for a multi-pack on Amazon, and Feit Electric strips from Costco cover a full run for not much more.
Choose warm output, roughly 2700K to 3000K. Cool white reads like a parking garage between two close walls.
Wire them to a wall switch instead of a phone app. Lighting you have to unlock your phone for is lighting you'll stop using by March.
Specify Flat Fronts and Integrated Pulls
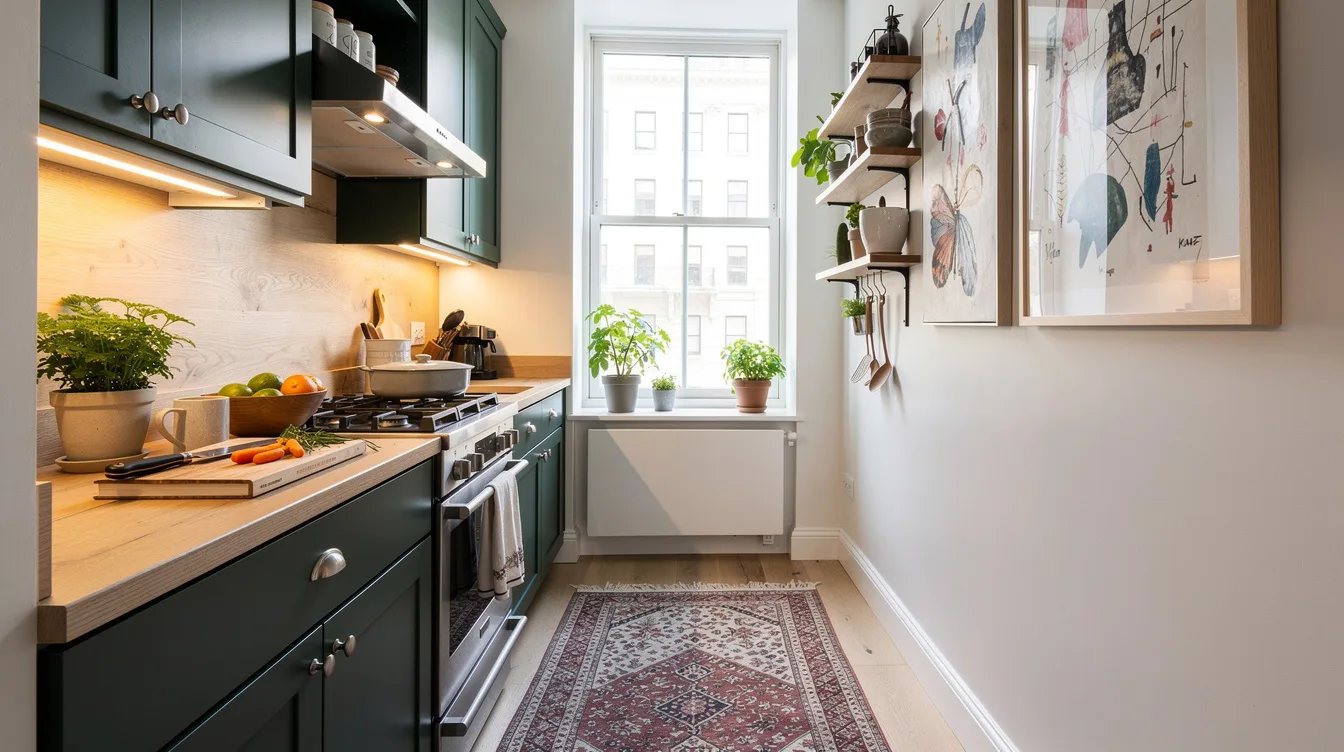
Projecting handles catch hips and throw a small shadow every 20 inches down both walls. Your eye reads that rhythm as texture, and texture at close range reads as clutter.
Slab doors with edge or integrated pulls quiet it down. IKEA VOXTORP fronts carry no hardware at all, and most big-box lines offer a finger-pull profile now.
Go satin rather than high gloss. Gloss shows every fingerprint from 2 feet away, and in a galley everything is 2 feet away.
Pale warm neutrals beat bright white here. White fronts against a light wall flatten into one blank plane.
Take the Backsplash Up to the Shelf Line
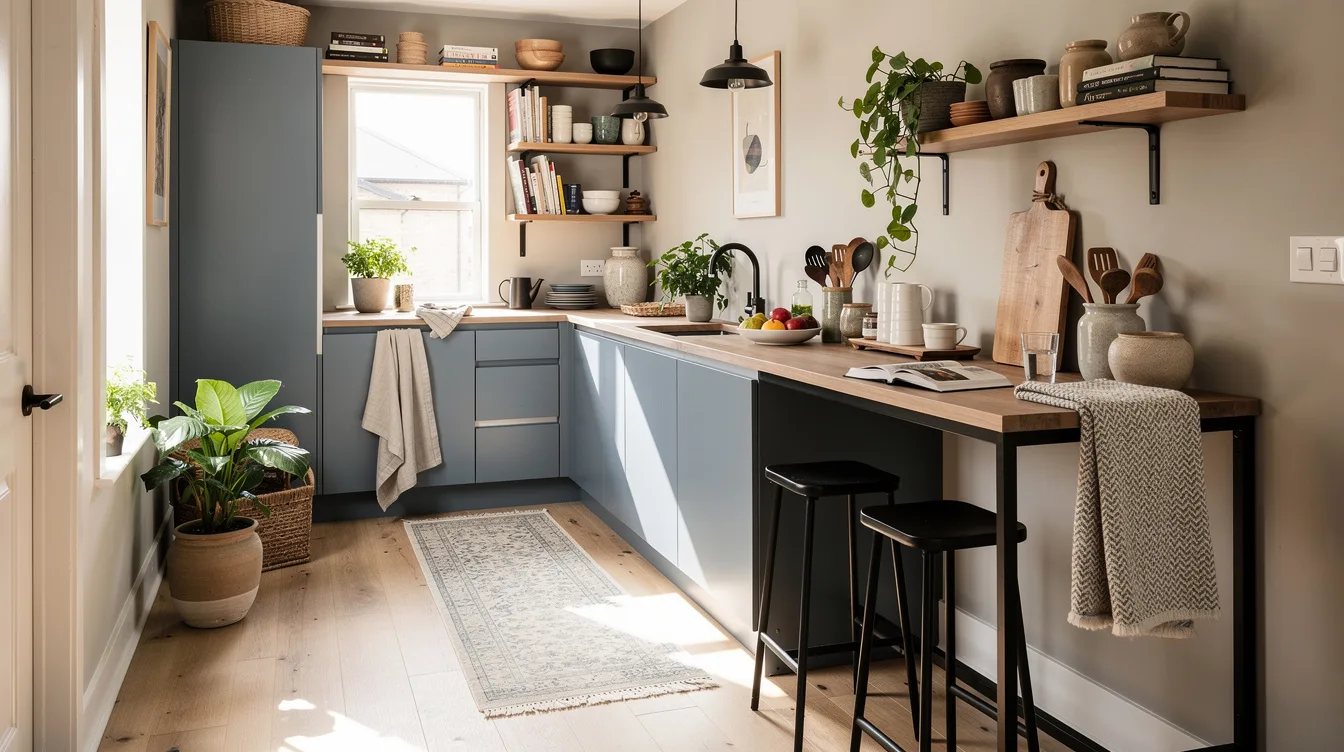
Run the tile from the counter to the underside of the shelves or cabinets rather than stopping at a 4-inch strip.
That taller field bounces light down the room and gives you one continuous surface instead of a seam at hip height.
Zellige-style ceramic and plain 3 by 12 subway both do the job, and Home Depot and Wayfair typically stock each around $6 to $12 per square foot.
Keep the grout close to the tile color, especially on the open-shelf side. Contrast grout draws a grid, and a grid makes a small wall look busy from the doorway.
Cut a Pass-Through at the Dead End
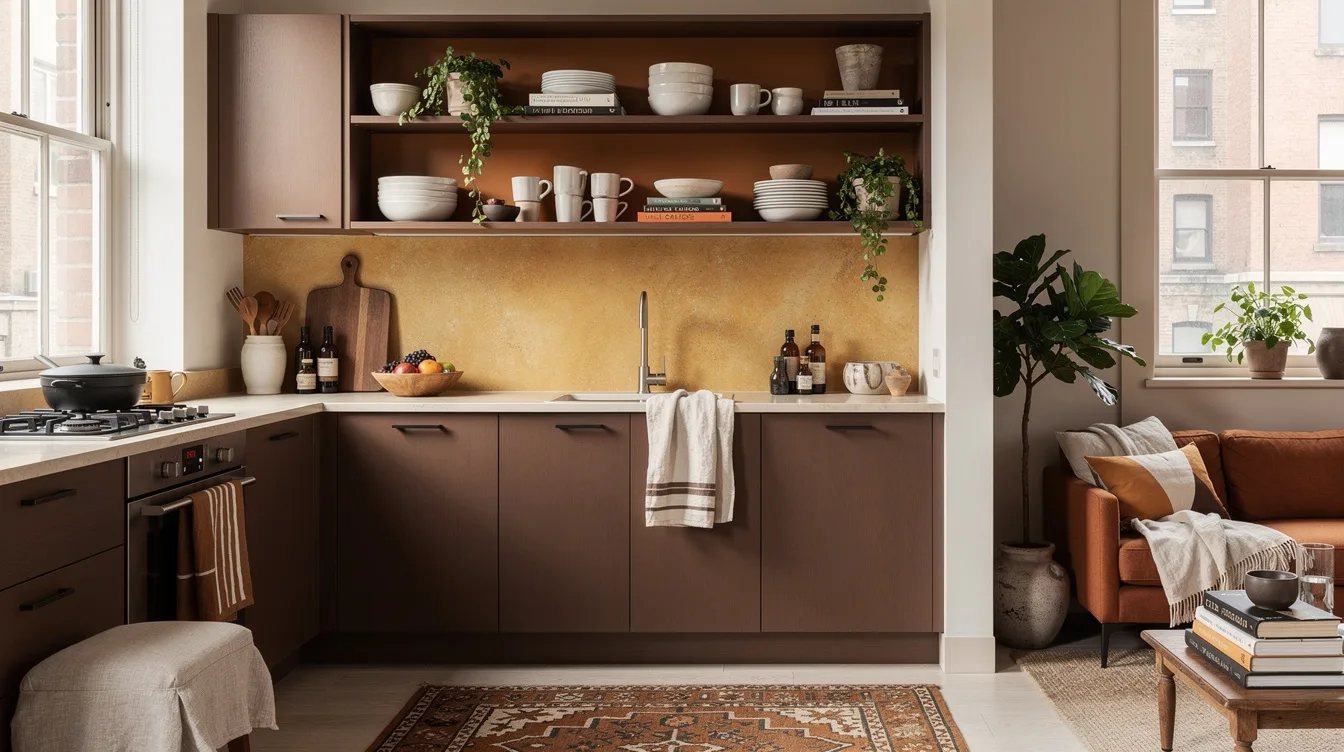
When the end wall backs onto another room, opening it changes perceived depth more than any decorative upgrade above.
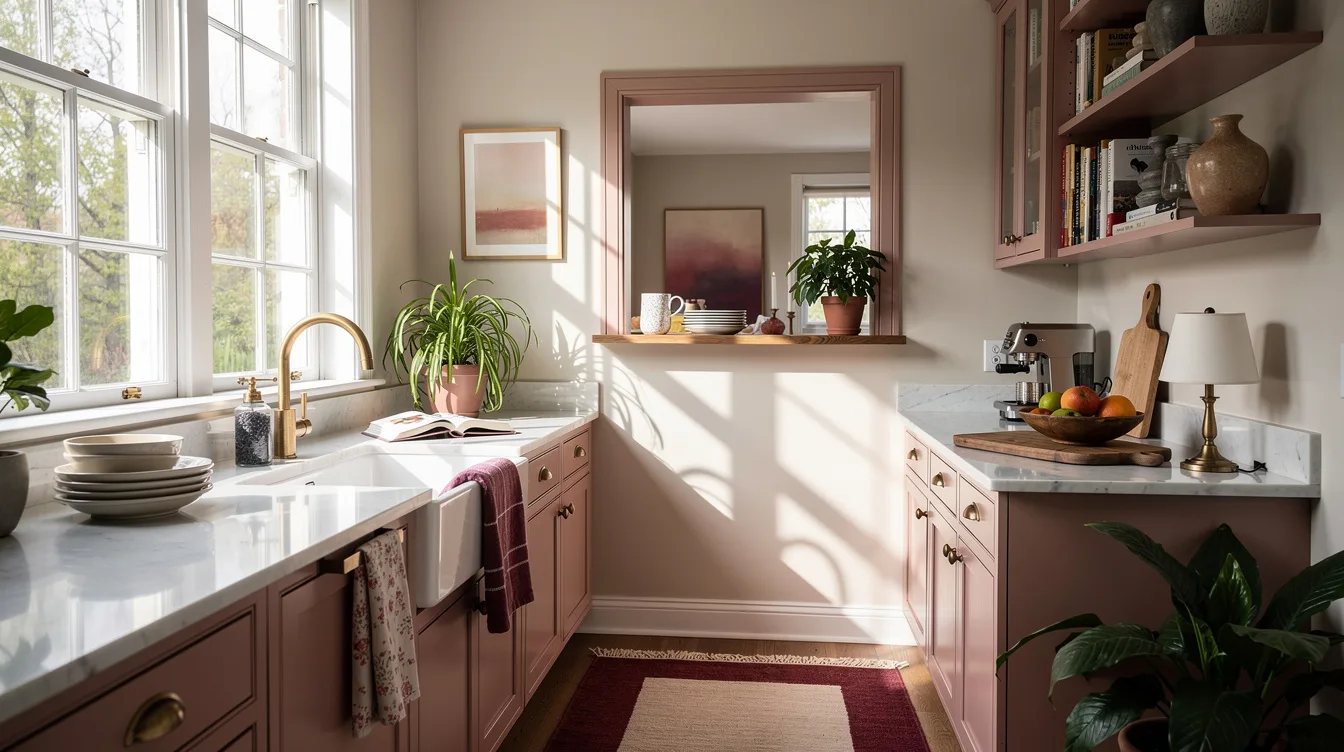
A pass-through, a widened doorway, or a glazed interior door all borrow sightline from the next space. Even a 30-inch opening breaks the tunnel.
This is contractor work, and a non-load-bearing wall typically starts in the low four figures once drywall and paint are included.
It's also permanent, and it's the one move that stops a galley reading as a hallway for good. If you're already renovating, price it before you price the cabinets.
Keep reading
- No Windows? These 11 Lighting Layers Make Rooms Feel Less Flat
- 12 Ways To Make a Narrow Victorian Room Feel Less Cramped
- 14 Ways to Make Your Bedroom Feel Like an Aman Resort for Less
Order of operations matters more than budget here: tape measure first, then a quart of paint for the end wall and a pack of under-cabinet LEDs. That's under $100 and one Saturday, and it tells you whether the cabinetry needs touching at all.


