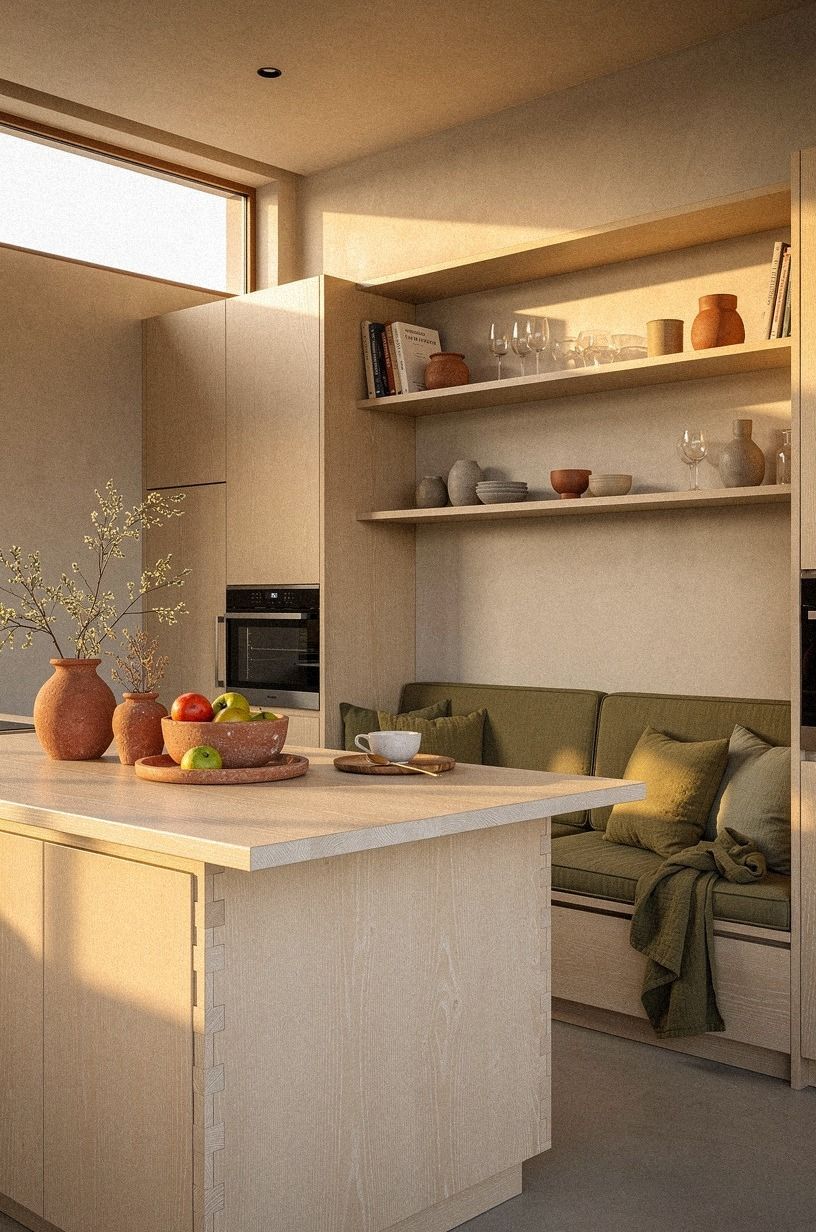
How to Pull Off a Japandi Kitchen & Dining With a Cozy Breakfast Nook
12 july 2026Most Japandi kitchens look effortless online and rarely are. My first attempt ended up oak-everywhere, no contrast, no anchor, no place to actually sit. The breakfast nook felt like an afterthought bolted onto a clean room. This how-to walks through the fourteen choices I'd make next time, in the order they matter most, so the cozy breakfast nook is the heart of the kitchen from day one.
- Set the Japandi foundation in cerused oak and plaster
- Start with a low oak dining table
- Why black-stained legs earn their keep
- Anchor the table with a paper pendant
- Build an L-shaped banquette instead of a separate bench
- Tuck in a slatted oak bench on the open side
- Layer a black drum pendant over the island
- Hang a single shoji panel as the backdrop
- Set the Japandi foundation in cerused oak and plaster
- Start with a low oak dining table
- Why black-stained legs earn their keep
- Anchor the table with a paper pendant
- Build an L-shaped banquette instead of a separate bench
- Tuck in a slatted oak bench on the open side
- Layer a black drum pendant over the island
- Hang a single shoji panel as the backdrop
- Run a low shelf along the dining wall
- Frame the dining zone with a jute rug
- Span three open shelves for stacked dishware
- Ground the table with one stoneware vase
- Repeat the island wood in matching stools
- Stack linen napkins at every place setting
1Set the Japandi foundation in cerused oak and plaster
Start with the bones before you pick a single object. A Japandi kitchen lives or dies on two materials.
Cerused white oak for the island and bench carcass. Skip the high-gloss lacquer. It fights the philosophy.
The second material is limewashed plaster, or a matte warm-white paint, on the walls. The plaster absorbs light instead of bouncing it back like a tile would, so the room feels quieter by 8pm.
If you're renting, the plaster look is one coat of Benjamin Moore White Dove (OC-17) in flat finish over a primed wall. Cheap, no sheen, totally on-brand. We use the same move across the whole house, and our Japandi living room layout guide breaks down how it ties the room to the rest of a calm plan.
2Start with a low oak dining table
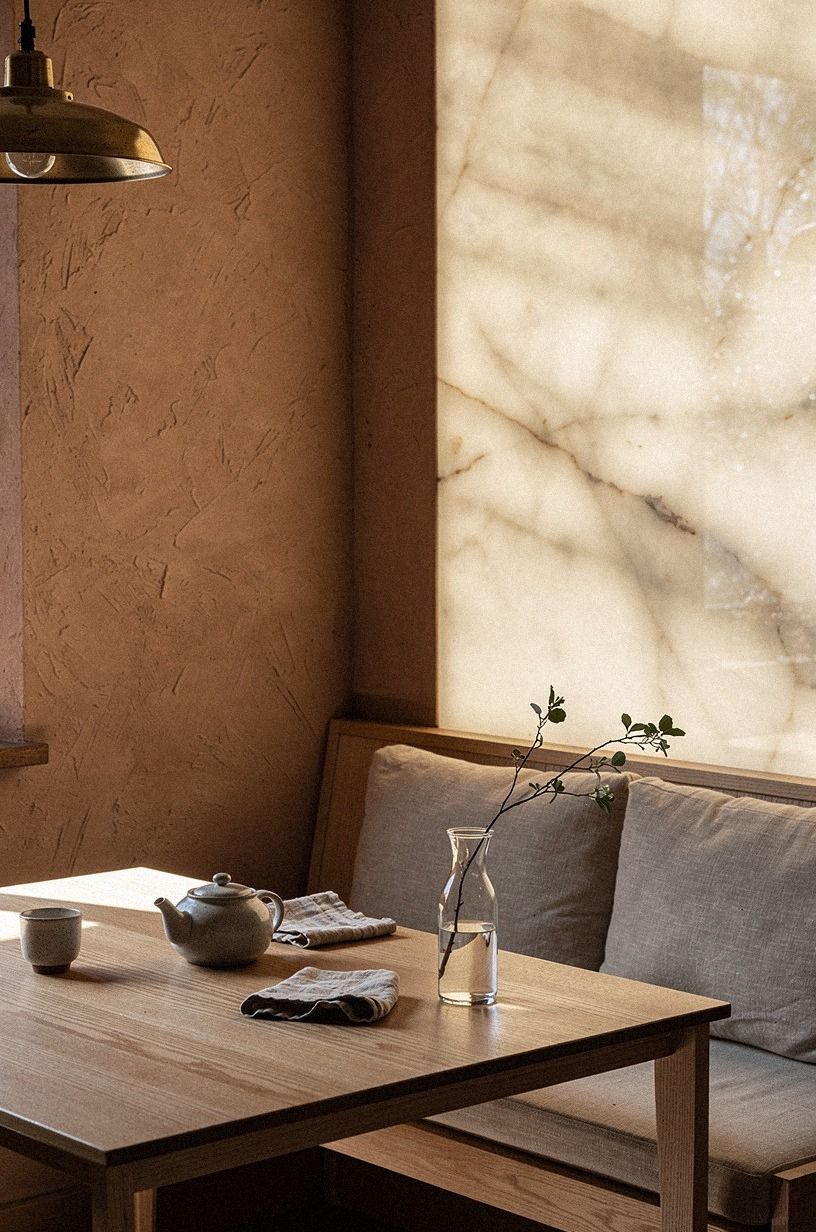
The first object in the nook should be the table, and it should sit low.
3Why black-stained legs earn their keep
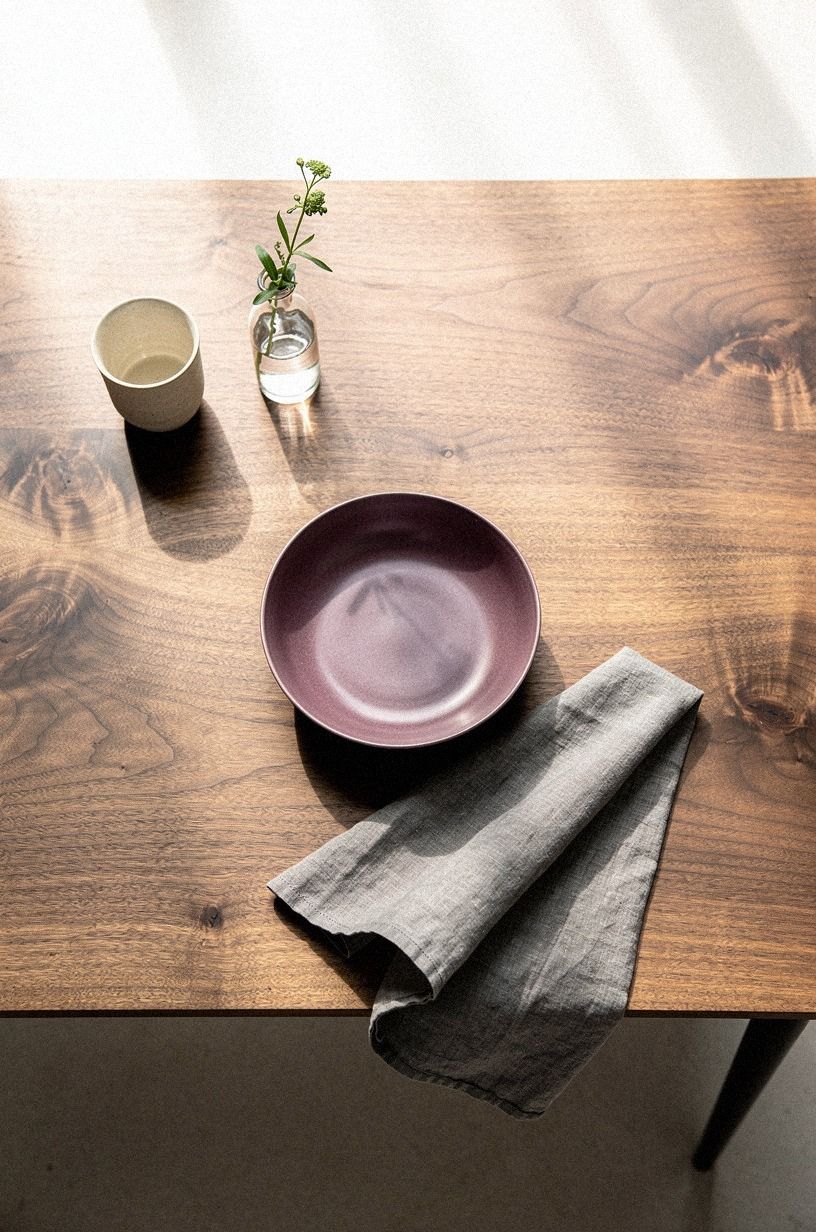
Here's the question nobody asks but every Japandi room answers: what stops the all-oak-everywhere look from going bland? Black-stained legs. On a low oak table, four slim ebonized oak legs (or matte black steel if you're on a budget) give the eye somewhere to land besides the grain.
They also ground the table visually so the banquette behind it doesn't look like it's floating. Don't skip this detail. It's the difference between "intentional" and "IKEA showroom floor."
For a tighter budget, IKEA LISABO with replacement legs in black is your friend. The whole swap runs about $40 in legs and a Saturday afternoon with a foam brush and General Finishes Black Onyx stain. You'll feel the room calm down the moment the new legs hit the floor.
4Anchor the table with a paper pendant
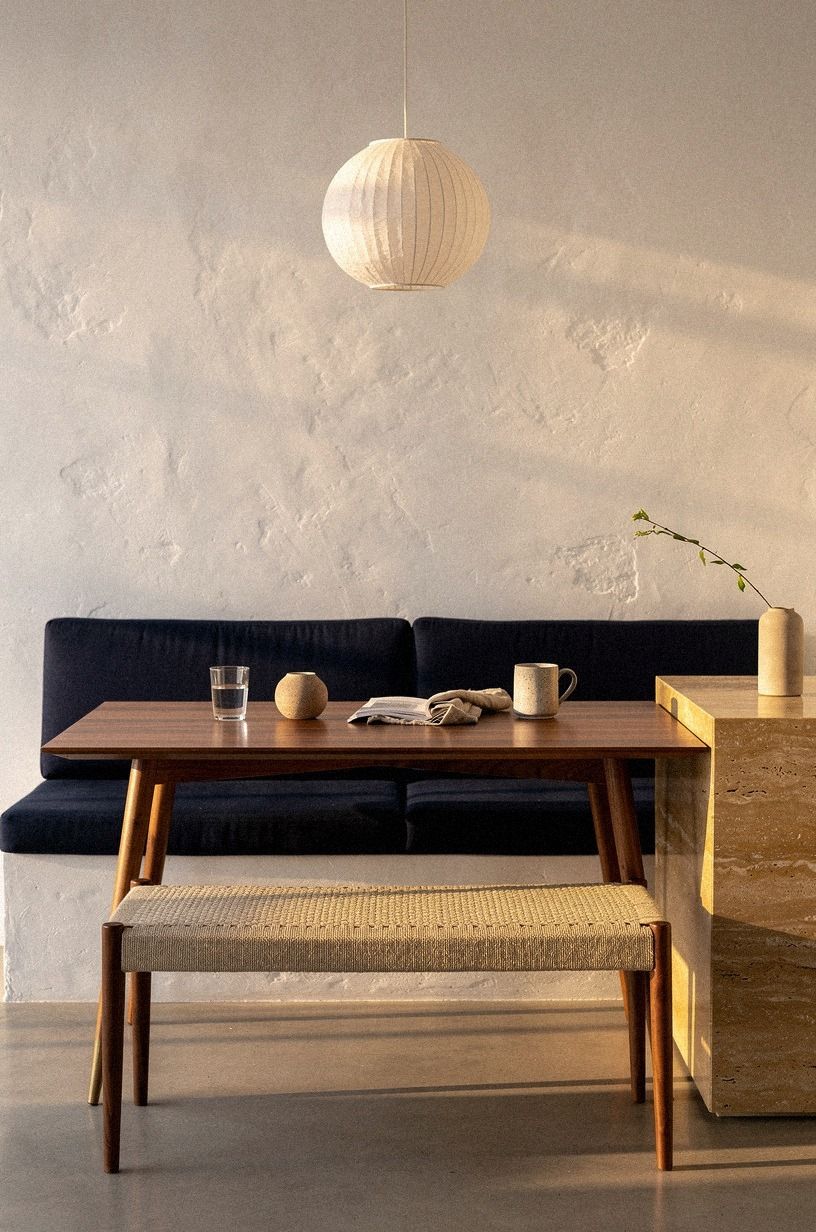
Overhead lighting in a nook is where most people overdo it.
5Build an L-shaped banquette instead of a separate bench
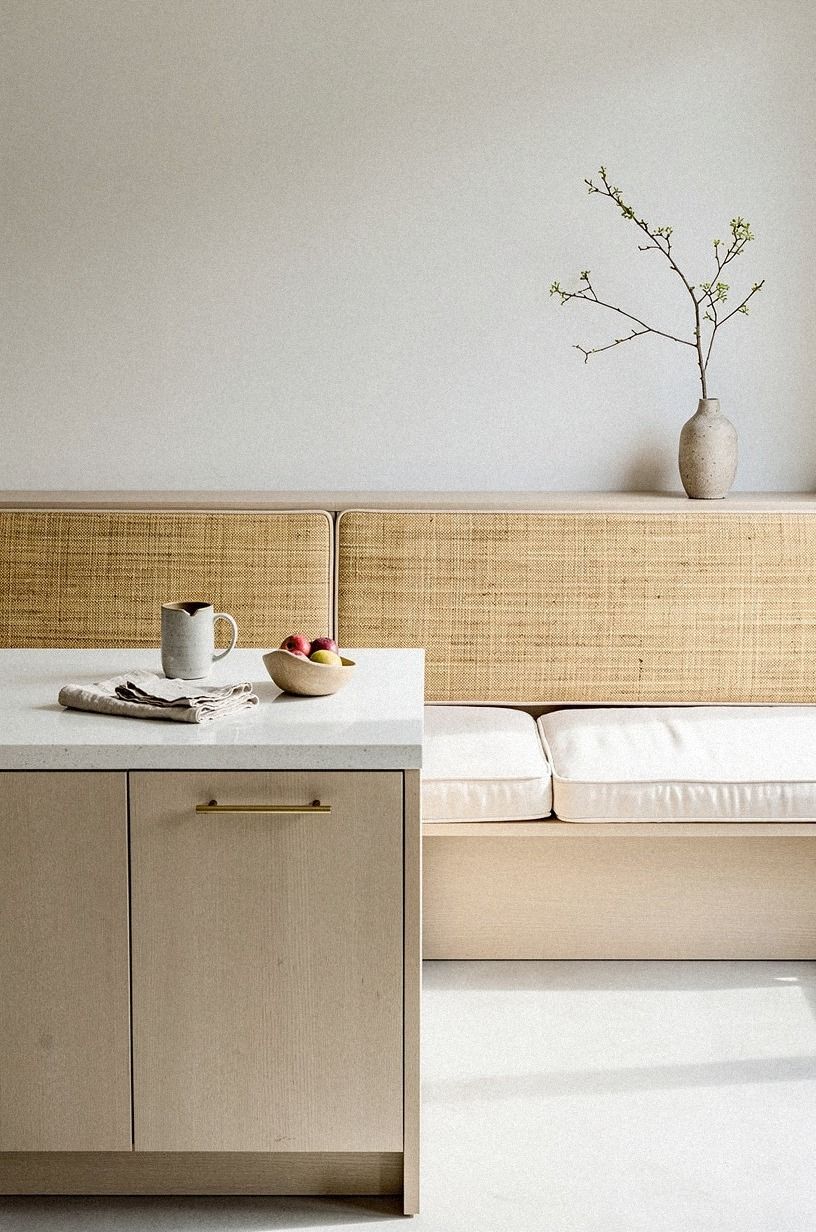
This is the move that separates a Japandi nook from a diner booth. An L-shaped banquette tucked against two walls gives you four to six seats in the footprint of a small loveseat. The corner is where the magic happens: a kid curls up there with toast, a laptop fits, a friend tucks their knees.
A separate bench against one wall gives you two seats and a sad gap. Build the base in birch plywood (paintable, stable), top it with a 4-inch down-wrapped foam cushion in oatmeal linen, and angle a small bolster pillow at the corner.
Trust me on the bolster! The linen reads soft and welcoming, the foam wraps you the moment you sit, and the corner becomes the cozy spot everyone fights for at breakfast.
Our banquette dining ideas roundup shows the same corner geometry across eleven real kitchens. When you plan the L first, the table and chairs fall into place, and the whole nook feels intentional instead of improvised.
6Tuck in a slatted oak bench on the open side
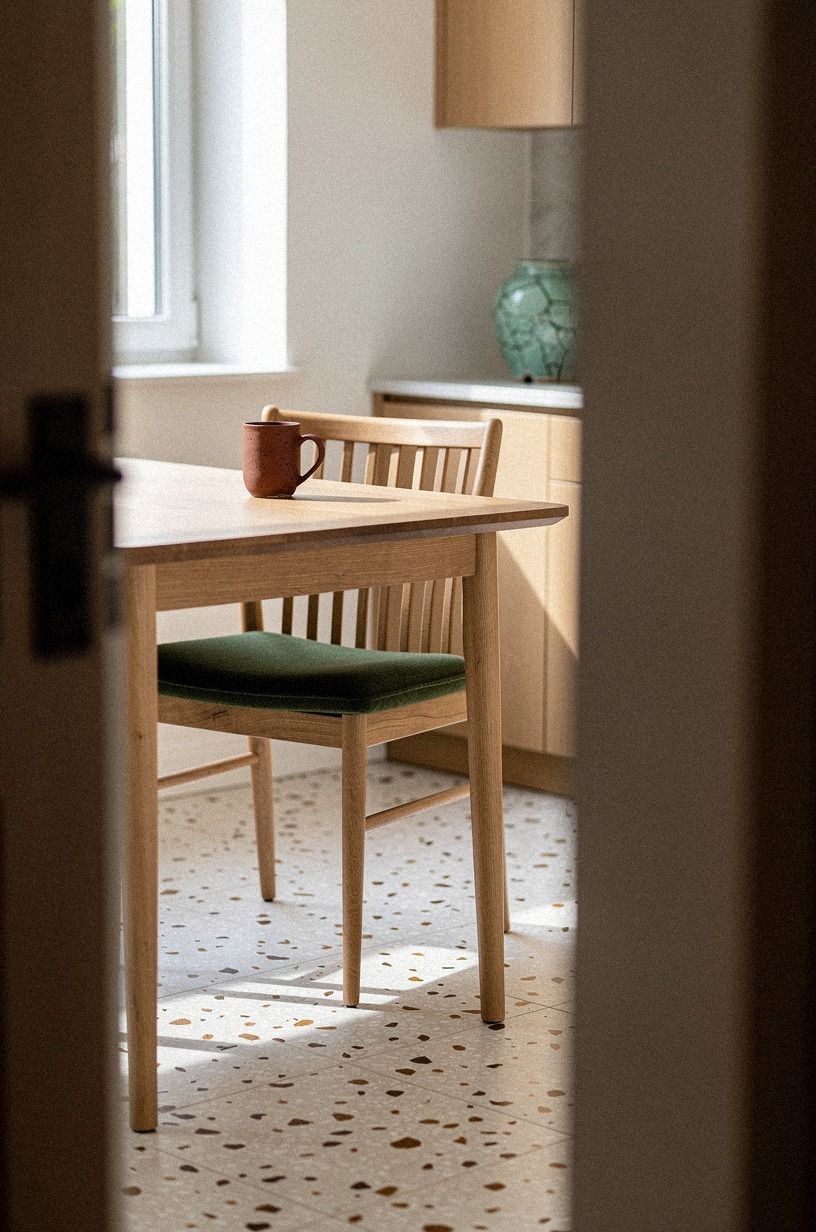
For the side opposite the banquette, skip upholstered chairs.
7Layer a black drum pendant over the island
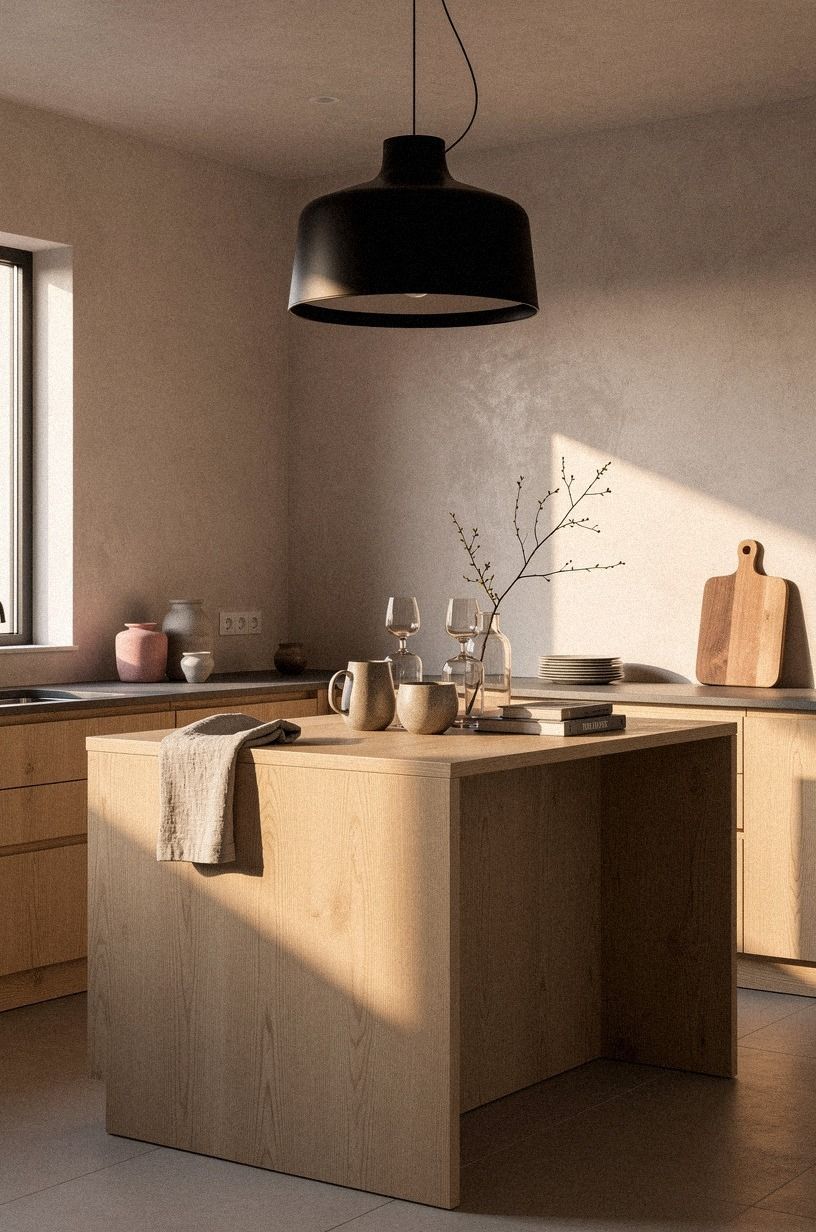
The island gets its own pendant moment, but it should never compete with the nook's paper lantern. A black drum pendant in matte blackened steel or black-stained ash reads as a single, weighty circle against a pale plaster ceiling.
Hang it 36 in above the island counter, centered. The drum shape flatters the rectangular island (round softens square) and the black finish rhymes with the ebonized table legs from step 3.
Schoolhouse Electric makes a great one. If you're budgeting, IKEA RANARP in black, painted, is a true move.
The wiring math (clearance over cooking, switch leg vs. junction box) is in our kitchen island lighting guide, which walks through three heights and dimmer pairings you'll want before you commit. A black drum pendant reads as bold and weighty against the soft plaster ceiling, and the matte black finish feels quietly modern without ever tipping cold.
8Hang a single shoji panel as the backdrop
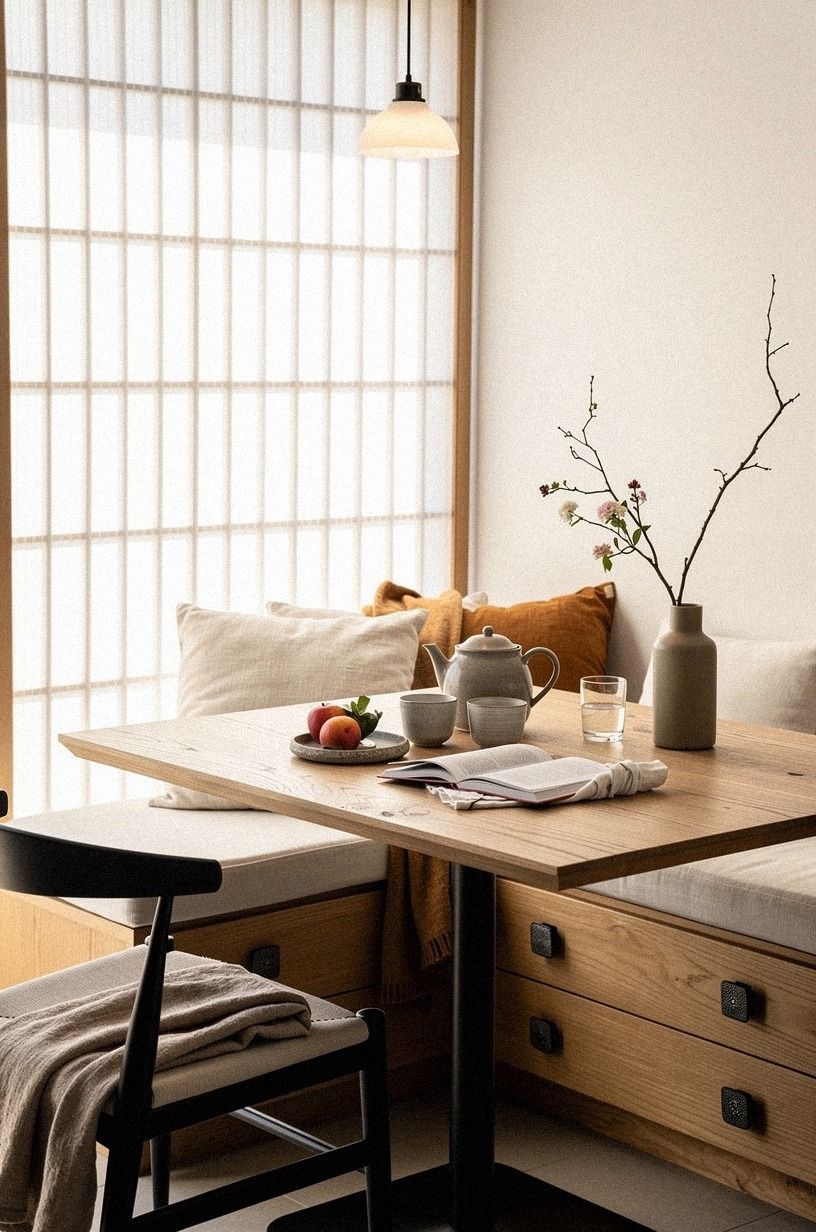
Behind the banquette, hang one, and only one, shoji-style panel as a soft visual anchor. Not a folding screen, not four panels. One.
A white oak frame with washi paper or a translucent linen insert reads as a window that isn't a window, which is exactly the calm backdrop a nook needs. Anchor it 6 in above the bench back so it floats.
Bonus: when afternoon light hits it, the whole corner glows. If you can't source a real shoji, CB2's Furo screen is a serviceable substitute; you only need one panel of it.
The same floating-anchor move shows up across our breakfast nook ideas roundup, where nine of the eleven kitchens use a single panel rather than a full divider. The result is a soft, dreamy corner that feels quieter than the rest of the kitchen, almost like a quiet room inside a busy room.
9Run a low shelf along the dining wall
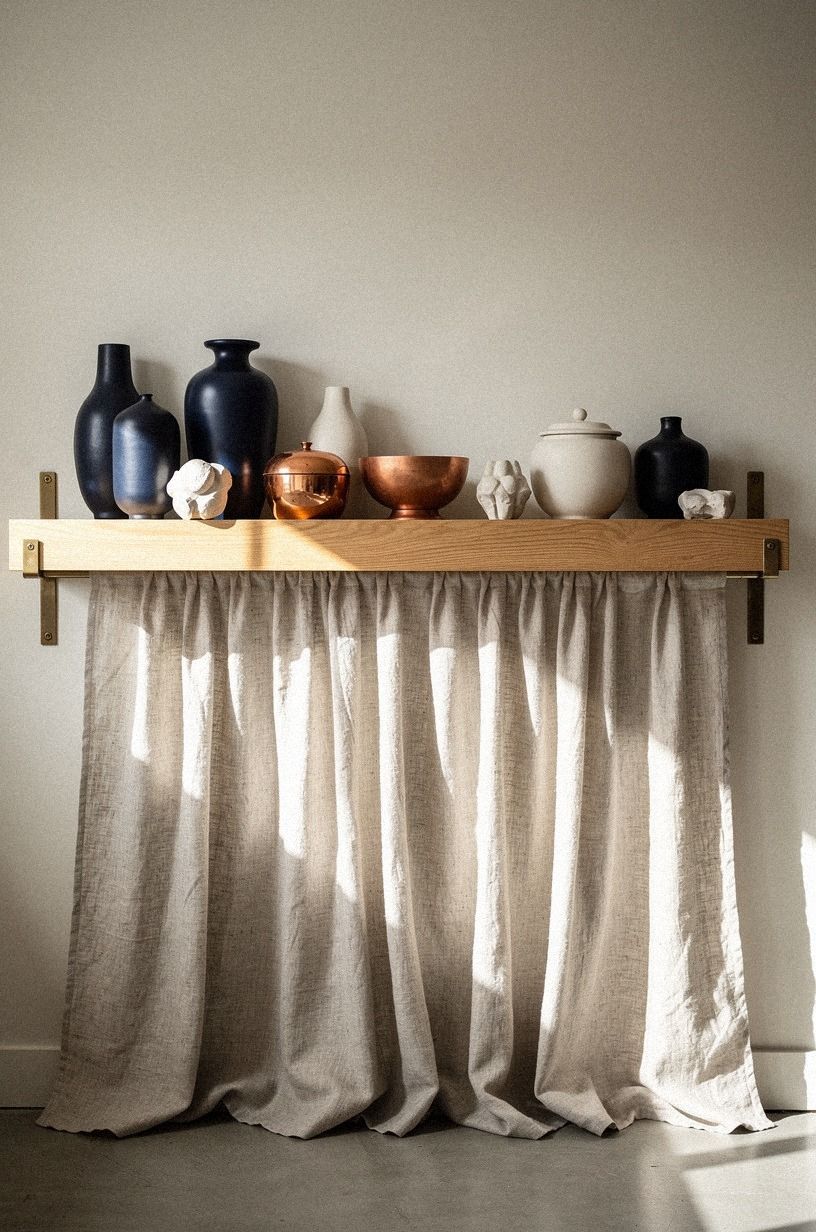
A long, low cerused oak shelf running 8-10 ft along the wall opposite the nook does the work that upper cabinets do in a louder kitchen, but quieter. Set it 36 in off the ground, 8 in deep, single thickness, and you'll read the wall as furniture, not storage.
Style it with midnight blue and ivory ceramics (the Heath Ceramics holiday colorways are perfect for this), one or two copper-toned vessels, and never more than seven objects in a row. The eye wants rest, not a museum!
Our open shelf styling ideas guide runs the same stacking math for nine other shelf walls, including the "rule of seven" we use to keep the styling honest. You'll feel the difference the moment you stand back: a quiet shelf reads as a moment of calm, a cluttered shelf reads as work you haven't finished. The midnight blue reads moody and elegant against the cerused oak, and a single copper vessel brings the whole wall to a warm, glowing close by evening.
10Frame the dining zone with a jute rug
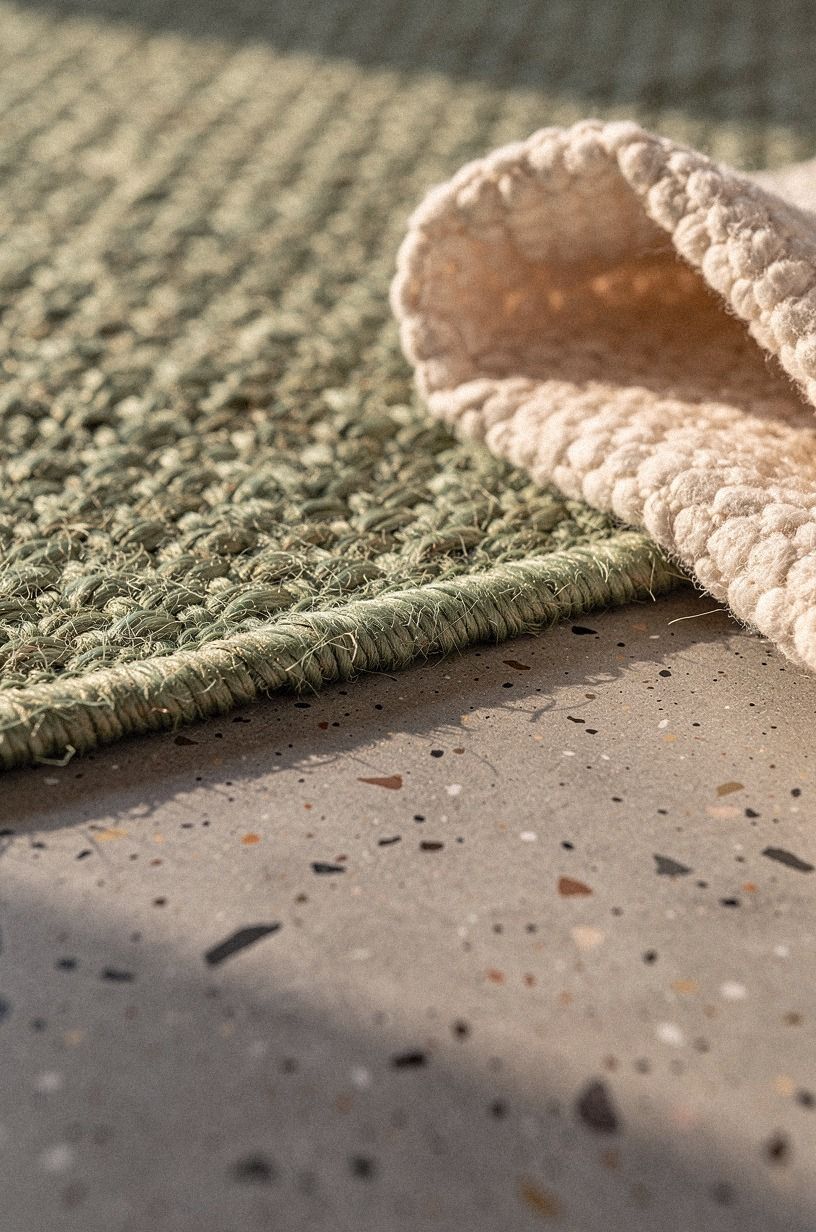
A jute rug in sage green or natural undyed jute does two things: it defines the nook as its own zone without walls, and it absorbs sound so the room doesn't ring when you set down a mug.
8×10 ft is the minimum for a table that seats four. Tuck the front legs of the table onto the rug, let the bench sit fully on it. Skip the pad if you're on a hard floor for the first week.
You'll want to feel whether the jute moves around before you commit to it. We sourced our last one (a 9×12 in undyed jute from Boutique Rugs) for about $260.
A good jute rug also softens the acoustics enough that a loud conversation at dinner doesn't bounce off the plaster walls and come back at you twice. That alone is worth the spend.
11Span three open shelves for stacked dishware
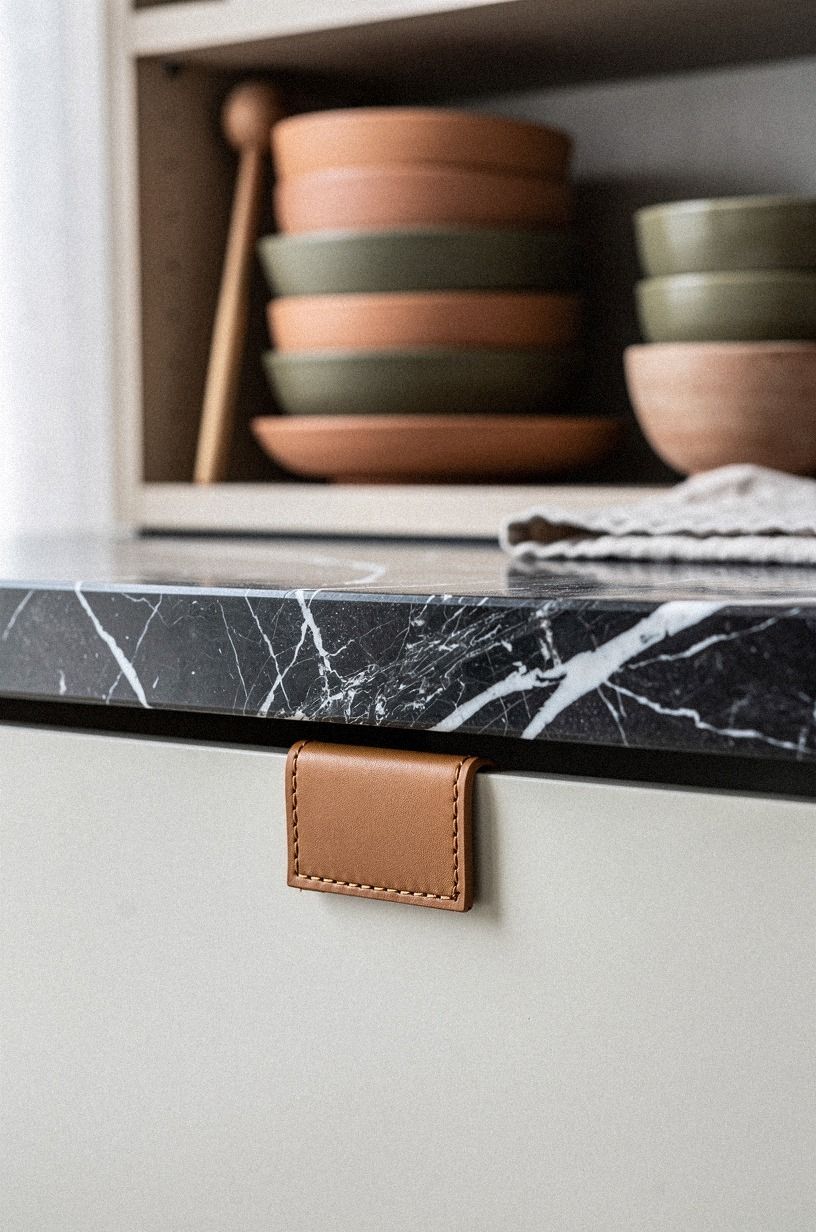
Open shelving in a Japandi kitchen is about stacking, not displaying. Three tiers of floating oak shelves (same wood, always same wood) lined with soft terracotta and olive-glazed stoneware in matching families.
Stack plates vertically, bowls nested, mugs by handle. A run of three 30-in shelves holds more than a single 8-foot shelf because the eye reads the breaks as rhythm.
Nero Marquina honed marble for the counter below. The black veins tie back to your drum pendant and the ebonized legs. Our open shelf styling ideas piece shows the same stacking math across nine shelf walls, including the "rule of seven" we use to keep the styling honest.
12Ground the table with one stoneware vase
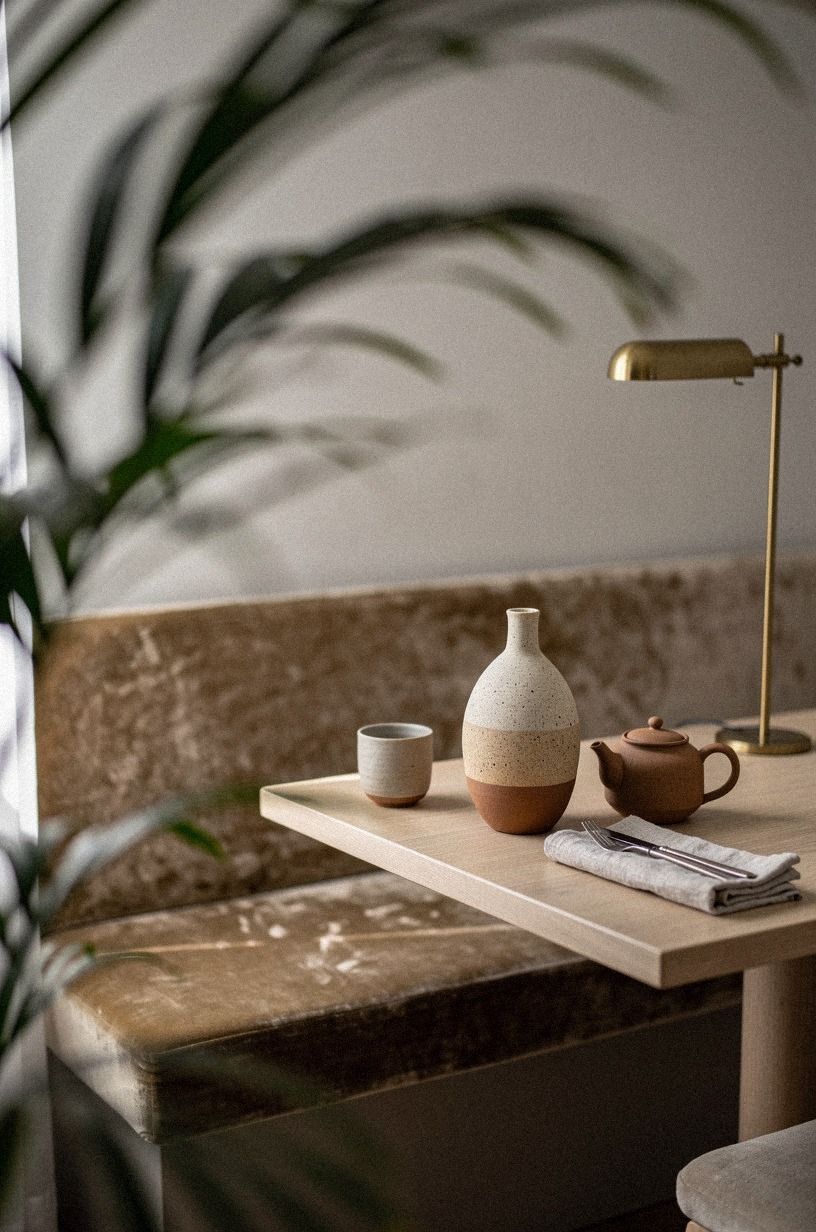
The center of the nook table gets one object, not three.
13Repeat the island wood in matching stools
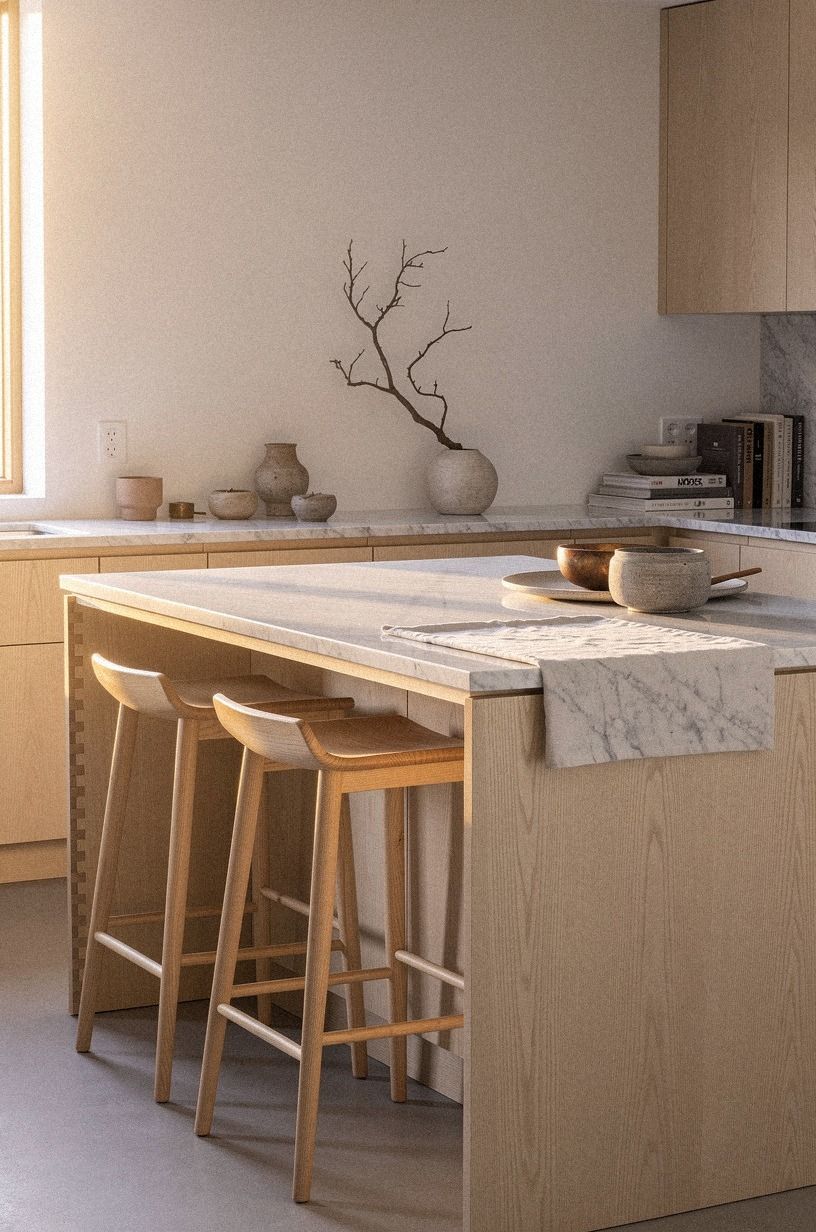
Two counter stools in the same cerused white oak as the island, with saddle leather seats in cognac or black, tie the whole kitchen together. The repetition is the Japandi move: wood echo, material echo, never more than two finishes at once.
Stool height: 24 in for a 36-in counter (standard). Avoid anything with a back if your island is narrow (under 36 in of run), since backless stools tuck under and out of the way.
Article's Sven in tan leather or IKEA STEFAN in oak are both right. The matching-finish logic also shows up across our Japandi style guide piece, where five kitchens follow the same two-finish rule from stools all the way to the open shelves. You'll feel how calm it makes the whole room look.
14Stack linen napkins at every place setting
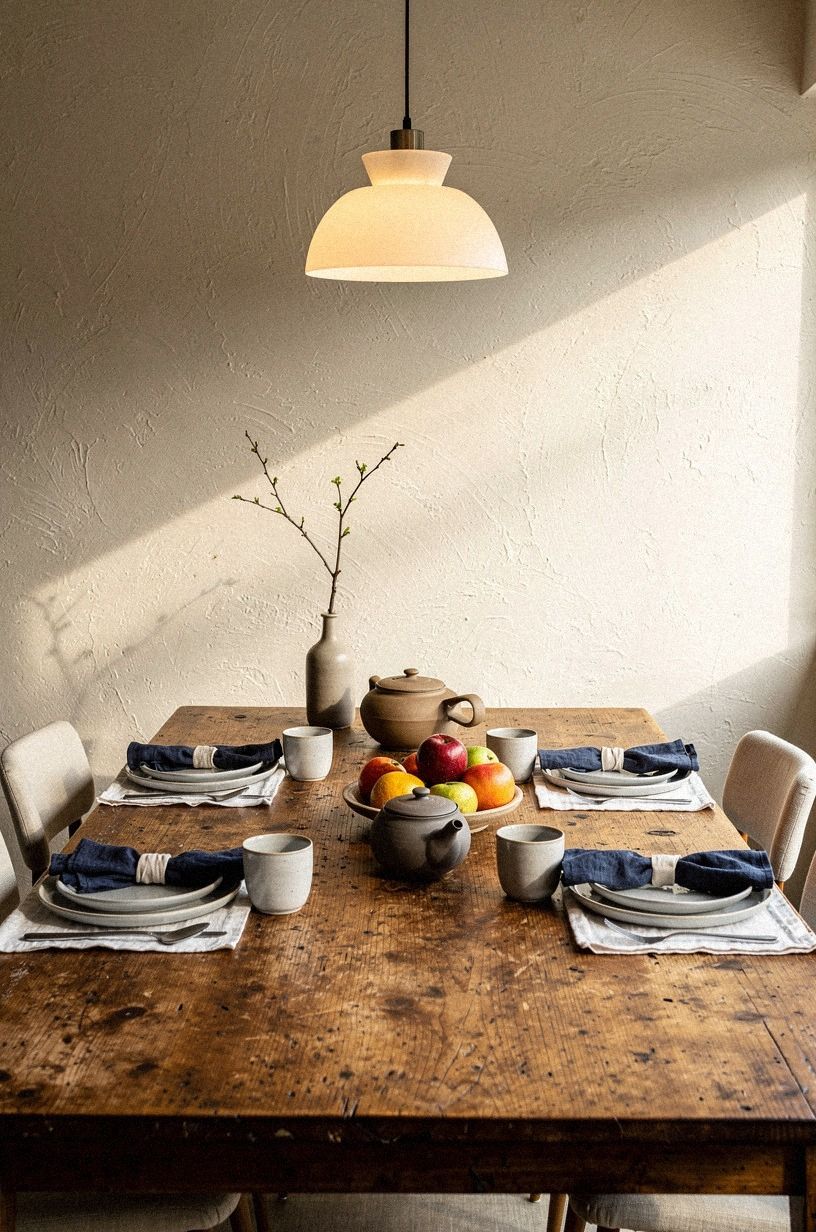
The last step is the cheapest and the most underrated.
Where does the budget land for a Japandi kitchen refresh?
The first five steps in this how-to (foundation, low table, black legs, paper pendant, L-shaped banquette) live in the budget tier if you DIY the upholstery and source the oak from a local lumber yard. The full fourteen lands in mid-tier territory if you hire a finish carpenter for the banquette. You can stop anywhere along the way.
Every step I've listed is a nook on its own.
Why two woods always beat three in a Japandi kitchen
I've rebuilt three Japandi kitchens now (one for myself, two for friends who begged), and the rule I keep relearning is the same one I keep breaking: two woods, max. Three woods in one room is the fastest way to kill the calm. The first time I tried it, I had oak on the island, walnut on the floor, and teak on the bench. The room didn't feel Japandi.
It felt like a furniture showroom.
What I do now is pick the dominant wood, almost always cerused white oak for kitchens because it takes paint-grade hardware better, and use it for the island, the table, the bench, and the open shelves. Then I pick one accent wood, usually walnut, for a cutting board, a window stool, or a small accessory, and let it appear twice, maximum.
Three appearances and it starts competing. Two and it feels intentional.
The second lesson is about black. Japandi isn't afraid of black, but it earns it. Three black moments is the cap: black-stained legs on the table, a drum pendant over the island, and the veining in Nero Marquina marble on the counter.
All in different materials, all serving different roles.
Add a fourth black element (a faucet, a sconce, an outlet cover) and the room tips from calm to charcoal. The discipline isn't about being minimalist.
It's about giving each finish a job. When everything is "statement," nothing is.
The third lesson is about the banquette being the room's gravity, not the island. A lot of people plan the island first and stick the nook in whatever's left. Flip that. The nook is the heart of a Japandi kitchen because it's where you sit still.
The island is work. The nook is living.
Plan the nook first, then route the island around it. That single reframe is why my last two kitchens felt calm and my first one felt like a set.
You'll feel the room breathe easier the moment the nook becomes the anchor, not the afterthought.
The fourth lesson, the one I learned last, is about softness. Japandi without a single soft surface reads as cold museum, not home.
The cushion on the banquette, the linen napkins, the wool runner on the bench back, even the cotton tea towel draped over the oven bar. Each one is a quiet invitation to stay.
Without them, the room is beautiful. With them, the room is warm, lived-in, and honestly a little seductive.
You don't notice softness in a Japandi kitchen; you just don't want to leave.
The fifth lesson is about letting go of one perfect object. I bought a Hay Tatami chair for my last kitchen.
Gorgeous piece. Wrong room.
It fought the calm every single day and I finally sold it. The lesson: a Japandi kitchen forgives a cheap sofa, a thrifted chair, even a plastic step stool. What it doesn't forgive is a single piece that's louder than everything around it. Quiet beats pretty every time.
You'll feel the room exhale when you let the loudest thing go.
The Questions I Get Asked Most
What is the best Japandi breakfast nook layout for a small kitchen?
For a small kitchen, an L-shaped banquette along two walls beats a straight bench every time. You get four to six seats in the footprint of a 5×5 ft square, plus the corner that becomes the favorite spot. Pair it with a low 48×30 oak table, and you'll never feel cramped.
Our breakfast nook ideas roundup shows nine more layouts that work in tight rooms.
Where can I buy Japandi kitchen pieces on a budget?
Three real options: IKEA for the bones (LISABO table, REGOLIT pendant, GURLI napkins), Target's Threshold line for ceramic accessories and jute rugs, and Facebook Marketplace for vintage oak pieces you can sand and ceruse yourself. IKEA refurbishing (replacing legs, repainting fronts) gets you 80% of the Japandi look for about 30% of the designer price.
The result is a calm, lived-in kitchen that feels curated rather than catalogued. You can read more about the same budget logic in our Japandi style guide.
How much does a Japandi breakfast nook cost to build?
The nook alone, if you DIY the upholstery and source the oak from a local lumber yard, runs about $600 to $1,800. Add an electrician if you're hardwiring the pendants (about $200-400 per fixture).
A pro-built banquette with custom cushions lands between $2,500 and $5,000. The full kitchen refresh, including new counters, falls in the mid-tier table above.
Can I create a Japandi nook on a tight budget?
Yes, and the entry point is almost free. Paint one wall Benjamin Moore White Dove (OC-17) in flat finish, hang a paper lantern, fold linen napkins. Done.
The next tier ($50-150) is one jute rug and one stoneware vase. The big spend (oak table, banquette build) comes later, and you can live with the rest of the room being quiet until you save up.
Is a Japandi breakfast nook worth it in a small space?
Worth it, yes, and small spaces are actually where Japandi shines. The philosophy rewards restraint, and small rooms force restraint for free. A 5×5 ft corner with the L-banquette, low table, and one paper pendant will make a 90 sq ft kitchen feel twice the size because the eye reads "intentional" instead of "cramped." See our breakfast nook ideas roundup for nine more layouts.
Is Japandi design OK for a rental?
Totally. Most of the moves in this list are renter-friendly: peel-and-stick zellige-look backsplash, tension-rod paper pendants (no wiring), freestanding oak shelves (no mounting), a slatted bench that slides under.
The only things to avoid are permanent plaster application and hardwired new lighting. Save those for when you own.
For more no-damage moves, our Japandi style guide is a good next read.
Where does IKEA fit if I want the Japandi look fast?
IKEA is the backbone of a budget Japandi kitchen. LISABO (table), RANARP (pendant), HEMNES (bench base for a custom rebuild), STEFAN (counter stools), and REGOLIT (paper lantern) cover nine of the fourteen steps here.
You'll spend roughly $600 for the bones if you go IKEA-only and skip the custom banquette. The whole room reads as serene and weighty, and you'll feel how warm the kitchen feels on a slow Sunday morning.
For more on IKEA-as-foundation moves, our Japandi style guide goes deeper.
The Step I'd Do Tonight
If I had to pick one step to start with, I'd pick the paper pendant. One fixture, $30 if you go IKEA, and the whole corner changes.
Every meal after that one feels intentional. Worth it!


