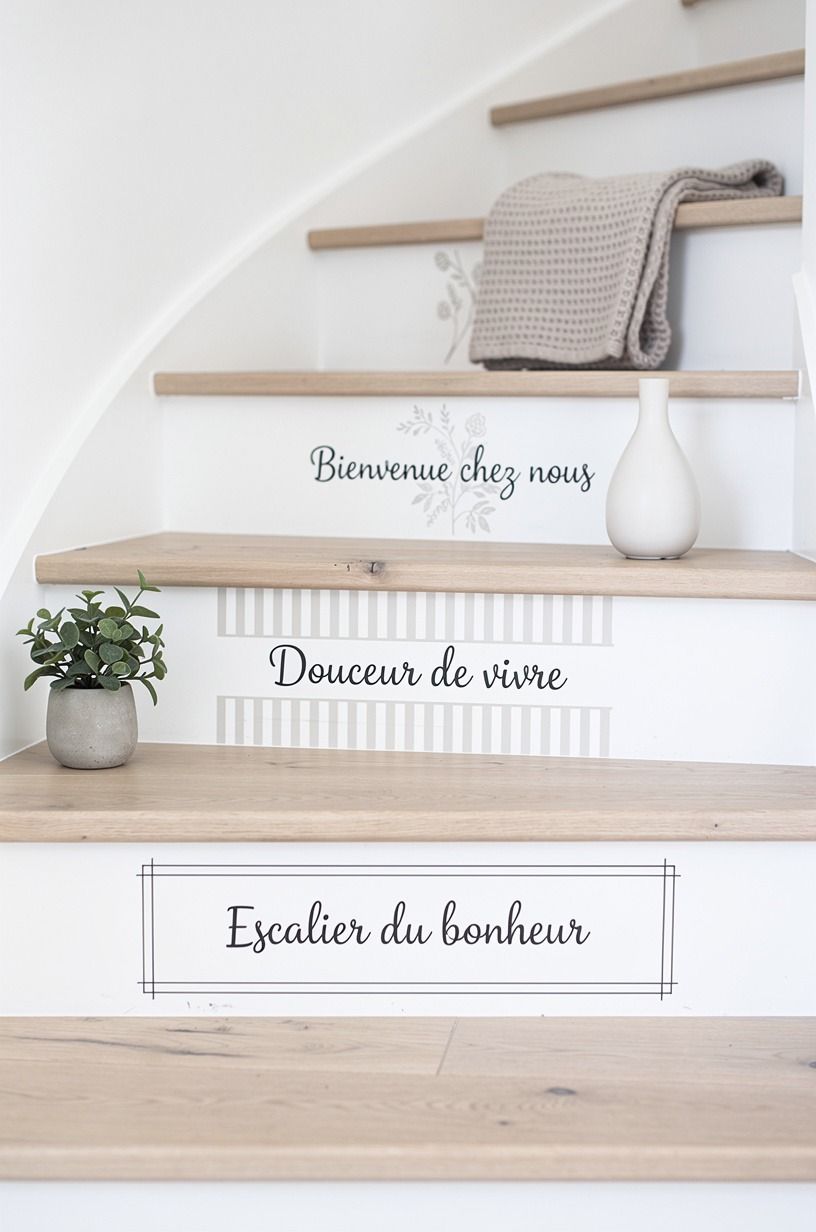
19 Stair Riser Decal Ideas That Make Guests Stop Halfway Up
16 september 2026Stair riser decals are the cheapest square footage in the house to decorate, and a full run goes up in one afternoon. I ruined my first set. Stuck them straight onto dusty semi-gloss, watched three corners curl by Thursday, and blamed the vinyl. It wasn't the vinyl. Here are nineteen ways I'd do it now.
Don’t overthink: Clean and Prime Before Anything Sticks.
- Run the Three-Riser Test Before You Buy the Whole Set
- Clean and Prime Before Anything Sticks
- Carry One Pattern the Whole Way Up
- Why Do Some Stair Decals Peel by Week Three?
- Layer a Faded Portuguese Tile Print for Instant Age
- Skip the Full Mural and Run a Border Strip Instead
- Build the Climbing Fade From Dark to Light
- Mix Two Patterns on Alternating Risers
- Meet the Risers Halfway With Wall Art
- Letter the Risers, But Keep It to One Word
- Swap the Black-and-White Checker for Warm Terracotta
- Frame Each Riser With a Thin Painted Border
- Is a Halloween Stair Run Worth the Effort?
- Float a Runner That Shows the Pattern Off
- Echo One Object Already in the Hallway
- Light the Risers So the Pattern Reads After Dark
- Cut Your Own From Patterned Adhesive Vinyl
- Make the Bottom Riser the Loud One
- Keep a Spare Set in the Linen Closet
1Run the Three-Riser Test Before You Buy the Whole Set
Don't paper fourteen steps on faith. Do the top three, the ones you see from the landing, and live with them for a week. Peel-and-stick vinyl is forgiving that way, and you'll learn more from three risers in your own light than from forty saved images.
If the pattern still looks charming on day seven, order the rest. If it's already loud, you've lost the price of one small set instead of a whole staircase. I've talked myself into full runs twice and regretted one of them, which is exactly the odds you'd expect.
The top three also tell you something useful about scale: a print that reads as a soft geometric up close can turn busy when it repeats eleven times.
2Clean and Prime Before Anything Sticks
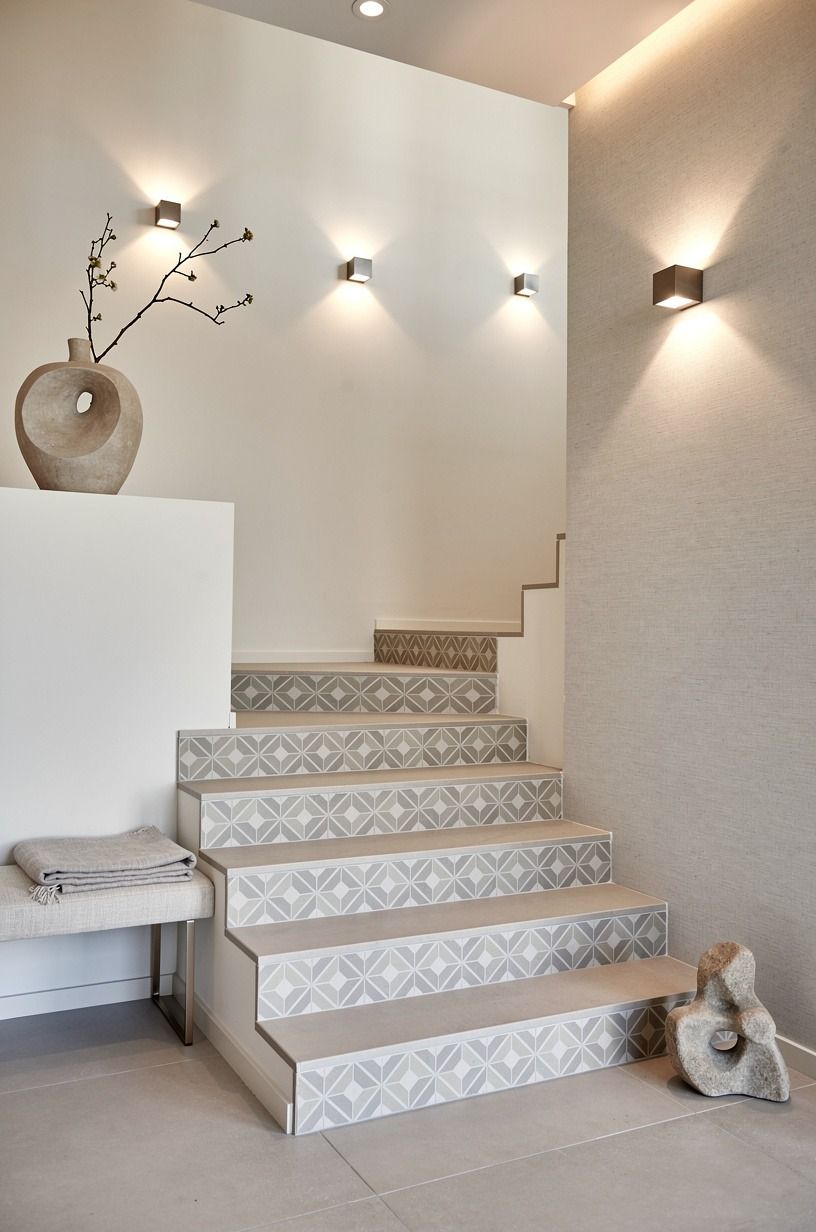
Vinyl doesn't fail because it's cheap. It fails because the surface is dusty, glossy, or still off-gassing from fresh paint. Wipe each riser with denatured alcohol, let it flash off, and press from the center outward with a plastic card.
Here's the part nobody respects: if you painted the risers last weekend, wait. Latex needs real cure time, not dry-to-touch time, and adhesive on uncured paint pulls the paint off when you reposition.
I learned that with a strip of cream Carrara marble with subtle grey veining, accented by emerald and gold, coming up on the back of a decal like a sticker off a banana. Prime, cure, then stick.
Your corners will still be flat next winter.
3Carry One Pattern the Whole Way Up
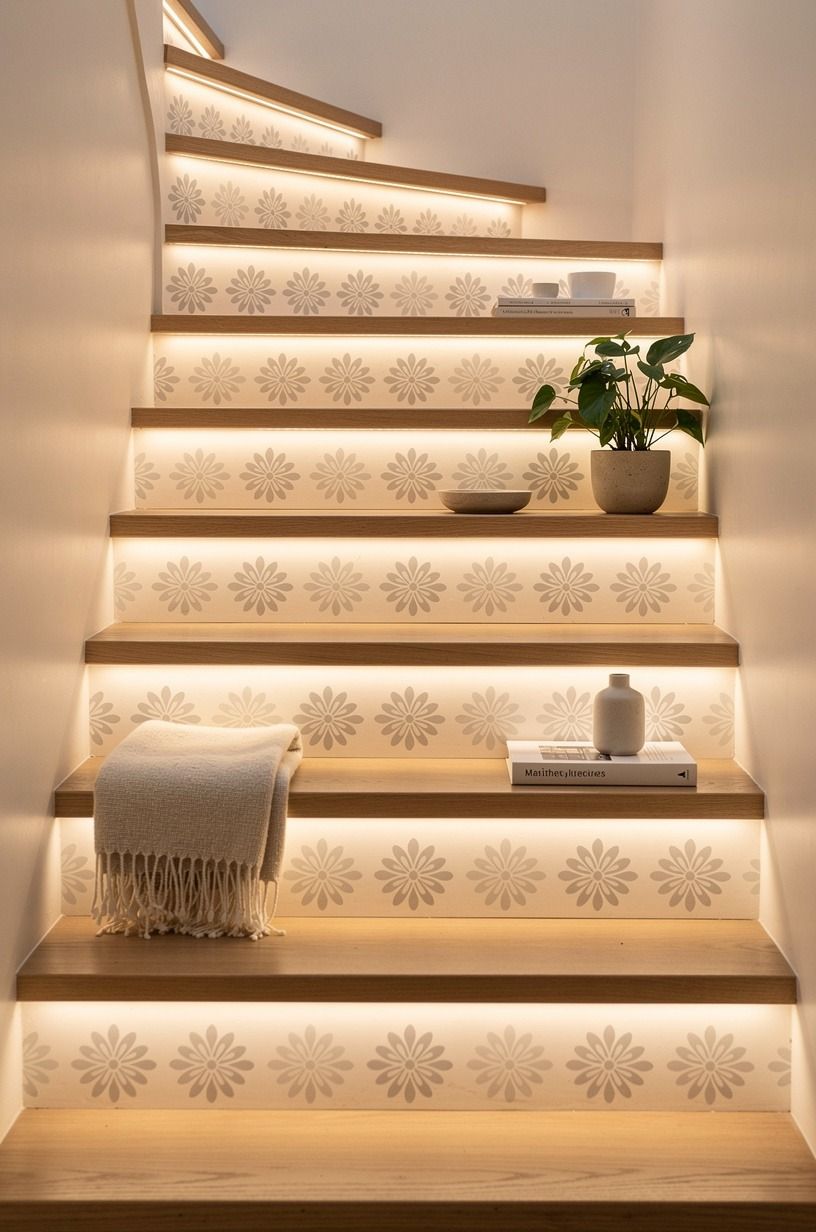
A single repeating print is the most timeless version of this, and it's the one that ages best in a narrow hall. Think decals with a reclaimed weathered teak grain, carried through in forest green, rust, and natural-oak tones, the same pattern on every riser, no variation.
The reason it works is rhythm. Your eye climbs the pattern instead of stopping to read each step, so the staircase feels taller and calmer than it is.
And this is the version I'd recommend to anyone nervous about staircase decorating ideas going wrong, because uniformity forgives a lot. One caution: measure your riser height first.
Standard sets assume roughly seven inches, and a taller riser leaves a bald strip at the bottom that no amount of styling fixes.
4Why Do Some Stair Decals Peel by Week Three?
Almost always heat, texture, or traffic. Risers next to a radiator get warm enough to soften adhesive, textured paint leaves microscopic air gaps, and the bottom two steps take the most shoe scuffs in the house.
Fix it in that order. Move the decals away from the heat source if you can, sand textured risers with 220-grit until your palm glides, and seal the bottom two with a wipe-on matte clear if your hallway is a shoe pile like mine. A friend blamed her supplier for a year before we found the baseboard heater.
Water-based polycrylic in matte buys you years, and it costs less than a second set.
5Layer a Faded Portuguese Tile Print for Instant Age
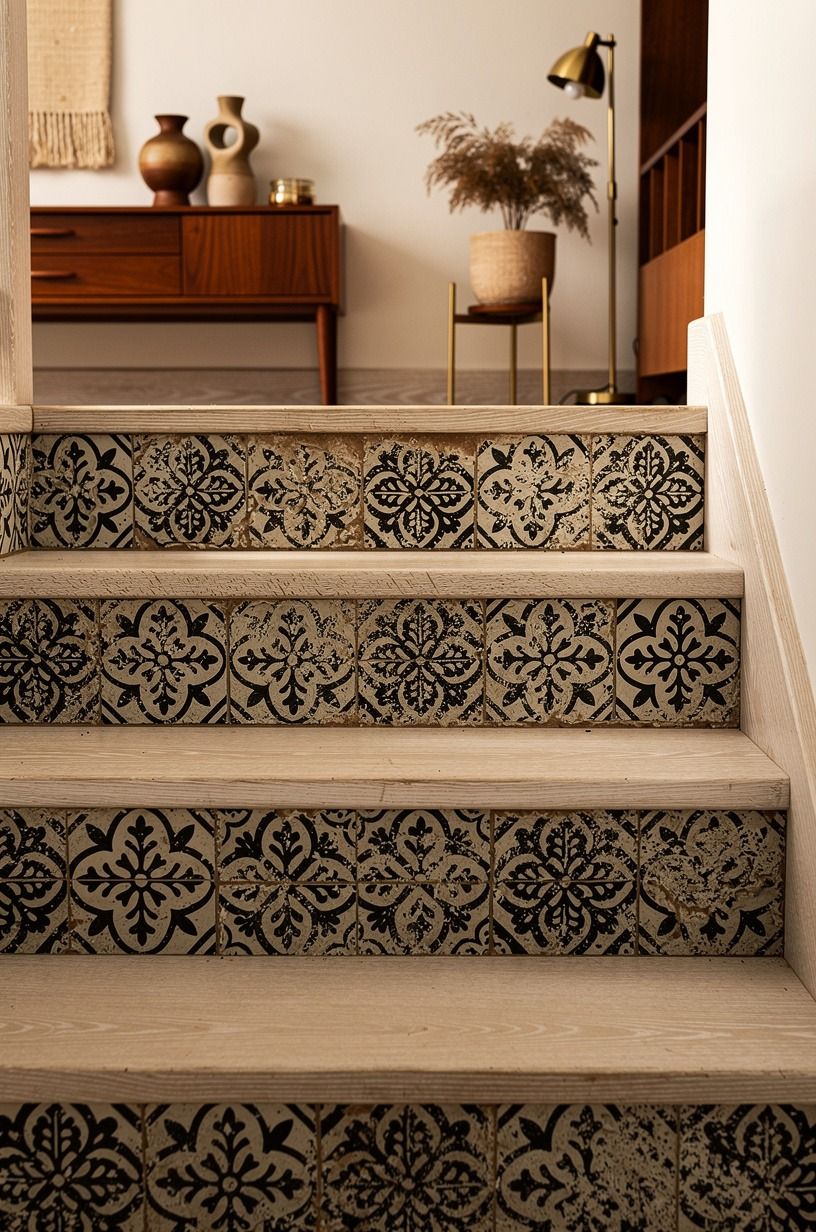
New decals can look plasticky, and the cure is choosing prints with wear baked into the artwork: warm white, camel, black accents, and a cerused white oak grain.
I'd skip anything with high-gloss finish or a crisp drop shadow. Glossy vinyl catches every ceiling bulb and announces itself as a sticker from six feet away, which is the opposite of what you want.
Matte reads as painted tile. Pair the print with matte black accents and the whole run looks like it came with the house.
That's the goal here, honestly: nobody should be able to date the project.
6Skip the Full Mural and Run a Border Strip Instead
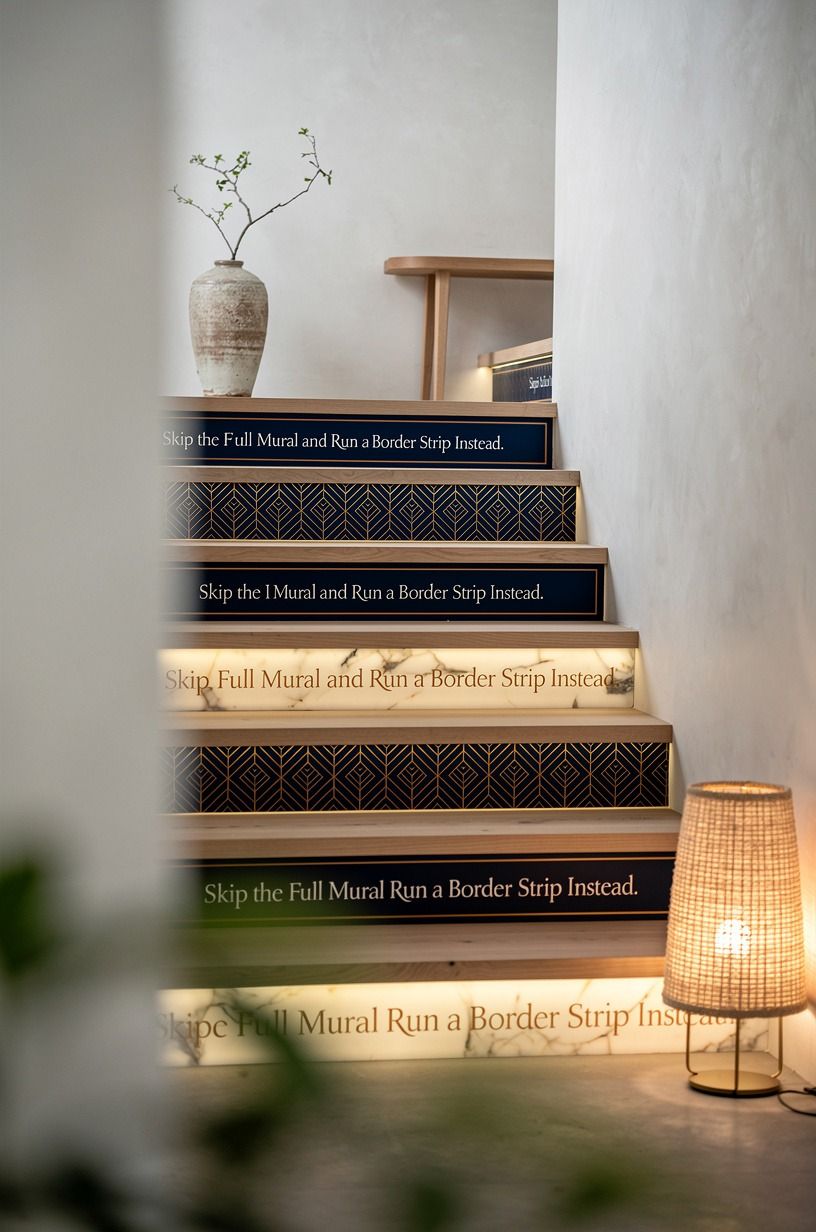
A three-inch patterned band along the top edge of each riser gives you ninety percent of the effect with a fraction of the commitment. It's the move for anyone who likes subtle more than dramatic.
And it solves a real problem in older houses where risers aren't square. A full-face decal exposes every out-of-plumb edge.
A narrow border sits inside the wonkiness and nobody counts millimeters. I did this in a 1920s duplex where the risers varied by nearly half an inch top to bottom, and the border strip was the only thing that didn't look like a mistake.
Midnight blue, copper, and ivory vinyl with a translucent-onyx look works better here than a busier multicolor.
7Build the Climbing Fade From Dark to Light
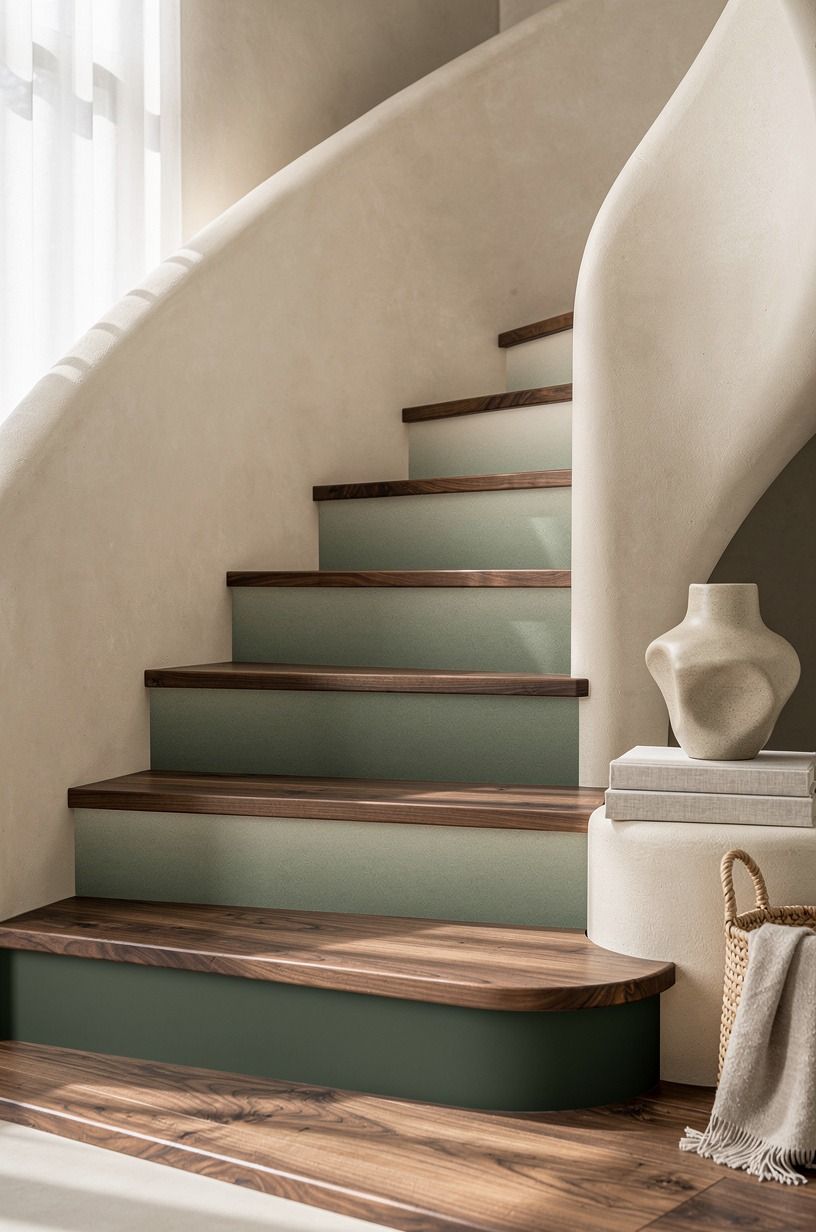
Start with the deepest shade at the bottom step and lighten as you go up.
8Mix Two Patterns on Alternating Risers
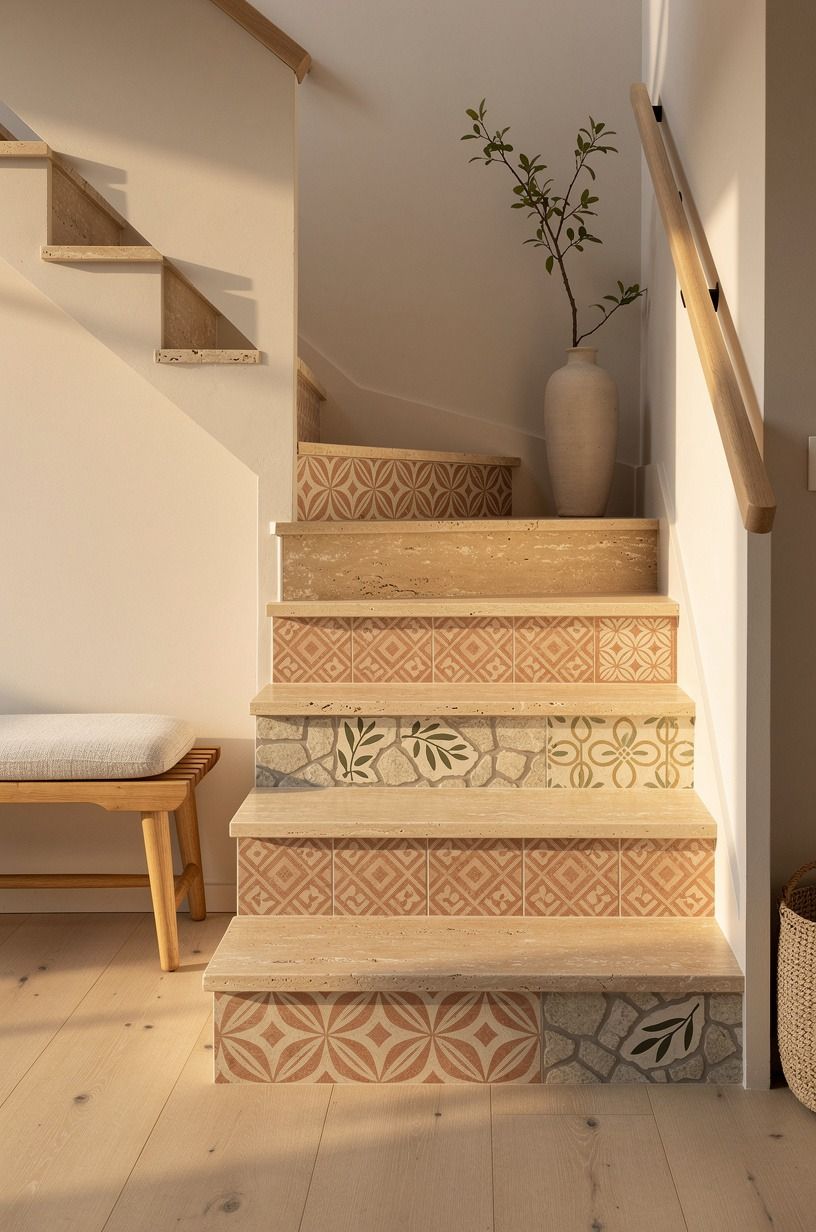
Two prints, same palette, every other step. It sounds chaotic and reads as collected, which is the whole point of good vinyl decal decorating.
The rule that keeps it from going wrong: share the same terracotta, stone, and olive palette and vary the scale. A large warm travertine-inspired star tile alternating with a small tight geometric in olive and stone stays harmonious. Two busy patterns at the same scale fight, and you'll see it from the bottom of the stairs immediately.
I tried a large floral against a large checker once and took it down the same evening. Keep one of the two quiet and the pair sings.
9Meet the Risers Halfway With Wall Art
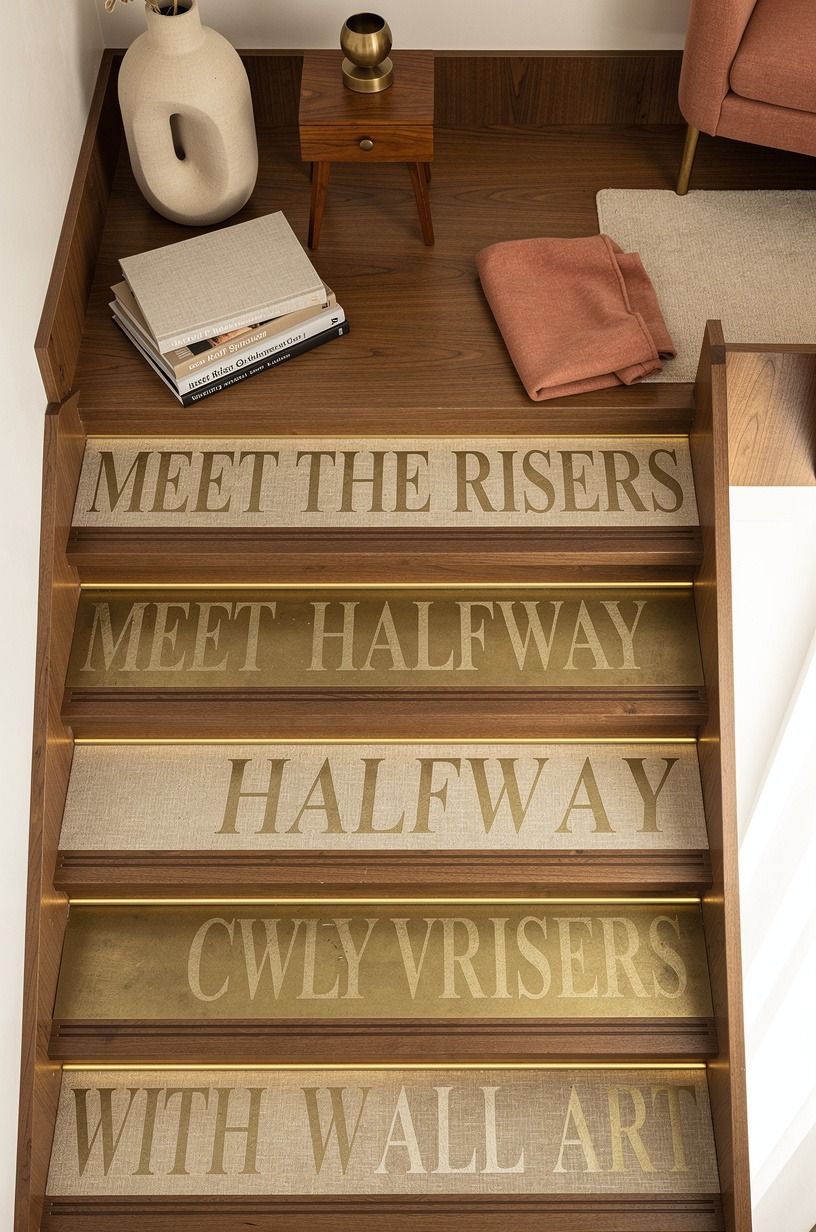
Stairs aren't a standalone project. The wall running alongside them is half the picture, and a gallery grid climbing at the same angle makes the risers look intentional rather than random.
Hang the center of each frame between 57 and 60 inches from the tread directly below it, stepping the whole grid up with the staircase. That keeps every piece at eye level for someone climbing. Use thin unlacquered brass frames that will develop a patina, so the art doesn't compete with the pattern underfoot.
This is the step most indoor stair decor misses: people decorate the risers, ignore the wall, then wonder why the hallway still feels unfinished.

10Letter the Risers, But Keep It to One Word
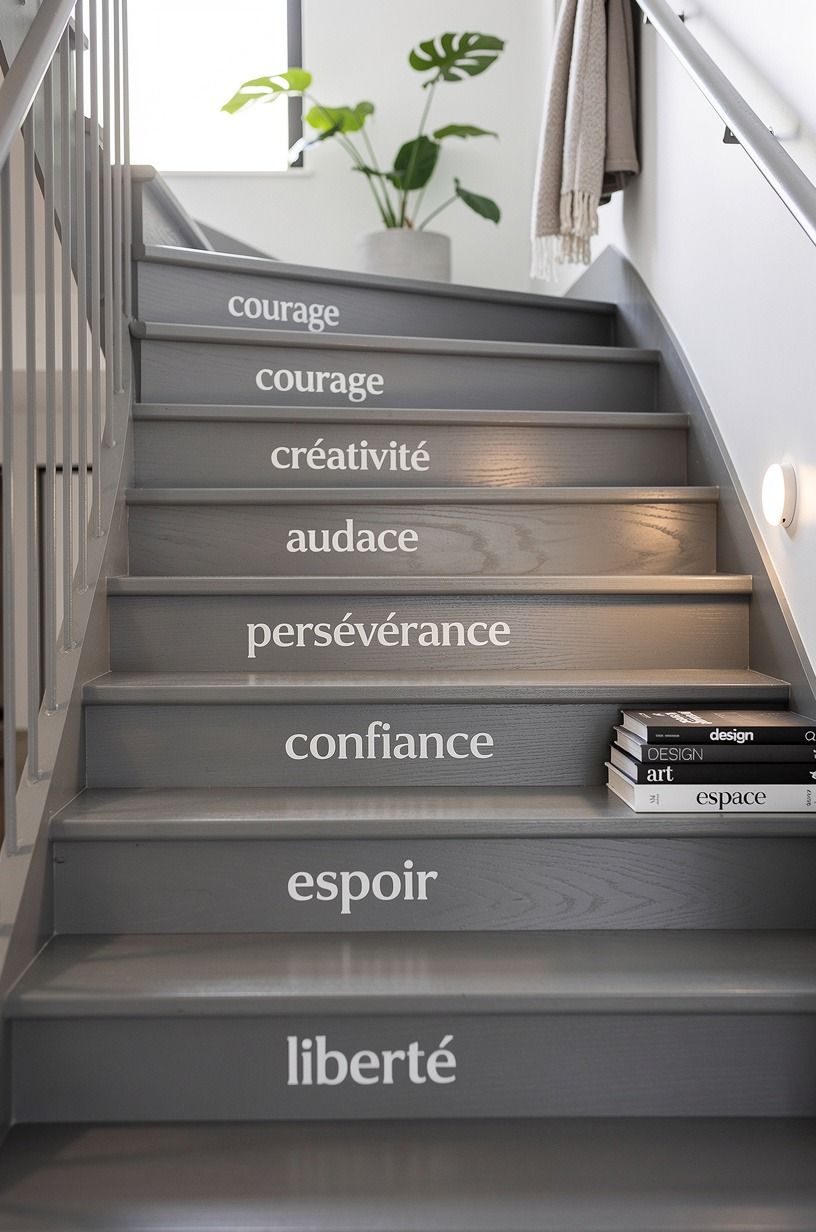
Words on stairs can go badly fast. One short word, or a single line broken across three or four risers, is the version that stays elegant instead of tipping into wall-decal territory.
My rule is that the text has to be specific to the house. A street number, a family name, the year the place was built.
Generic sentiment is where this gets sad. Set it in a serif cut vinyl in rose gold over a plum-and-gray oversized-chip terrazzo pattern, sized so it fills roughly two-thirds of the riser width.
And put it at the bottom of the run where you read it walking up, not the top where you'll only see it descending.
11Swap the Black-and-White Checker for Warm Terracotta
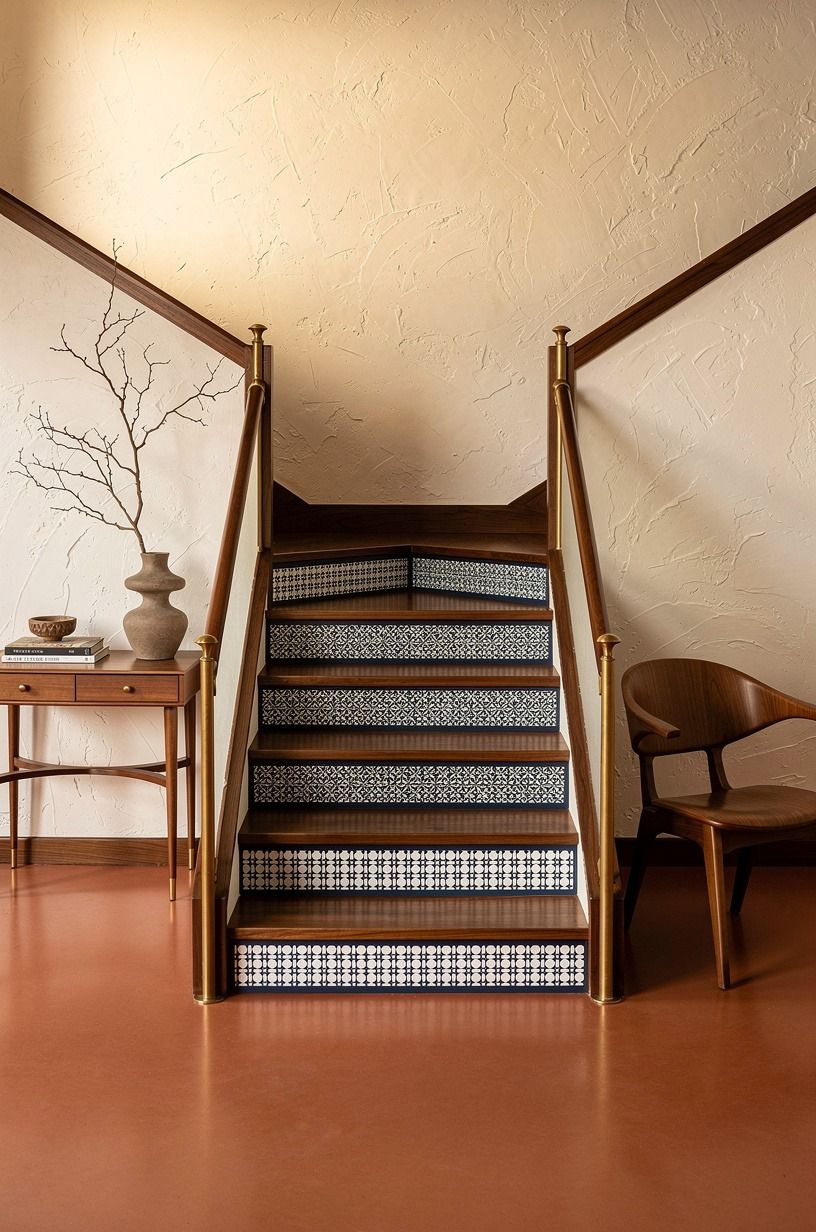
Checker is everywhere, and it's cold. In a north-facing stairwell with one weak overhead fixture, high-contrast black and white goes gray and grim by four in the afternoon.
Navy, white, and walnut do the opposite. They hold warmth under bad light and play well with walnut treads and hand-applied Venetian plaster on the surrounding walls.
If you want graphic without the chill, look for a checker where the dark square is deep navy instead of true black. That single substitution changes the temperature of the whole hall. I've switched two clients off black checker and neither one missed it.
12Frame Each Riser With a Thin Painted Border
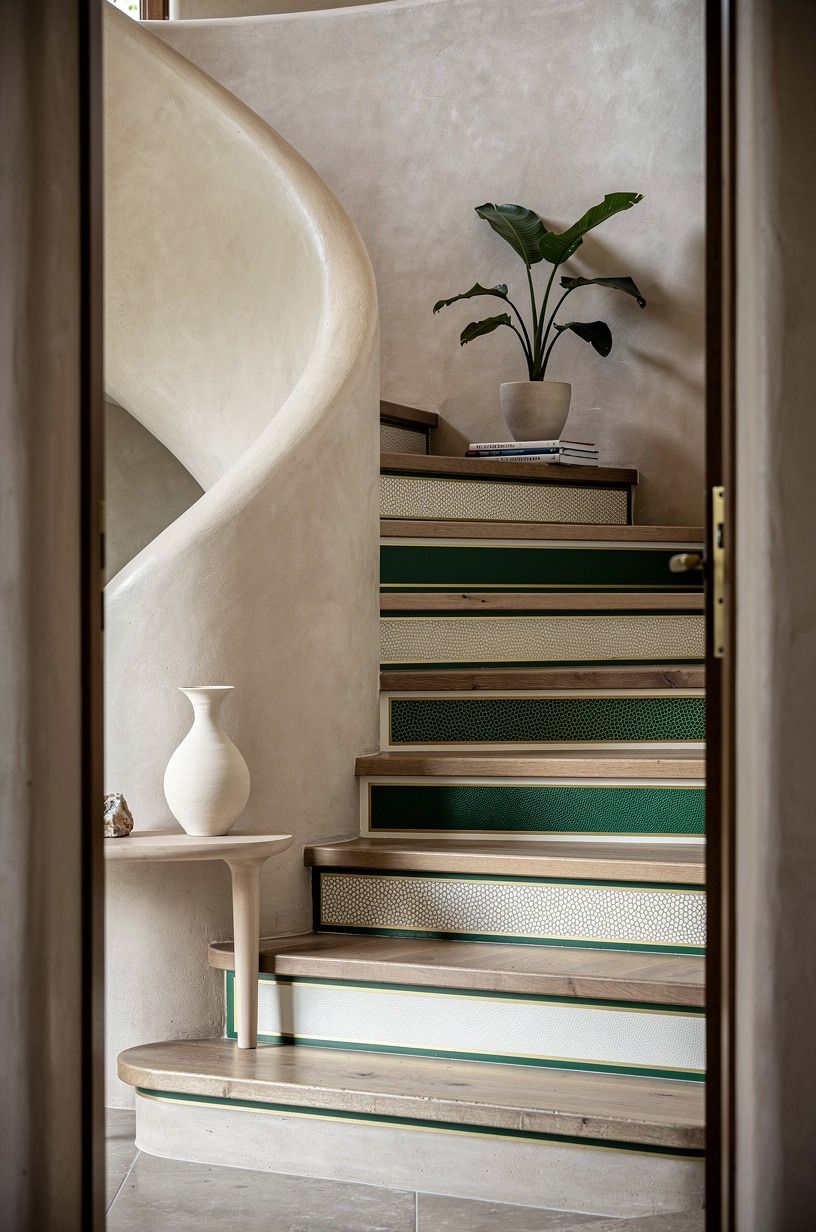
Paint a quarter-inch line of the riser color around the decal so each step reads like an inset panel. Cheap, sophisticated, and it hides the cut edge where a decal doesn't perfectly meet the tread.
You need painter's tape and about twenty minutes per step. Worth it.
The border does the same job a mat does for a photograph, giving the pattern somewhere to stop. Farrow & Ball Studio Green makes a gorgeous border against warm cream and gold-toned tile prints, while shagreen accents add a quiet texture.
If your risers are already white, leave a white margin instead and skip the painting entirely.
13Is a Halloween Stair Run Worth the Effort?
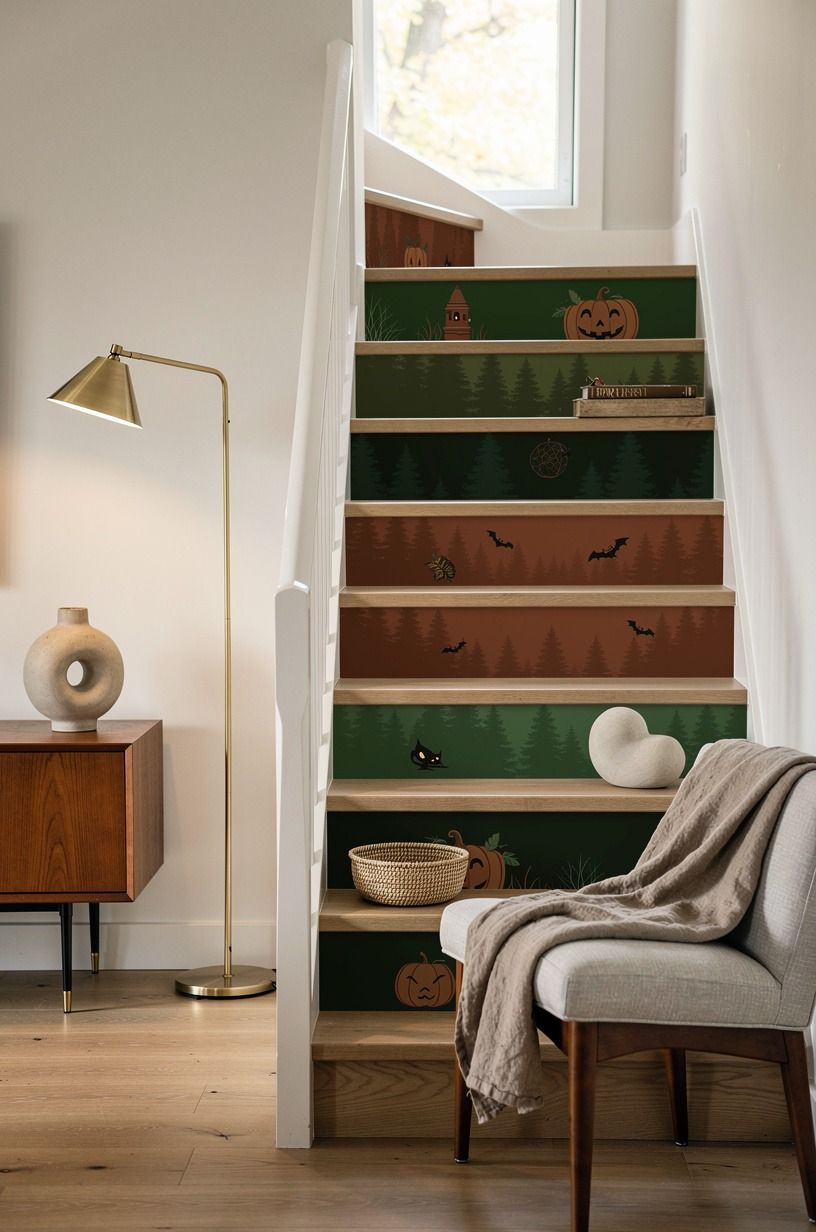
For one month, yes, and only if you use removable stock. Stair riser decals for Halloween are one of the few seasonal decorating moves that reads from the front door, and a staircase is the first thing most people see when they walk in.
Buy low-tack removable vinyl, not permanent. The difference matters in October because you're pulling it all off in November and permanent adhesive will take your paint with it.
Bats climbing the run in forest green and rust over a natural-oak ground, or a single word stepped across four risers. A washed Belgian linen texture keeps the seasonal treatment from looking glossy.
Then store the set flat, not rolled, with the backing paper on. Most Halloween stair ideas die because somebody rolled them into a tube in a hot attic and the edges welded together.
14Float a Runner That Shows the Pattern Off
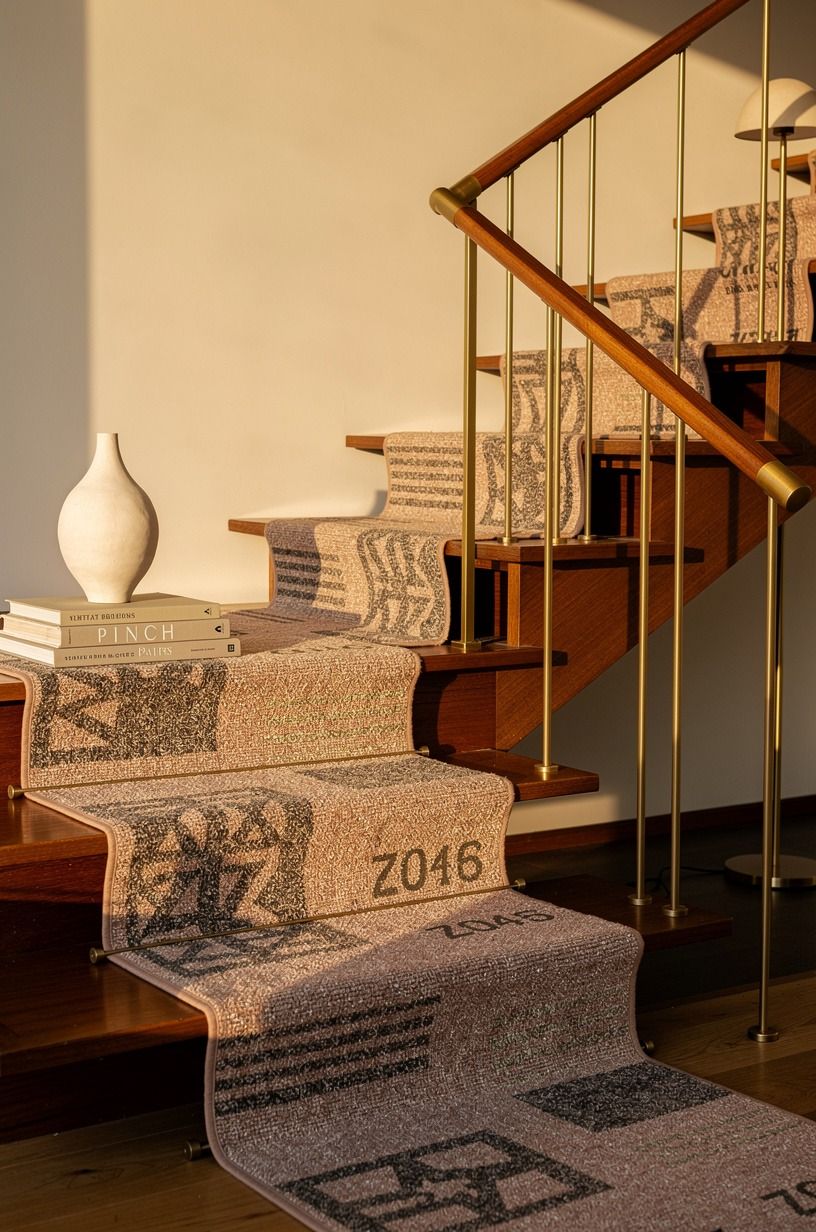
A carpet runner and riser decals aren't enemies, as long as the runner stops short.
15Echo One Object Already in the Hallway
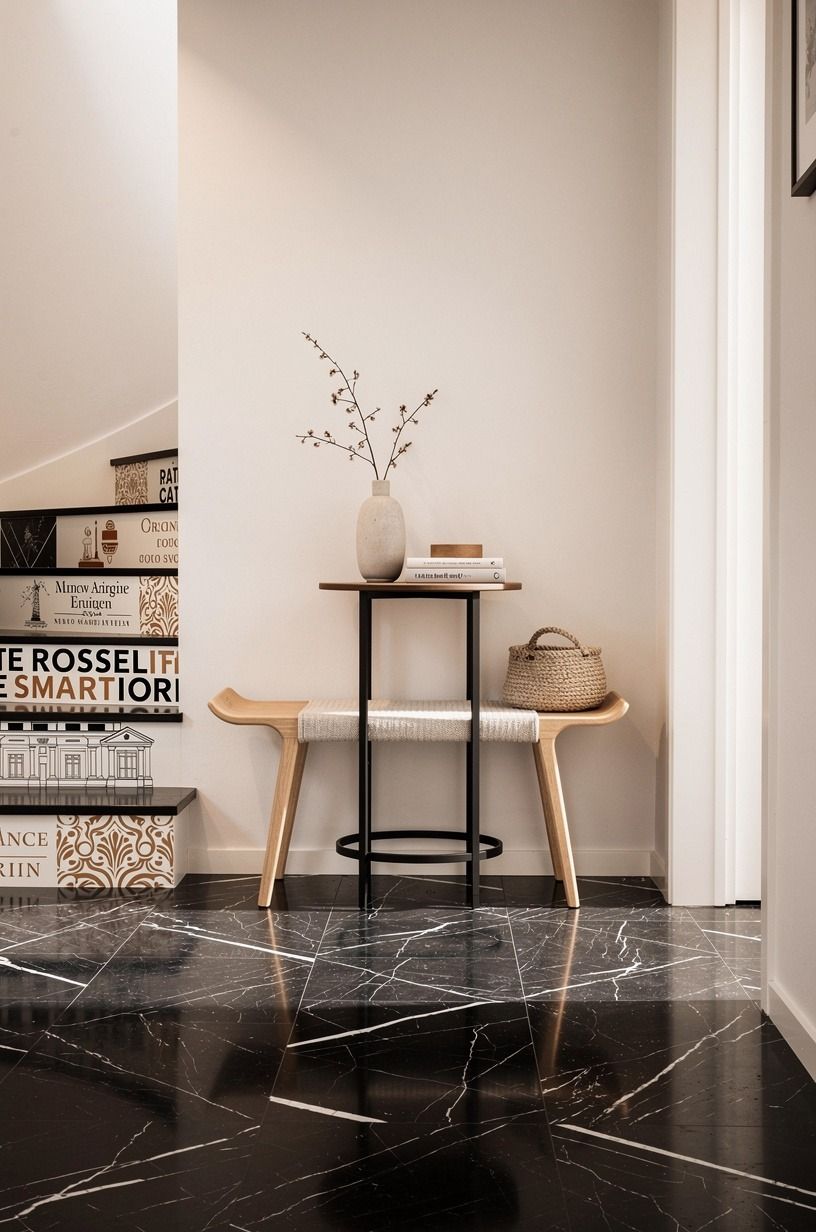
Pick your print to match something physical you already own, not a mood. The warm white in a ceramic umbrella stand, camel in a rug, the black-and-white veining of a Nero Marquina marble accent on the landing.
This is the thing that separates a staircase that looks designed from one that looks ordered online. The repeat gives the eye a reason to connect the two, and the hall stops feeling like two unrelated projects.
I hold the actual object against the sample before buying, every single time. Screens lie about color, and a print that looked earthy in the listing can arrive reading distinctly pink.
16Light the Risers So the Pattern Reads After Dark
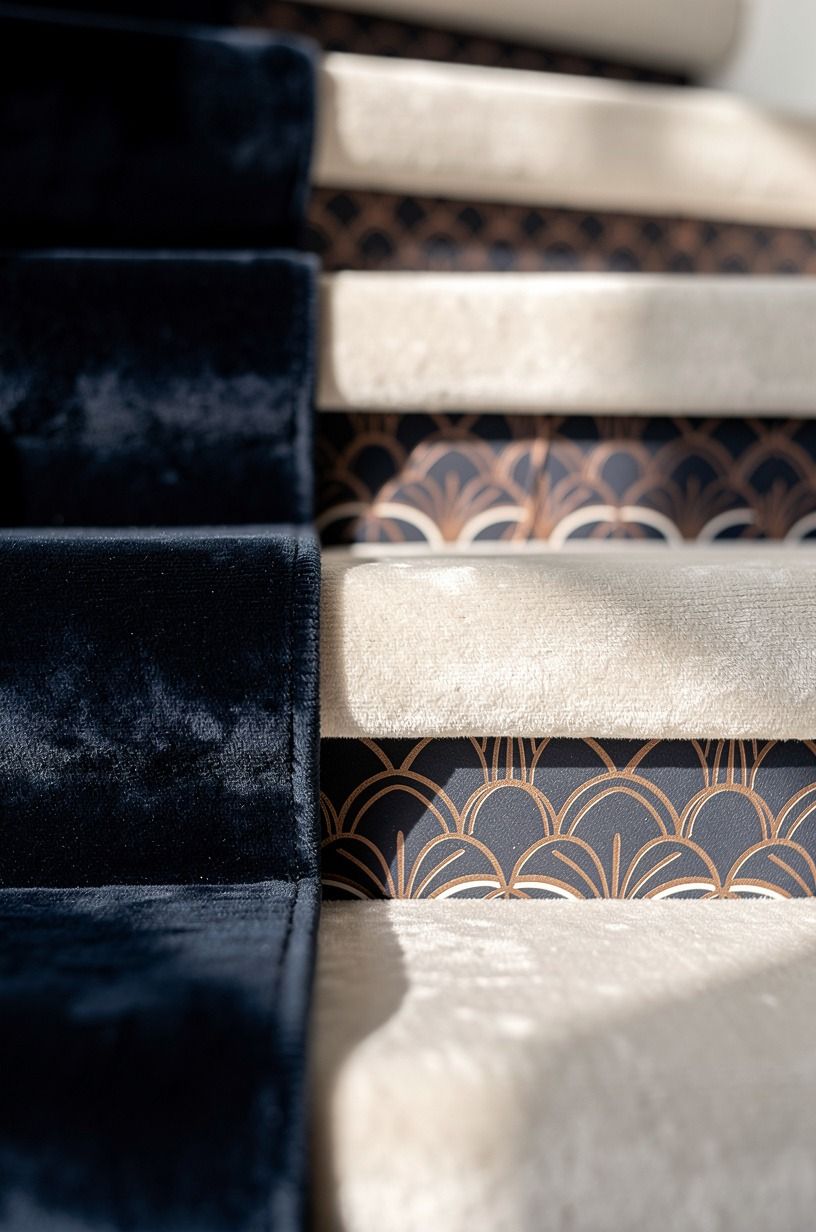
A staircase gets used most at night, and one ceiling fixture at the top throws all its light on the treads while the risers sit in shadow. You decorated the part nobody can see.
Give the stairwell three sources the way you would any room: the overhead, a wall sconce partway up, and low-level light near the base. Warm 2700K bulbs only, nothing that runs blue, because cool light can flatten midnight blue, copper, and ivory. Keep the palette tactile with a deep-pile mohair velvet detail nearby.
Even a pair of plug-in sconces changes the run completely at eight in the evening. Peaceful, inviting, and you can finally see what you paid for.
17Cut Your Own From Patterned Adhesive Vinyl
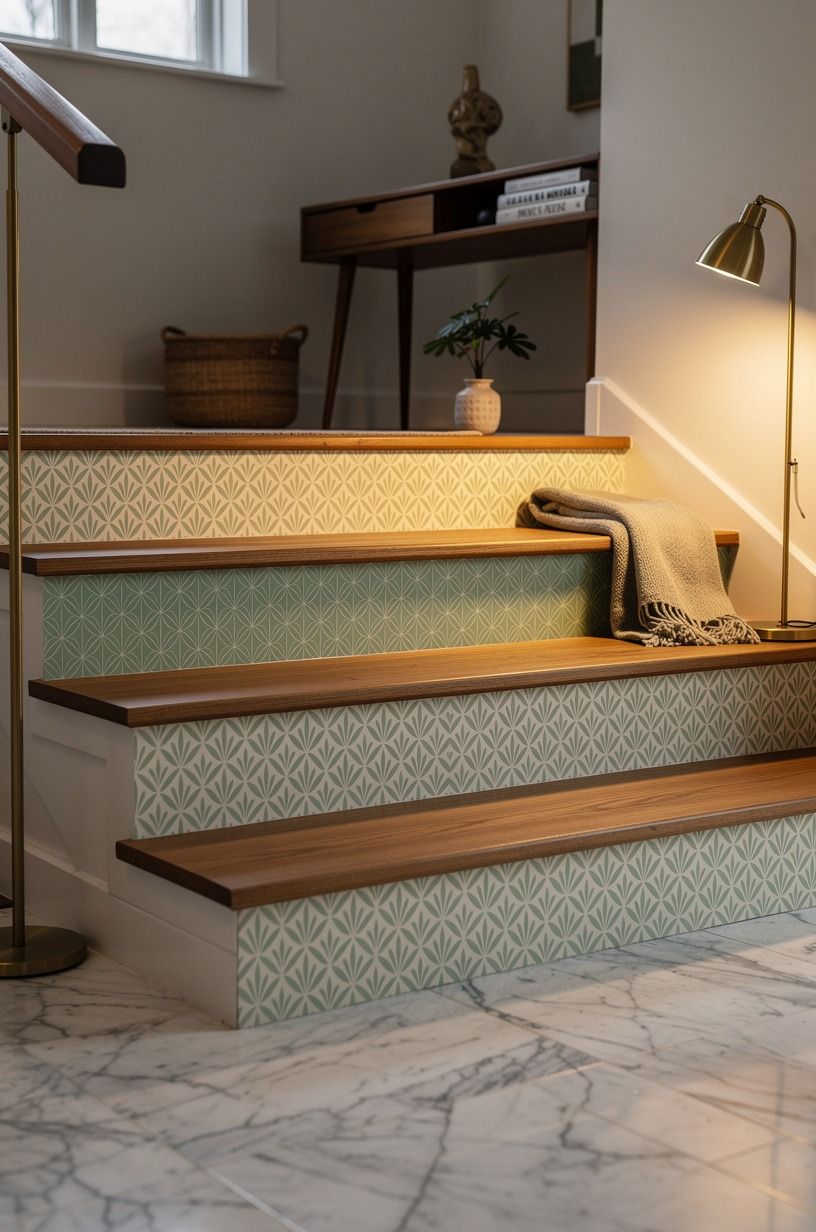
Stair decals DIY is genuinely doable if you have a cutting machine or a steady hand and a sharp blade. Buy a roll of Carrara-marble-patterned adhesive craft vinyl with subtle grey veining, in sage green, warm cream, and natural-wood tones, cut to your exact riser height, and you've solved the sizing problem that plagues off-the-shelf sets.
Measure every single riser, not just one. Old staircases vary, and the bottom step is almost always a different height because of the floor build-up. Cut a paper template first, test it on the trickiest step, then cut vinyl.
The labor is real, maybe a full Saturday for a standard flight, but the cost sits at the very bottom of the $200 to $800 budget tier and you get a pattern nobody else has.
18Make the Bottom Riser the Loud One
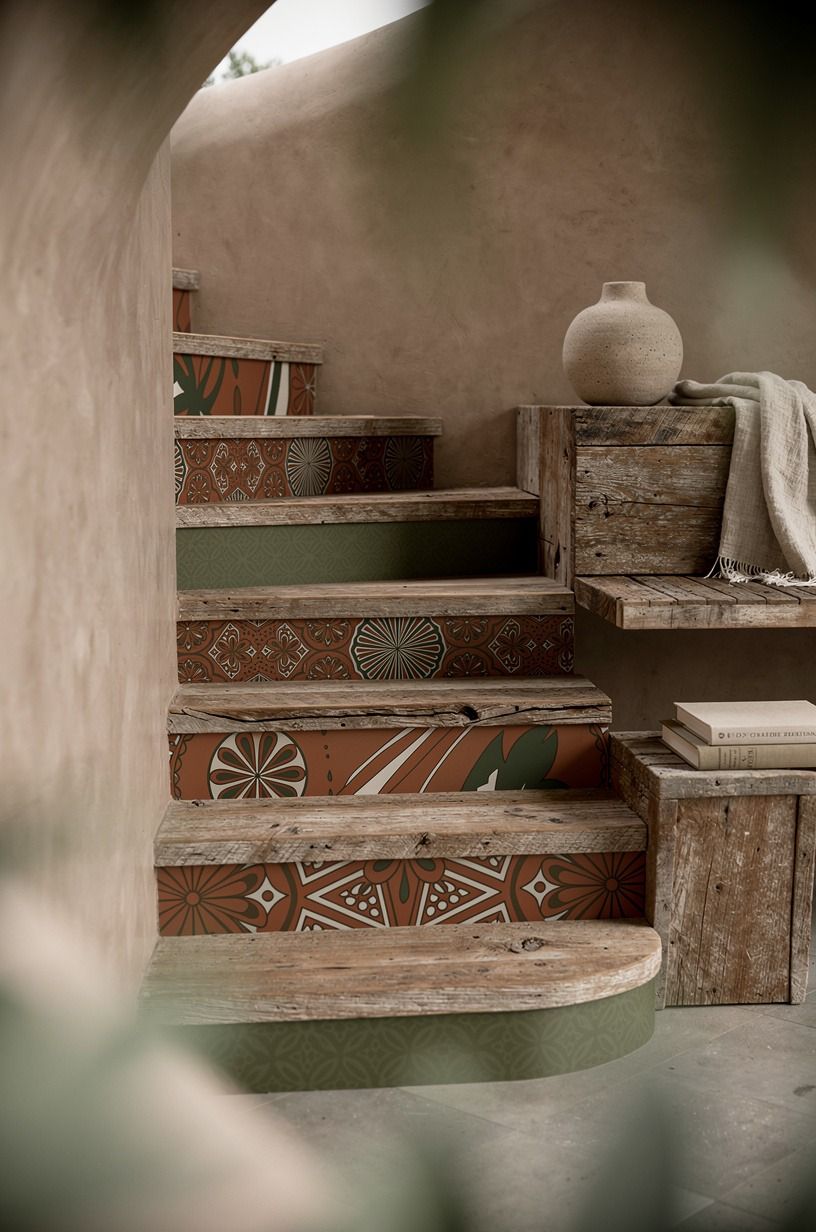
If the whole run feels like too much, decorate one step. The bottom riser is the one people see from the entry, so a single bold reclaimed-weathered-teak-inspired pattern in terracotta, stone, and olive does more work than eleven quiet ones above it.
I love this for rentals and for anyone testing the water. It's reversible in ten minutes, costs almost nothing, and it gives an entry hall a proper focal point.
Pair it with a jute doormat and a small brass hook rail and the whole arrival sequence feels considered. One loud step, everything else plain.
The restraint is what makes it look like a choice.
19Keep a Spare Set in the Linen Closet
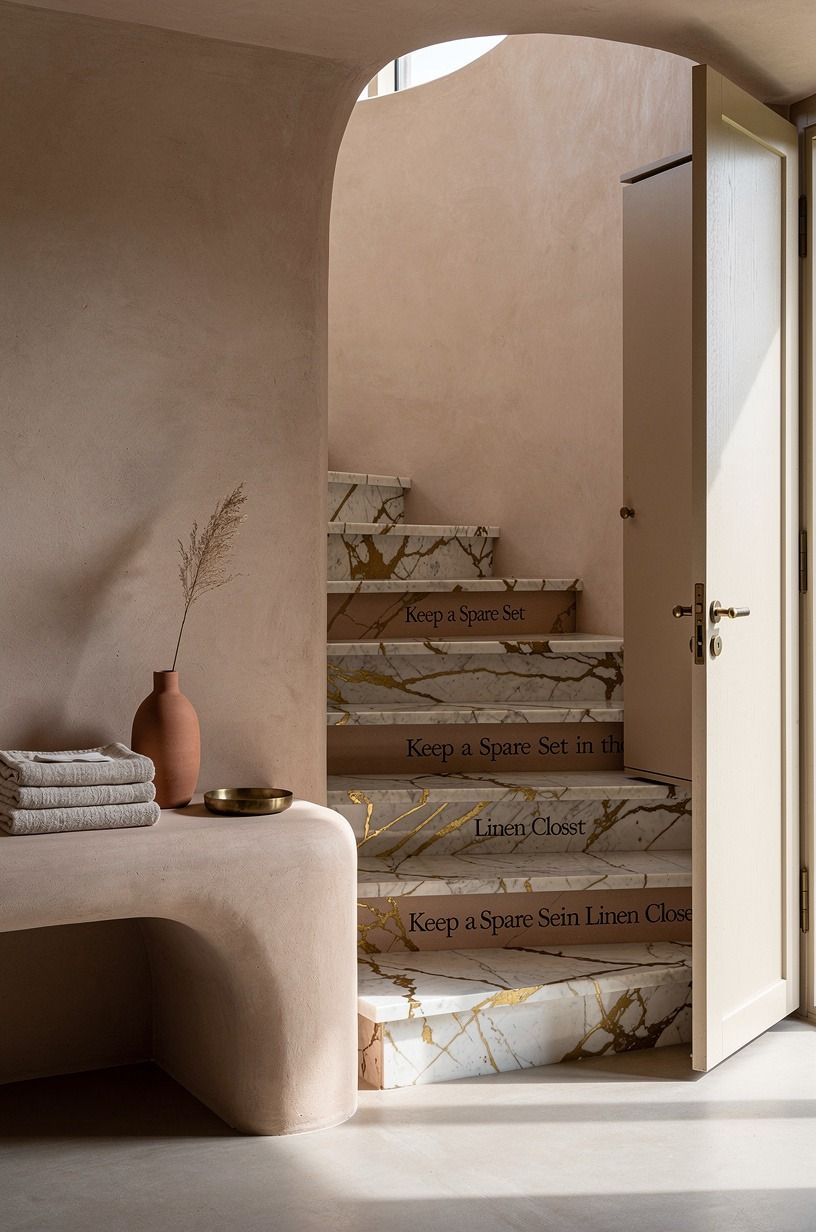
Buy one extra pack. That's the entire idea, and it's the one I wish someone had told me before I spent a month hunting a discontinued print.
Risers take abuse. A vacuum corner, a dropped laundry basket, a dog who takes the turn too fast. When a single decal tears, having a matching spare means a five-minute fix instead of redoing the whole flight.
Store it flat in a cotton pillowcase somewhere cool, backing paper intact. Write the purchase date and the print name on the sleeve, because in three years you won't remember either one. Future you will be delighted!
What a Stair Project Like This Costs
Riser decals live at the very bottom of the budget tier, which is what makes them such good value. Here's where they sit against the rest of a typical US refresh.
The pieces around the decals are where the money goes. A wool runner runs $400 to $1,500, a proper sconce or pendant for the stairwell lands between $150 and $800, and painting the risers and hall yourself sits around $200 to $600 in materials. The vinyl itself is the cheapest line on the page by a wide margin.
What I Got Wrong, and What I'd Tell a Friend Starting Tonight
I've put decals on four staircases now, three of them mine, and the pattern of my mistakes is embarrassingly consistent. I always overestimate how much pattern a narrow hall can carry. My first run was a large multicolor Moroccan print on thirteen risers in a hallway barely wide enough for two people, and it looked like a gorgeous rug had been chopped up and nailed to the wall.
Beautiful in theory. Exhausting in person, every single day, on the way to the bathroom at 2am.
What I'd tell anyone starting: the staircase is circulation, not a destination. You walk through it, you don't sit in it. That changes what the space can hold.
A room can absorb a bold pattern because you settle into it and your eye adjusts. A staircase gets six seconds of attention at a time, always in motion, usually in poor light.
Pattern that's slightly too quiet reads as refined. Pattern that's slightly too loud reads as frantic.
The margin for error tilts one direction, so tilt with it.
The second thing is about permanence, and it's the argument I have with clients most often. People want to know whether decals are a real solution or a placeholder.
Honestly? Both, and that's the appeal. Good removable vinyl on a properly prepped riser holds for years, and when you stop loving it you pull it off in an evening with a hairdryer and a plastic scraper. Almost nothing else in a house offers that deal.
Tile is forever. Paint is a weekend and a mess.
This is an afternoon, reversible, and the failure mode is mild.
And the last thing, the one I actually believe: the risers matter more than their square footage suggests because they sit at eye level for the person climbing. You look down at treads. You look straight at risers.
That's the whole reason this small, cheap, slightly unserious project keeps landing so well.
A Few Things Worth Answering
What's the best decal style for a narrow staircase?
Go with a small-scale repeating tile print in one color family. Narrow halls make large patterns feel crowded fast. A tight geometric in soft indigo or clay keeps the run calm while still giving you something to look at.
Where can I buy riser decals on a budget?
Start with Target and Wayfair for ready-cut sets, then check craft suppliers for patterned adhesive vinyl by the roll if you're cutting your own. Facebook Marketplace turns up unopened leftover packs surprisingly often, usually from someone who overbought.
How much does a staircase makeover like this cost?
Expect the whole budget tier to land somewhere around $200 to $800 depending on how far you take it. The decals themselves are a small slice of that. Painting the risers yourself and reusing a runner you own keeps you at the low end.
Can I do this on almost no money?
Yes, and here's how. Decorate only the bottom riser with a single cut vinyl panel. Clean and repaint the existing risers with leftover paint.
Move a lamp to the base of the stairs so the pattern reads at night. Three moves, close to free.
Is riser decorating worth it in a small entry?
Very much, and small helps. A tight entry means the staircase is already your focal point, so you're improving the thing people look at first. Keep the pattern to the lower half of the run and leave the top risers plain so the space still breathes.
Are decals a good idea in a rental?
Yes, with the right stock. Use low-tack removable vinyl, test one riser for a week before doing the rest, and skip any surface with textured or peeling paint. Tension-mounted runners and stick-on sconces handle the rest without a single screw hole.
The One I'd Do Tonight
If I had to pick one, I'd start with the bottom riser. It's the step you see from the front door, so a single bold tile print there pays off before anyone has climbed anything. One panel, ten minutes, fully reversible.
Save the print and sleep on it once.


