
Low Ceilings? These 14 No-Drill Curtain Tricks Add Height
14 september 2026A living-room window can have a good view and still sit low on the wall, especially when the only usable surface is painted drywall. The reliable visual fix is a near-ceiling-to-floor line, with the top about 1 to 3 inches below the ceiling, panels ending roughly half an inch above the floor, and hardware that never asks for a drill.
What you will find inside
- Set the Mounting Line Near the Ceiling
- Clip Brackets Onto Solid Wood Trim
- Build a Floor-to-Ceiling Tension Frame
- Stretch a Long Rod Inside a Deep Recess
- Push the Fabric Beyond Both Sides
- Choose the Panel Length After the Mount
- Stop the Hem Just Above the Floor
- Give the Panels Enough Width to Fold
- Add a Center Support Without Lowering the Line
- Match Tension Hardware to Light Fabric
- Repeat the Vertical Line in the Fabric
- Open the Panels Past the Glass
- Tape the Full Drop Before Buying
- Choose the Least Bulky Hardware
Set the Mounting Line Near the Ceiling
Start by marking the highest safe point the method allows, ideally about 1 to 3 inches below the ceiling or crown molding. This keeps the eye moving over the full wall instead of stopping at the top of the glass.
A slim steel tension frame makes that line possible when no wood trim reaches high enough; use a level and step back across the room before committing. Leave enough clearance for the frame's top pads, a ceiling fan, or an air vent, because the best height is the highest stable point, not the highest point that makes the hardware wobble.

Clip Brackets Onto Solid Wood Trim
If the window has thick, projecting solid wood casing, clip-on brackets can borrow height from it without touching drywall. No-drill trim brackets commonly start at about $12.99 per set, before the rod and panels are added.
Position each bracket as high on the casing as its shape safely allows, then use a roughly 1-inch steel rod for a calm, straight span. This is our first choice when the trim is substantial, because it looks closer to a conventional high mount than a spring rod and keeps the floor clear of visual clutter.

Build a Floor-to-Ceiling Tension Frame
When there is no usable casing, a floor-to-ceiling tension system creates the strongest height cue because its vertical poles run the entire room height. Budget versions sold through Amazon or Walmart typically cost around $26 to $30, and the larger frame reads more architectural than a short rod.
Set the feet on a firm, level floor and press the top pads against a stable ceiling; painted drywall and uneven surfaces can reduce grip. The visual bulk is a fair trade when the goal is a true near-ceiling-to-floor line, but use light-to-medium curtains so the tension stays secure.

Stretch a Long Rod Inside a Deep Recess
A deep, sturdy window recess can take an extra-long Amazon Basics tension rod when a freestanding frame would feel too bulky. A basic rod typically costs around $2.54 to $6, while sturdier decorative versions sold through Walmart can run around $30.
This option has a clear limit: the top stays inside the recess, so the curtain cannot create the same ceiling-to-floor sweep as an outside frame. Use it when the recess reaches close to the ceiling, and choose floor-length curtains that fall cleanly to the floor so the eye still gets a long vertical drop.
Push the Fabric Beyond Both Sides
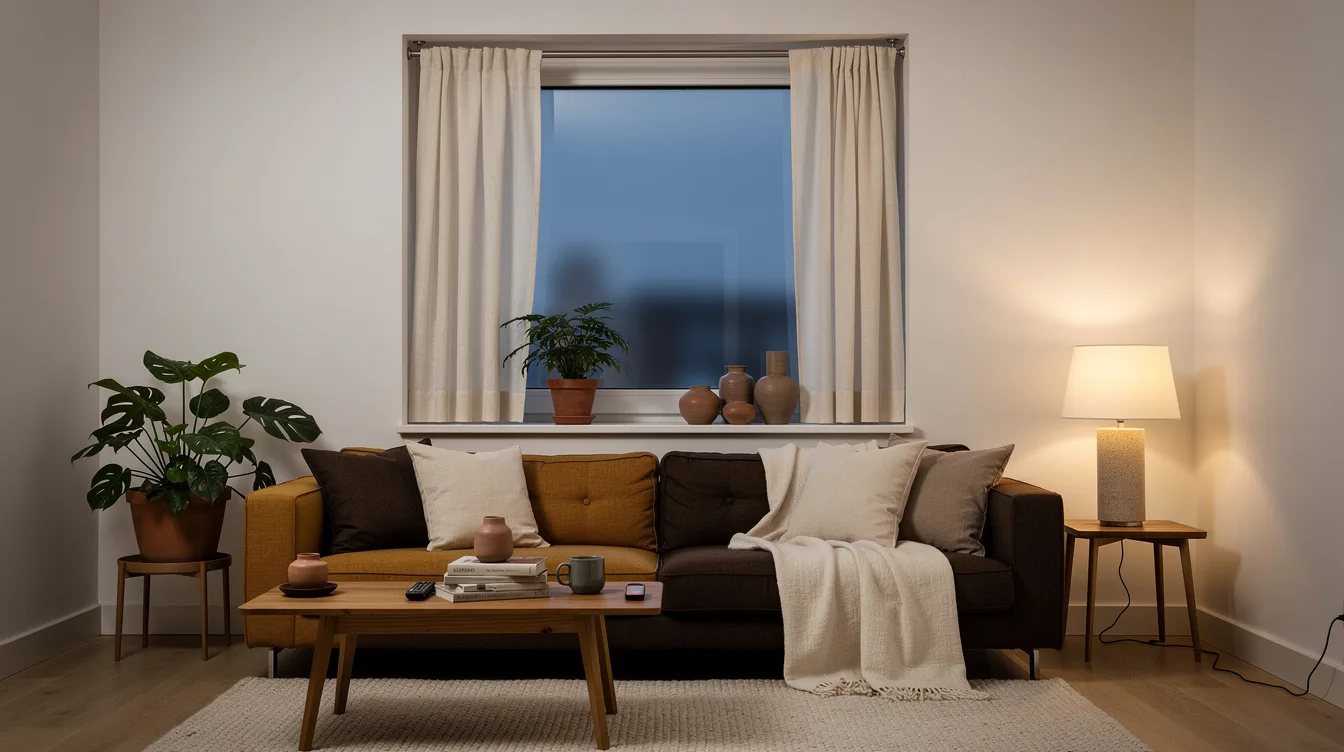
Measure the window glass, then plan for the treatment to extend about 6 to 12 inches past each side. A black steel rod can make this outside span feel crisp, while the extra wall coverage lets the panels stack away from the glass.
For a roughly 48-inch window, that rule creates a visual span of about 64 to 72 inches, which makes the opening feel broader as the curtains climb upward. Keep both returns equal, and let the exposed wall frame the glass evenly, because an uneven extension makes the window look off-center and weakens the height effect.

Choose the Panel Length After the Mount
Buy the panel length only after the high mounting point is measured from top to floor. Typical curtain lengths include about 84, 96, and 108 inches; panels around 96 inches long often suit a high living-room mount better than shorter panels, while panels around 108 inches give more room when the ceiling is tall.
Those lengths are starting points, not permission to guess. A cotton canvas panel that puddles heavily can make the room feel crowded, while a short panel exposes a hard stop that cancels the vertical line, so measure each side separately if the floor is uneven.
Stop the Hem Just Above the Floor
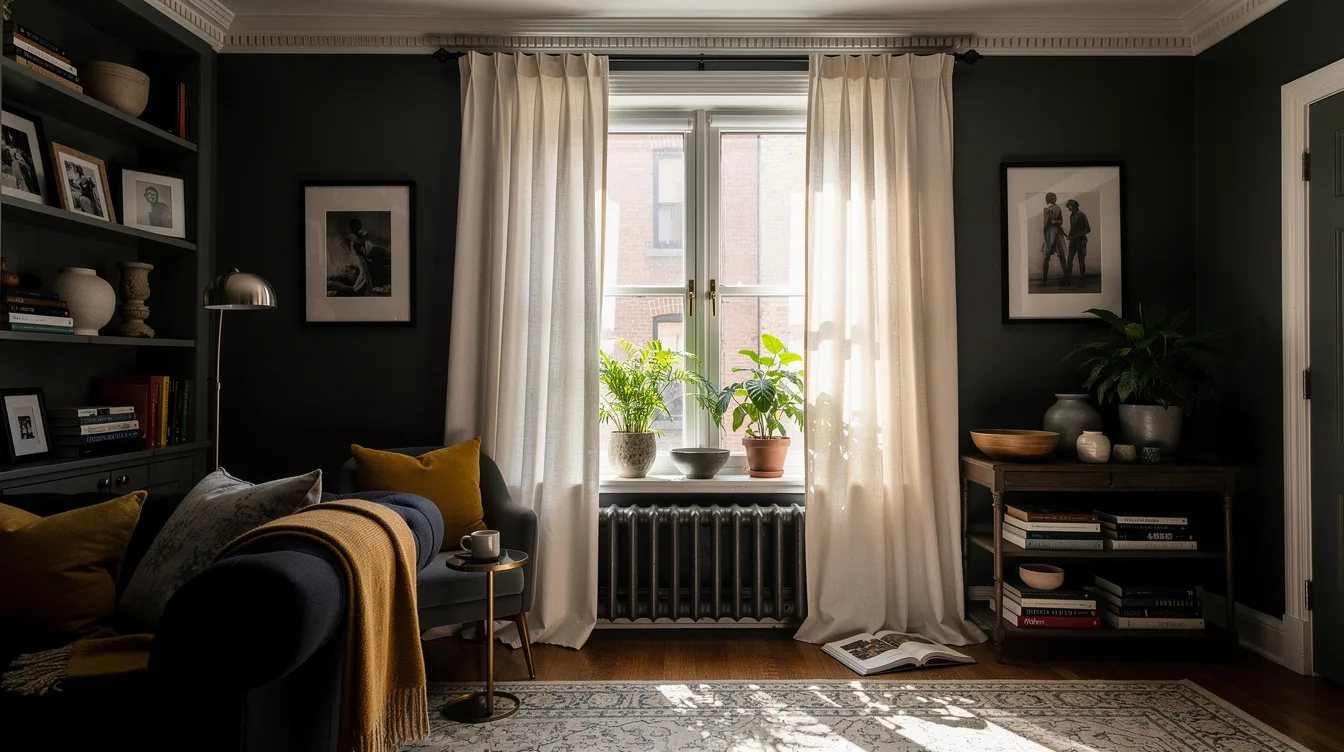
Set the finished hem about half an inch above the floor, or let it barely kiss the surface if the fabric is light and stable. Linen-blend panels give this finish a soft edge without turning the bottom into a dust collector.
Measure from the actual mounting point, not from the top of the window frame, and account for the rod pocket or rings before cutting or ordering. The closer the drop is to the floor, the more continuous the wall line feels; a gap of several inches reads as a mistake and pulls attention downward.

Give the Panels Enough Width to Fold
Calculate total fabric width at about 1.5 to 2 times the final rod or frame span; choose about 2 to 2.5 times when a fuller fold is the goal. Oatmeal cotton curtains make the extra width easy to read because their folds hold a matte, vertical rhythm.
For a span of about 64 to 72 inches, that means roughly 96 to 144 inches of fabric across both panels, depending on how relaxed or full you want the folds. Skimpy fabric makes a tall treatment look temporary, so spend width before spending on decorative trim.
Add a Center Support Without Lowering the Line
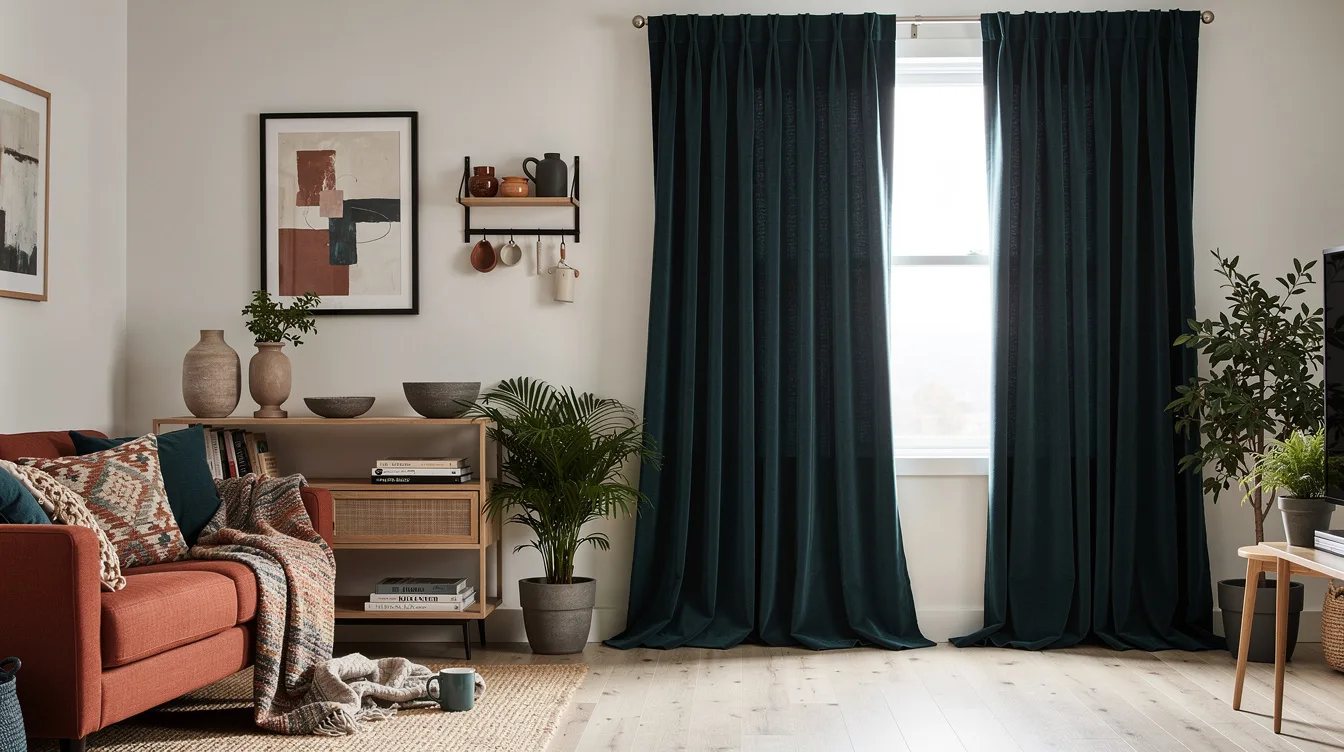
Wide openings and heavier panels need a center support, even when the top line is already right. A center bracket for a long rod can keep it from bowing, and some sets are rated for up to about 20 pounds, so check the stated load before adding lined fabric.
Place the support on solid wood trim when the bracket design requires a tap-on surface, and keep it aligned with the rod. A sagging span creates a shallow arc that visually drops the treatment at its center; when trim is absent, use a tension frame with its own center pole, because a straight line does more for height than an oversized finial ever will.

Match Tension Hardware to Light Fabric
Pressure hardware performs best when the curtain does not fight it. Lightweight curtains from Amazon or Walmart keep the load manageable on a tension frame, especially in a rental where retensioning should be quick.
A floor-to-ceiling system works best with linen-look polyester or light cotton panels rather than thick lined drapery. Compare the fabric weight with the pole's load guidance before ordering, and favor a firm grip and clean drop over a heavy curtain that slowly slips.

Repeat the Vertical Line in the Fabric
Choose a quiet vertical weave or narrow stripe so the panel reinforces the direction established by the hardware. Ivory linen-look fabric works beside pale walls because the texture creates a line without adding a busy pattern.
Keep the color close to the wall when maximum height is the goal, and save high-contrast bands for rooms that can handle a stronger horizontal break. A straight panel in a warm neutral keeps the no-drill hardware from becoming the visual headline, while broad contrasting stripes can divide the wall into bands.

Open the Panels Past the Glass
When the curtains are open, stack each panel beyond the window frame so the glass remains visible and the wall-to-floor line stays readable. Unlined cotton panels are easy to move on a smooth rod, and they keep the stackback from becoming a thick block beside the window.
Use the same side clearance on both sides, then test the opening from the sofa and from the room entrance. If the panels cover too much glass, the treatment starts to feel low and heavy even when the rod sits near the ceiling, so adjust the stackback before lowering the mount.

Tape the Full Drop Before Buying
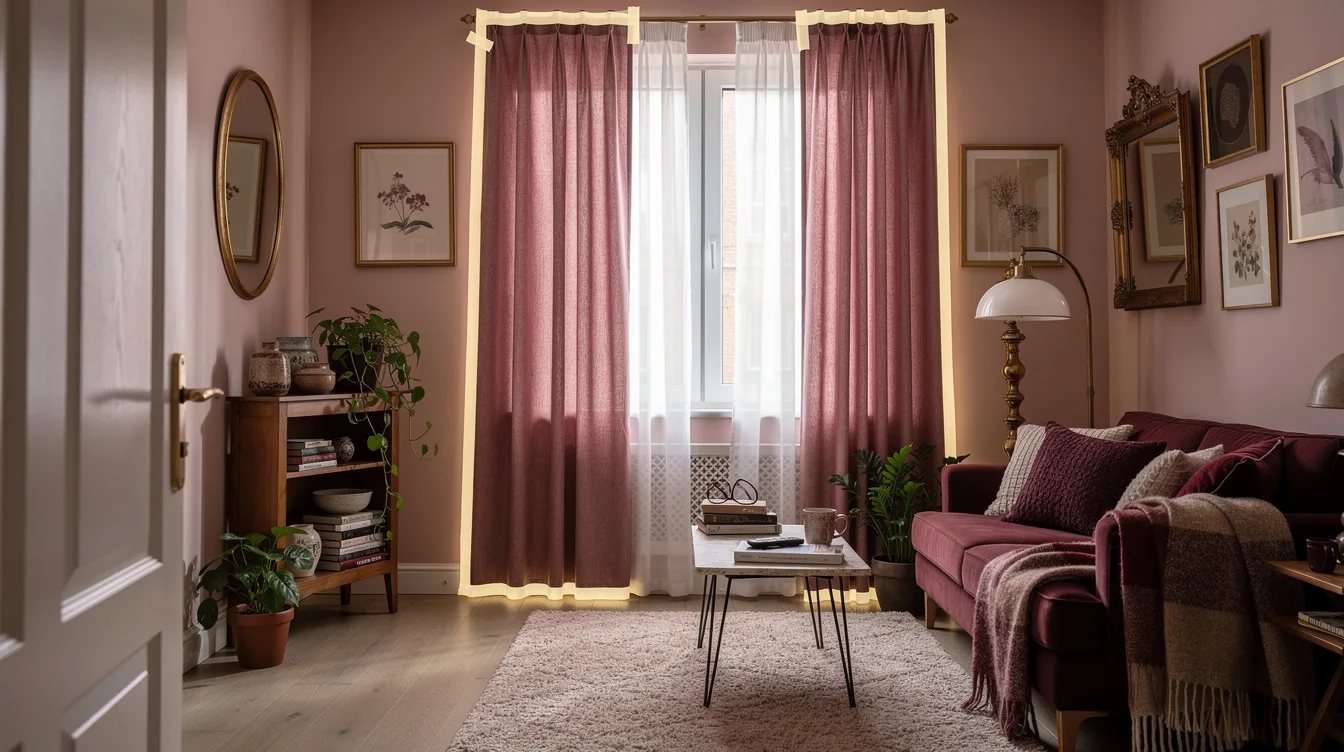
Map the proposed top point, side extensions, and floor line with blue painter's tape before ordering hardware. It costs little, leaves the layout reversible, and reveals whether a panel around 96 inches will land at the intended height from the actual ceiling.
Stand at the normal seating position, then view the outline from the side of the room. This quick rehearsal catches sloped ceilings, deep baseboards, and a window that is not centered on the wall, while showing whether a tension pole would land on a vent or leave a narrow walkway.
Choose the Least Bulky Hardware
Keep the visible hardware narrow, especially in a small living room where a large frame can compete with the curtains. A slim aluminum tension pole or a simple rod gives the fabric a long uninterrupted edge, while oversized decorative caps add width without adding height.
Our preferred finish is quiet hardware, full-length fabric, and enough side clearance to expose the glass. If the room has no solid trim and the ceiling is uneven, spend the available budget on a better tension system rather than trying to disguise a low rod with ornate ends.

Keep reading
- 12 Designer Curtain Tricks That Make Bedroom Ceilings Look Taller
- 13 TV Wall Mistakes That Make Your Living Room Look Unfinished
- 12 Best Hotel Lobby Lighting Ideas to Make Your Living Room Glow
Start with painter's tape and a ceiling line about 1 to 3 inches below the crown molding, then choose solid wood trim brackets or a floor-to-ceiling tension frame. Once the hem lands roughly half an inch above the floor, the hardware can recede and the room's new vertical line can do the work.


