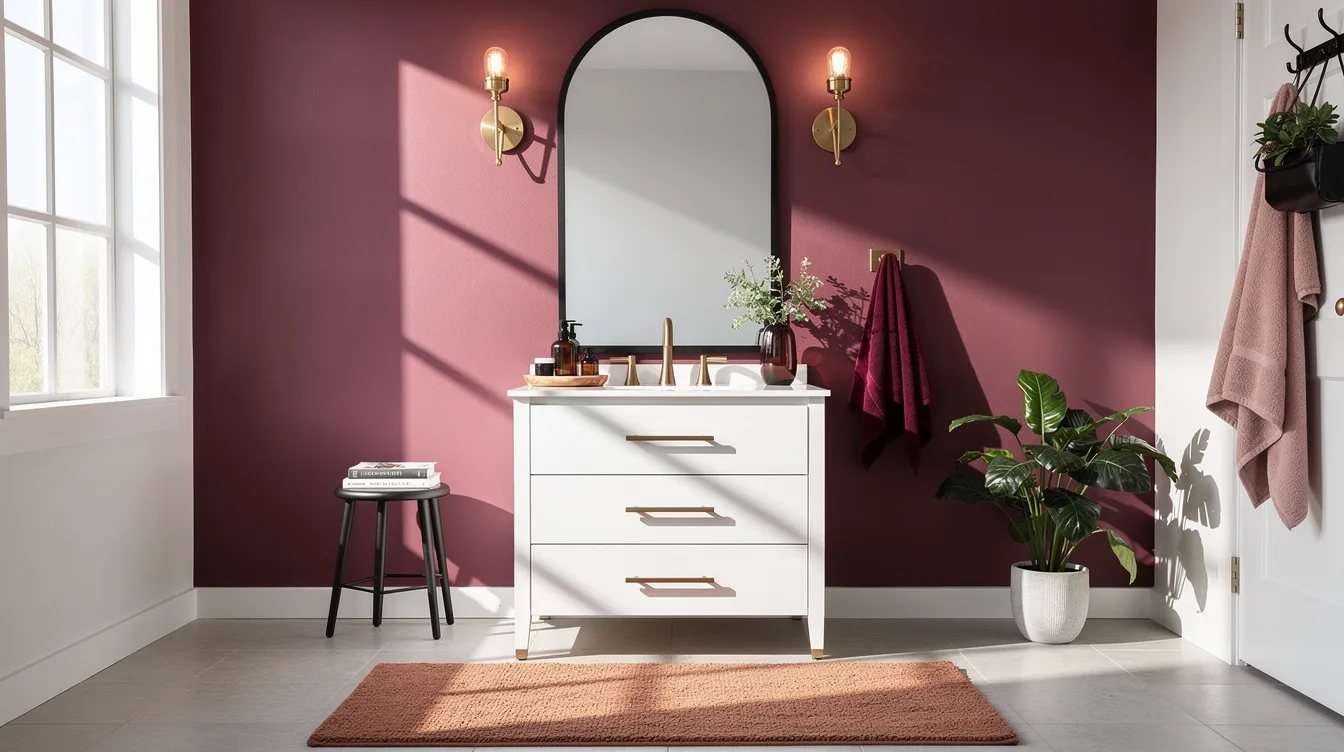
13 Budget Rental Bathroom Vanity Upgrades That Look Custom
08 september 2026We were tired of seeing a typical 30-inch rental vanity read like an afterthought beneath a bare mirror. The cabinet stayed, the plumbing stayed, and the room finally got a point of view.
Our plan was a coordinated built-in composition, not a costly renovation. A typical refresh can land around $75 to $300 when every visible layer works with the next.
What you will find inside
- Measure the Cabinet Before Buying Pulls
- Commit to One Hardware Finish
- Hang an Oversized Framed Mirror
- Build a Removable Mirror Surround
- Finish the Wall With Adhesive Tile
- Wrap Only a Sound, Dry Countertop
- Place Light at Face Height
- Conceal the Toe Kick With Furniture Detail
- Add Feet Only Where They Read as Intentional
- Contain Countertop Supplies in One Tray
- Choose a Dispenser With Real Weight
- Anchor the Floor With a Washable Runner
- Save Every Original Part for Move-Out
Measure the Cabinet Before Buying Pulls
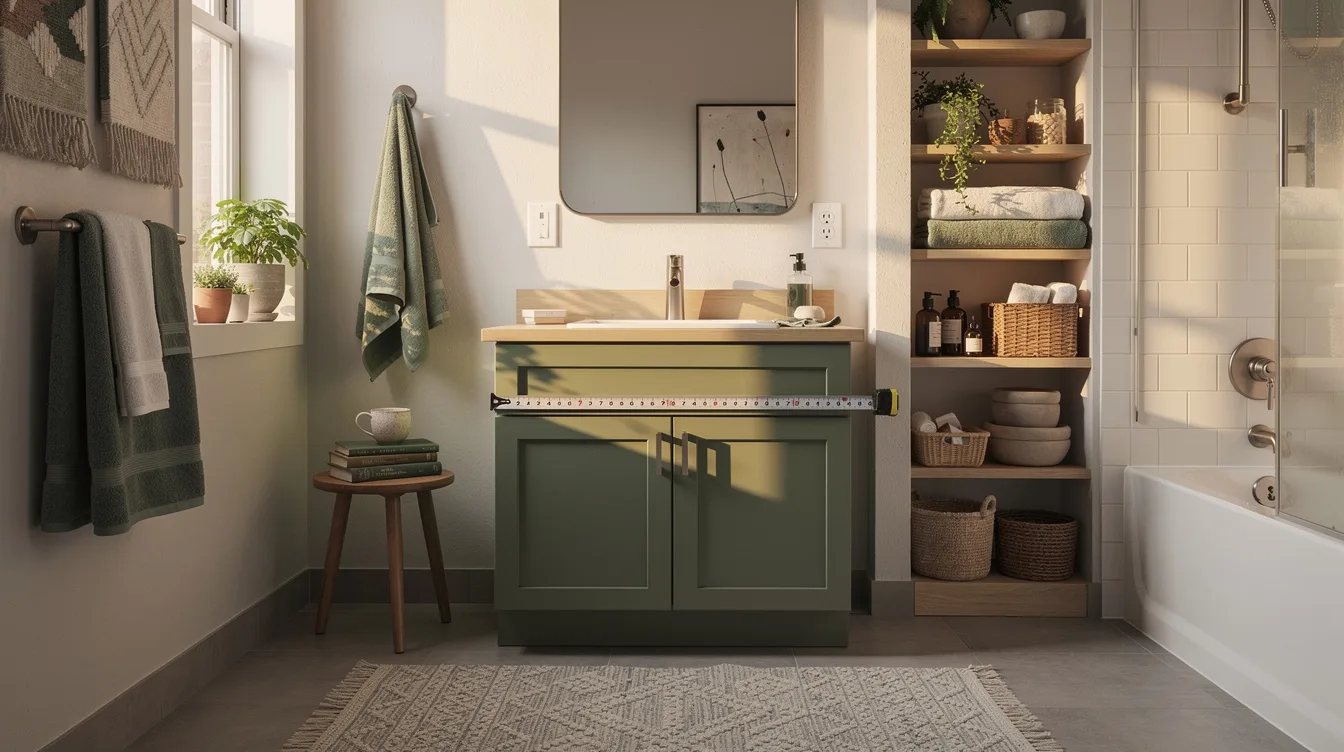
Open every door and measure the existing hardware holes before ordering anything. Most rental pulls use a typical 3-inch, 3-3/4-inch, or 5-inch center-to-center spacing, and forcing a new size creates holes you cannot casually undo.
We favor warm bronze cabinet pulls from Home Depot for a vanity with beige laminate, or polished nickel when the faucet already has a cool finish. Expect to spend roughly $3 to $10 per pull, with a typical small vanity total around $20 to $70.
Commit to One Hardware Finish
A mix of black pulls, chrome faucet hardware, and brass accessories makes a small bathroom look assembled from leftovers. Choose one dominant metal, then let the faucet be the only existing finish that gets a pass.
Matte black pulls make white laminate feel sharper, while aged brass gives oak-look cabinet fronts some needed warmth. Walmart and Amazon both make it easy to find multipacks, but skip ornate crystal knobs unless the whole room has a traditional direction.
Hang an Oversized Framed Mirror
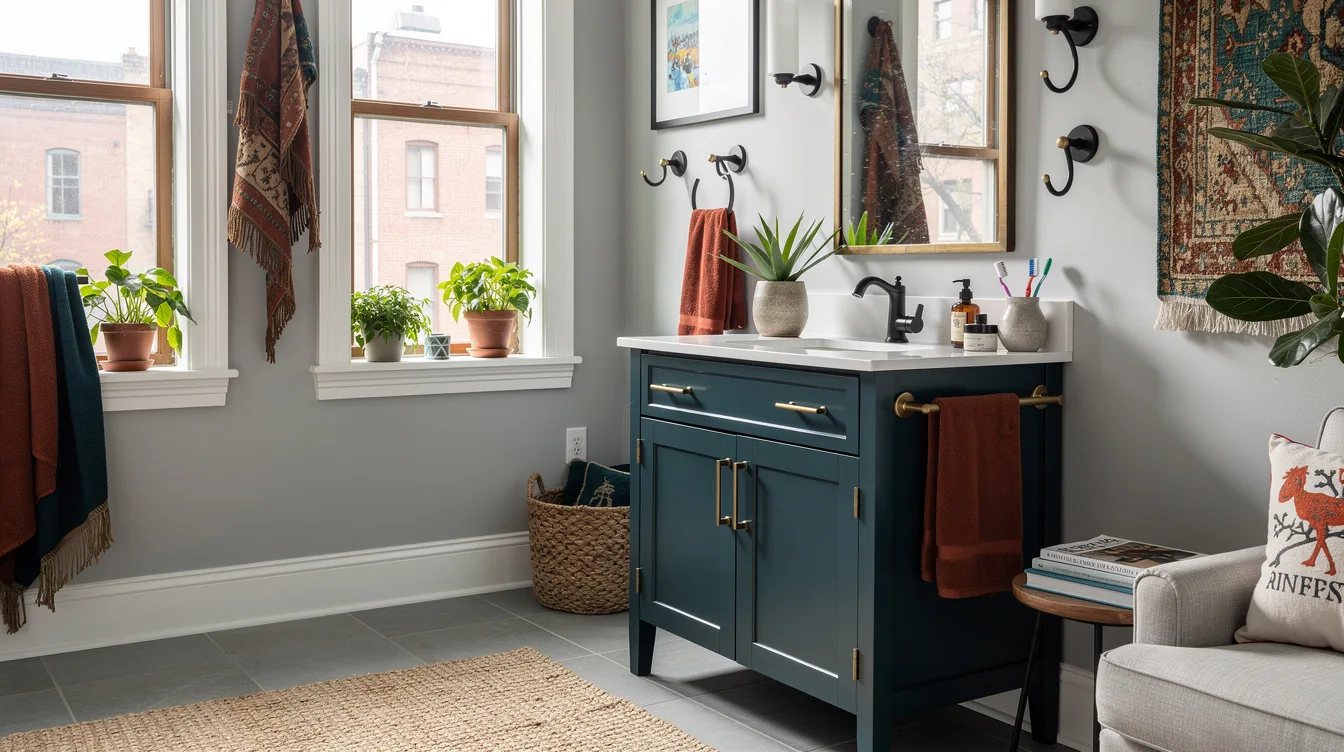
The mirror should have enough width to claim the vanity wall. For a single sink, choose one typically 2 to 4 inches narrower than the cabinet, so a 24-by-36-inch mirror usually works over a 30- to 36-inch vanity.
A black-framed arch mirror from Wayfair or Target adds architecture where a clip-mounted rectangle has none. A typical $40 to $150 mirror is more convincing than a collection of tiny decorative pieces.
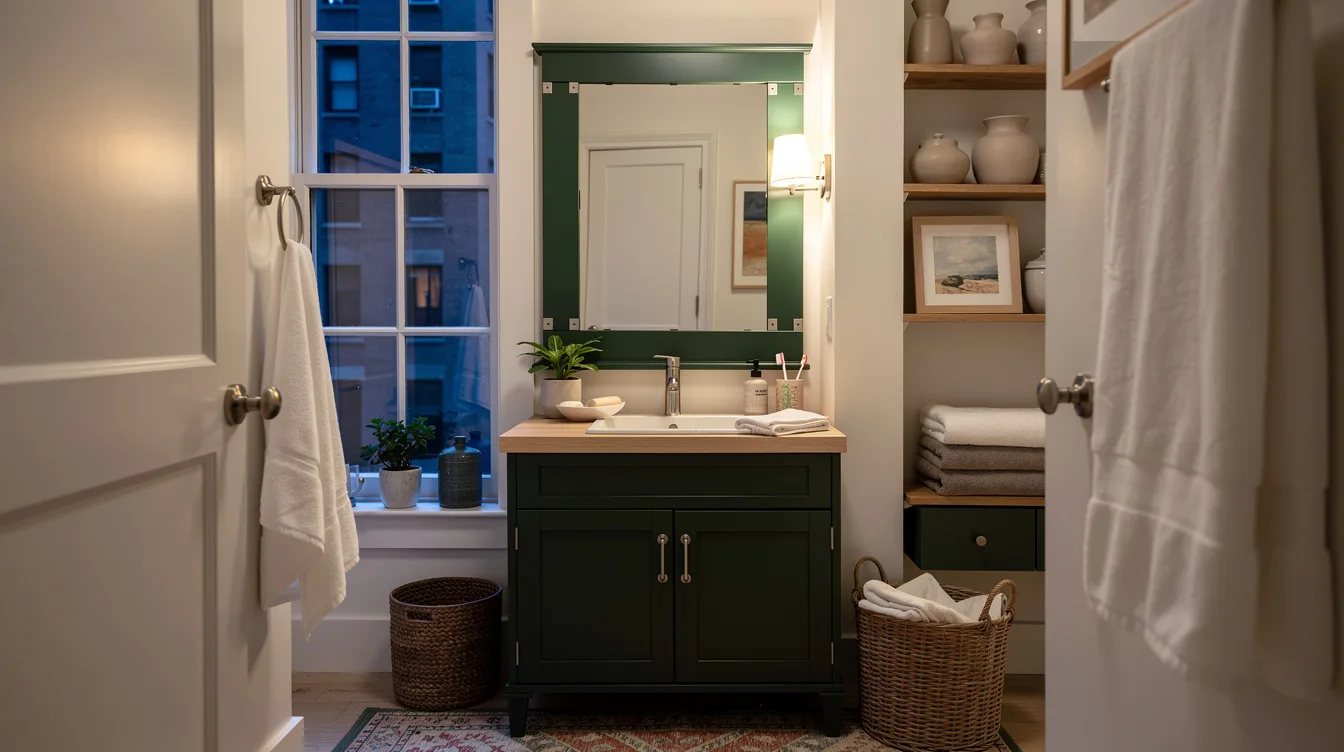
Build a Removable Mirror Surround
If the existing mirror is broad and securely mounted, framing it can be the best value move in the room. Leave clearance for clips, door swing, and cleaning, using a frame face roughly 1.5 to 3 inches wide.
Use lightweight PVC composite trim from Lowe's for humid bathrooms, attached only with renter-safe methods tested in a hidden corner for several days. Typical materials can cost around $25 to $80, but do not cover failing paint or a damaged wall edge.
Finish the Wall With Adhesive Tile
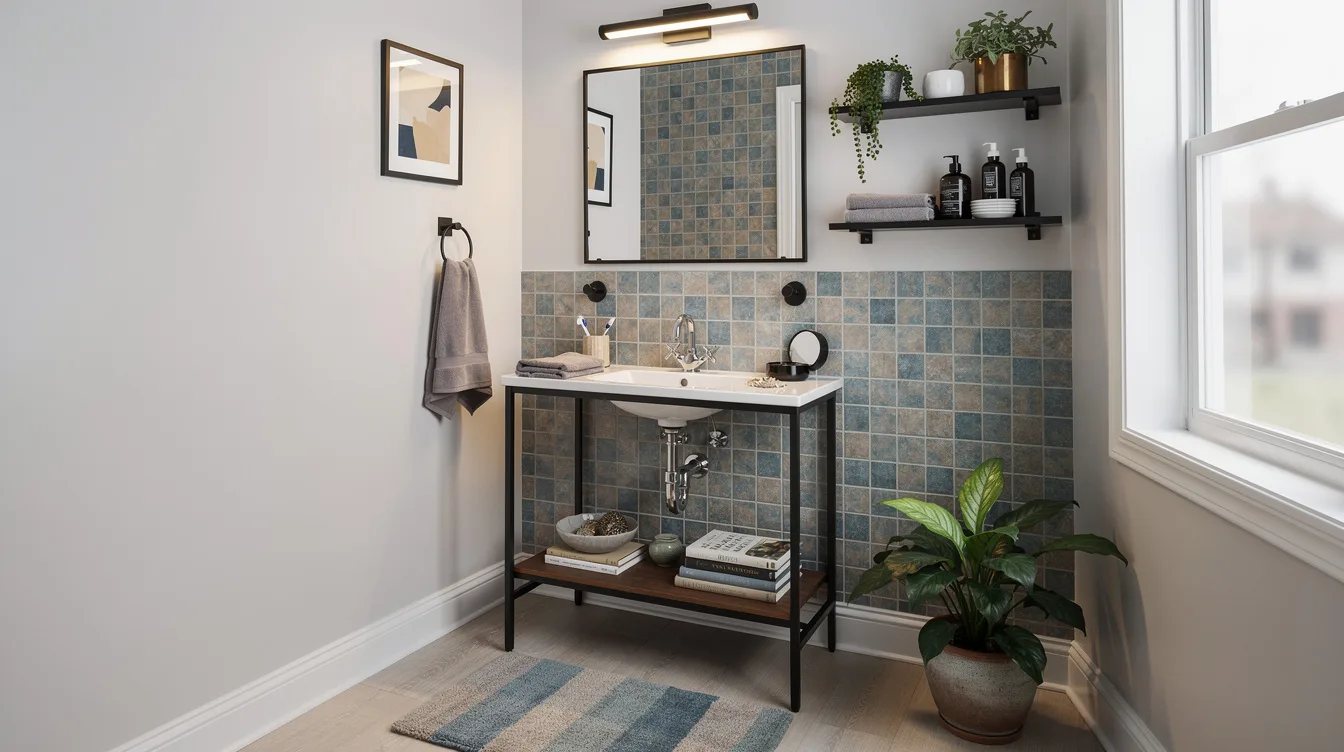
A backsplash tells the eye that the vanity was planned as one installation. Run a tile-look surface about 18 to 24 inches above the counter, stopping at a clear, deliberate line instead of an uncertain strip.
We like a soft white peel-and-stick subway tile from Home Depot behind a darker vanity, because it brightens without competing with the mirror. A typical vanity wall takes around $45 to $120 in material, and seams need careful pressure in damp spots.
Wrap Only a Sound, Dry Countertop
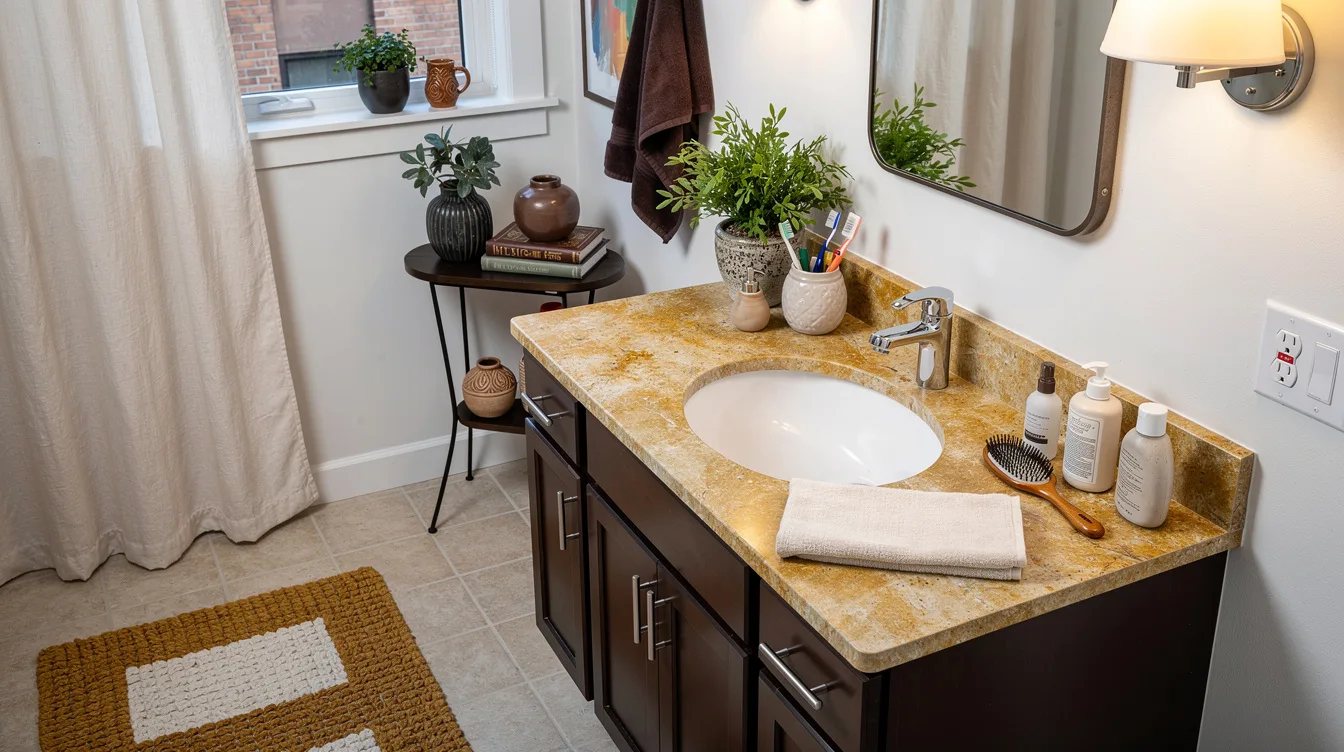
Vinyl can calm an ugly laminate counter, but it cannot rescue swollen particleboard or a leaking sink rim. Photograph the counter first, then test a small piece of adhesive in an inconspicuous area before committing.
A stone-look vinyl wrap from Amazon works best on a relatively dry surface with simple edges. For a typical 48-by-22-inch counter, allow roughly 7.3 square feet before overage for the top, front edge, and returns.
Place Light at Face Height
Harsh ceiling light makes every rental bathroom feel temporary because it throws shadows under the eyes and mirror. A plug-in light source beside the mirror gives the vanity the balanced lighting of a considered dressing area.
Place plug-in sconces from IKEA or Target at roughly 60 to 66 inches from the floor to fixture center when the layout permits. A centered fixture can work around 75 to 80 inches above the floor, but it must clear the mirror frame and medicine cabinet doors.
Conceal the Toe Kick With Furniture Detail
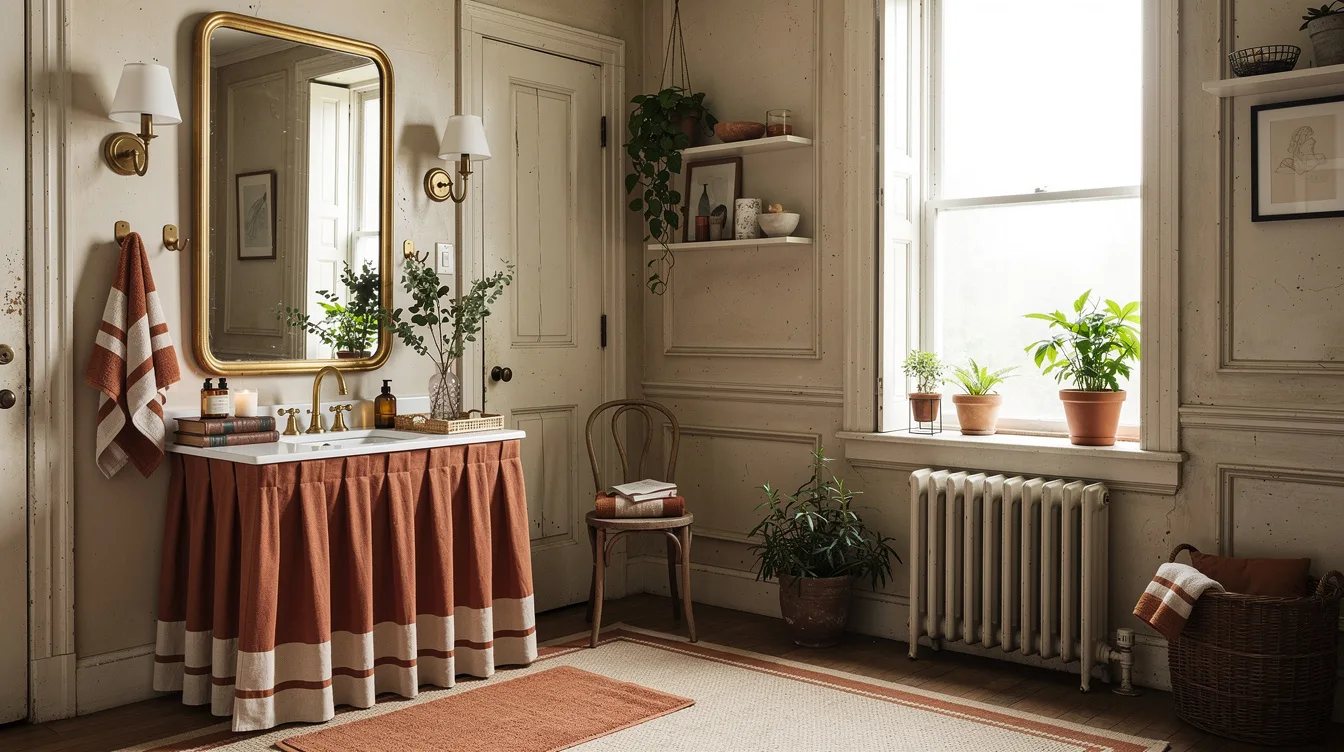
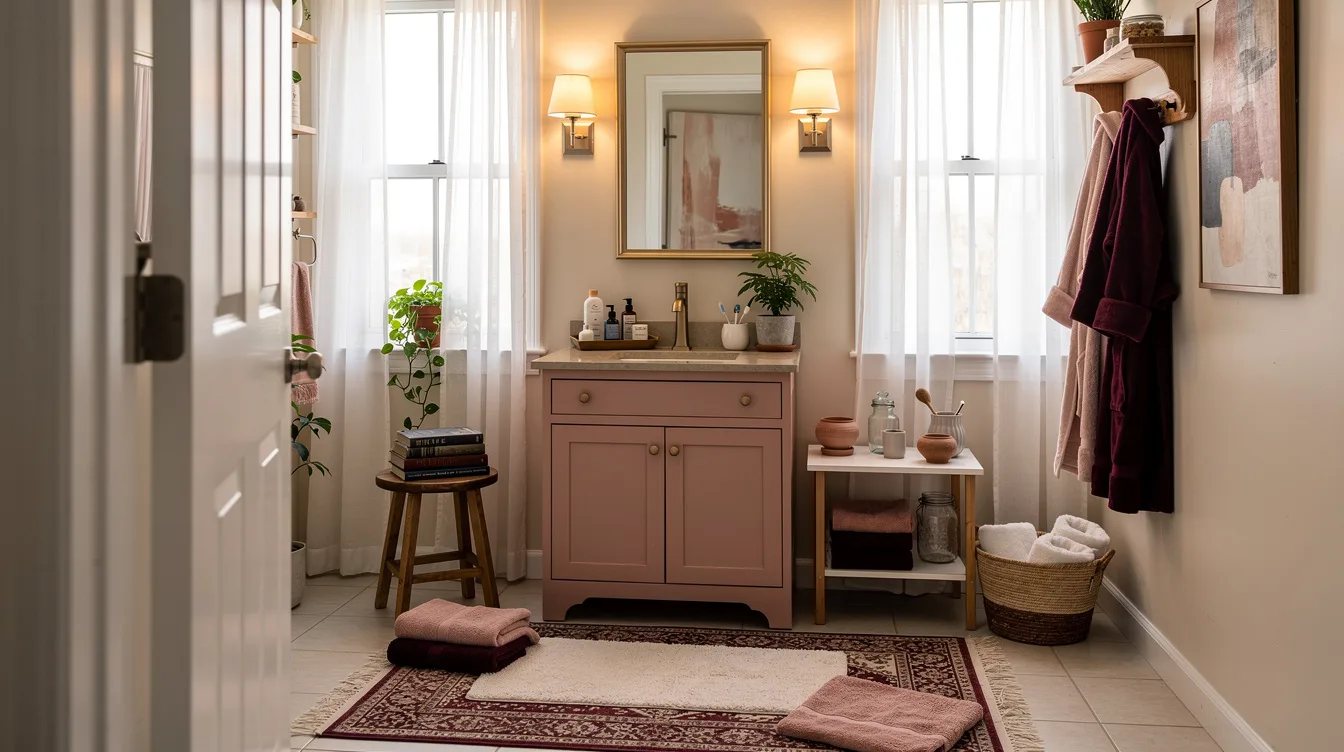
That hollow toe-kick gap is one of the quickest ways a vanity announces its builder-grade origins. Give it a finished lower edge with removable details while keeping the shutoff valves and plumbing access completely reachable.
A tailored linen-look fabric skirt on a tension rod or removable strips can hide the recess for roughly $20 to $75. Keep it about a typical 3 to 5 inches high, and choose a washable fabric because bathrooms punish precious textiles.
Add Feet Only Where They Read as Intentional
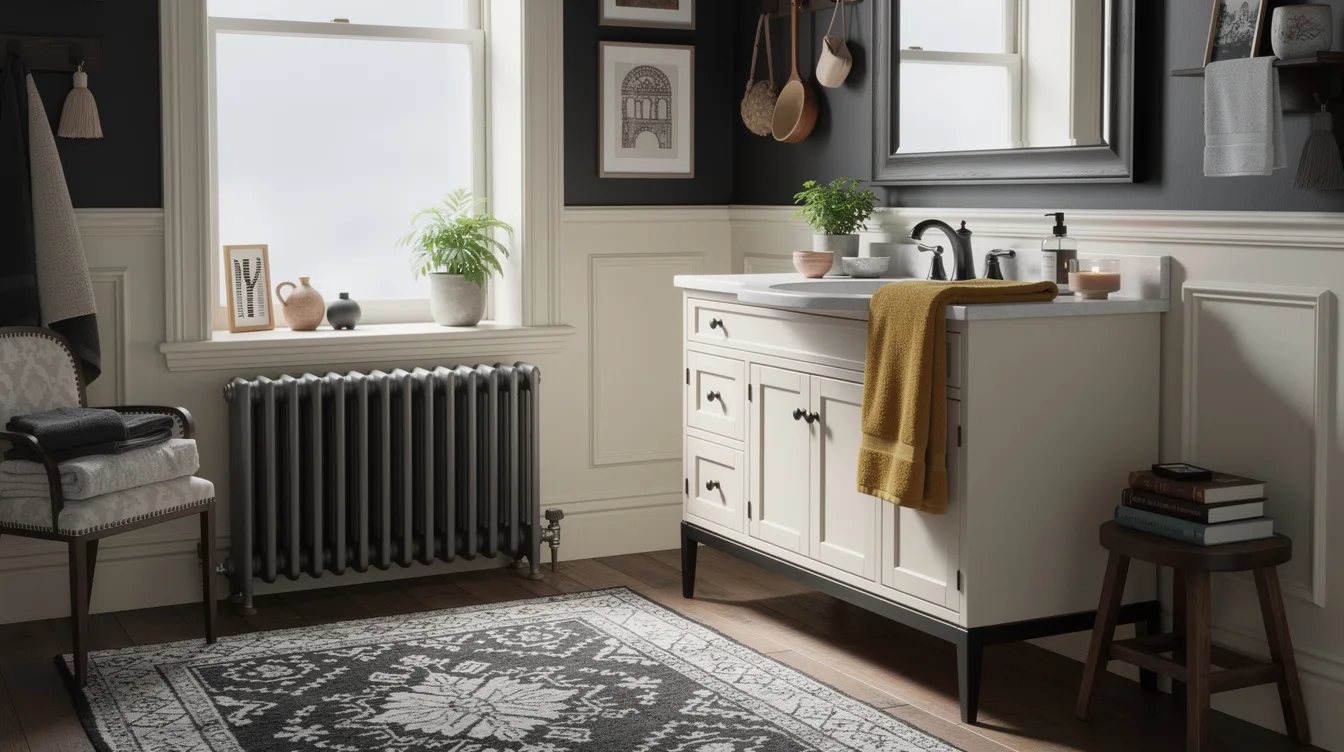
Adhesive furniture feet can make a boxy cabinet look less generic, but only when the cabinet has a visible base line and the feet will not interfere with doors. Four tiny decorative feet under a heavy vanity look like an apology.
Choose substantial black furniture feet from Walmart that visually match the pulls, then position them as a front-facing detail rather than a structural promise. This is a finish move, so skip it if the cabinet sits flush to uneven flooring.
Contain Countertop Supplies in One Tray
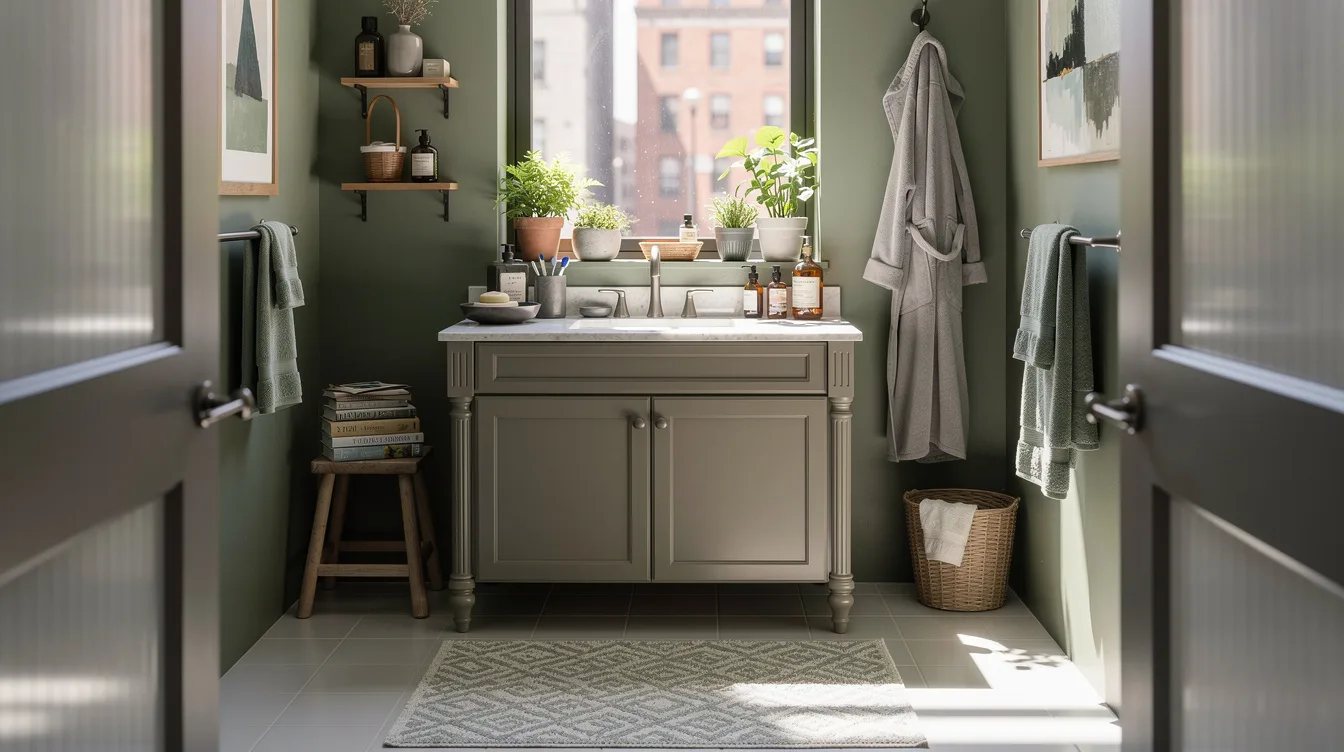
The counter needs breathing room for the new finishes to register. Corral daily items on one tray and leave the rest of the surface open, especially beside a small sink.
A rectangular wood tray from Costco or Target holds soap, lotion, and one practical cup without creating a crowded display. We avoid matching canisters, faux greenery, and extra jars here because a rental vanity looks custom when it looks edited.
Choose a Dispenser With Real Weight
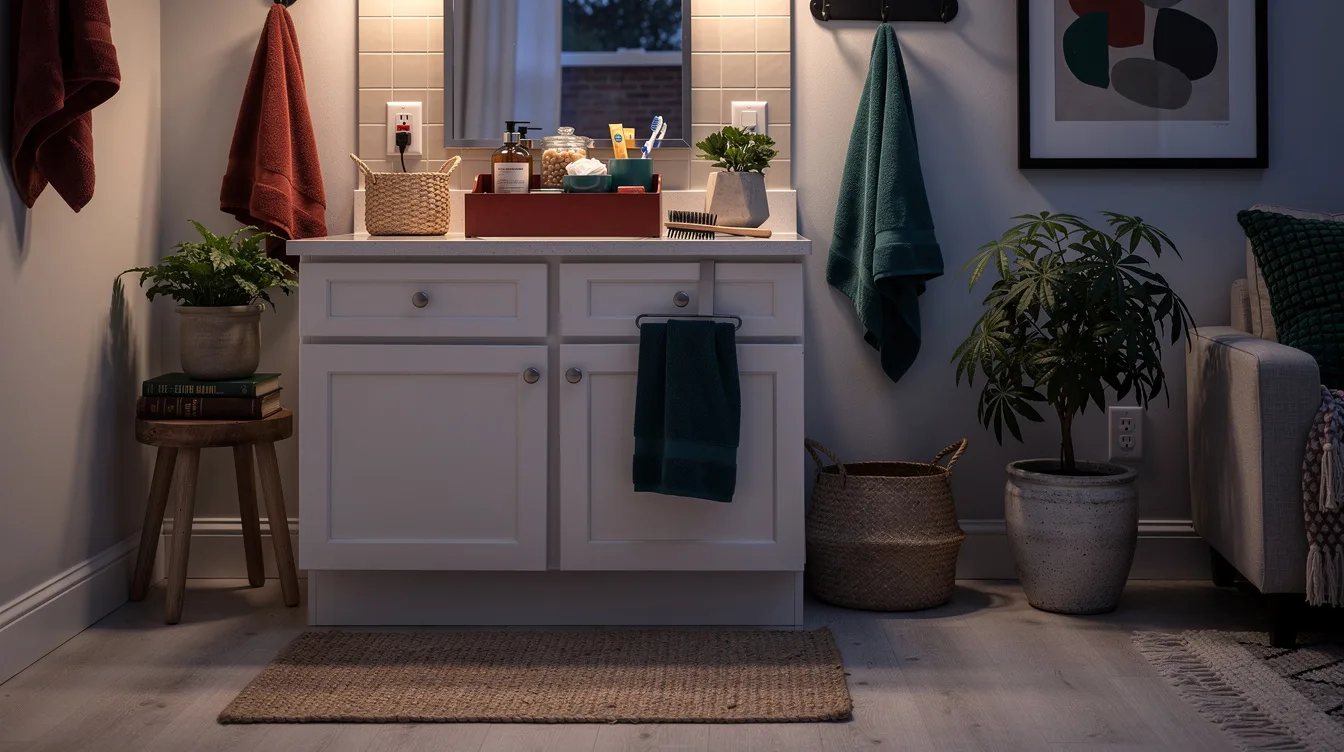
Bright plastic soap bottles pull attention toward the least permanent part of the room. One refillable dispenser gives the countertop a calmer material note and makes even a basic faucet look more deliberate.
A smoked glass soap dispenser from Amazon is a strong match for black or bronze hardware, while amber glass warms nickel. Buy one that is easy to refill and wipe, since a stylish dispenser that drips is not worth the counter cleanup.
Anchor the Floor With a Washable Runner
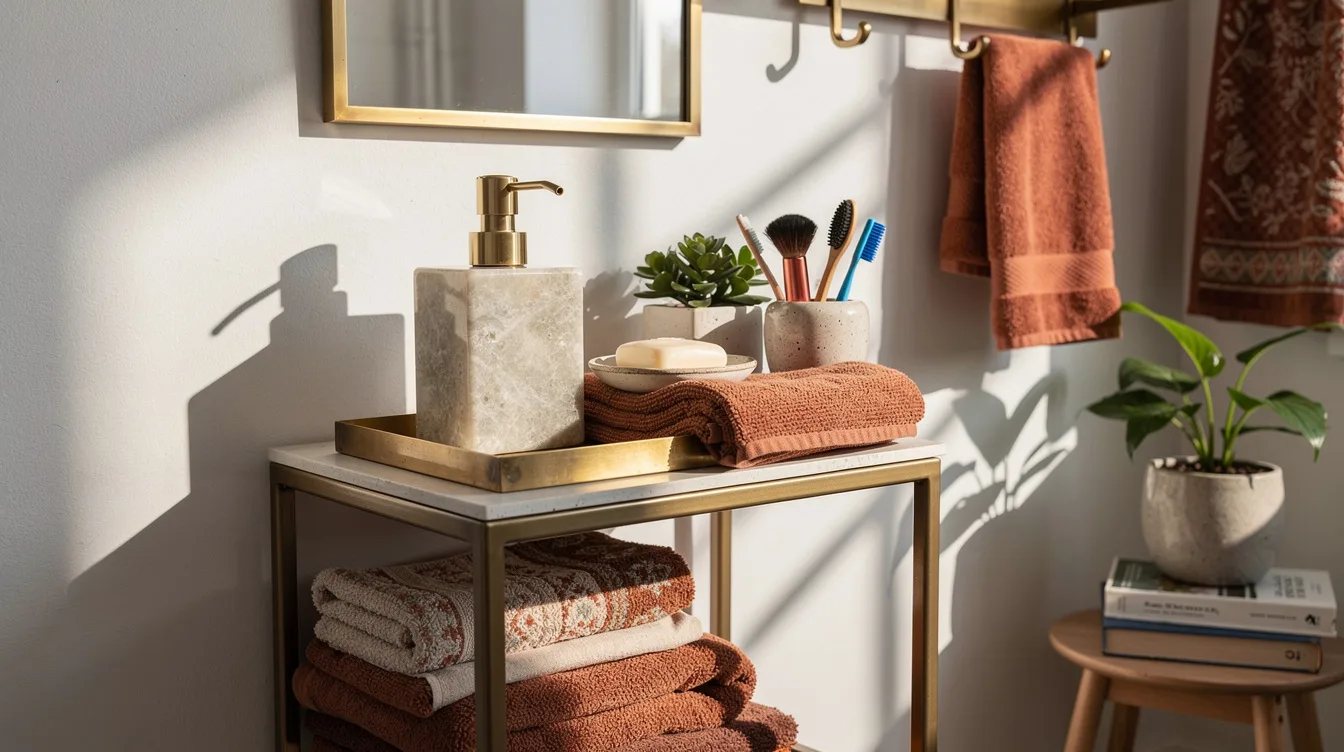
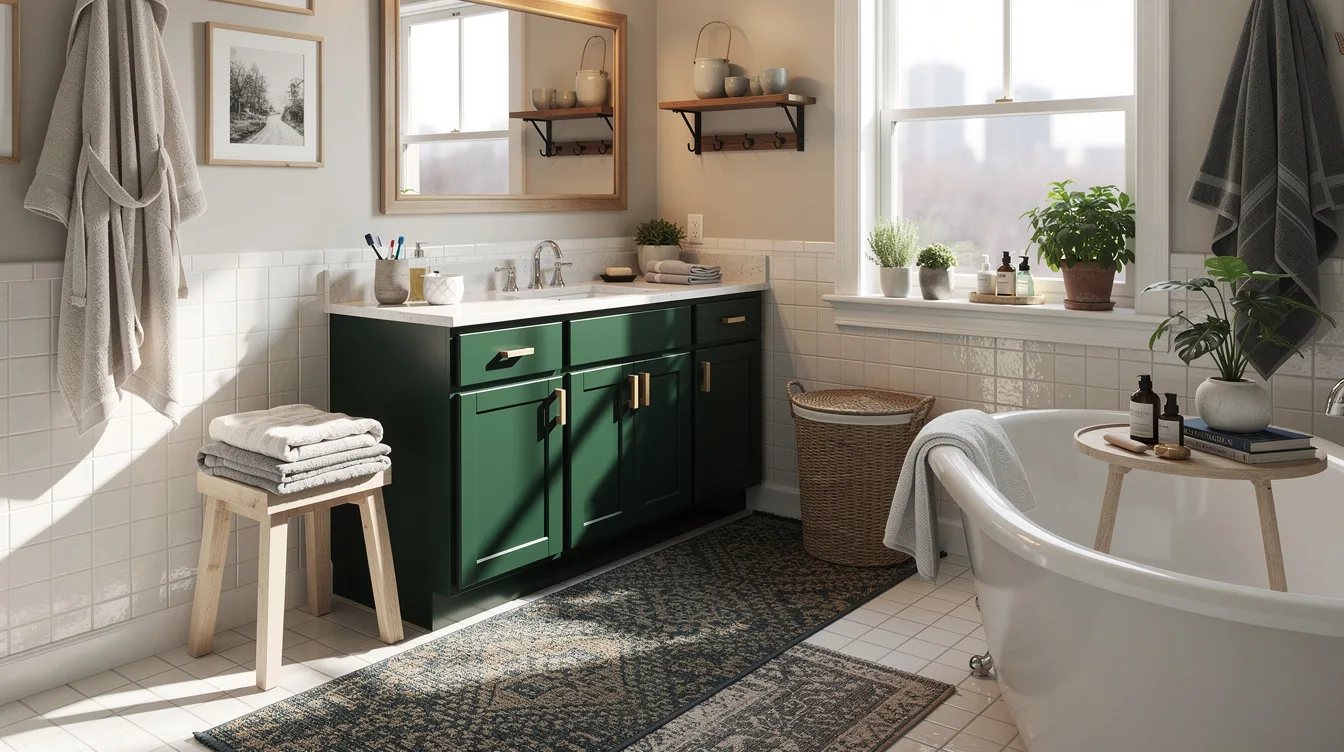
A narrow bath mat often looks undersized beside a longer vanity. A washable runner makes the cabinet feel grounded and stretches the visual footprint of the room without touching the leasehold finishes.
Try a low-pile washable runner from Wayfair or Walmart in a subtle checked pattern or solid clay tone. Keep its edge clear of the vanity doors, and avoid thick piles that hold moisture after a shower.
Save Every Original Part for Move-Out
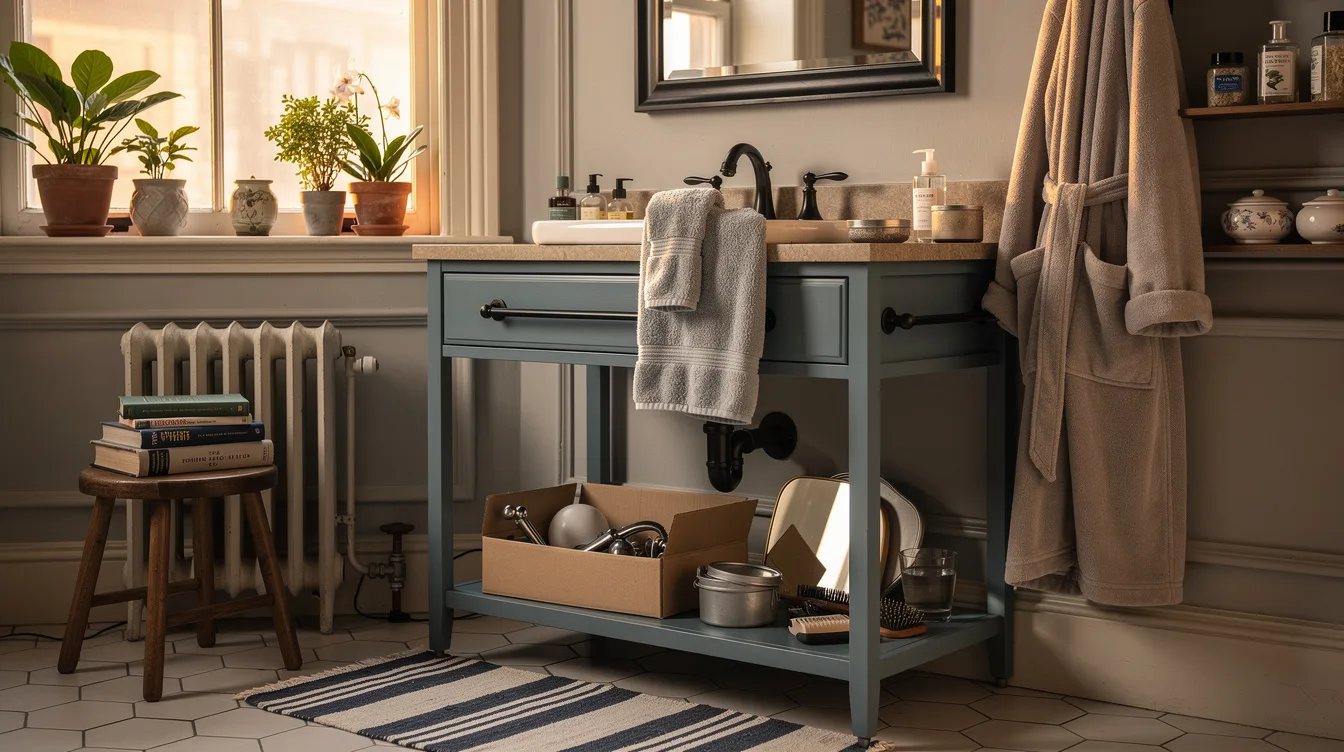
Custom-looking rental work succeeds when it can be reversed without drama. Put the original knobs, pulls, mirror clips, and accessories in a labeled bag before the first replacement goes on.
We also photograph the vanity, wall, countertop, and hardware before starting, then keep any approval for drilling, painting, or faucet work in writing. Adhesive is never automatically risk-free on old laminate, porous stone, peeling paint, or previously refinished surfaces.
Keep reading
- 12 Budget Pendant Lights That Make Kitchens Look Custom
- 14 Hotel Bathroom Towel and Lighting Tricks That Look Expensive
- 12 Target Rental Decor Finds That Look Way More Expensive Than They Are
Start with the mirror and hardware, then stop and assess the room before buying another accessory. Those two changes establish the finish, scale, and direction for everything that follows.


