The 9 Cabinet Hardware Placement Rules Designers Always Follow
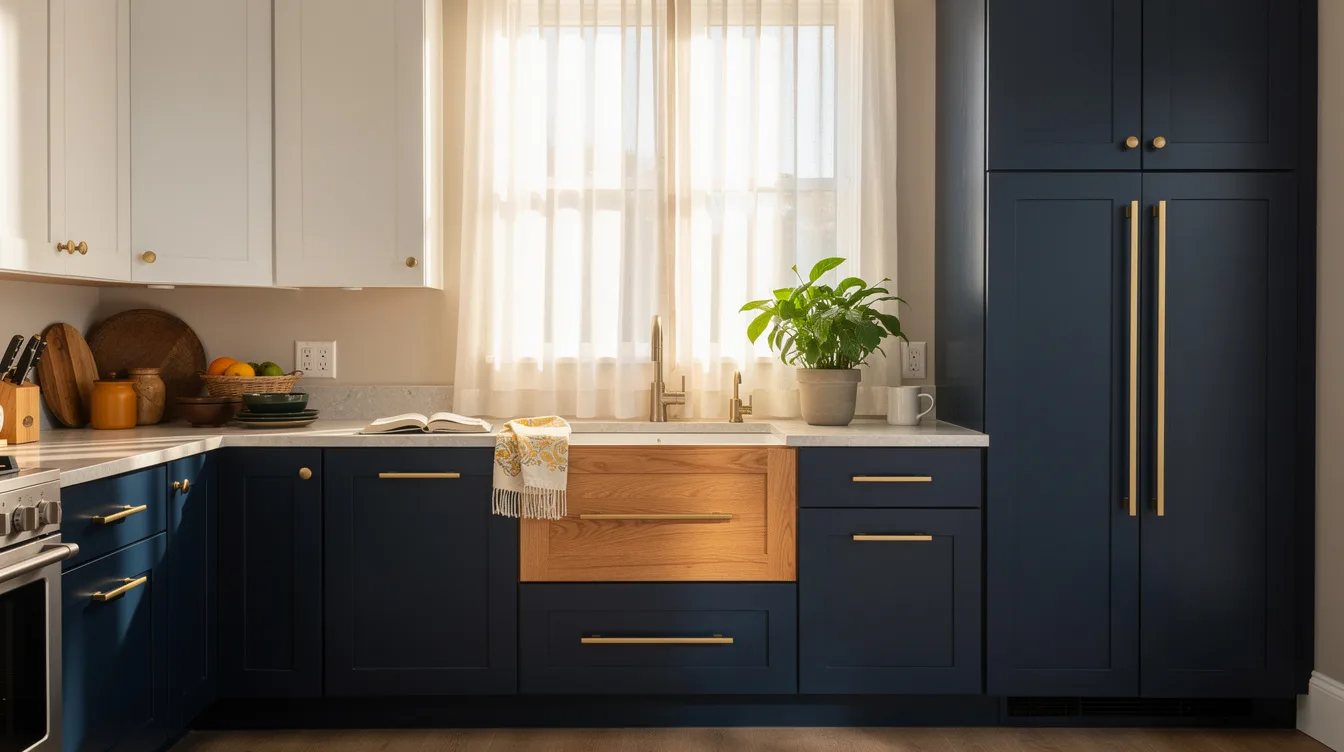
08 september 2026A 36-inch sink drawer can make an entire kitchen look crooked when its two pulls sit even a fraction off the centerline. Cabinet hardware is small, but it creates the grid your eye reads before it notices the countertop or paint color.
Designers do not follow one rigid measurement for every cabinet. They follow a more useful rule: make each handle align with the front's geometry, then repeat that choice across the room.
What you will find inside
- Put Every Door Handle on the Opening Edge
- Anchor Upper-Cabinet Hardware Near the Lower Rail
- Set Base-Cabinet Hardware by the Top Rail
- Use Rails and Stiles as Your Shaker Grid
- Measure Slab Fronts From Their Nearest Edges
- Center a Single Pull on Narrow Drawers
- Scale Pull Length to About One-Third of the Drawer
- Split Wide Drawers Into Matched Pairs
- Match Long-Drawer Hardware to the Centerline
- Keep Tall Pantry Pulls at a Repeatable Hand Height
- Choose Center-to-Center Before Ordering Hardware
- Repeat One Placement Decision Across the Whole Room
Put Every Door Handle on the Opening Edge
A cabinet door hinged on the left needs its knob or pull on the right, and the reverse is equally true. This sounds basic, yet a misplaced handle makes a kitchen feel immediately off because the hand reaches across the door instead of meeting its opening edge.
Use a vertical matte black bar pull on doors, especially on pantry fronts and tall utility cabinets. The orientation follows the motion of the door and gives the whole run a deliberate rhythm.
Anchor Upper-Cabinet Hardware Near the Lower Rail
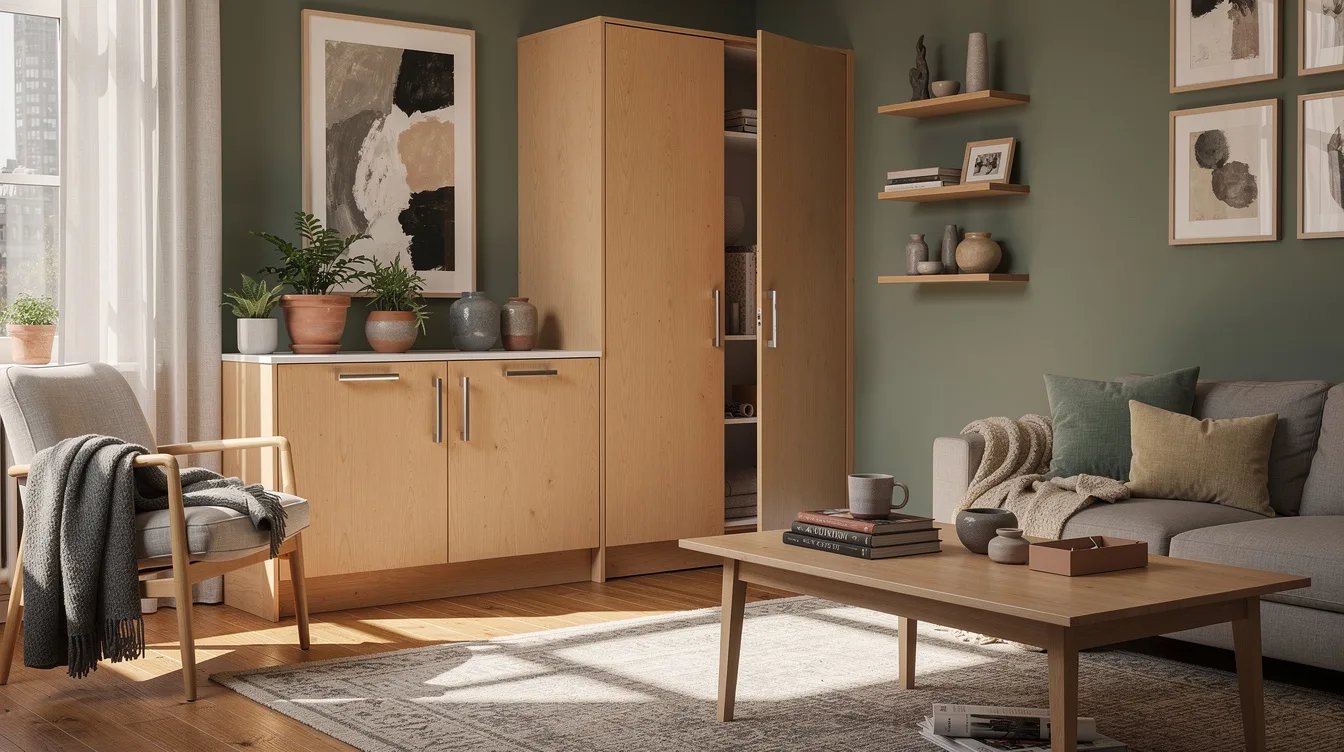
On upper doors, place the knob center or pull midpoint roughly 2 to 3 inches from the bottom edge and opening-side stile. That lower-corner position is practical when you reach up, and it visually ties the hardware to the bottom rail.
With Shaker maple doors, line the top end of a pull with the top edge of the lower rail rather than floating it in the panel. Framed cabinetry gives you built-in guides, so use them.
Set Base-Cabinet Hardware by the Top Rail
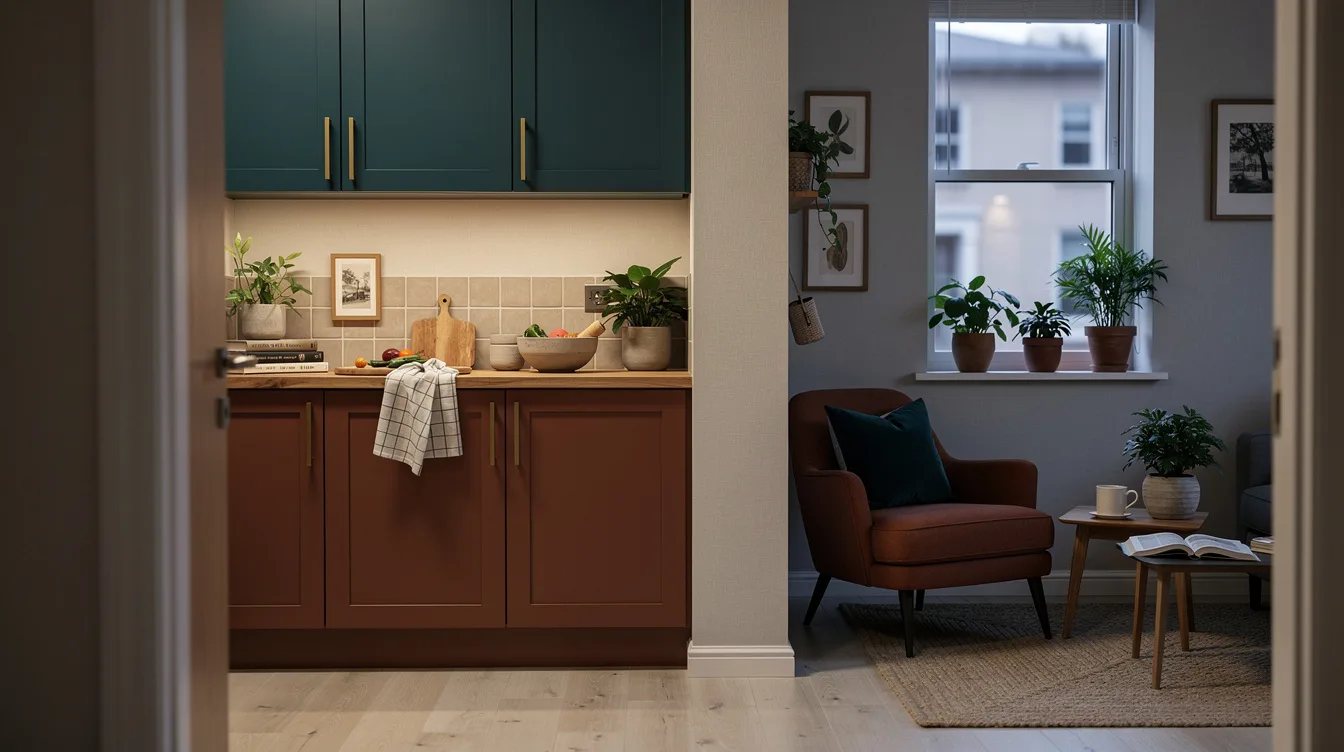
Base-door hardware belongs at the upper opening-side corner, usually about 2 to 3 inches down from the top and in from the stile. It keeps the pull near your natural hand position when you bend toward a lower cabinet.
A small brushed brass knob can work beautifully here when repeated precisely across a compact kitchen. Skip random placements that make one door seem to sag lower than the next.
Use Rails and Stiles as Your Shaker Grid
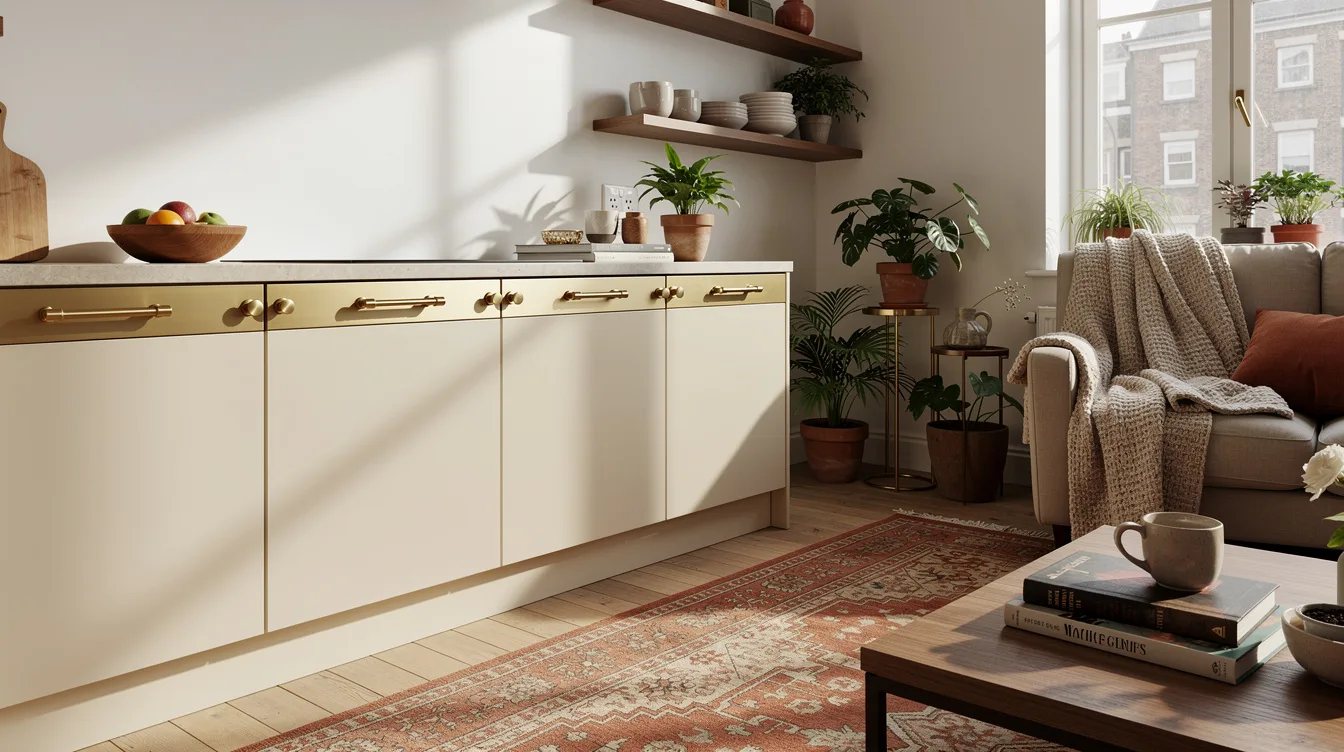
Shaker fronts already have a visible geometry, and designers let that geometry set the placement. Center a knob on the vertical stile, then align a pull end with the relevant top or bottom rail.
That rule is why a technically centered oak Shaker drawer front can still look wrong with a handle stranded in its recessed panel. The frame is the architecture, while the panel is the quiet field inside it.
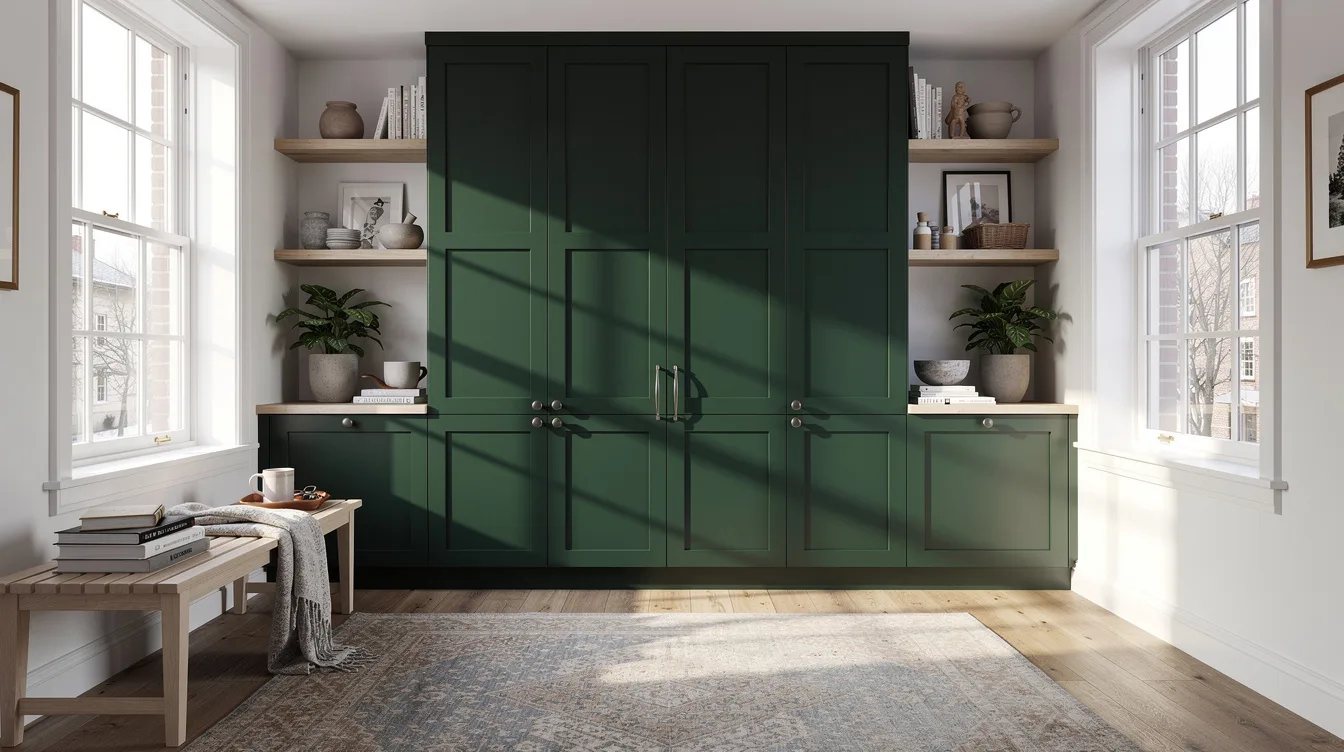
Measure Slab Fronts From Their Nearest Edges
Flat cabinet fronts have no rails to reference, so use a clean repeated offset from the two nearest edges. A knob center or pull midpoint roughly 2 to 3 inches from those edges usually reads crisp and intentional.
Mark every hole from a single reference point before drilling into white laminate slab doors. Eye-balling offsets is how otherwise minimal cabinetry starts to look homemade.
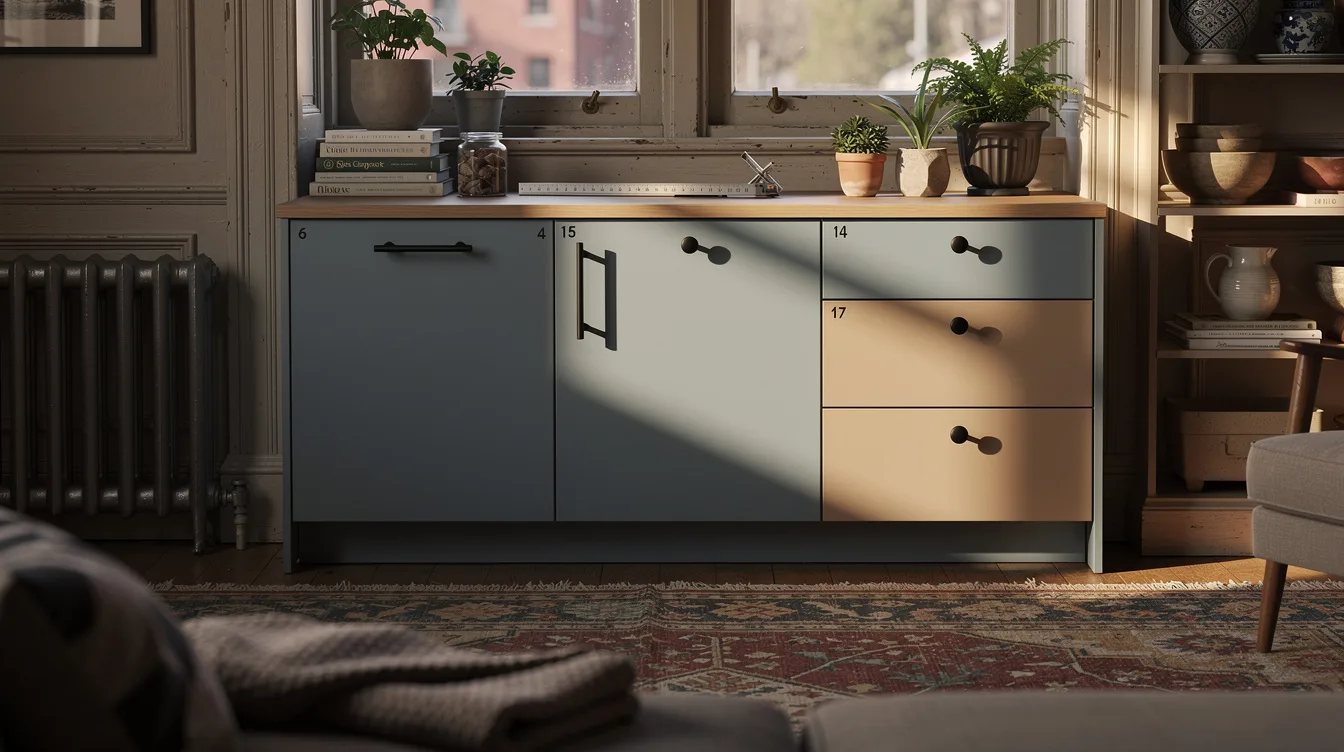
Center a Single Pull on Narrow Drawers
For drawer fronts under about 12 inches wide, one centered knob or short pull is the clearest choice. A handle pushed toward one side makes a small drawer appear accidental, even when the cabinet box is perfectly square.
A compact 3-inch satin nickel pull suits a narrow cutlery drawer without crowding the front. Keep it on the horizontal centerline unless the drawer design has a strong rail that calls for a slightly higher position.
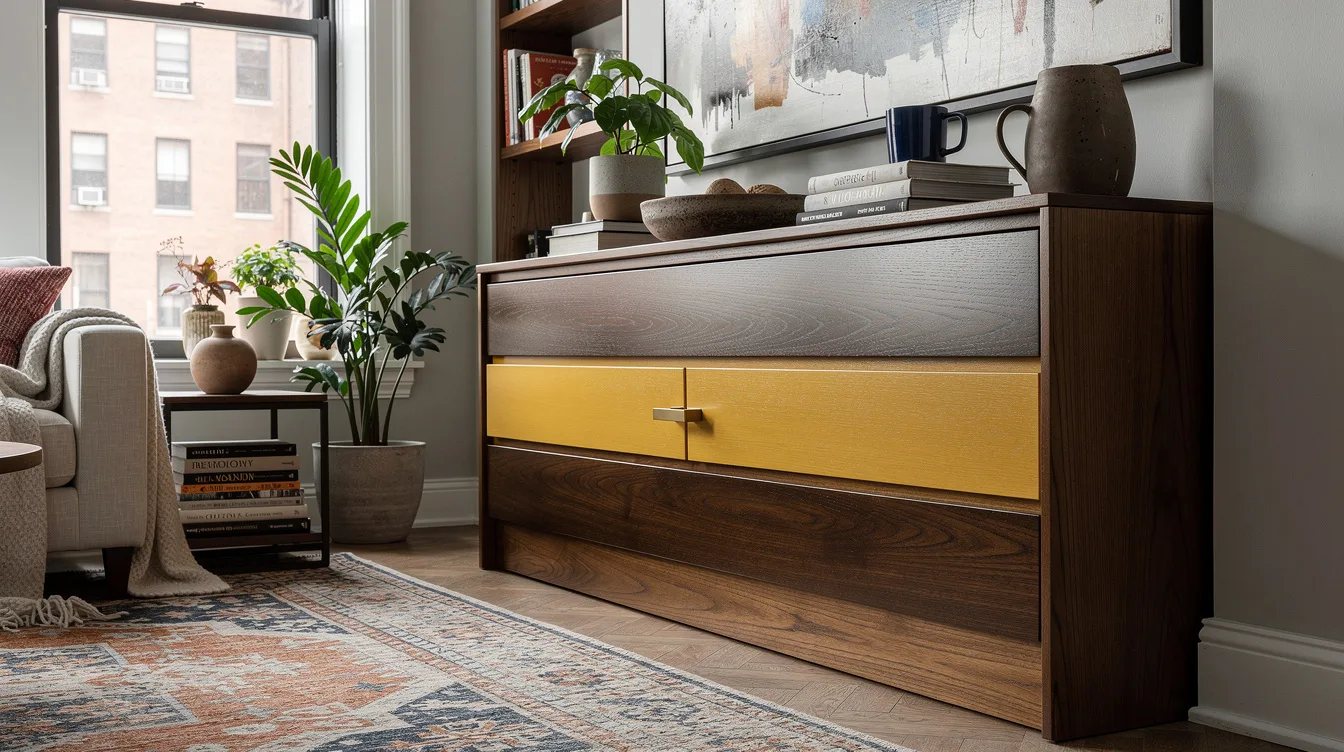
Scale Pull Length to About One-Third of the Drawer
One-third of the drawer-front width is the dependable visual starting point for a pull. It leaves enough negative space at both ends and avoids the undersized hardware that makes a broad drawer feel oddly toy-like.
On a typical 24-inch drawer, a 6-inch center-to-center pull often lands in the comfortable zone. Longer pulls can look excellent in a modern kitchen, but choose them as a room-wide decision rather than a one-drawer experiment.
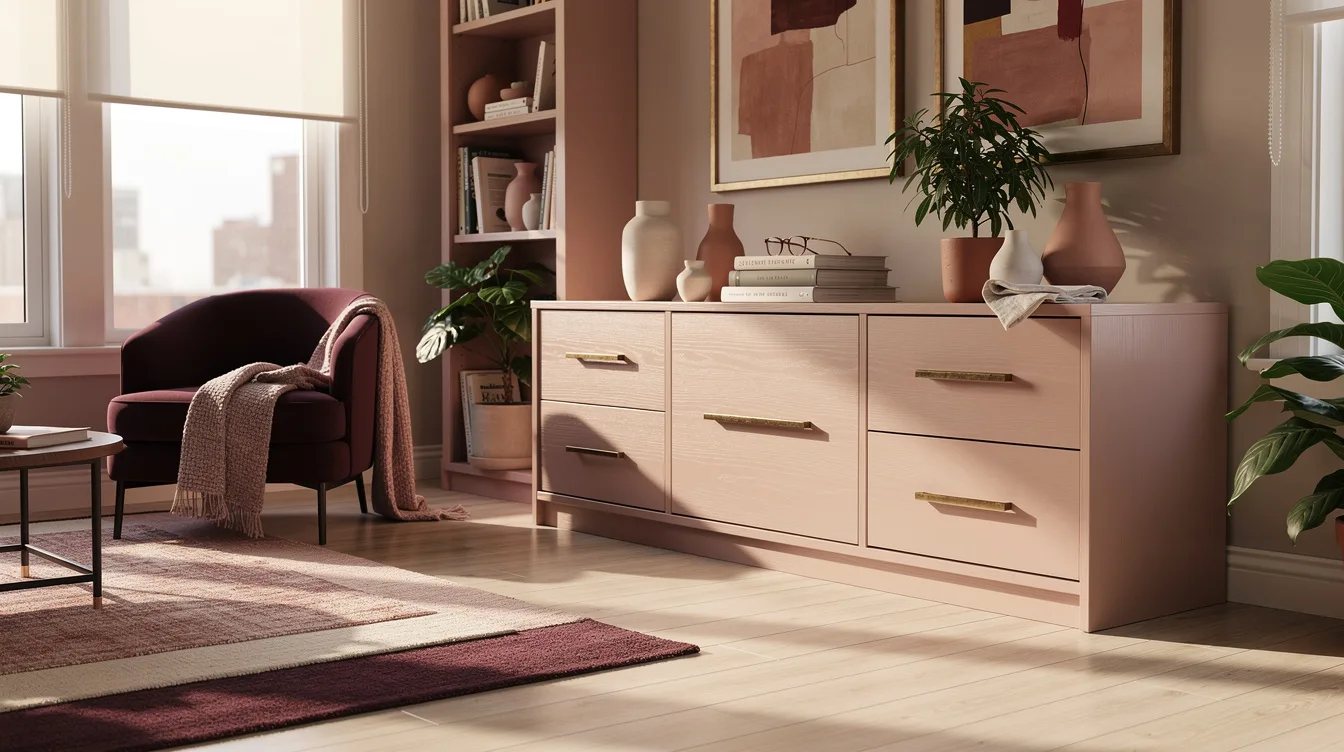
Split Wide Drawers Into Matched Pairs
Once a drawer reaches about 24 inches wide, two knobs or pulls often give better symmetry and leverage. Set their centers roughly at the one-third and two-thirds points, then repeat that spacing anywhere the same drawer width appears.
Two aged bronze knobs are a strong choice for a wide Shaker drawer, while paired pulls feel cleaner on flat fronts. Both options work, but mixing the two treatments on identical drawers looks undecided.

Match Long-Drawer Hardware to the Centerline
Drawers around 30 to 36 inches wide can take two pulls, two knobs, or one intentionally long pull. Whatever you choose, mirror the placement around the exact centerline so both sides carry the same visual weight.
For a 36-inch sink drawer, paired stainless steel pulls give a loaded drawer better control than a tiny centered handle. Appliance-style lengths are useful here, though they can overpower ordinary cabinet doors.
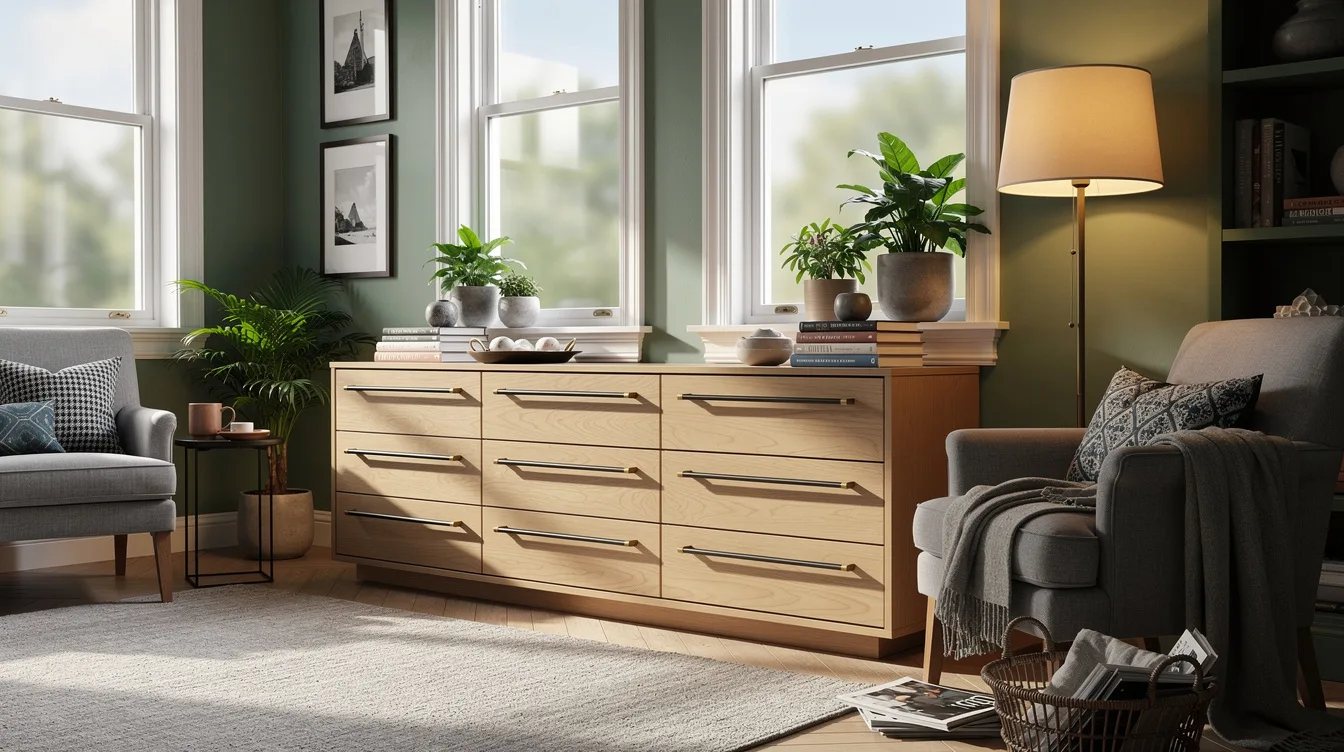
Keep Tall Pantry Pulls at a Repeatable Hand Height
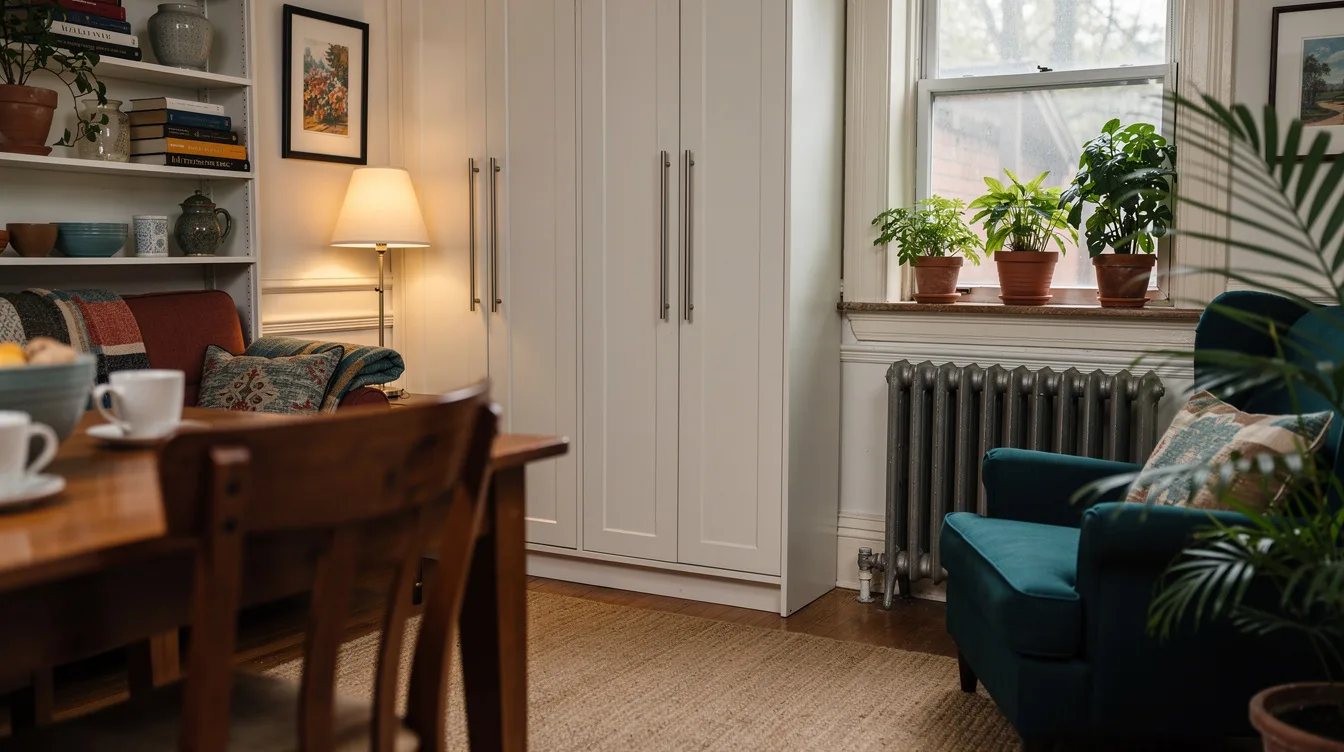
Tall pantry doors need more than a pretty midpoint because they are opened constantly. Place the pull on the opening-side stile, usually through the central zone or at a consistent hand height shared by adjacent tall units.
A long 12-inch black cabinet pull brings calm to a pantry wall when every vertical pull begins and ends on the same invisible lines. One pull sitting noticeably higher than its neighbor breaks the elevation from across the room.
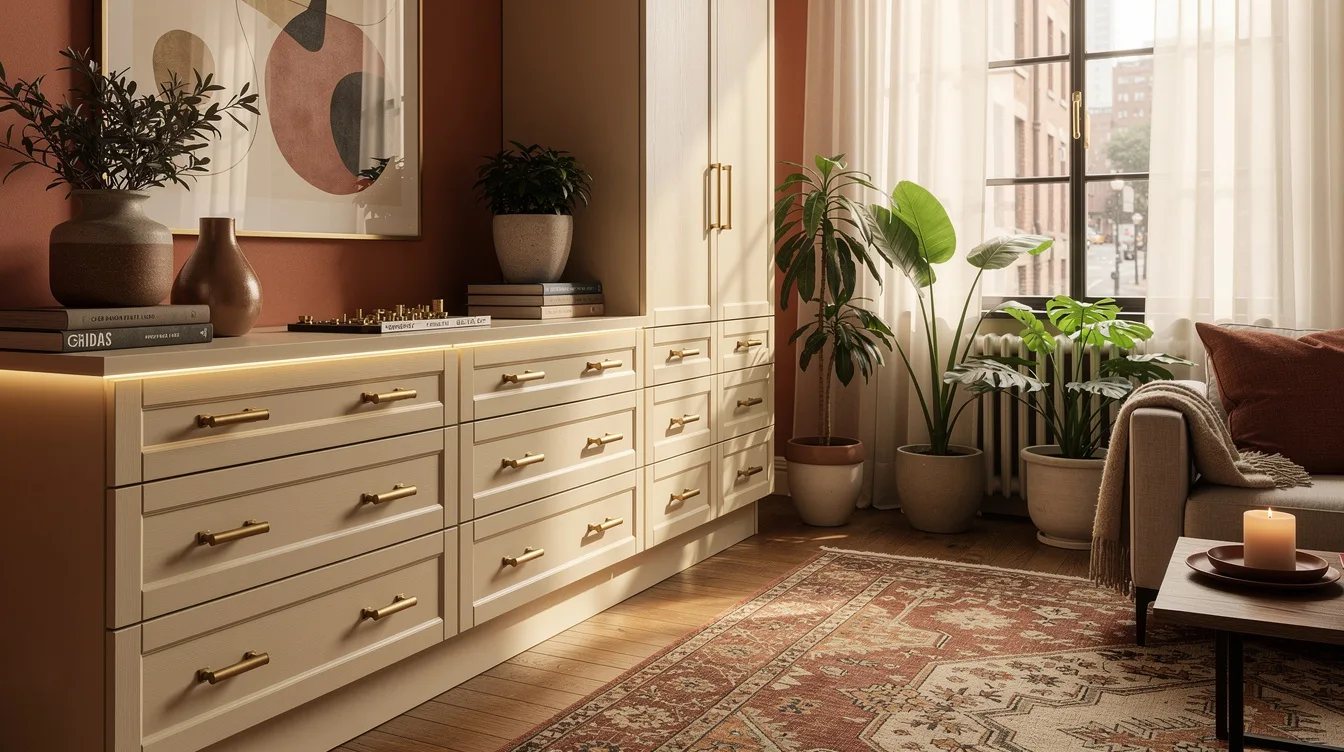
Choose Center-to-Center Before Ordering Hardware
Center-to-center, often called CTC, is the distance between screw-hole centers, not the overall length of a pull. Record that measurement before replacing existing hardware, because a new pull with different holes can leave you patching cabinet fronts.
Check the listing details for Liberty cabinet pulls at Home Depot or similar options before committing to a finish. A pull can look perfect in a product photo yet require entirely different drilling from the hardware already installed.
Repeat One Placement Decision Across the Whole Room
The real rule designers follow is consistency: align hardware with the cabinet geometry, then repeat that decision without improvising. Doors can use vertical pulls, drawers can use horizontal pulls, and the kitchen will still feel unified when the margins match.
Make a drilling template from stiff kraft paper, test it on every cabinet type, and stand back before making holes. The first perfect drawer means very little if the pantry, uppers, and base cabinets do not speak the same visual language.
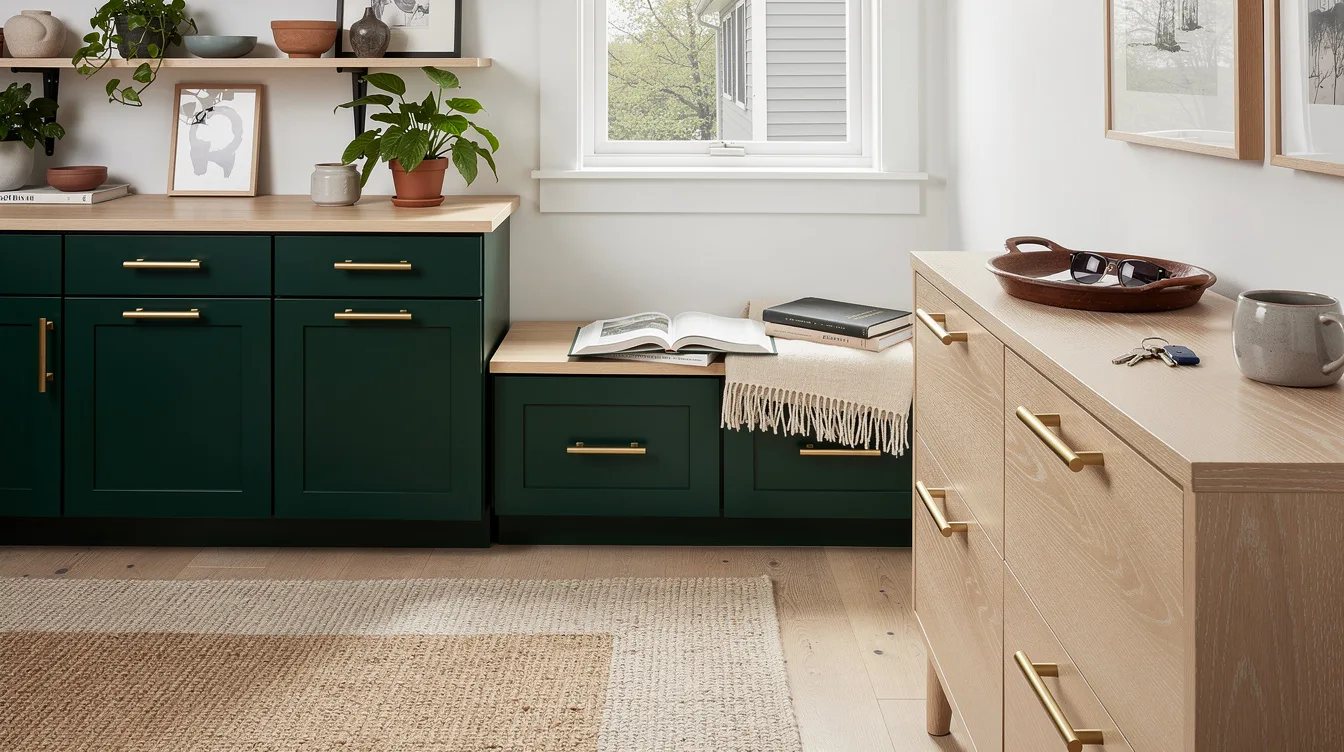
Start with one representative upper door and one wide drawer, mark both in painter's tape, and review them from the doorway. Once those two placements feel balanced, use them as the measurement map for every remaining front.


