I Used Removable Panels to Fake a Built-In Headboard Zone
19 july 2026I tried the rental-friendly wall trick on a bedroom wall that was roughly 10 feet wide by 8 feet high, and the difference showed up before I had even put the bed back. The wall had been clean but anonymous, the kind that makes every lamp and pillow work too hard.
The winning formula wasn’t one giant purchase. It was removable wallpaper, a few no-drill pieces, and enough restraint to let the wall read as part of the room instead of a temporary craft project.
Measure the Accent Wall Before Ordering
A Tempaper print can make a plain bedroom feel finished fast, but ordering by vibes leaves you with a narrow uncovered strip beside the trim. For a typical wall around 10 feet wide by 8 feet high, plan on roughly five to six standard rolls after allowing for pattern matching.
Choose one wall behind the bed or sofa, then commit to it. A Target Opalhouse removable pattern in a medium-scale print gives a rental more character than tiny decals scattered across every surface.
Prep the Paint Like It Matters
Peel-and-stick wallpaper hates dusty, textured, or freshly painted walls. Wipe the surface with a barely damp microfiber cloth, let it dry completely, and test one hidden piece of NuWallpaper before covering the whole wall.
Skip it entirely on peeling paint or heavy orange-peel texture. A lightweight PVC vinyl film may release cleanly from smooth paint, but no removable product can guarantee a perfect result on a wall that was already failing.
Build a Headboard Zone With Panels
Don’t cover an entire bedroom in fake brick foam. A contained headboard zone, roughly 2 feet high above a queen bed, looks intentional and costs far less than treating every square foot.
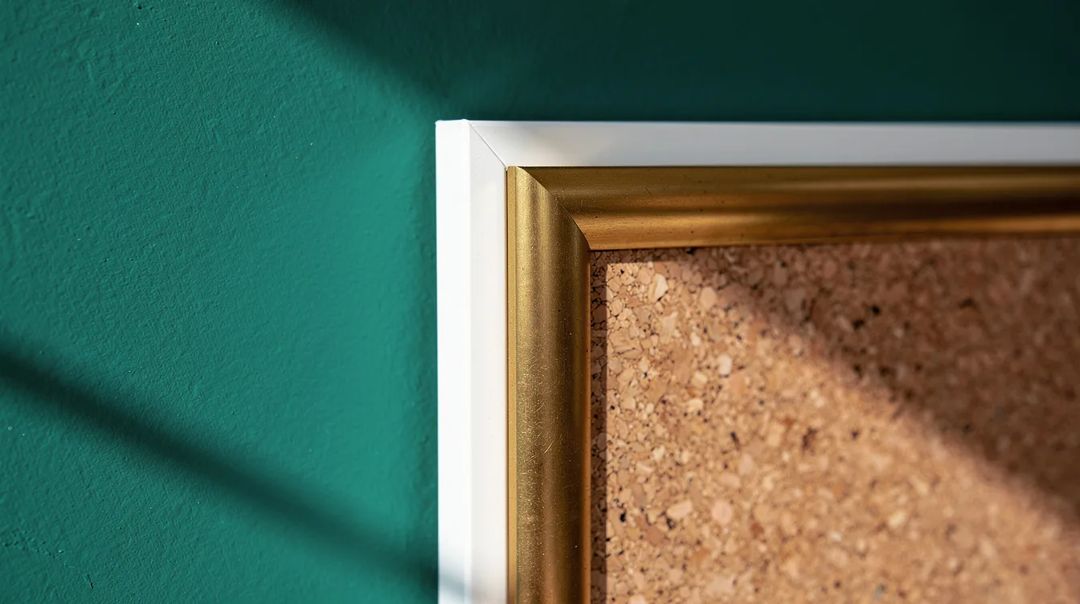
Use natural cork tiles or slim acoustic panels in a simple grid, secured with weight-rated 3M Command Strips. Around $10 for a strip pack is typical, and the material adds warmth that a printed mural can’t fake.
Hang Art at a Real Viewing Height
A no-drill gallery wall goes wrong when every frame floats too high near the ceiling. Keep the visual center near typical eye level, roughly 57 inches from the floor, then adjust for a sofa, console, or bed beneath it.
Mix affordable IKEA RIBBA frames with one larger print rather than buying ten identical poster frames. A basic frame often runs about $5 to $15, while varied sizes make the arrangement feel collected over time.
Lean One Oversized Piece With Purpose
A large piece leaned on the floor should look deliberate, not like art waiting to be installed. Set an approximately 30-by-40-inch canvas print on a low console or sturdy floor spot, with a grippy felt pad behind it.
This move works especially well in rentals with concrete walls or strict drilling rules. A framed piece from Wayfair can cost roughly $60 to $150, and it earns its space when the surrounding wall stays quiet.
Use Tension Rods for Soft Coverage
Fabric is the smarter answer when wallpaper feels risky or too permanent. A tension rod spanning a typical 4- to 8-foot opening lets you hang full-length linen-look curtains without making a single hole.
Buy a sturdy adjustable rod from Home Depot, then use two panels wide enough to look full rather than pulled tight. Soft folds hide bland paint, soften echo, and give a bedroom the layered look renters usually miss.
Start with the wall you see first from the doorway, and test one removable sample there for a full day before spending on rolls or frames. A clean, measured first layer makes every later rental upgrade look more expensive.


