Bedroom Wall Too Busy? 12 Ways to Make One Focal Point Work
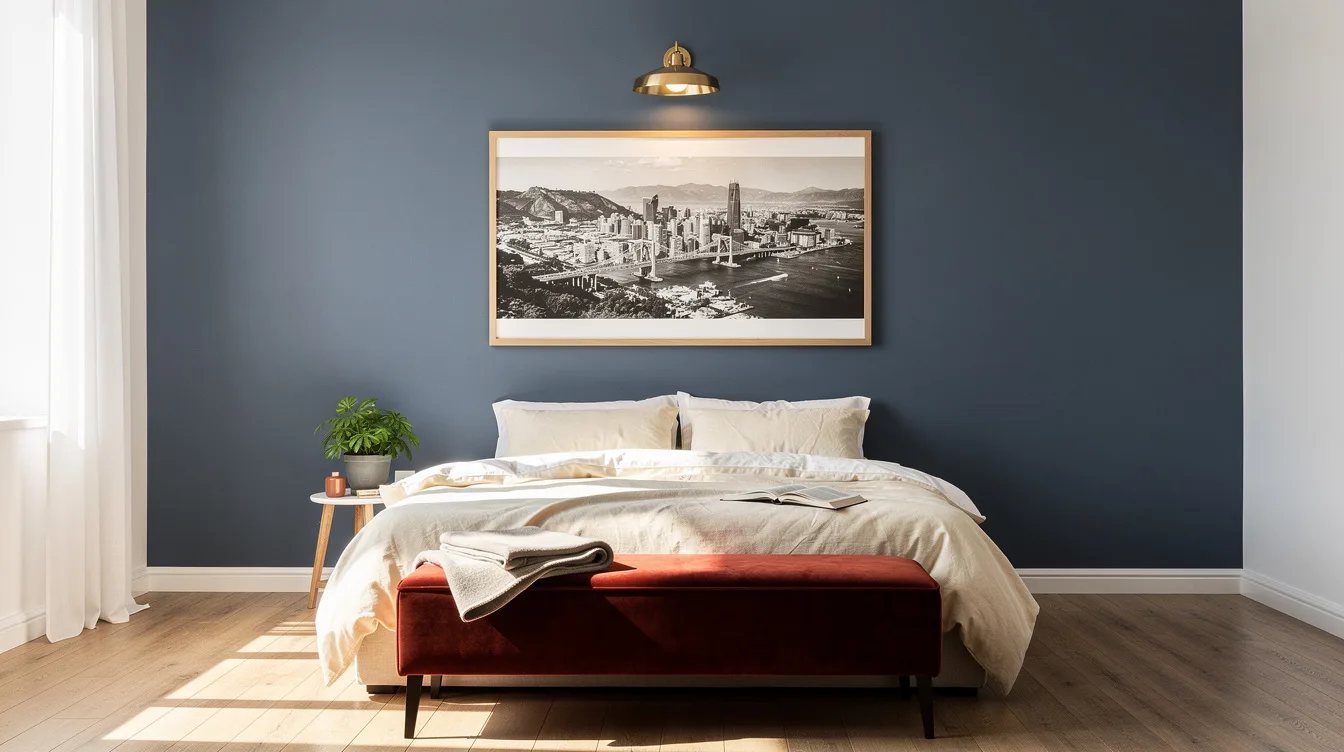
22 october 2026A bedroom wall can feel unfinished after one small frame, then suddenly crowded after four more pieces join it. Above a roughly 60-inch queen bed, one artwork piece about 40 to 45 inches wide often gives the room a clearer focal point than a collection of scattered objects.
The strongest approach is simple: choose one wall treatment, size it around the bed, and protect the empty space that lets it register. These rules cover artwork, paint, texture, wood, lighting, and the editing pass that keeps the result quiet.
What you will find inside
- Anchor the Bed With One Oversized Artwork
- Use the Two-Thirds Width Test
- Paint a Full-Width Horizontal Band
- Let Quiet Texture Carry the Wall
- Limit a Picture Ledge to Two Layers
- Define One Wood-Panel Rectangle
- Center Every Treatment on the Bed
- Repeat One Color, Then Stop
- Match the Finish to the Room Light
- Protect Negative Space Around the Focal Point
- Hide Cords Before Adding Accessories
- Edit the Wall From the Doorway
Anchor the Bed With One Oversized Artwork
Start with one substantial piece above the bed, such as a horizontal landscape, a softly textured abstract, or a black-and-white photograph. A slim oak frame from IKEA can echo the warmth of wood flooring without adding another competing shape.
For a queen bed, artwork roughly 40 to 45 inches wide usually creates a calmer relationship than several tiny frames. Leave about 6 to 10 inches between the headboard and the bottom edge, then let the empty wall around it do some of the visual work.
Use the Two-Thirds Width Test
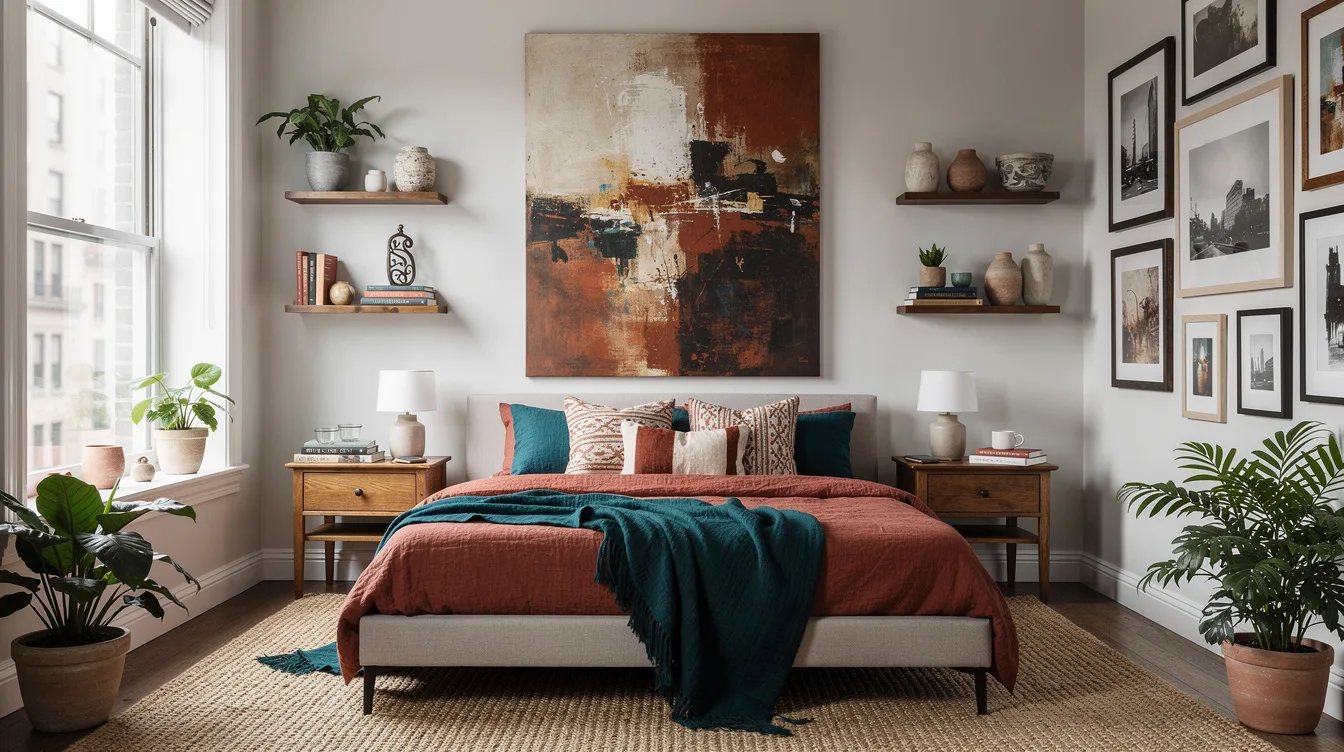
Measure the bed or headboard before shopping, then look for artwork about two-thirds to three-quarters of that width. Above a roughly 60-inch queen bed, a nominal 30-by-40-inch horizontal print is a useful starting point, while a king bed can handle something closer to 50 to 57 inches wide.
Target and Wayfair carry many ready-made framed options, but scale matters more than the retailer. A modestly priced large print often looks more intentional than a scattered gallery wall built from smaller pieces.
Paint a Full-Width Horizontal Band
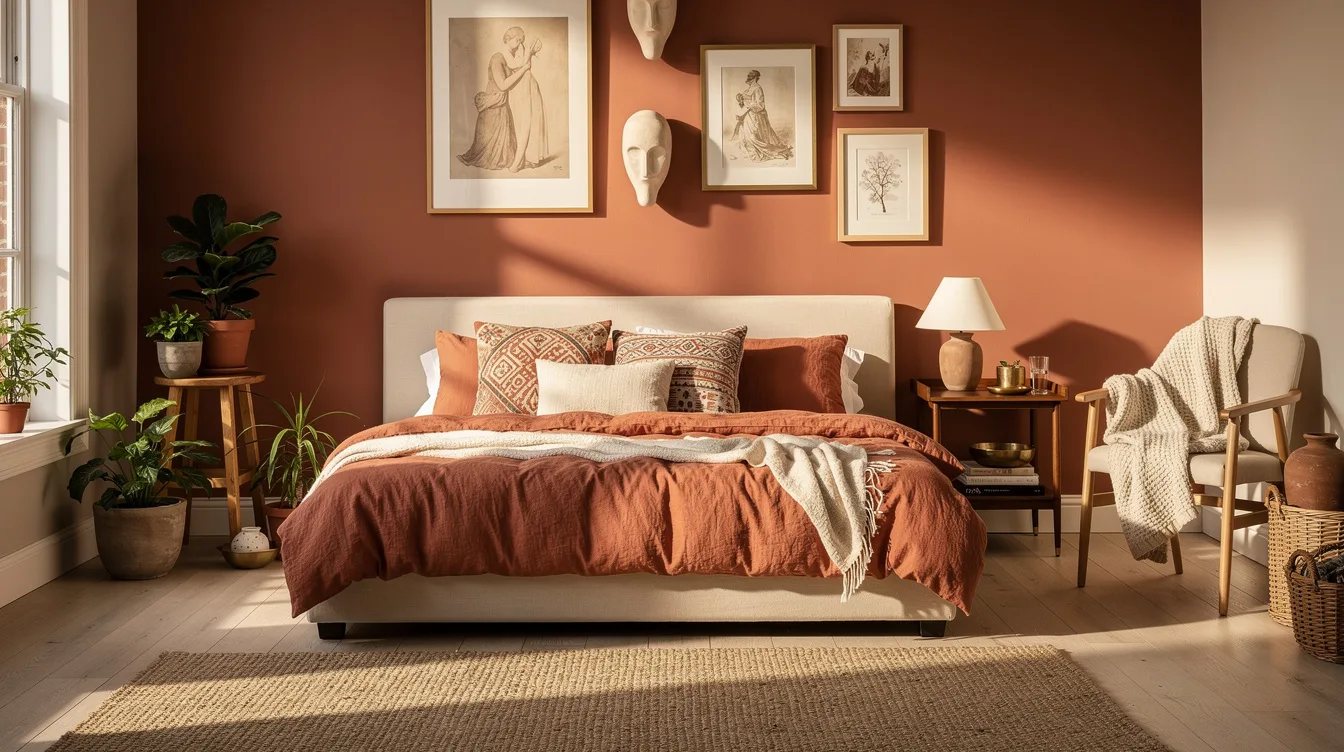
When patterned bedding and substantial lamps already fill the room, let paint become the wall treatment. A band roughly 42 to 48 inches high can run across the full bed wall, with a warm white above and a muted clay, mushroom, dusty olive, or blue-gray below.
Pick up samples at Home Depot and live with them through morning and evening light before committing. A typical DIY allowance of about $60 to $160 covers paint, tape, a roller, and basic preparation, depending on what is already in the closet.
Let Quiet Texture Carry the Wall
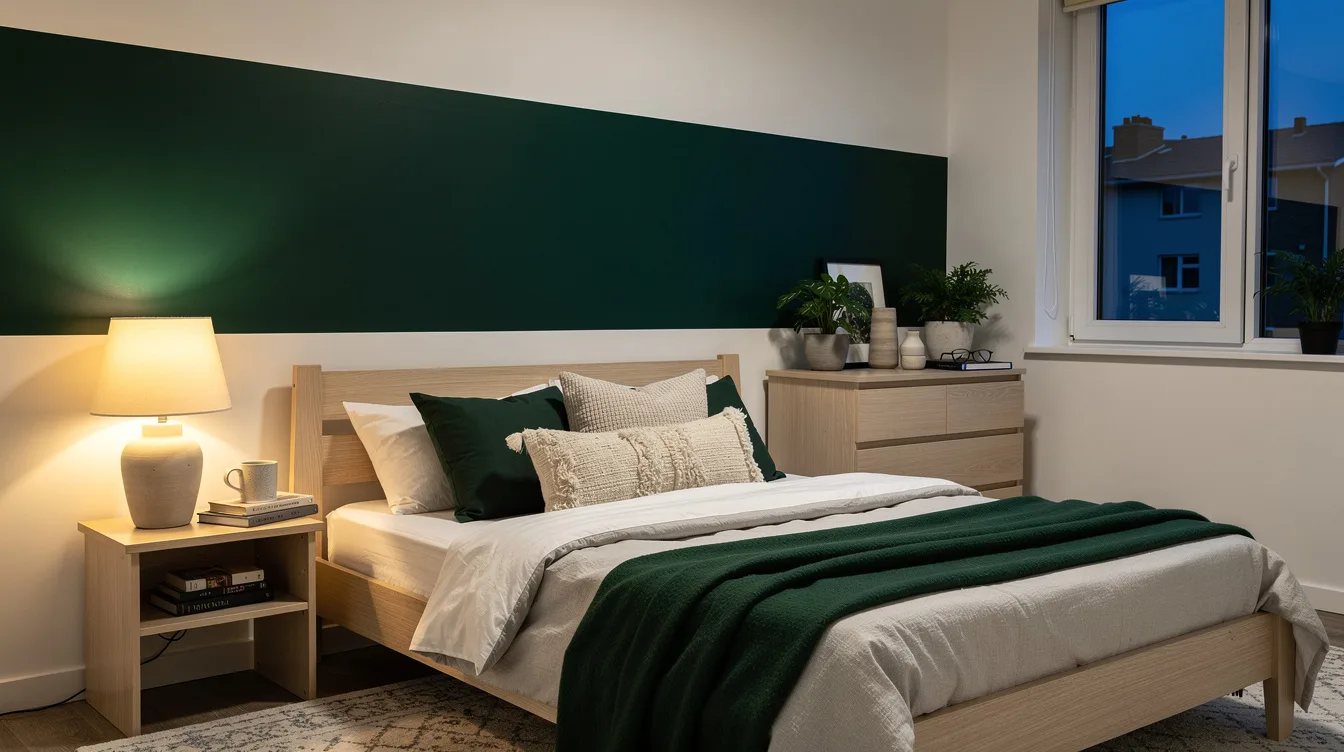
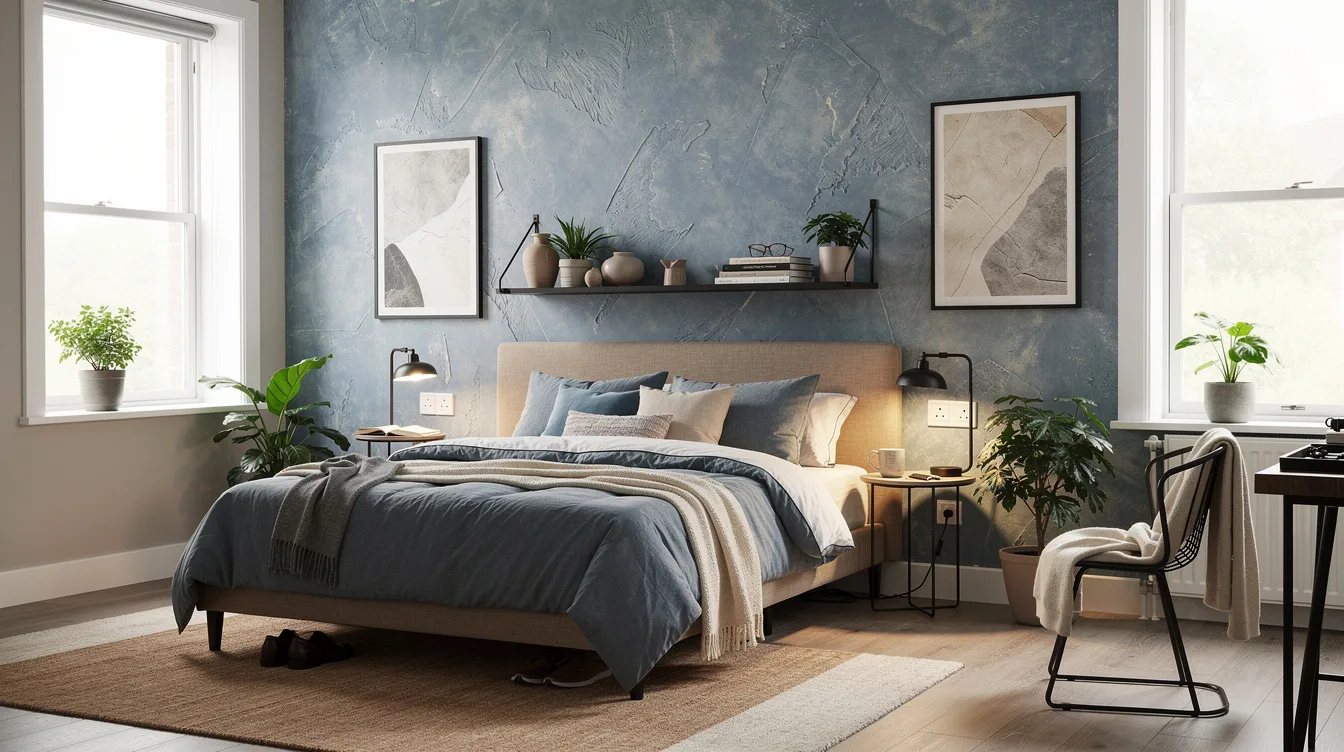
A textured finish gives the wall presence while keeping the composition nearly empty. Consider a fine limewash effect, grasscloth-look wallpaper, or a linen-textured panel in a single soft tone behind the bed.
Wayfair offers peel-and-stick wall treatments that can suit a rental-friendly project, while a painted drywall surface remains easier to repair later. Keep the texture matte and low contrast; glossy or busy patterns make a small bedroom feel visually louder.
Limit a Picture Ledge to Two Layers
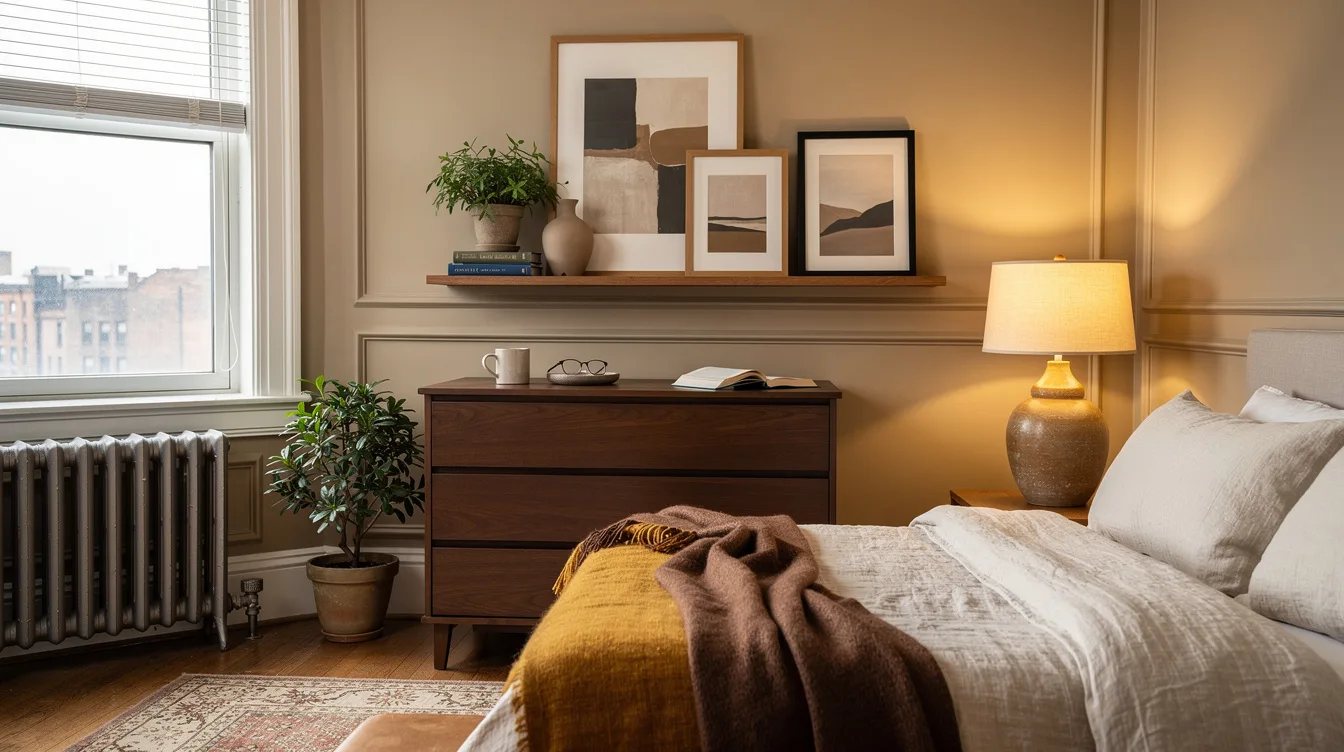
A picture ledge works best above a dresser or on the wall beside the bed, where it can hold a small rotation without becoming a display shelf. Use one large print in back, one smaller print in front, and leave the remaining ledge clear.
The IKEA SANNAHED black frame costs $34.99 and has a nominal picture size of 19¾ by 19¾ inches, with plastic front protection. Two frames with a 3-inch gap create an arrangement roughly 44 inches wide, giving the wall structure without filling every inch.
Define One Wood-Panel Rectangle
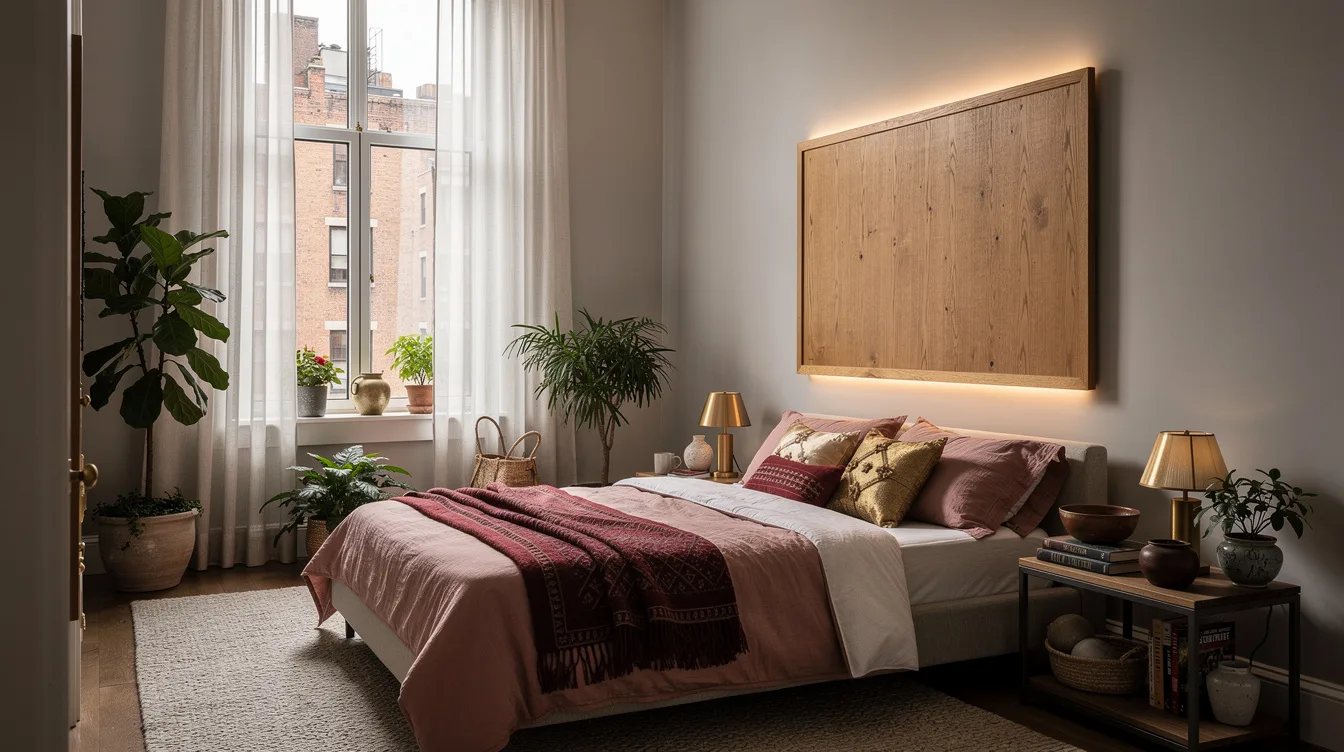
Wood paneling can create a strong focal point when its edges are deliberate. Install a single rectangle of vertical oak slats or smooth walnut-toned panels behind the bed, then stop the treatment at the mattress zone rather than wrapping every wall.
Lowe’s is a practical place to compare boards, trim, and mounting supplies, but the finish should relate to the room’s existing wood. Choose one stain, keep the bed wall otherwise spare, and avoid adding framed art directly over a highly linear panel.
Center Every Treatment on the Bed
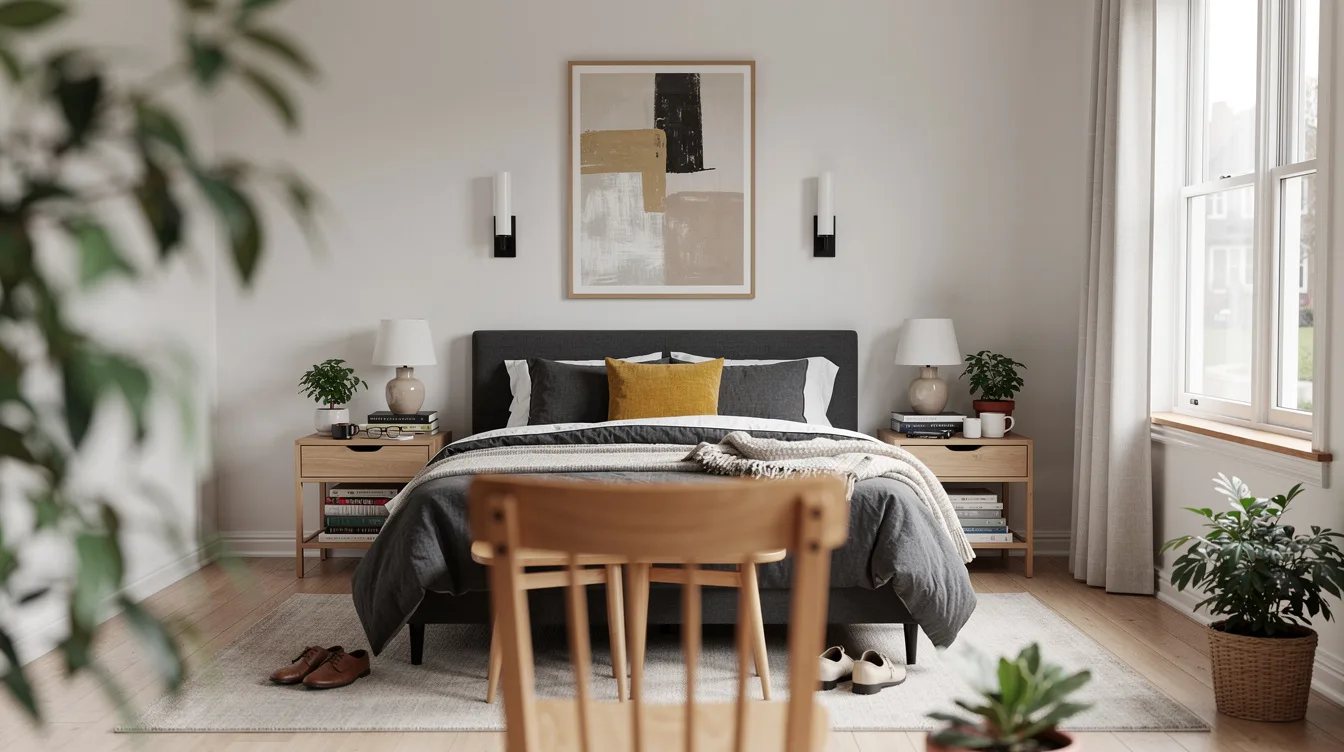
The bed is the visual anchor, so center the artwork, paint band, or wood section on the bed frame rather than on the entire wall. This matters when a door, window, or closet makes the wall asymmetrical.
Use a simple paper template before drilling, especially with a heavy walnut frame or a broad shelf. Ace Hardware carries wall anchors and hanging hardware for different surfaces, and choosing the correct support is part of making the focal point feel calm.
Repeat One Color, Then Stop
Choose one color from the bedding and repeat it once in the wall treatment. A muted blue-gray print can connect with a pillow, while a rust textile can relate to a small bench or folded throw from Target.
Two related appearances are usually enough for a quiet bedroom wall. Adding a matching lamp, vase, basket, and frame can turn a thoughtful color echo into a theme, so leave the third repetition for another room element.
Match the Finish to the Room Light
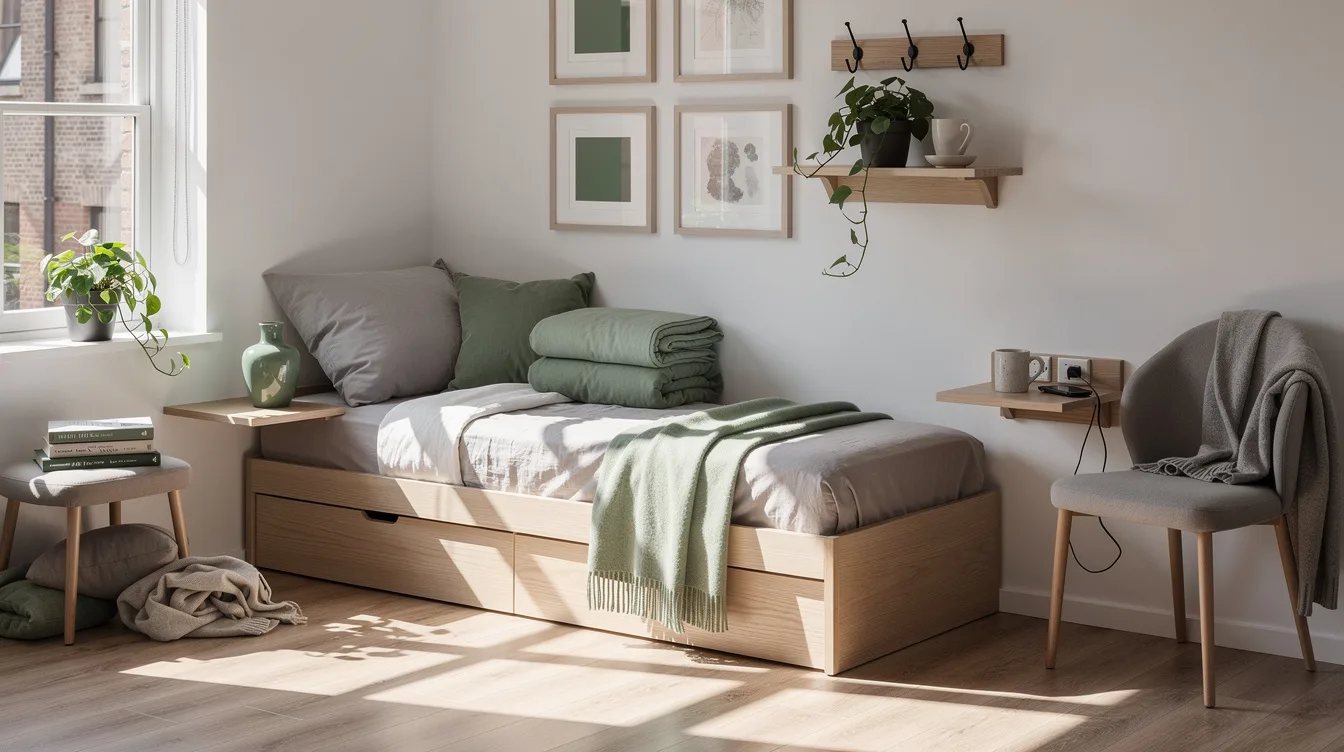
Wall color changes dramatically beside warm bulbs, cool daylight, and dark furniture. Sample a soft matte finish near the headboard, then check it at breakfast, after sunset, and with the bedside lights turned on.
For a room with limited daylight, a warm white and pale mushroom surface from the Home Depot paint department can keep the wall gentle. Skip high-gloss paint above the bed because reflected light competes with sleep and makes every surface mark more visible.
Protect Negative Space Around the Focal Point
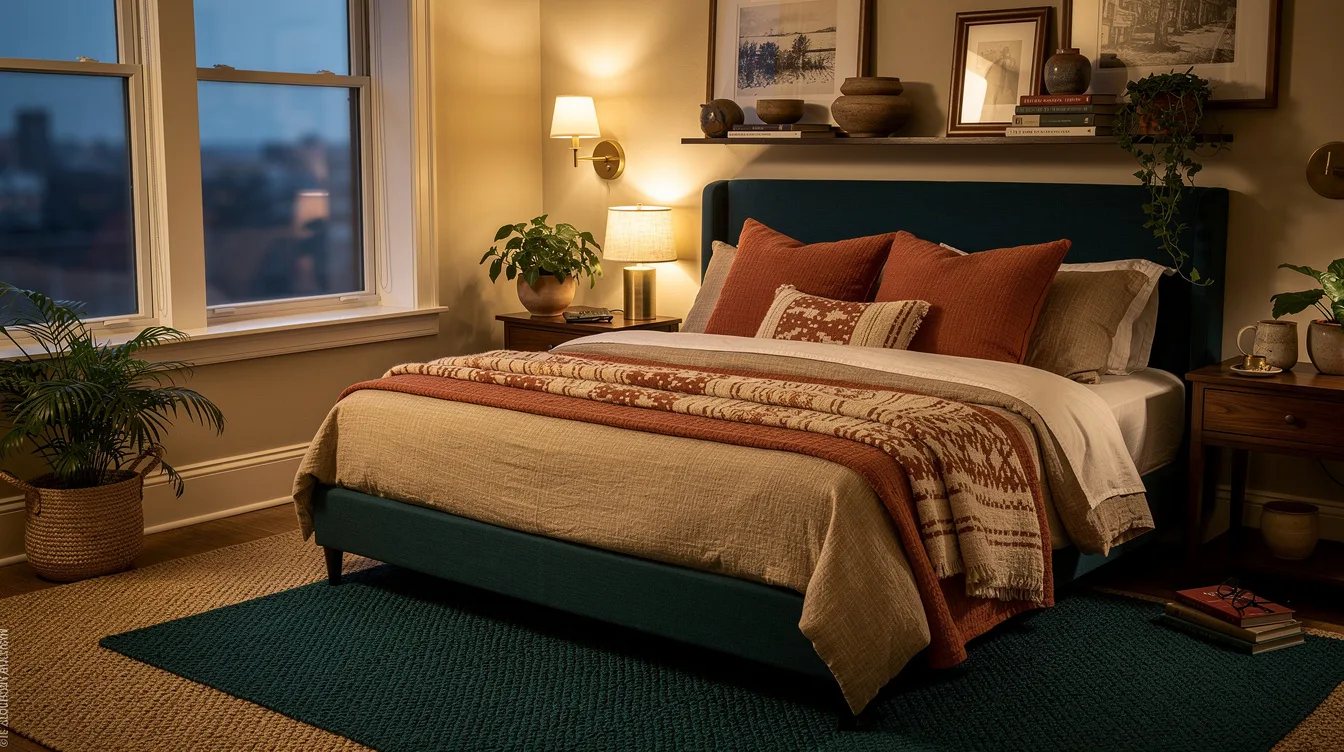
Empty wall area is part of the design, especially when the focal point is large. Keep bedside tables, sconces, and artwork close enough to read as one arrangement while allowing visible breathing room around the outer edges.
A black metal sconce from Amazon can work beside a centered print when both fixtures share a clear alignment. Avoid filling the remaining corners with baskets or miniatures simply because the wall feels unfinished from close range.
Hide Cords Before Adding Accessories
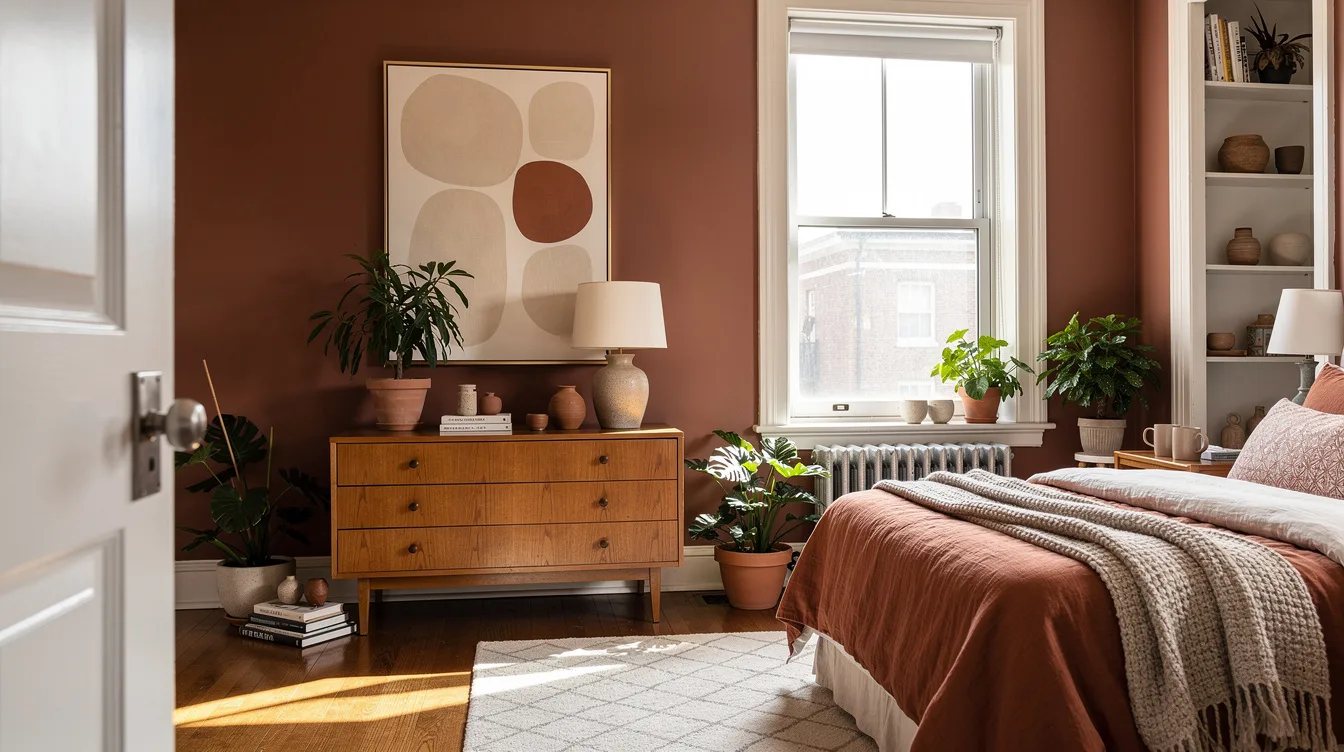
Visible cords make even a restrained wall feel accidental. Route lighting wires through a paintable raceway, tuck them behind furniture where possible, and keep the hardware in the same family as the wall color.
Amazon and Ace Hardware sell basic cable-management supplies, while a narrow white raceway can disappear against a warm-white wall. Once the cords are controlled, resist the urge to add decorative objects around them; the clean line is the improvement.
Edit the Wall From the Doorway
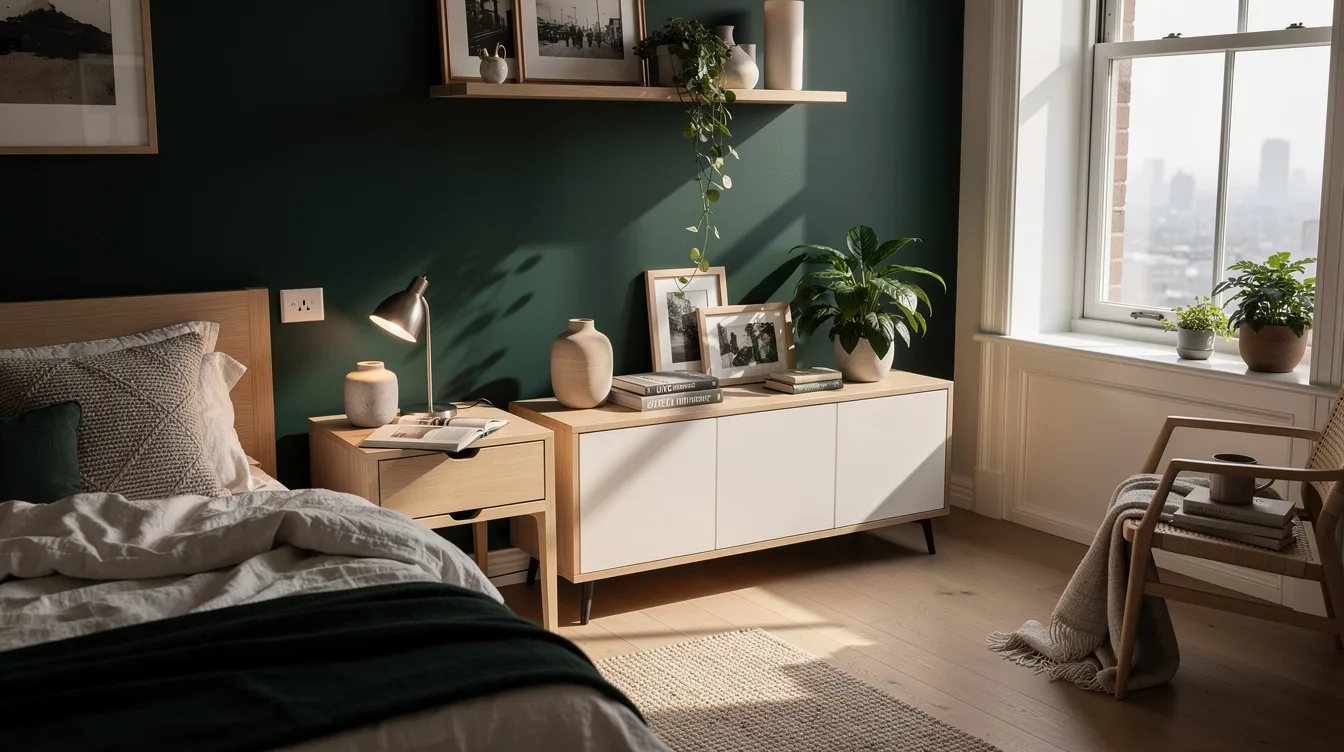
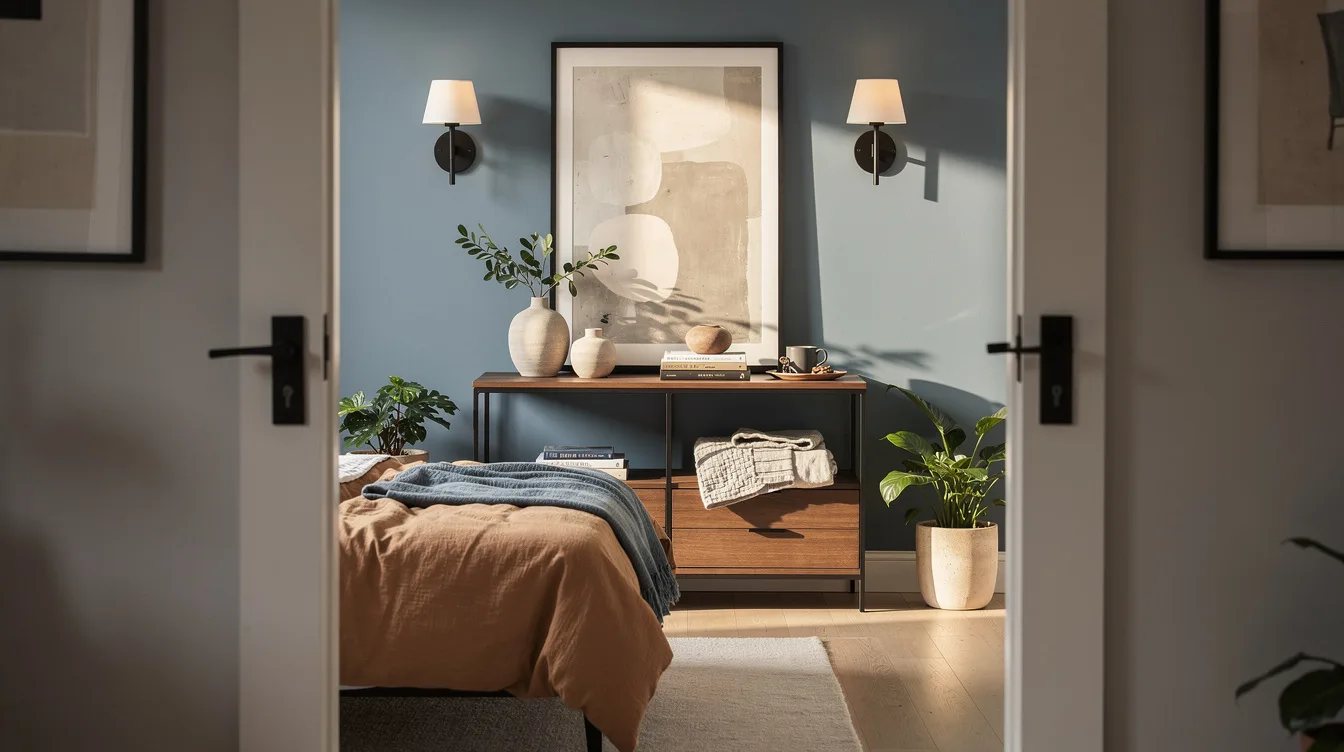
Stand in the doorway and judge the entire wall at once before buying another object. If the artwork, paint shape, or panel section reads immediately, the composition is working.
We often use a short trial with painter’s tape and a paper template from Walmart before making holes or ordering custom materials. Remove anything that competes with the bed, and keep the final wall focused on one decision the room can repeat elsewhere.
Keep reading
- 12 Ways to Style an Open Bookcase Without Visual Clutter
- 12 Lisbon Apartment Style Tricks That Make Tile and Light Work Harder
- 12 Hotel-Style Nightstand Rules That Make a Bedroom Feel Finished
Begin with painter’s tape, a paper template, and the bed’s actual width before spending money. Once the main shape feels right from the doorway, stop shopping for the wall and let the room’s existing bedding and light finish the composition.