Corner Cabinet Eating Your Pans? Try This Home Depot Renter Fix
17 september 2026The awkward Home Depot corner cabinet often has plenty of room inside and almost no useful room at the door. In an area about 18 inches wide, an 18-inch organizer may still be impossible to insert, rotate, or remove.
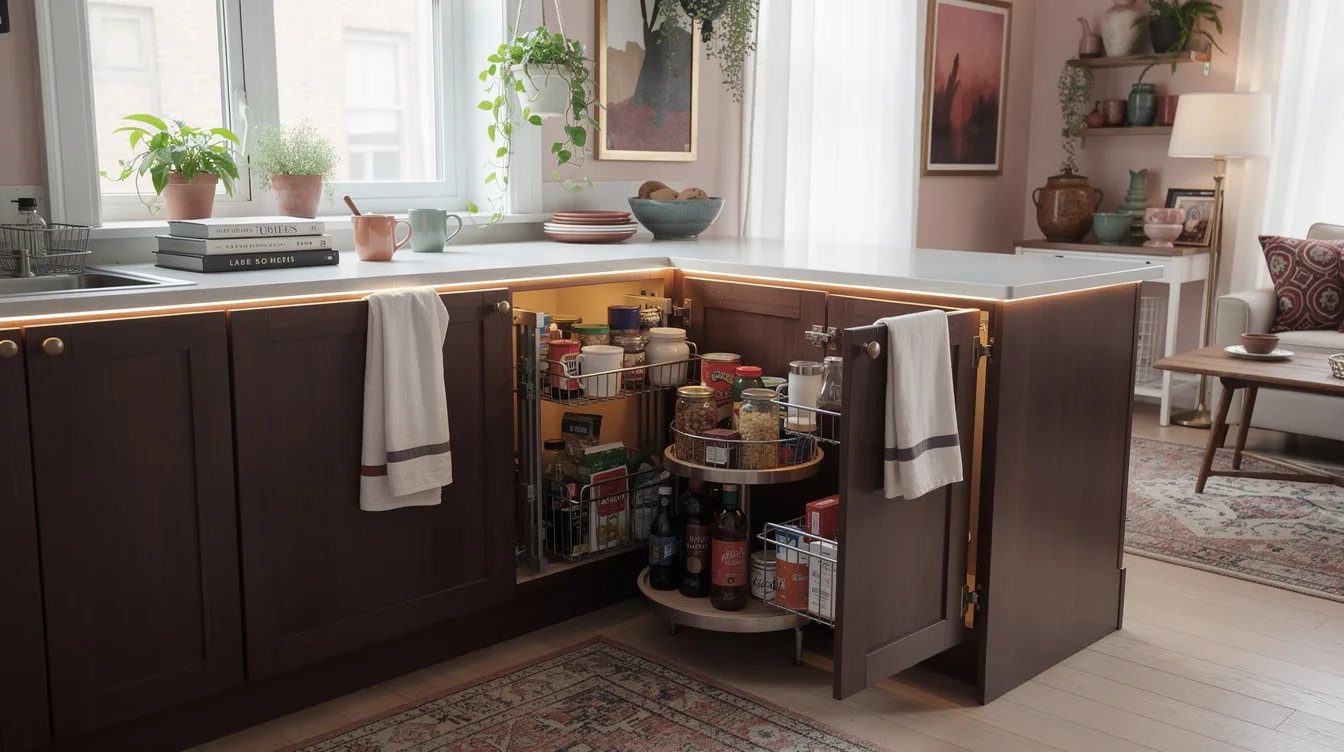
The renter-friendly answer is a reversible system built around the opening, not the cabinet’s largest interior measurement. Smaller turntables, handled bins, and a freestanding riser can create order without drilling into the frame.
That shift changes the shopping list completely: measure first, divide the corner into zones, and choose pieces that can leave as easily as they arrived.
What you will find inside
- Measure the Door Opening Before the Cabinet Interior
- Treat Rotation Clearance as the Real Diameter
- Split the Corner Into Two Smaller Turntables
- Give Daily Items the Front Rotation Zone
- Reserve the Deep Corner for Backup Stock
- Choose Bins That Are Narrower Than the Mouth
- Add Height With a Freestanding Shelf Riser
- Pair the Riser With a Shallow Front Tray
- Use One Category for Every Removable Bin
- Keep the Rear Path Completely Clear
- Make Every Piece Move With the Lease
- Skip the Permanent Pull-Out Retrofit
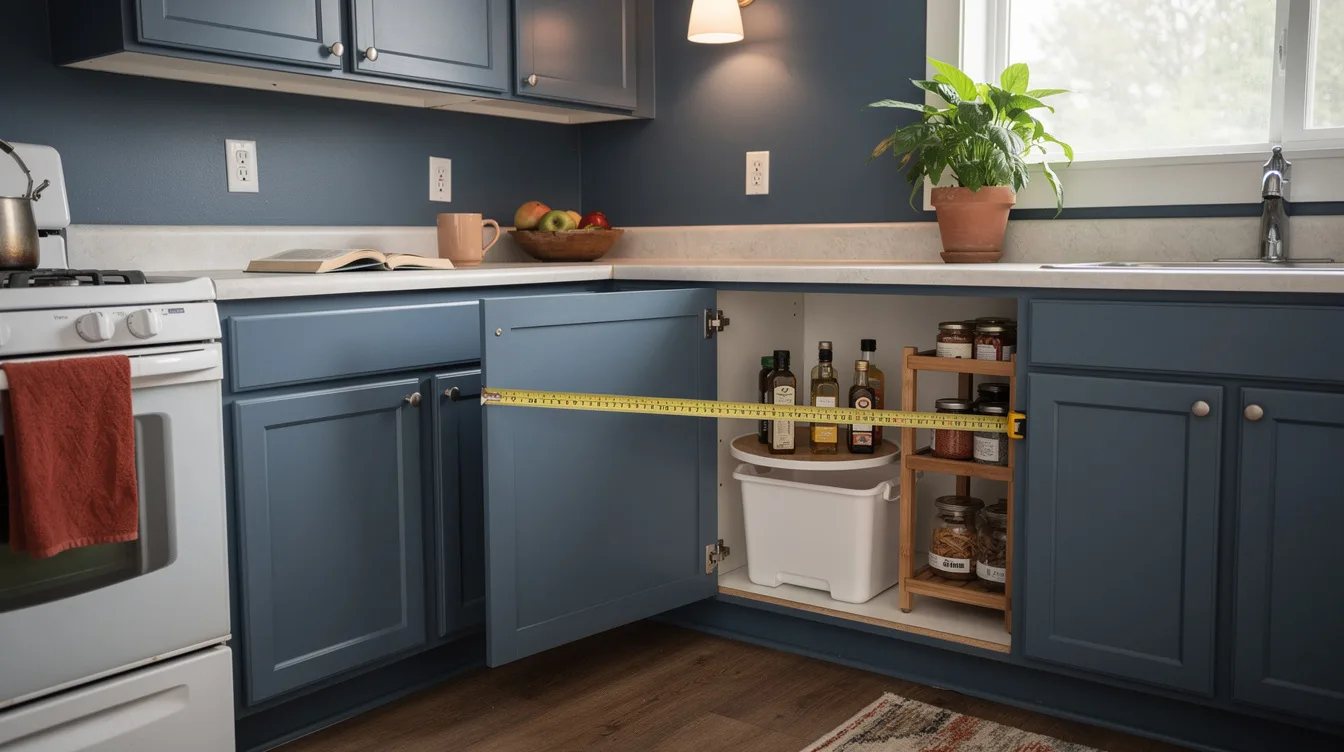
Measure the Door Opening Before the Cabinet Interior
The cabinet’s interior footprint is tempting, but the door opening controls every organizer you can actually use. Measure the narrowest width between face-frame edges or hardware, then measure clear height from the cabinet floor to the first obstruction.
A large corner organizer can fit once it is inside and still be impossible to insert. Start with a tape measure and record the opening width, opening height, usable depth, and uninterrupted floor area before shopping at Home Depot.
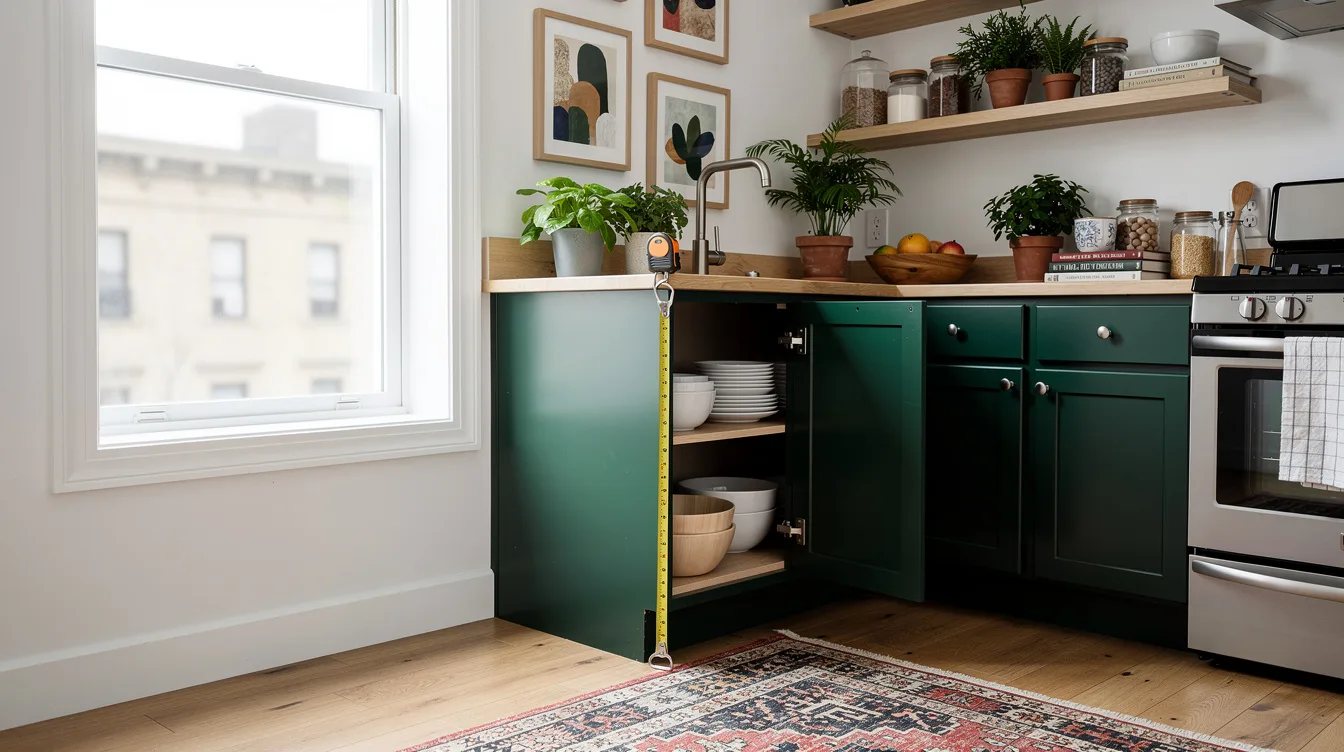
Treat Rotation Clearance as the Real Diameter
A round turntable needs open floor around its full circle, including room for the door and nearby cabinet walls. For an area measuring about 18 inches across, a turntable around 16 to 17 inches is the safer choice.
Leave roughly 1/2 to 1 inch of clearance around the diameter, then test the rotation with the cabinet empty. A smaller plastic turntable that spins freely beats a larger one that jams after the first jar is added.
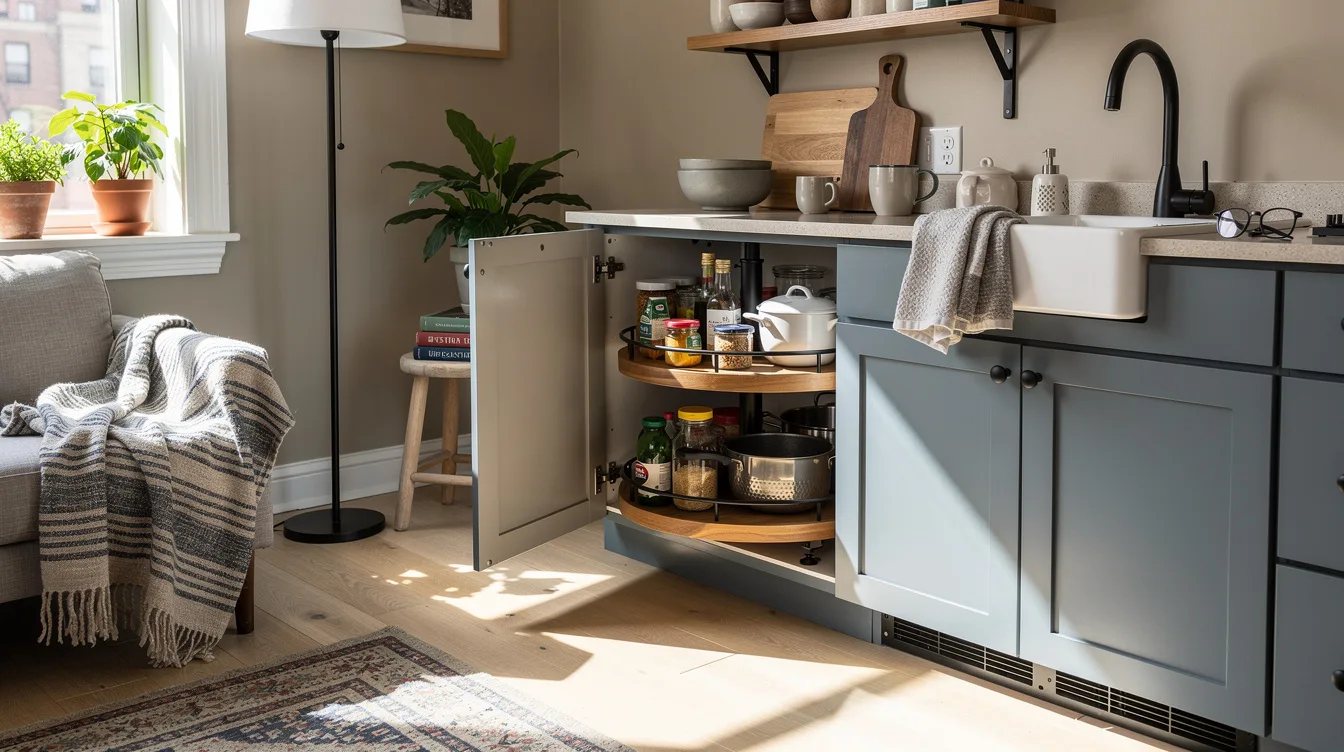
Split the Corner Into Two Smaller Turntables
One oversized carousel is rarely the renter-friendly answer because it must pass through the opening as a single piece. Two turntables around 10 to 12 inches wide can enter separately, rotate independently, and leave space for a handled bin.
Place the items used most often near the entrance and keep backup bottles farther back. A pair of removable turntables also makes cleaning easier because each piece can come out without disturbing the whole cabinet.
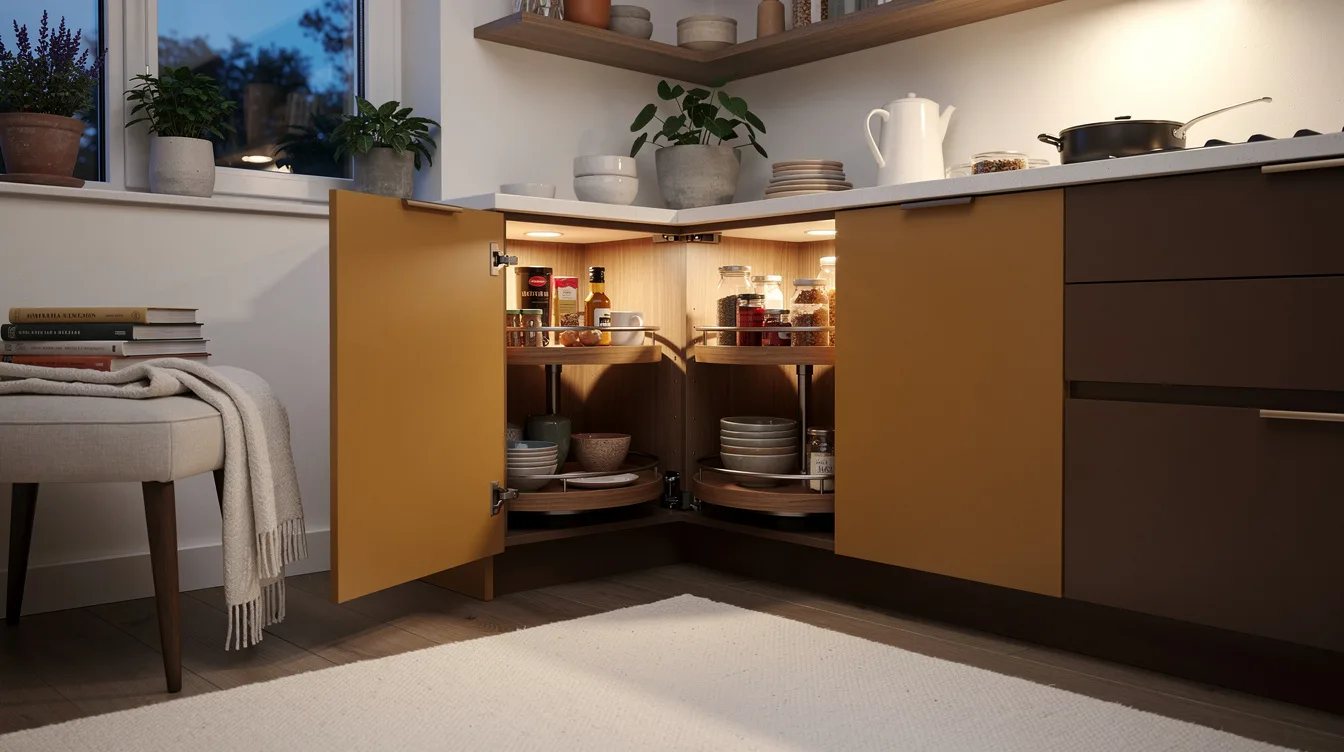
Give Daily Items the Front Rotation Zone
The front of the cabinet should hold what gets touched several times a week: cooking oil, packets, small condiments, or coffee supplies. Keep the grouping compact enough that one turntable brings everything forward in a single movement.
Use a low-lip steel turntable from a retailer such as Target or Walmart when bottles need extra stability. Skip tall containers that hide the back row, because the point of the front zone is quick visibility, not maximum storage.
Reserve the Deep Corner for Backup Stock
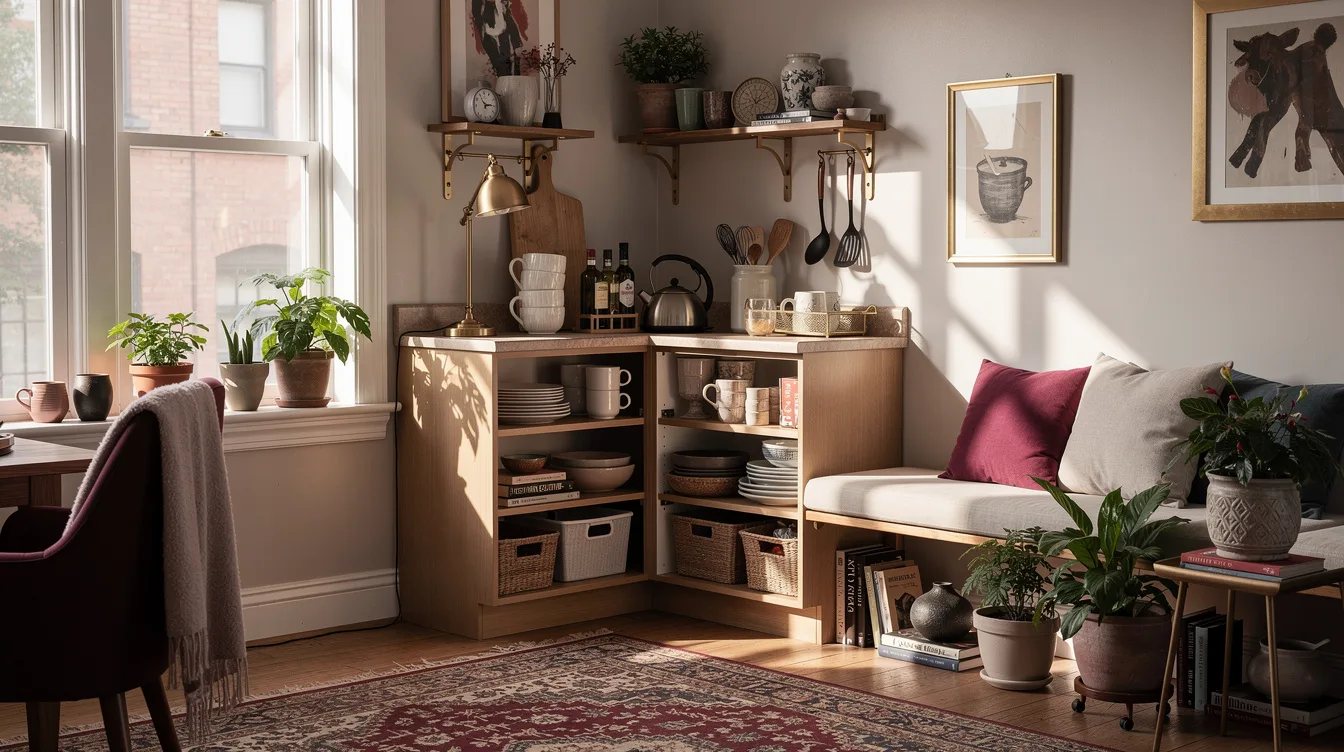
The deepest part of a diagonal or blind cabinet is poor real estate for daily essentials. Use it for unopened coffee, spare paper goods, flour refills, small appliances, or cleaning supplies that you do not need every morning.
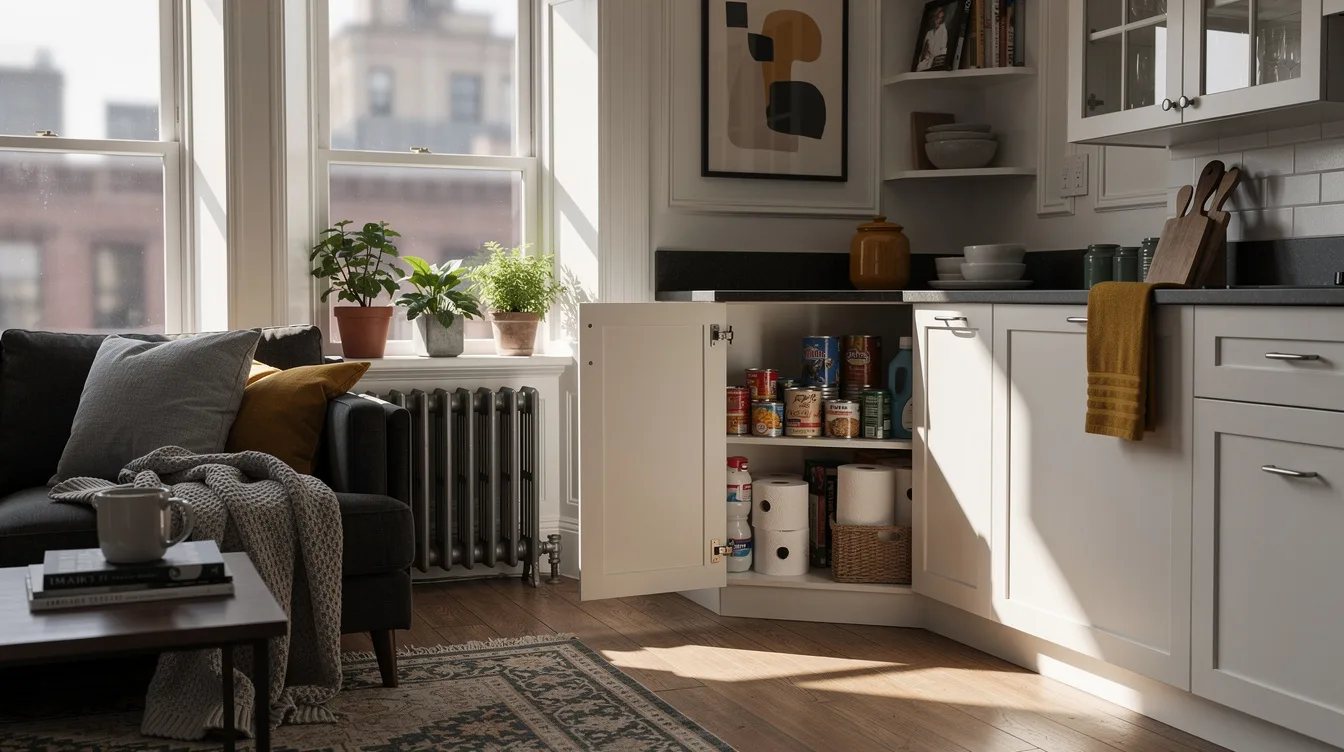
A handled PET plastic bin turns that forgotten space into a removable inventory drawer. Pull out the entire container when needed instead of reaching past items and losing track of what is behind them.
Choose Bins That Are Narrower Than the Mouth
For a narrow cabinet opening, choose a bin about 1 to 2 inches narrower than the measured entrance. Useful starting dimensions are roughly 10 to 14 inches long, 5 to 8 inches wide, and 4 to 7 inches tall, adjusted to the actual opening.
Clear plastic makes labels unnecessary for many categories, while an open wire basket improves airflow but may catch soft packaging. Home Depot and Amazon both offer many sizes, but the correct shape matters more than the listing’s “corner cabinet” label.
Add Height With a Freestanding Shelf Riser
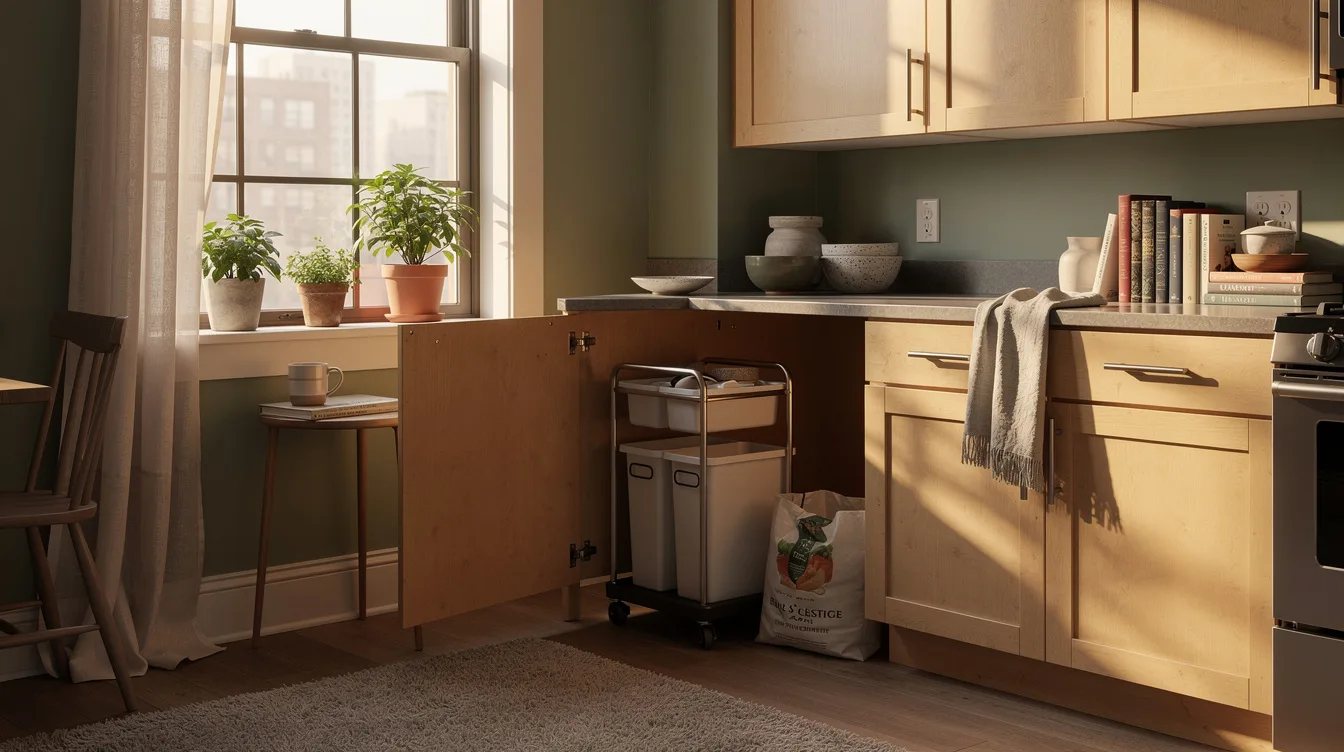
A tall empty cavity wastes the cabinet’s upper half, especially when short jars and cans sit on the floor. Add a freestanding riser only when it can enter through the door and still leave a clear path for the rear bin.
A simple bamboo shelf riser can create a second level for mugs, canned goods, or extra spices without attaching to the cabinet. Measure the riser’s legs and top separately, since the overall height may clear the opening while the feet do not.
Pair the Riser With a Shallow Front Tray
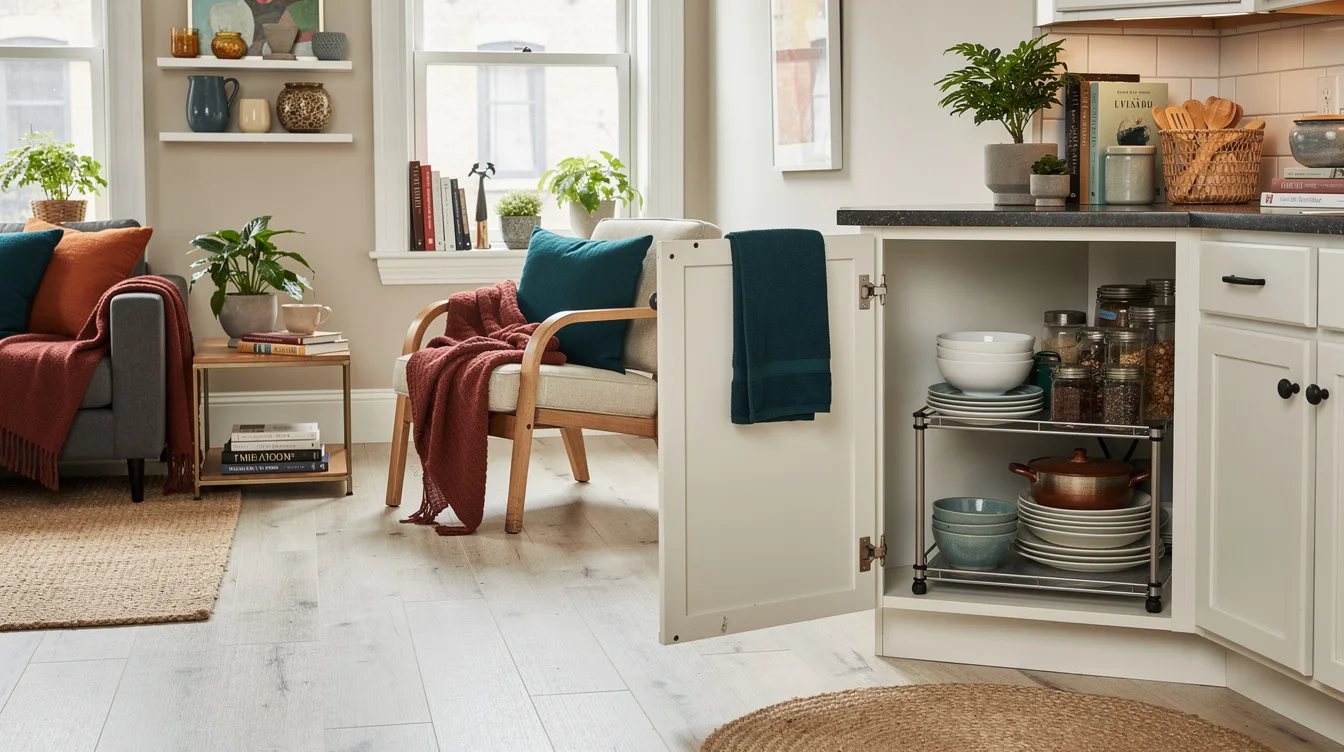
A riser works best when the items beneath it do not disappear behind a wall of containers. Place a shallow tray at the front for small packets, lids, or measuring tools that would otherwise scatter across the cabinet floor.
Choose a shallow handled tray with a low profile and a smooth base. It should slide forward without catching the riser legs, and it should be light enough to remove with one hand when the rear section needs attention.
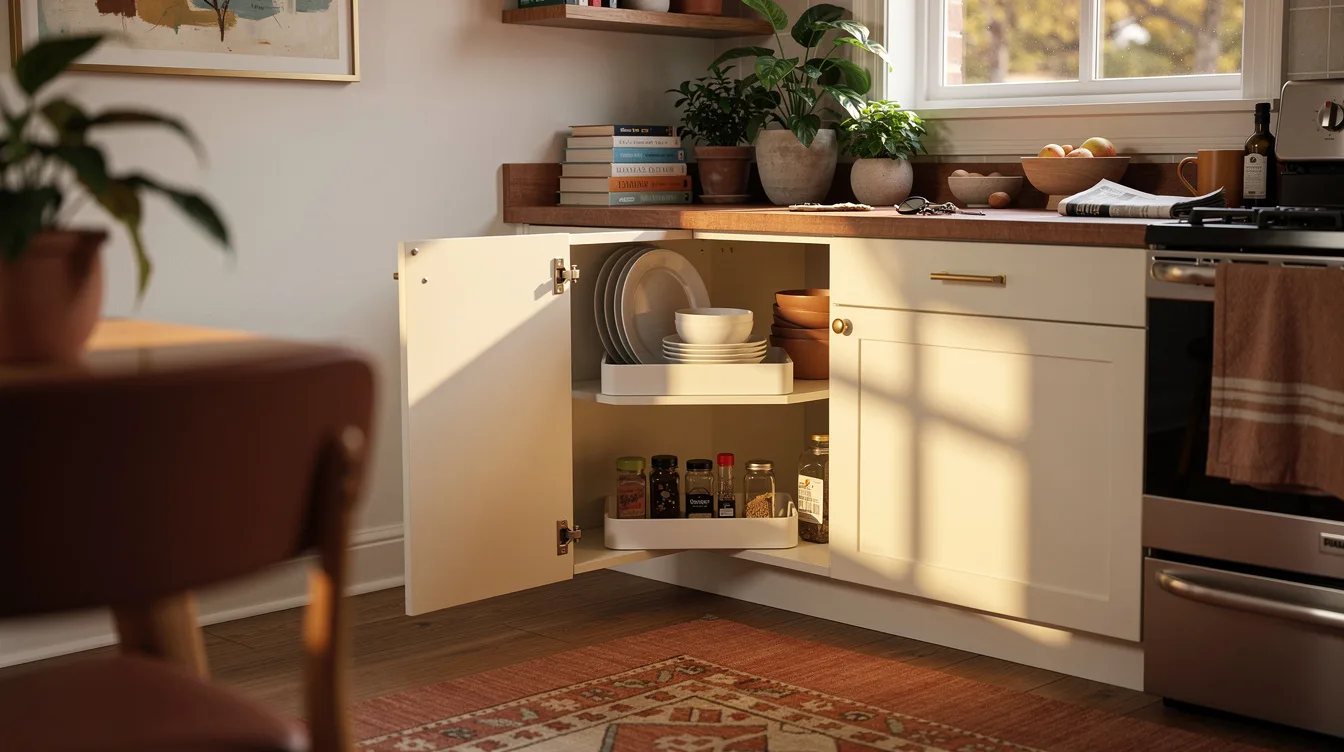
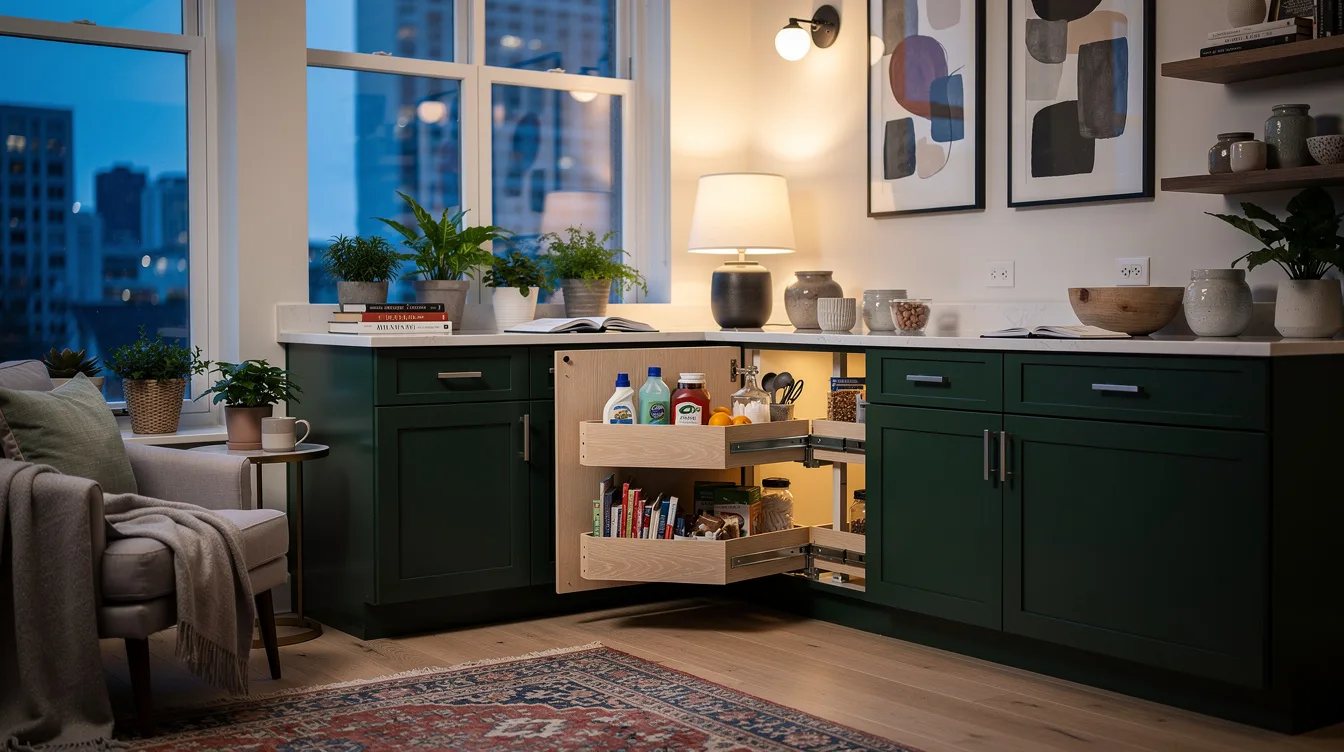
Use One Category for Every Removable Bin
Mixed bins recreate the original corner-cabinet problem because every search requires sorting through unrelated objects. Assign one bin to coffee backups, another to baking supplies, and another to paper goods or cleaning products.
Even an inexpensive fabric storage bin can work for lightweight packets in a dry cabinet. For food or spill-prone areas, choose wipe-clean plastic instead, since fabric absorbs leaks and becomes difficult to keep fresh.
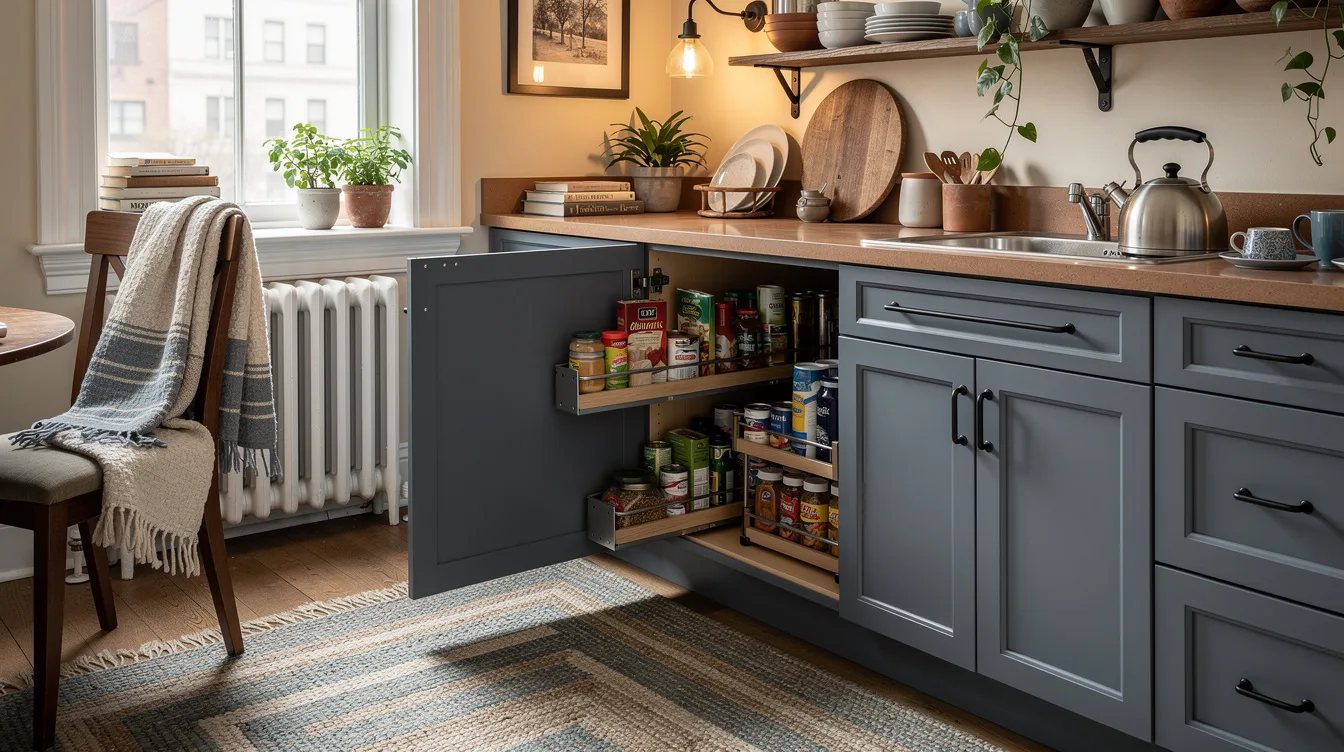
Keep the Rear Path Completely Clear
A back bin only helps when it can slide forward without colliding with the front turntable or shelf riser. Open the door fully, pull each organizer out, and check that the pieces can move independently before loading them.
This is where an open-top bin earns its place: the handles create a direct grip, and the container does not need a lid that adds height or catches on the cabinet frame. Leave a little breathing room rather than packing the floor edge to edge.
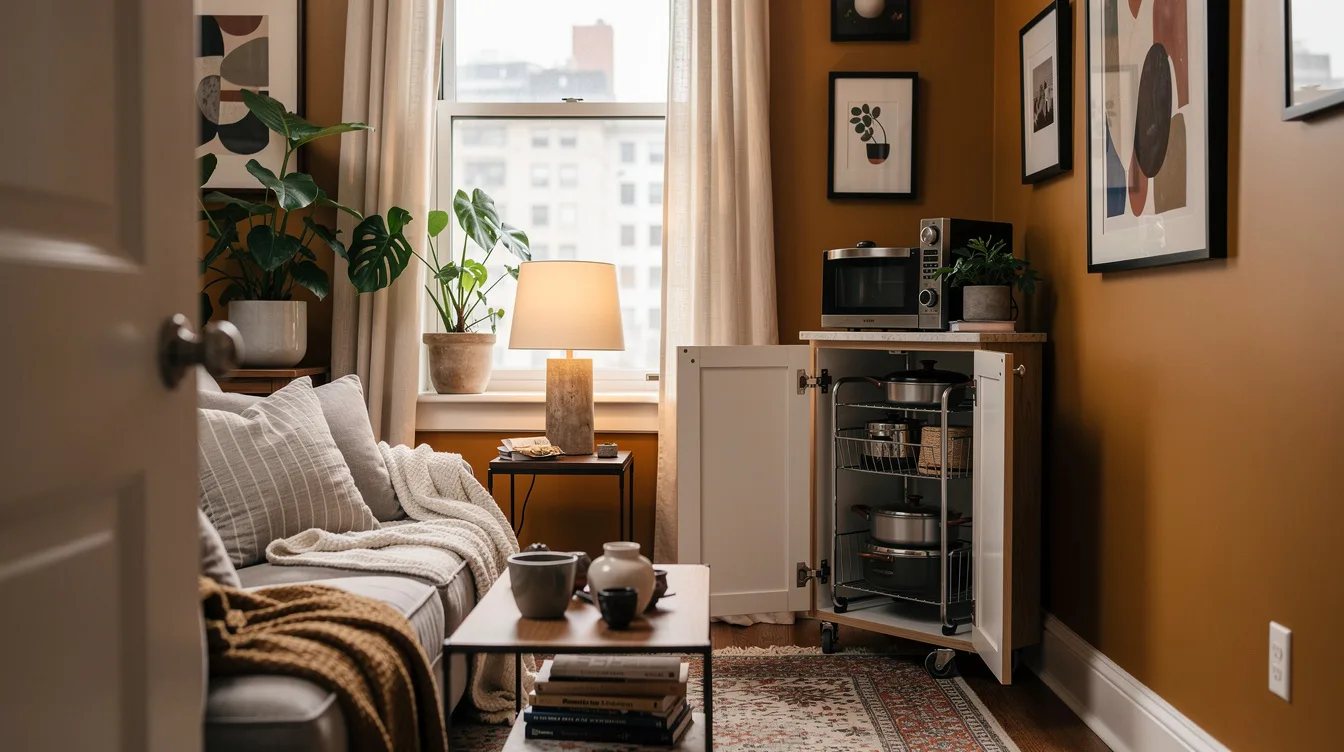
Make Every Piece Move With the Lease
The most useful renter fix leaves the cabinet unchanged when the lease ends. Avoid screws, adhesive tracks, door-mounted racks, and hardware that depends on the cabinet’s exact frame.
A portable system built from removable organizers can move to a pantry, laundry room, or new kitchen. This setup typically costs about $25 to $60 for a practical two- or three-piece arrangement, depending on the materials and sizes.
Skip the Permanent Pull-Out Retrofit
Pull-out shelves can be excellent in a long-term kitchen, but a permanent retrofit demands drilling, precise mounting, and enough clearance for the hardware. Those requirements make it a poor default for a rental corner cabinet.
Use a removable turntable, bin, and riser system first, then reconsider a built-in solution only when you own the space. Individual bins usually cost about $8 to $20, while a complete categorized corner often lands around $25 to $50.
Keep reading
- 13 Best New Home Depot Tiny Closet Organizers Under $750
- Dated Rental Kitchen? These 10 Home Depot Finds Refresh It for Less
- 12 Home Depot Lighting Upgrades That Need No Rewiring
Start with the clear opening and buy the smallest organizer that solves the first daily frustration. Once the front zone works, add one labeled rear bin for backup stock, then stop before extra storage turns the cabinet into another obstacle.


