12 IKEA Storage Ideas That Look Like Built-Ins for Less
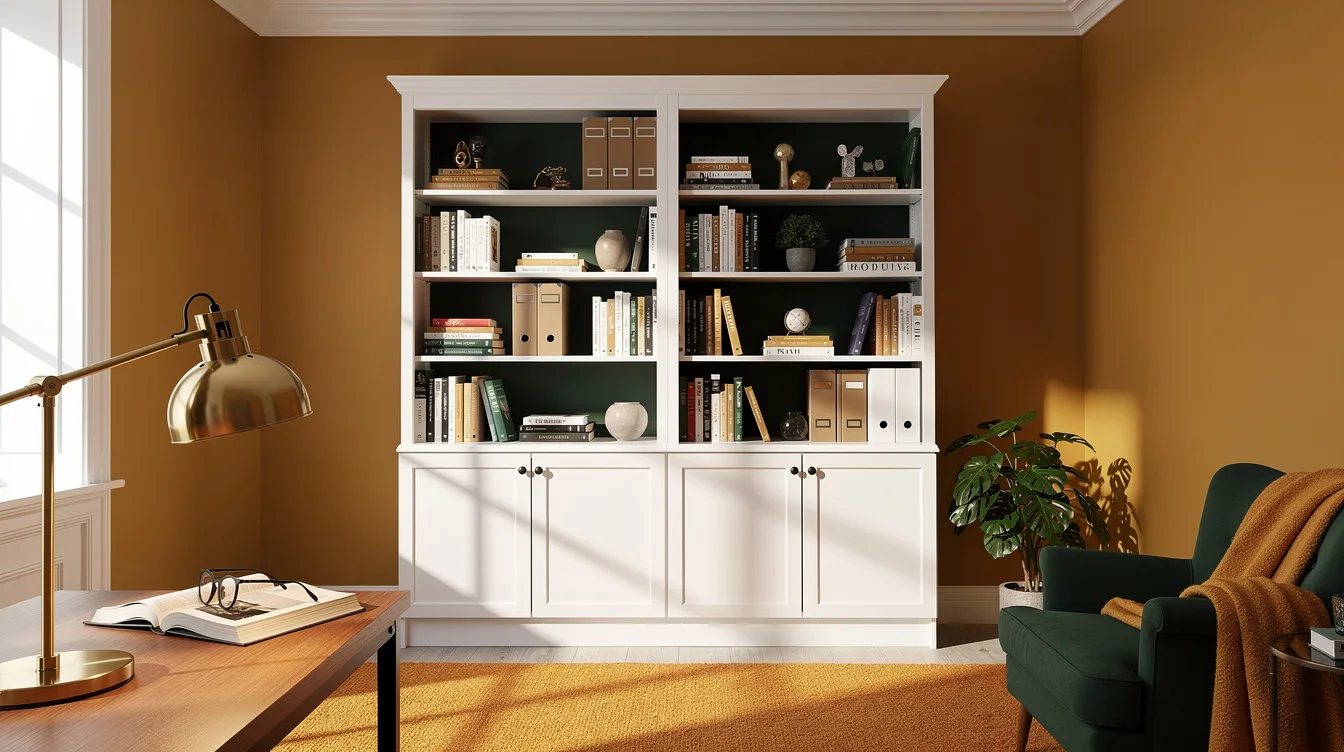
20 august 2026My office wall had a 63-inch stretch beside the desk that kept collecting mismatched shelves, printer paper, and cables. I needed storage that looked permanent without committing to custom cabinetry, so I built around two IKEA BILLY units and a roughly $350 materials budget.
The furniture was only the starting point. The convincing part came from treating the wall like millwork: a level base, tight side fillers, a top header, and crown molding that met the ceiling.
What you will find inside
- Start With BILLY for a Shallow Library Wall
- Build a Level Base Before You Assemble Anything
- Run Every Unit Wall to Wall
- Take BILLY Upward With Height Extensions
- Use OXBERG Doors to Hide the Mess
- Choose PAX When Storage Needs Real Depth
- Use SEKTION for the Most Convincing Cabinet Wall
- Add a Header Panel Across the Top
- Finish the Ceiling With MDF Crown Molding
- Caulk the Seams Like They Matter
- Paint the Trim and Furniture as One Surface
- Keep the Budget Honest Before Adding Extras
Start With BILLY for a Shallow Library Wall
I used BILLY bookcases where I wanted books and office supplies, not a wardrobe pretending to be a bookcase. A 31 1/2-inch-wide, 11-inch-deep, 79 1/2-inch-tall unit typically starts around $69, which leaves room in the budget for the trim that sells the whole idea.
Two units create a roughly 63-inch-wide run, and that width finally looks intentional against a blank wall. I would never use this shallow system for coat hangers, bulky baskets, or a deep television setup, because the wrong contents expose the furniture instantly.
Build a Level Base Before You Assemble Anything
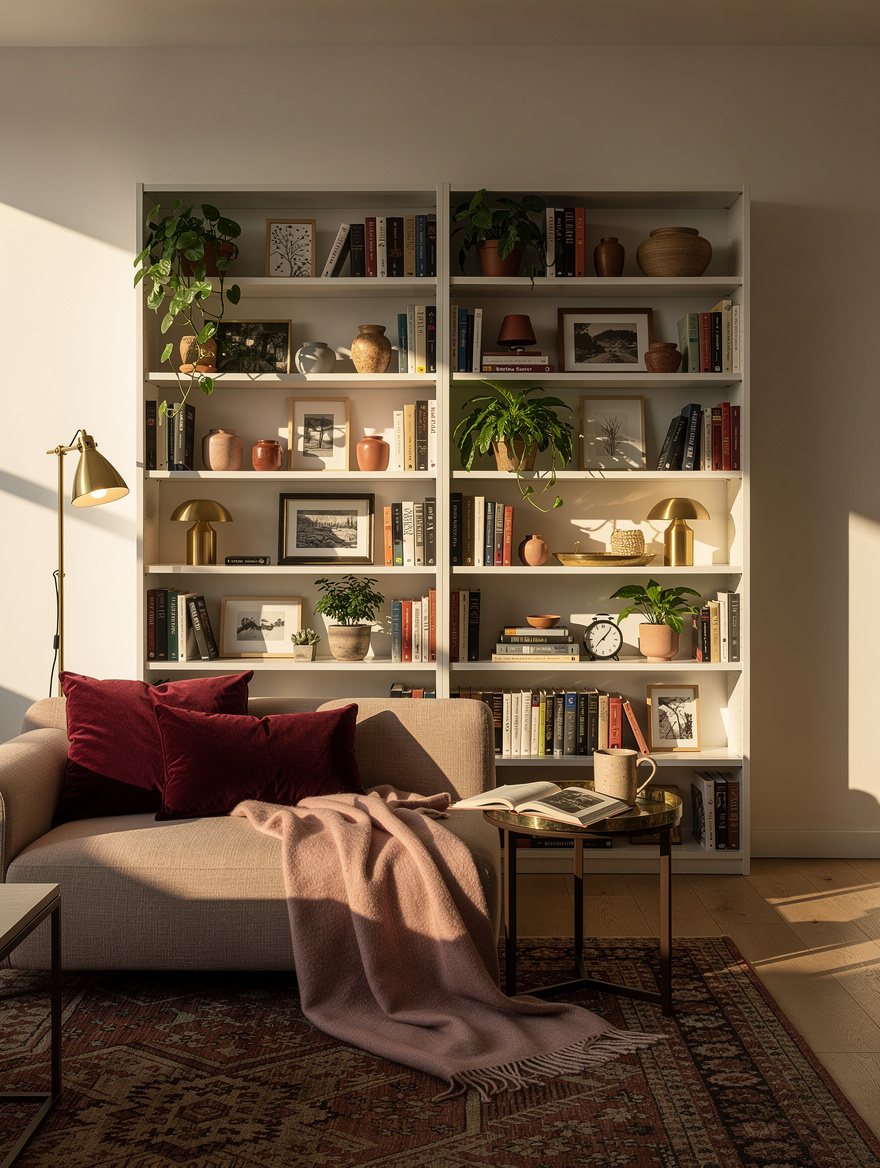
The base made more difference than any paint color. I built a simple platform from 1x2 lumber, shimmed it until it was level, and screwed the units to that platform instead of trusting an uneven floor.
A raised base gives the cases the toe-kick shadow that real cabinetry has. For a typical BILLY wall, budget roughly $20 to $40 for lumber and shims, then keep the base slightly inset so it disappears behind a finished plinth.
Run Every Unit Wall to Wall
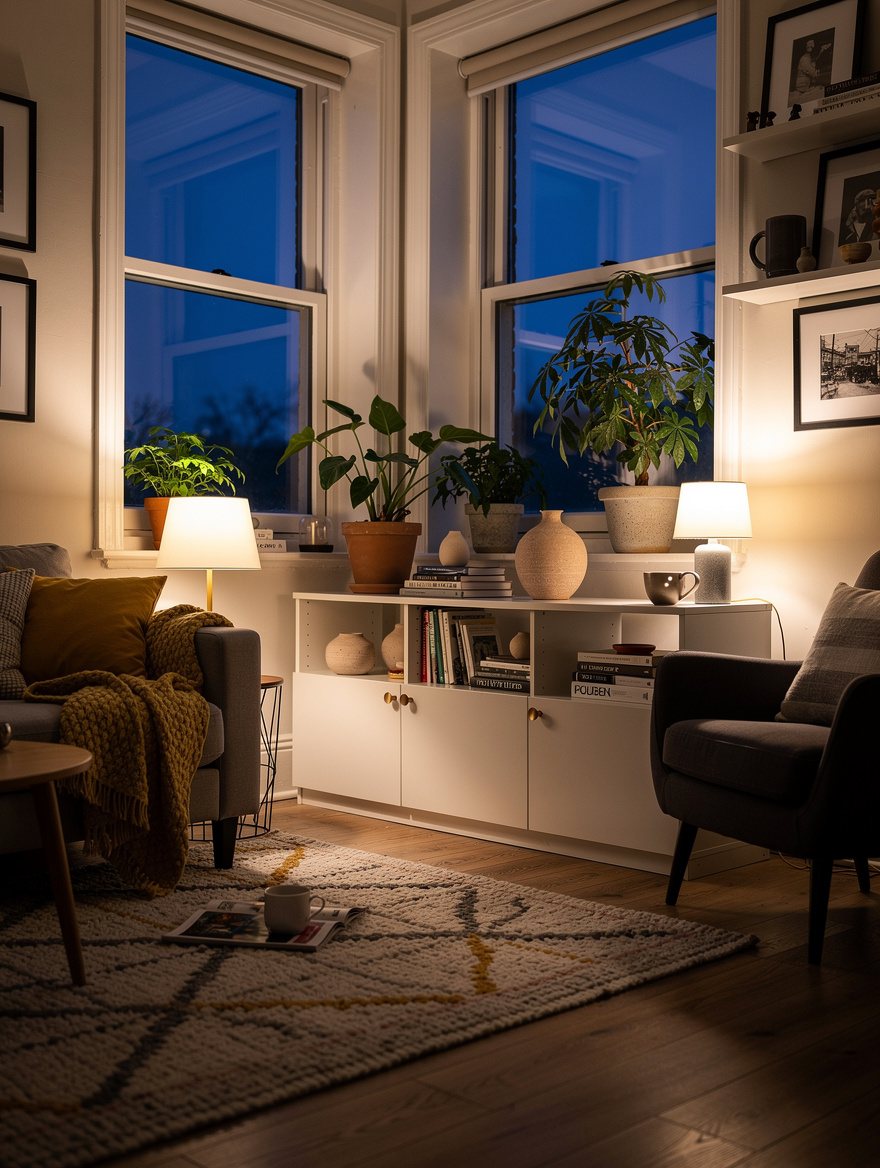
A lonely bookcase with decorative trim still looks like a bookcase. I measured the full wall first, then planned the MDF filler panels at each side so the cabinets read as one continuous installation.
Leave small gaps beside the furniture for walls that are not perfectly straight, because nearly all of them are not. A scribed filler lets you follow that wonky wall line while the cabinet face stays crisp and straight.
Take BILLY Upward With Height Extensions
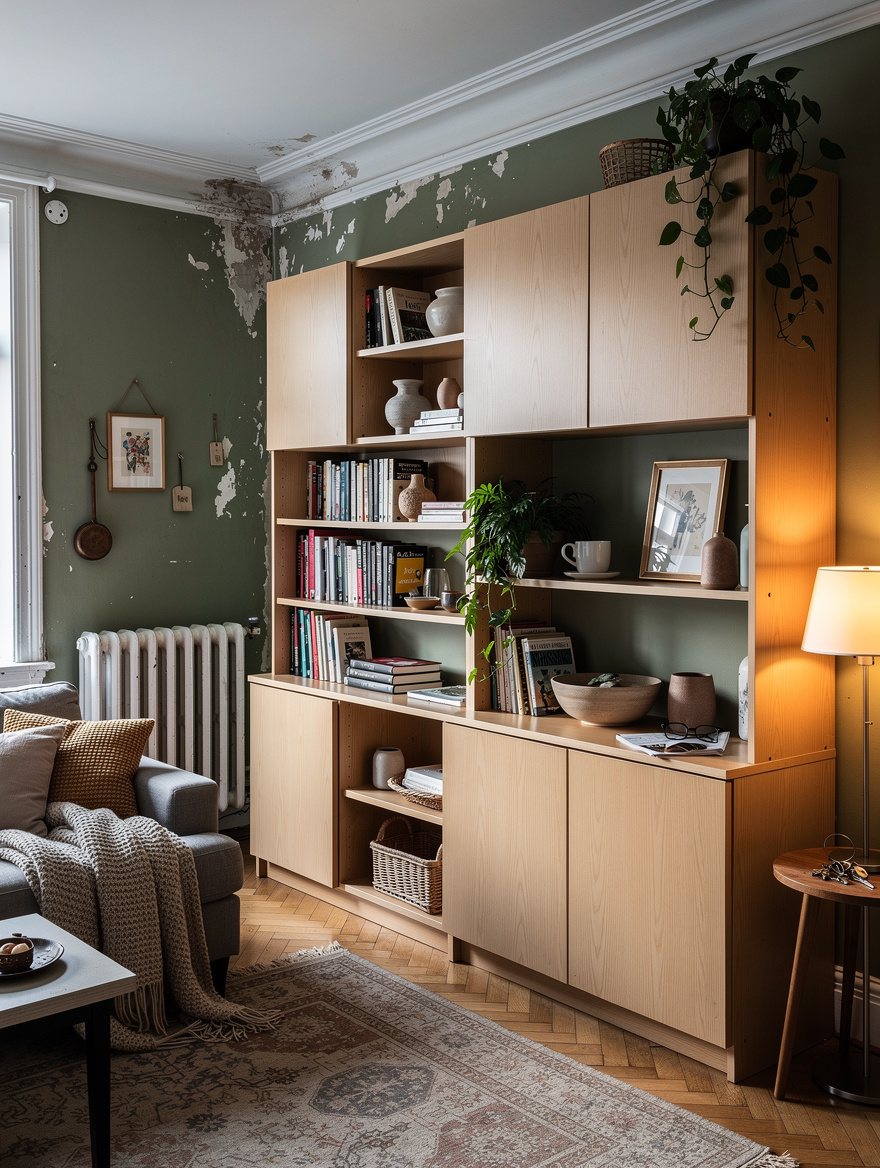
The gap above a tall cabinet is where the budget origin story shows. Adding BILLY height extensions can bring a run to about 93 1/4 inches, much closer to a roughly 8-foot ceiling than the standard 79 1/2-inch case.
I like extensions when the ceiling permits them, but I still add a header above the final units. The extensions typically add around $60 for a two-unit project, and that expense beats trying to hide a huge dusty shelf at the top.
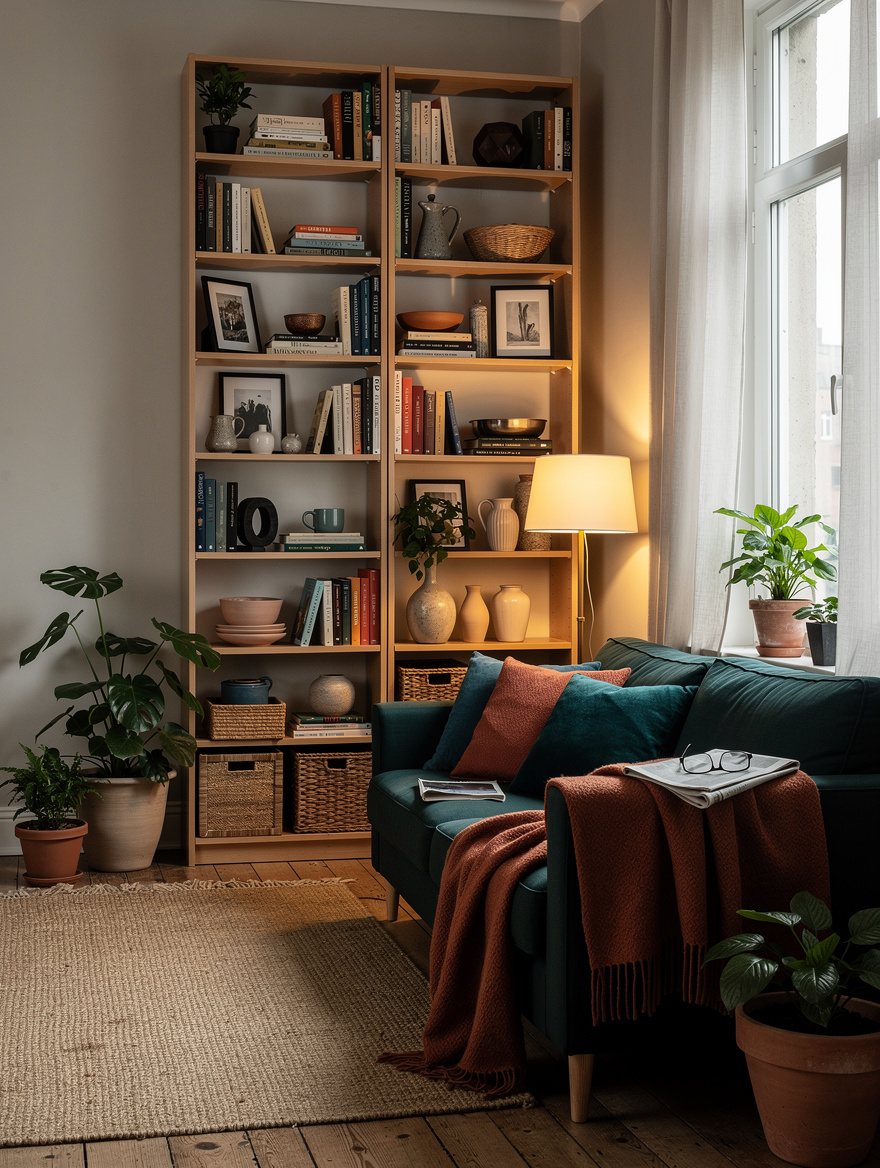
Use OXBERG Doors to Hide the Mess
Open shelving is flattering only when you own matching books and can keep paperwork under control. I added OXBERG doors to the lower or full-height bays when I needed a cabinet wall that could hold chargers, board games, and the ugly little necessities of daily life.
A BILLY and OXBERG configuration in brown-walnut effect is typically around $139 per 31 1/2-inch bay, while glass-door versions are about $179. Keep every door gap even before installing trim, since crown molding cannot rescue crooked doors.
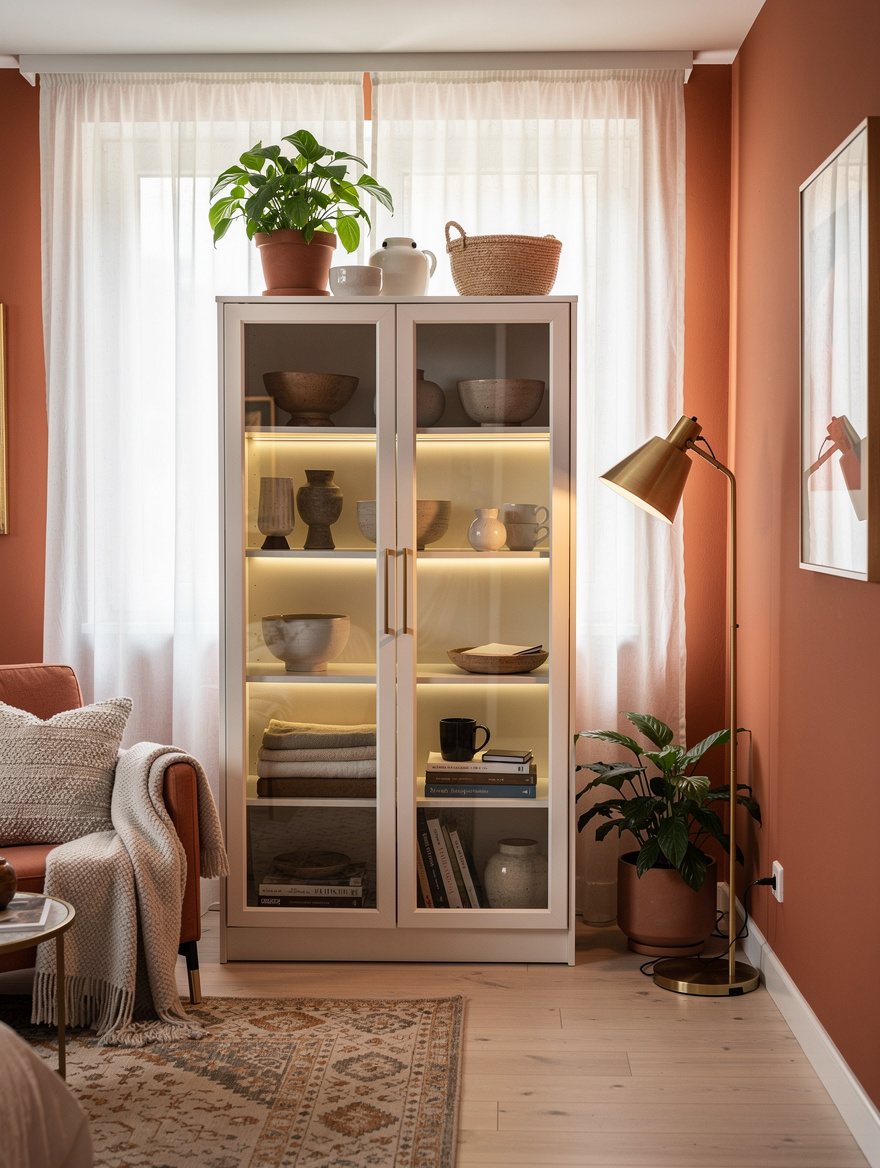
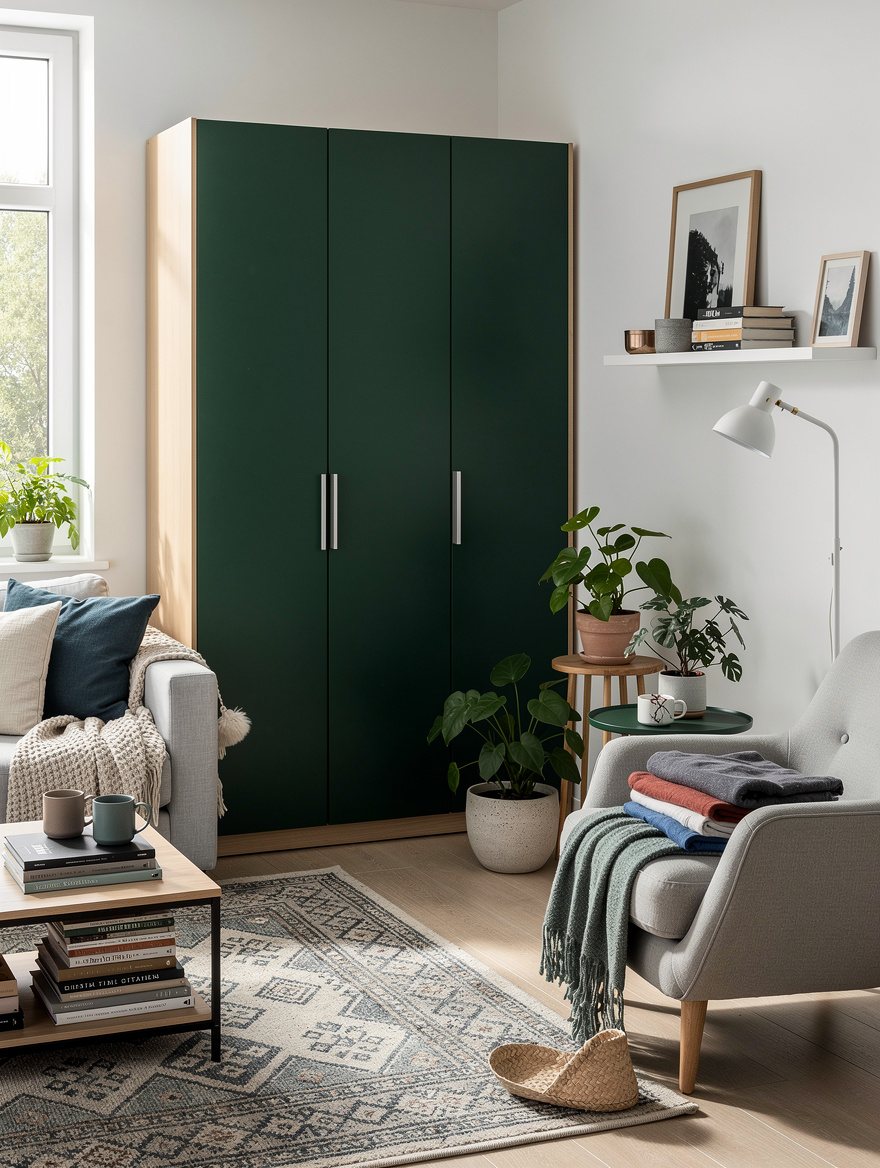
Choose PAX When Storage Needs Real Depth
I learned this after trying to store coats in a shallow system: bookshelves do not become closets through optimism. PAX frames offer about 22 7/8 inches of depth, enough for hanging clothes, drawers, laundry storage, or a hard-working dressing-room wall.
Frames typically begin around $180 to $200 each, depending on height and width, before interiors, doors, and trim. That is a bigger starting cost than BILLY, yet it is the sensible choice when the built-in needs to do wardrobe work every day.
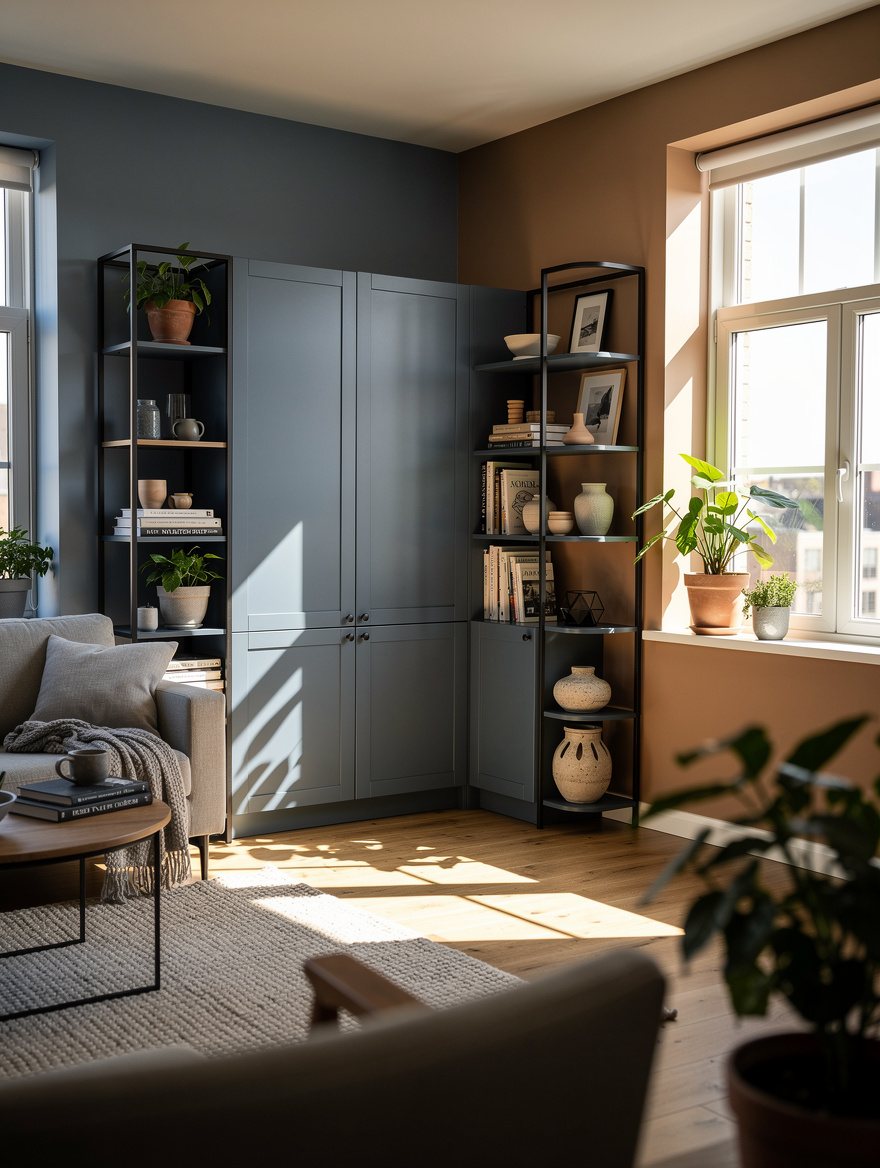
Use SEKTION for the Most Convincing Cabinet Wall
For a pantry, mudroom, laundry room, or utility wall, I would skip the bookcase conversion and start with SEKTION cabinet frames. Their 24-inch depth and kitchen-style construction give the project the visual weight that tall cabinetry needs.
An 18-by-24-by-90-inch frame typically starts around $171, while 24- and 30-inch versions are about $184 and $199. Those prices are frames only, so doors, hinges, shelves, rail, and finishing materials need their own realistic budget line.
Add a Header Panel Across the Top
I covered the uneven space above my units with a continuous 3/4-inch MDF header. This single panel made separate cases look connected and gave the crown molding a clean, solid place to land.
Measure from the highest point of the floor, not just from one corner of the ceiling. A header can be a little taller than expected without looking strange, but a crooked strip near the ceiling will pull your eye there every time.

Finish the Ceiling With MDF Crown Molding
Plain cabinet tops stop abruptly, while crown molding creates the finished edge people associate with custom millwork. I chose primed MDF crown molding because it cuts cleanly, takes paint well, and typically costs around $30 to $80 for a modest project.
Use a profile that suits the room instead of choosing the biggest molding on the shelf. In a low-ceiling apartment, a restrained crown looks more expensive than a giant ornate profile squeezed into an eight-foot room.
Caulk the Seams Like They Matter
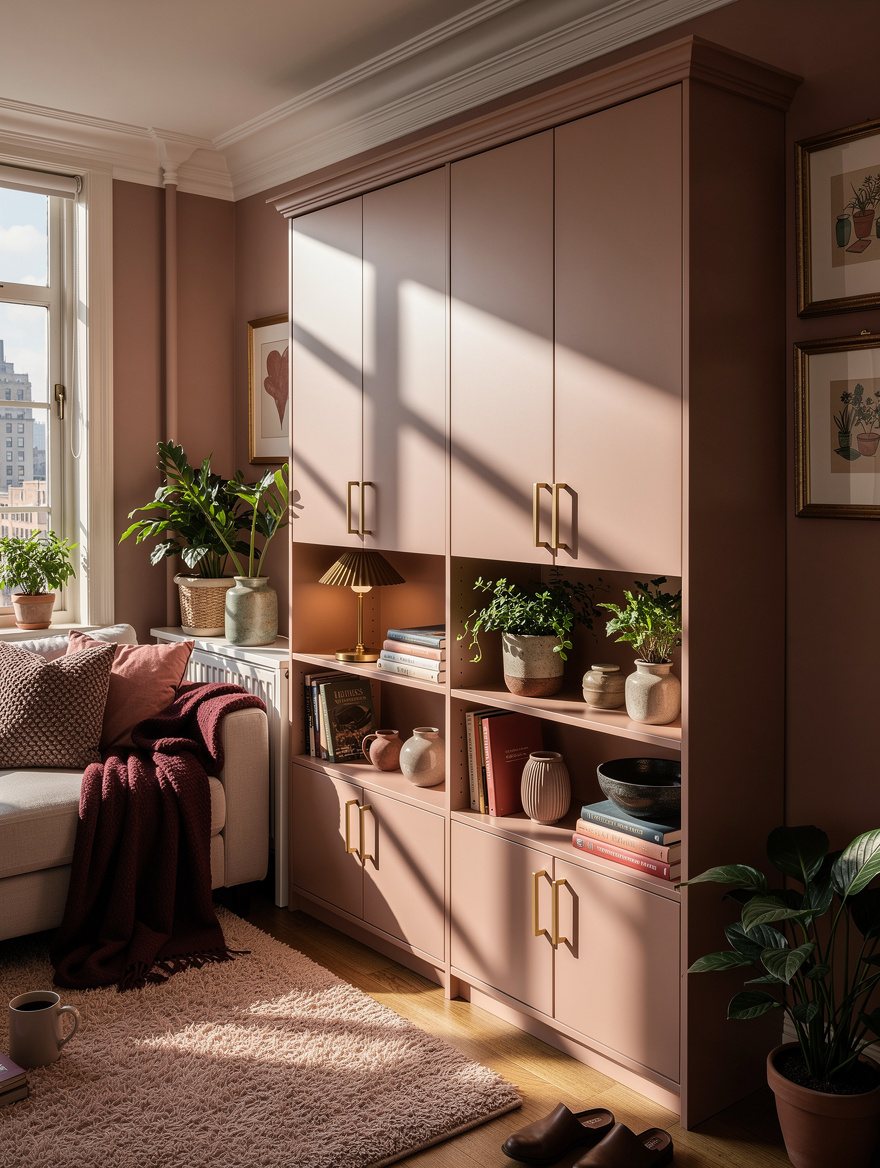
My first attempt had perfectly decent trim and very visible shadows between every piece. A paintable bead of white acrylic caulk along the fillers, header, and molding erased those hairline gaps and made the installation feel permanent.
Caulk joins between trim and wall, not moving door parts or furniture surfaces that need to flex. Plan roughly $35 to $75 for caulk, screws, shims, and paint on a typical BILLY project, because the small supplies are not optional extras.
Paint the Trim and Furniture as One Surface
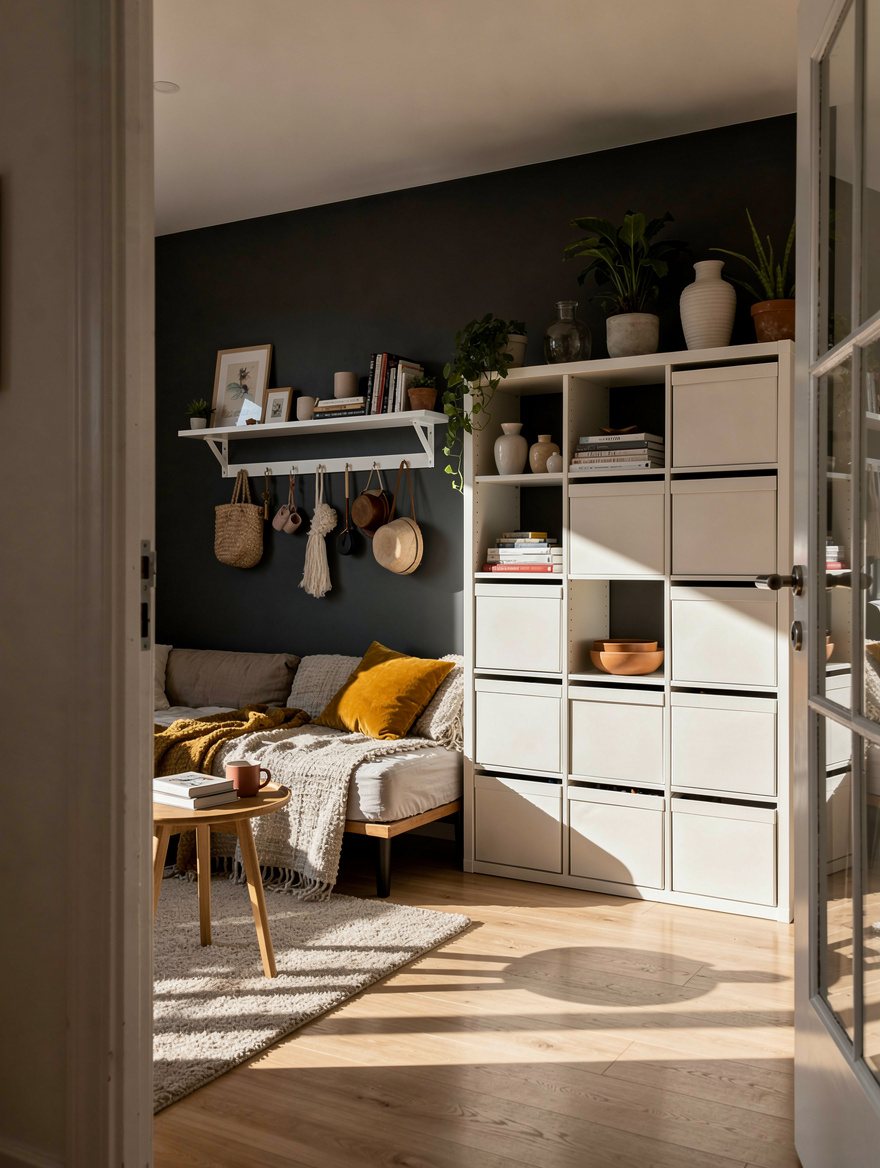
BILLY uses particleboard and fiberboard with foil finishes, so I treated its surface carefully before painting. A bonding primer designed for laminate furniture gives paint something dependable to grip, especially on side panels and door fronts that get touched often.
I paint the trim, fillers, and visible cabinet areas in the same finish so they share one visual language. A satin or eggshell sheen is my preference for a living-room wall, since it wipes clean without broadcasting every tiny flaw.
Keep the Budget Honest Before Adding Extras
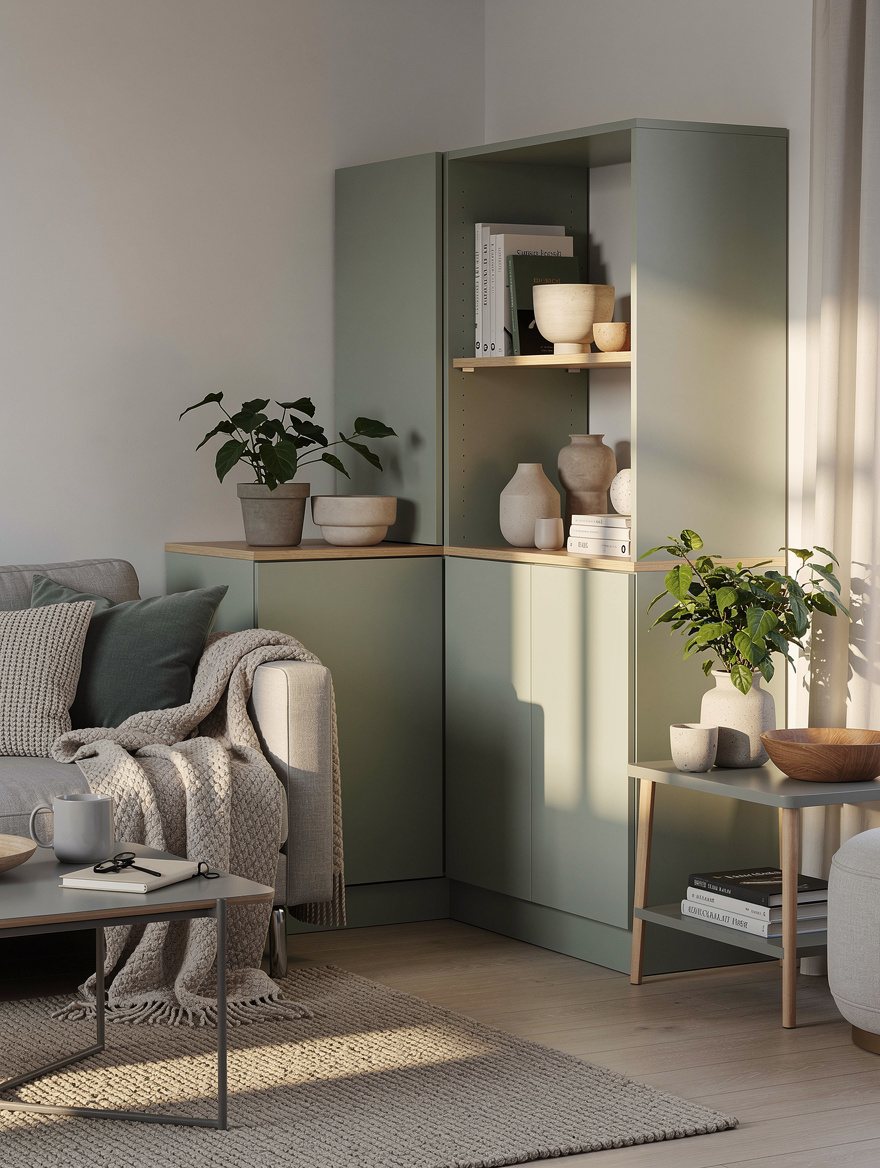
The lowest-cost version is still the BILLY library wall: two tall cases, a wood base, MDF fillers, crown, caulk, and paint typically total about $250 to $450 before tools and delivery. That is the project I would choose for books, files, folded throws, and objects that suit an 11-inch depth.
HAVSTA storage has more substantial solid-pine character, but at roughly $424 to $500 per tall bay it is no longer the budget winner. Spend first on a level base, side fillers, and ceiling trim, then add doors or upgraded hardware only if the room still needs them.
Keep reading
- 12 Target Entryway Furniture Ideas That Fake a Built-In Look
- 12 Best Renter-Friendly Bedroom Accent Wall Ideas Without Paint
- 12 IKEA Kitchen Storage Finds Designers Use in Tiny Spaces
Start by measuring the wall, floor, and ceiling in several spots, then choose BILLY, PAX, or SEKTION based on the depth you truly need. The first dollars should go to the base and trim package, because those are the details that make IKEA storage disappear into the room.


