Holiday Baking Cabinet Eating Your Trays? 13 IKEA Fixes
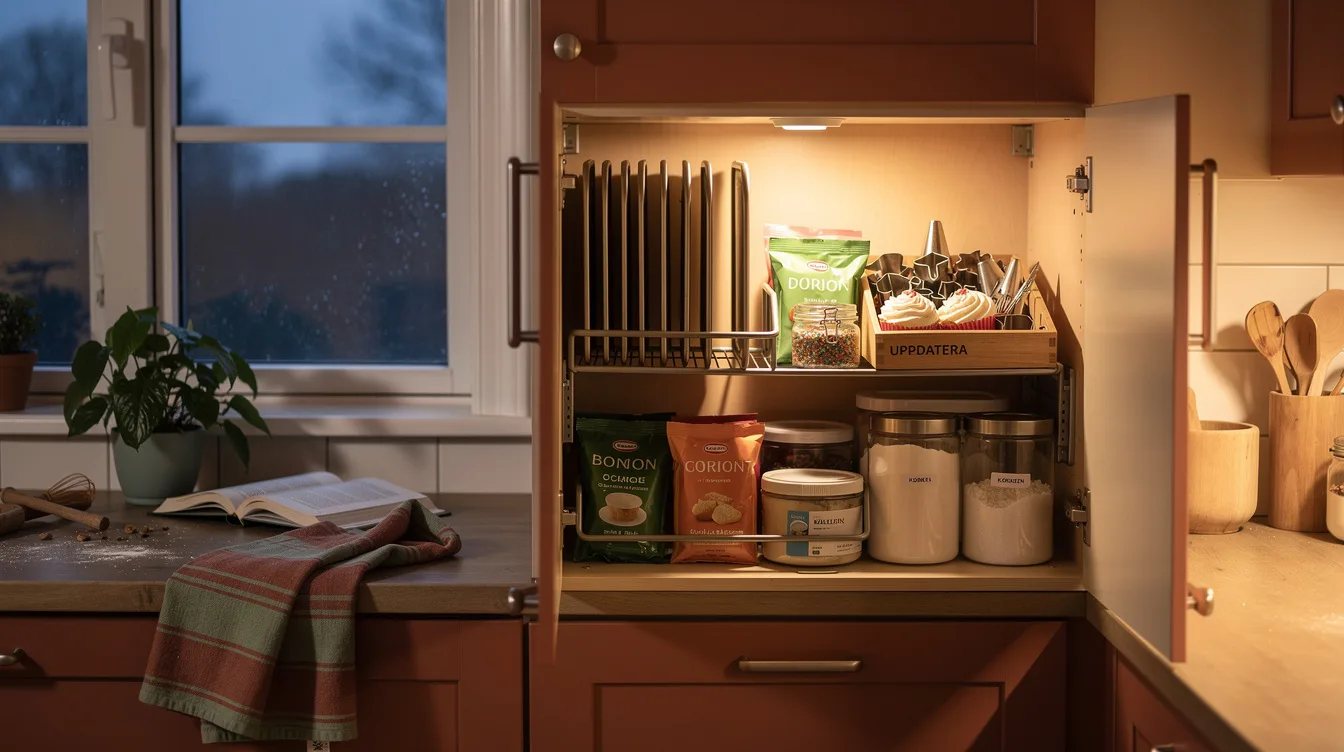
04 november 2026Holiday baking has a way of turning one kitchen cabinet into a daily obstacle course. Our starting point was a listed $4.99 box measuring about 13¼ by 9½ by 5¾ inches, then we built the rest of the setup around the cabinet we already had.
We focused on removable tools, vertical trays, lightweight packets, and clearly assigned ingredients. The listed U.S. Prices below are November 2026 benchmarks before tax and delivery, so they can change and should not be treated as year-round guarantees.
What you will find inside
- Measure the Cabinet Before Buying
- Lift Out the Decorating Kit
- Contain Tiny Decorating Parts
- Stand Trays on Their Edges
- Adjust the Rack Around Your Trays
- Clip a Basket Beneath the Shelf
- Keep Heavy Ingredients Off the Basket
- Give Staples One Tall Container
- Use Tall Containers for Narrow Gaps
- Store Small Quantities in Glass
- Label the Ingredient and Date
- Separate Prepared Components
- Arrange the Cabinet in Baking Order
Measure the Cabinet Before Buying
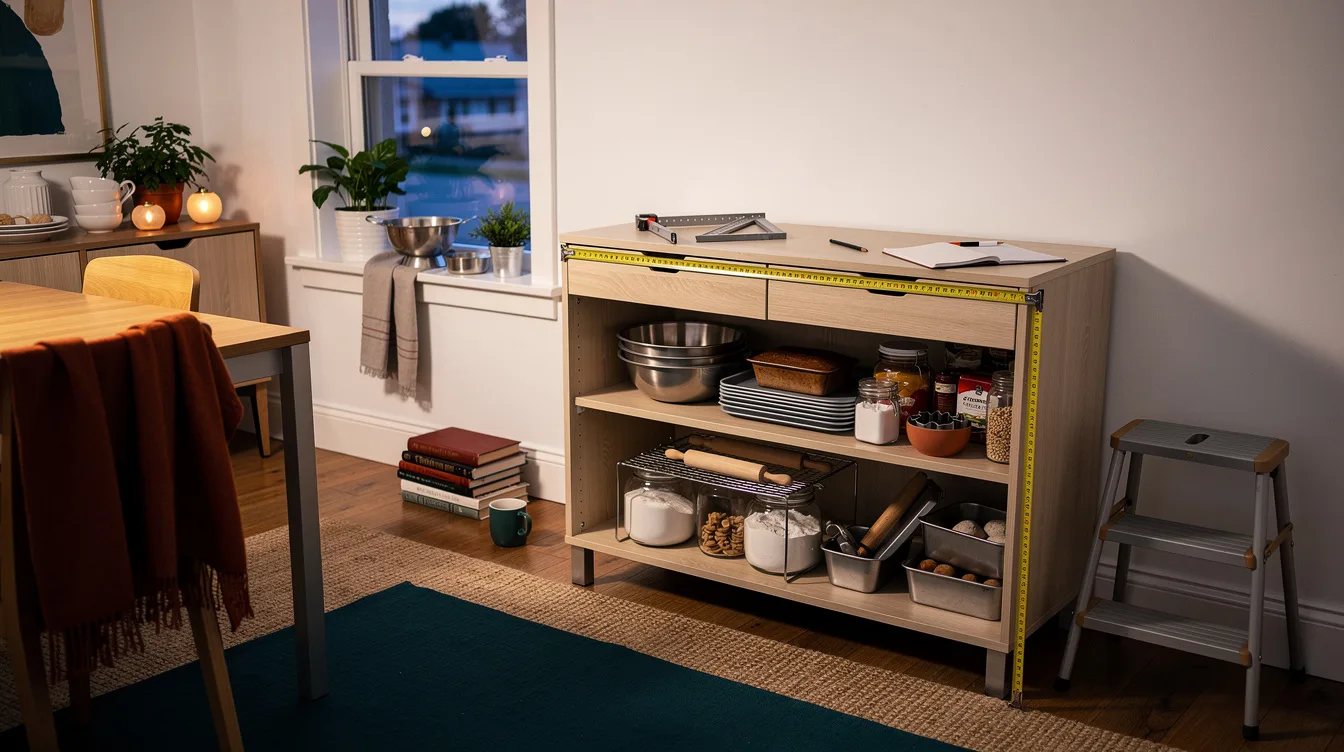
We started with one existing cabinet and measured its clear width, depth, and opening before choosing any organizer. That decision matters because the goal is to make holiday baking easier without adding a bulky cart or creating another piece of furniture to manage.
Our priority was a cabinet that could hold tools, trays, packets, and ingredients in a visible order. A quick measurement also keeps the adjustable VARIERA rack from competing with the cabinet door or shelf supports.
Lift Out the Decorating Kit
The large UPPDATERA box became the grab-and-go kit for cookie cutters, piping bags, couplers, food-coloring bottles, sealed sprinkles, and cupcake liners. Its listed U.S. Price is $4.99 before tax and delivery, and the box measures about 13¼ by 9½ by 5¾ inches.
Because it is made from polypropylene with at least 50% recycled material, it is light enough to carry from the cabinet to the counter. The U.S. Listing shows a minimum online order of two, so a second box can hold backup decorating supplies or remain empty for the next baking project.
Contain Tiny Decorating Parts
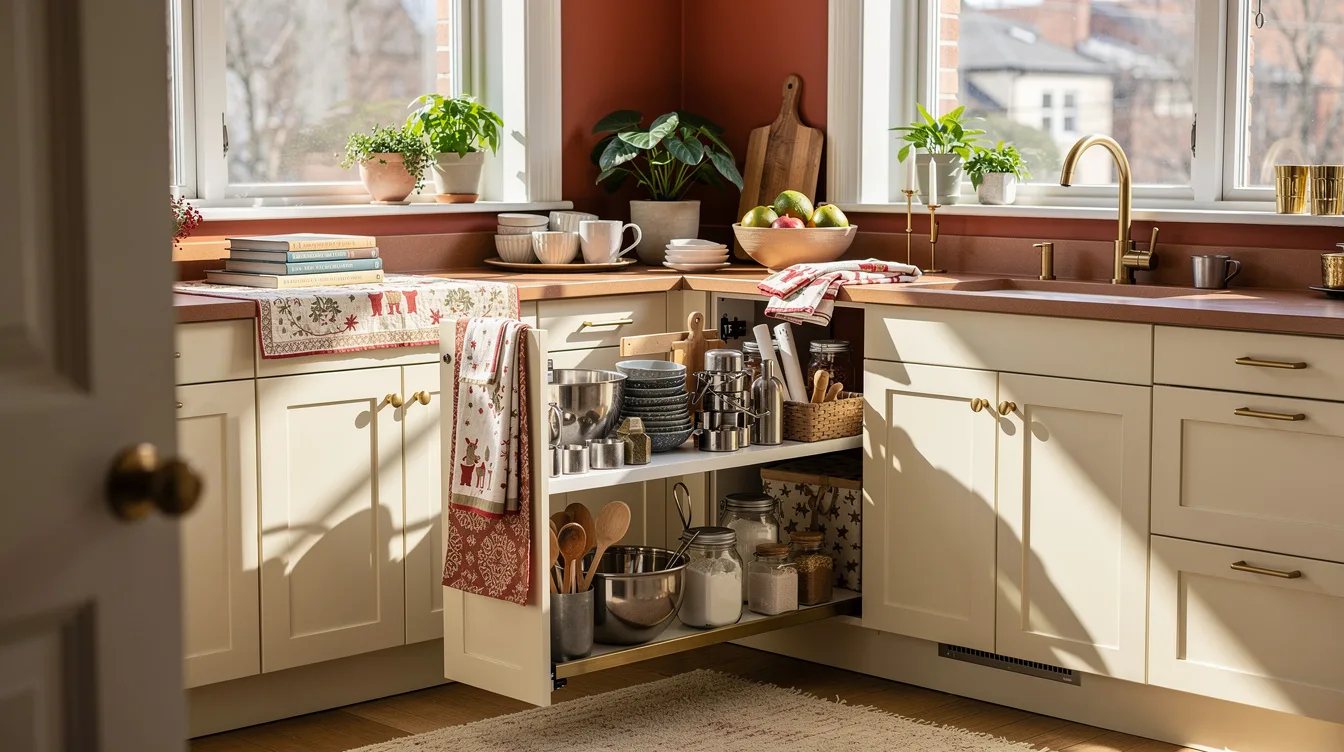
Small nozzle tips and couplers disappear quickly when they share a deep bin with larger tools. We kept those pieces inside a small existing lidded container within the UPPDATERA box, leaving the main compartment open for items used during nearly every batch.
This arrangement also makes cleanup more honest: every decorating piece has a home, and the whole kit can return to the cabinet in one motion. Skip loose piles of sprinkles and tips, which make a compact cabinet feel crowded before the baking even begins.
Stand Trays on Their Edges
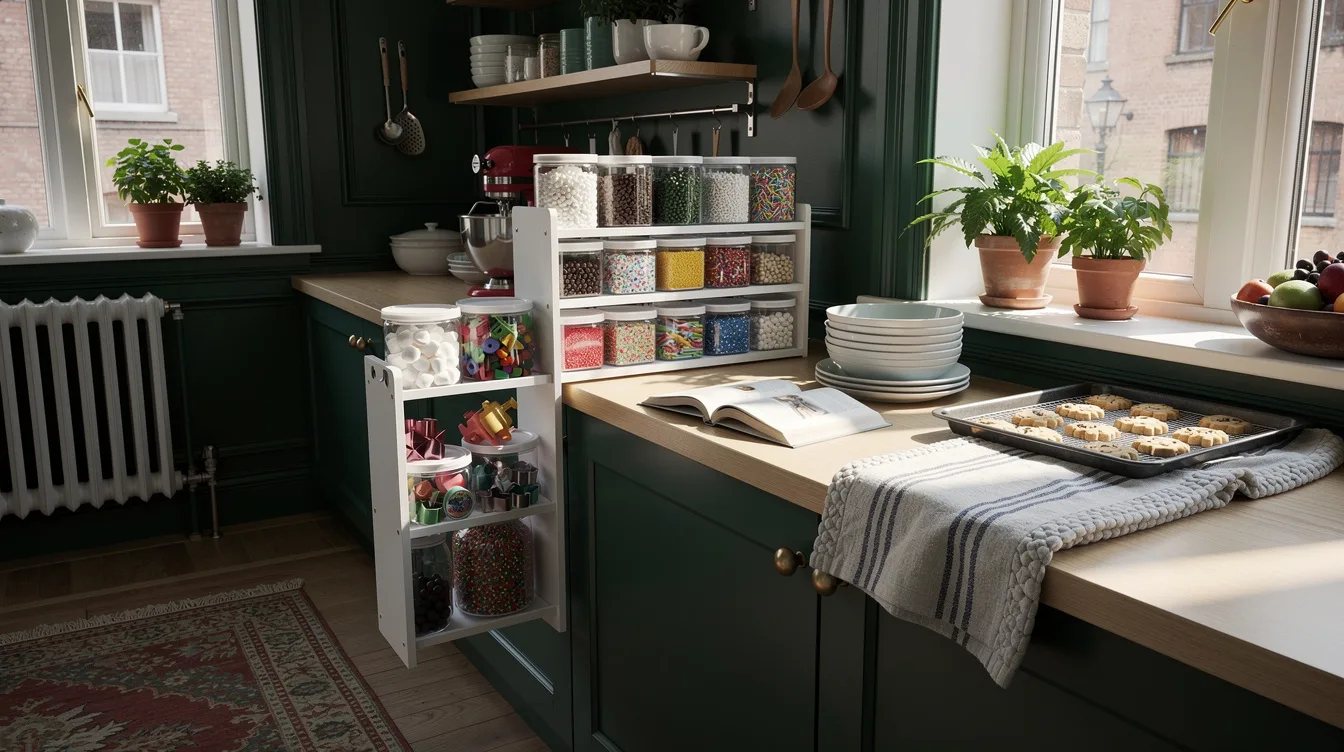
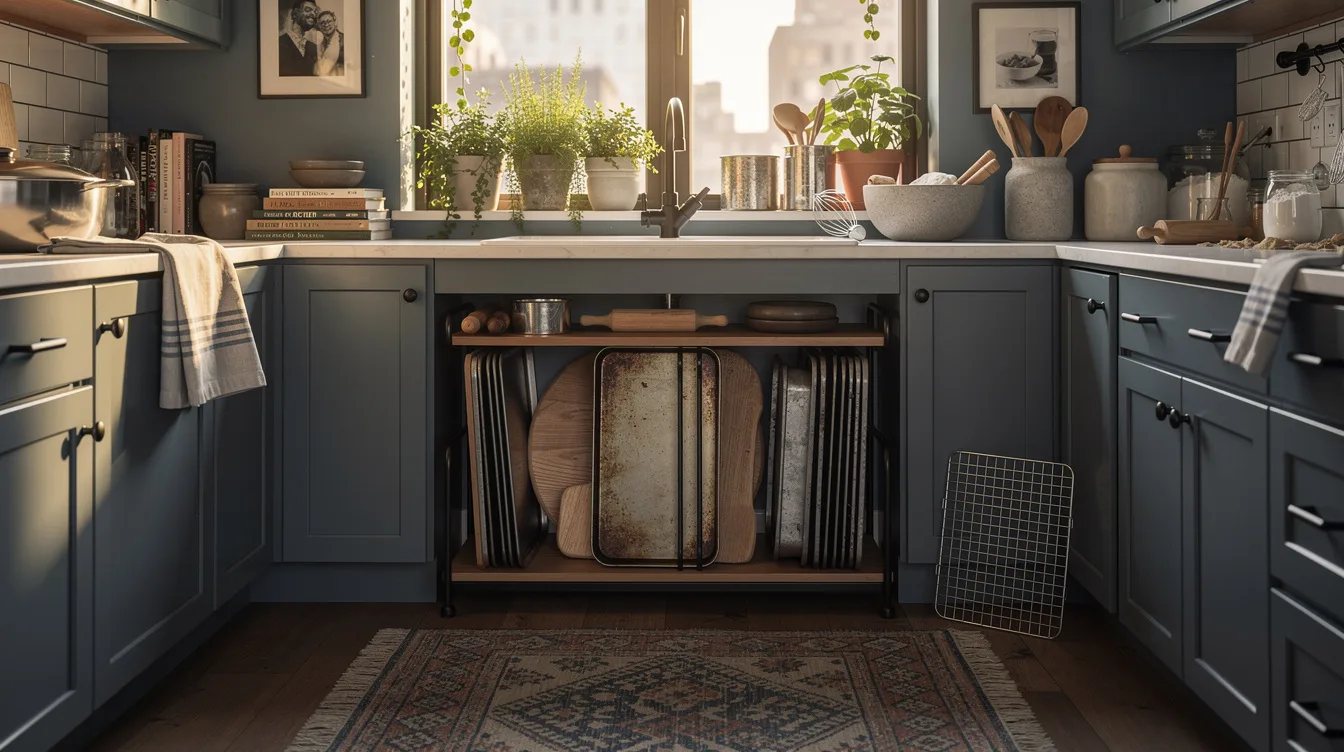
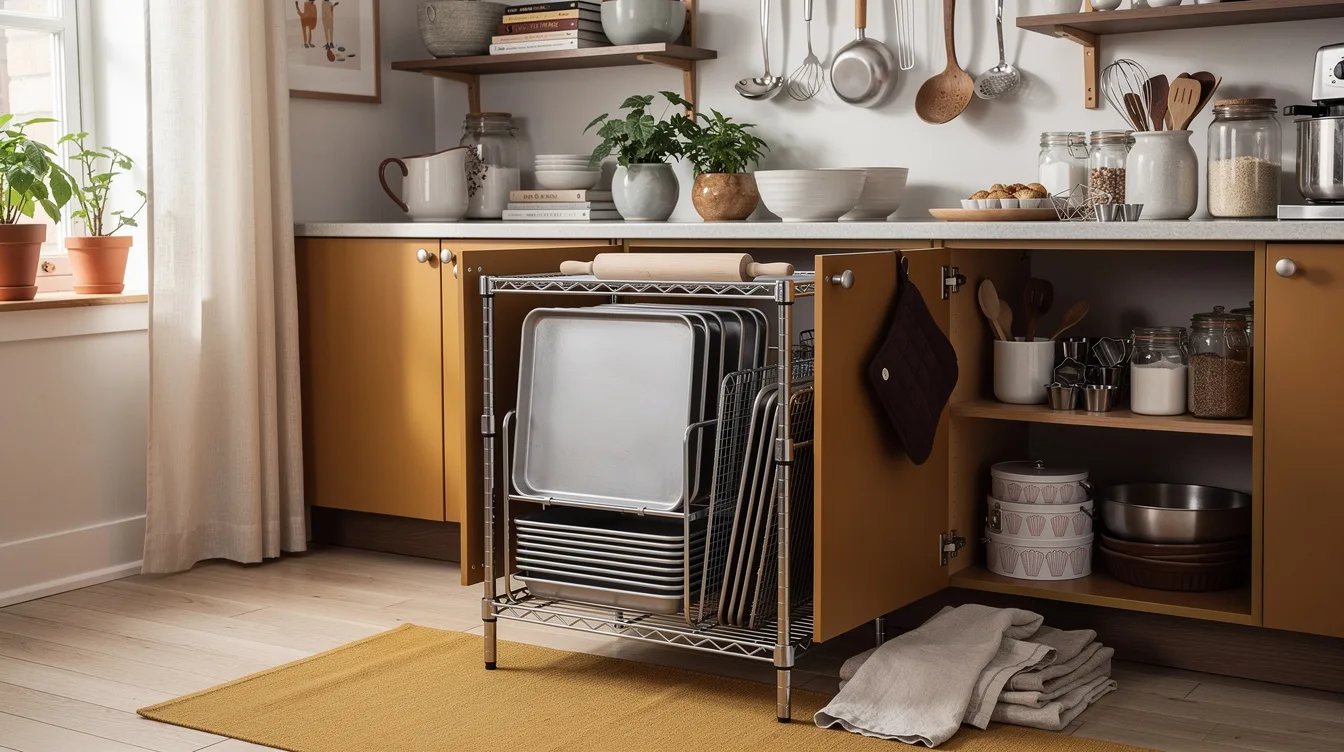
We used the VARIERA pot lid organizer to stand smaller baking sheets, cooling racks, and flat pan lids vertically. Its stainless-steel frame has synthetic-rubber feet, and its adjustable length runs from about 3¼ to 19¾ inches, with a width of about 5¾ inches and a height of about 4 inches.
The listed U.S. Price is $7.99, which makes this one of the strongest cabinet upgrades in the group. Vertical storage lets us pull out one tray without lifting a stack, but every tray still needs a fit check against the cabinet opening.
Adjust the Rack Around Your Trays
Before loading the rack, we adjusted each divider around the particular baking sheets already in the kitchen. The organizer is also listed for chopping boards and serving plates, but its useful holiday role is separating flat baking equipment that would otherwise lean together.
Leave enough clearance for fingers to grip each tray without scraping the cabinet sides. A rack that fits the shelf but blocks the opening is a poor bargain, even at about $7.99.
Clip a Basket Beneath the Shelf
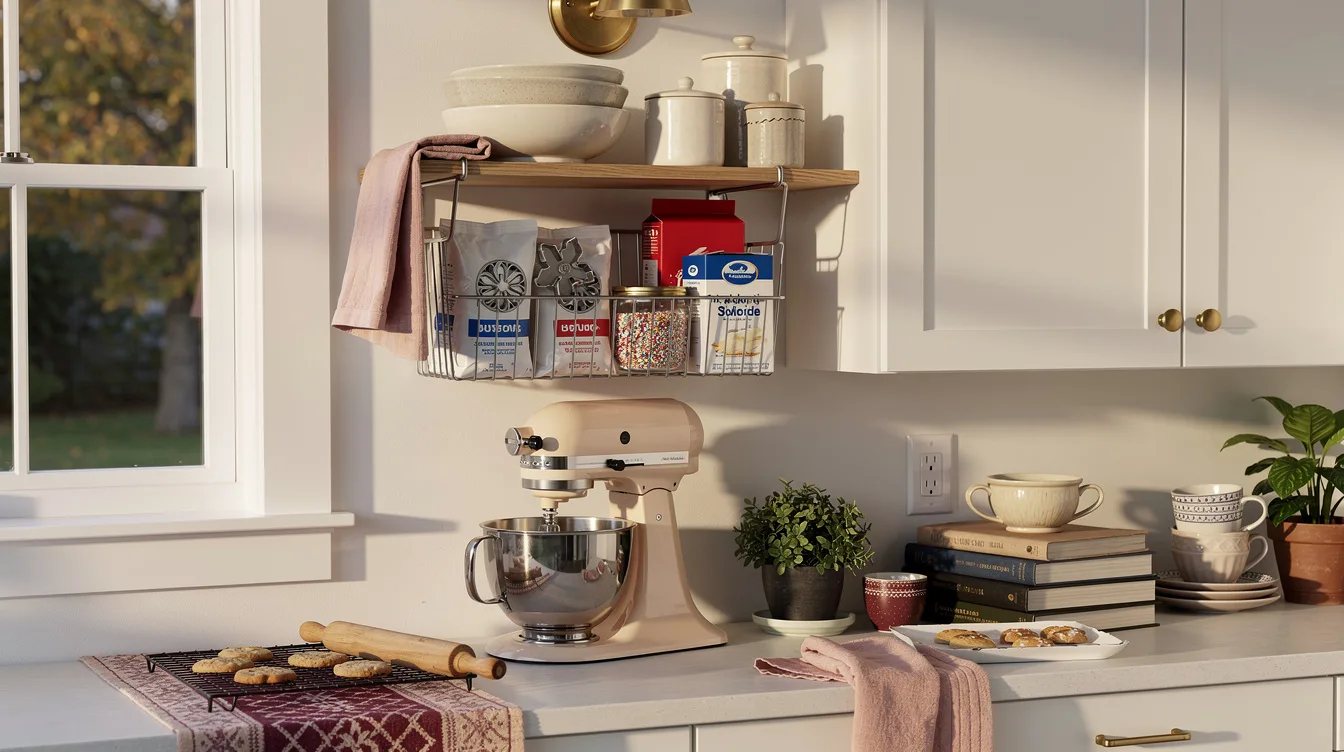
The wide PÅLYCKE clip-on basket uses the unused space beneath a shelf for cupcake liners, unopened chocolate-chip packets, piping bags, and folded baking parchment. Its powder-coated steel body has EVA-plastic protectors, and the nominal size is about 14⅛ by 10¼ by 5½ inches.
The listed U.S. Price is $8.99. This is a smart way to create a shallow supply zone without taking another shelf, especially when the cabinet has a tall empty gap beneath its upper level.
Keep Heavy Ingredients Off the Basket
We treated the PÅLYCKE basket as a lightweight packet holder rather than a second pantry shelf. IKEA lists a maximum load of 4 pounds, so flour jars, sugar containers, and other dense ingredients belong on a supported shelf below.
That limit also gives the basket a clear job: packets and paper goods stay easy to see, while heavier supplies remain stable. Do not force every baking item into the most convenient open space.
Give Staples One Tall Container
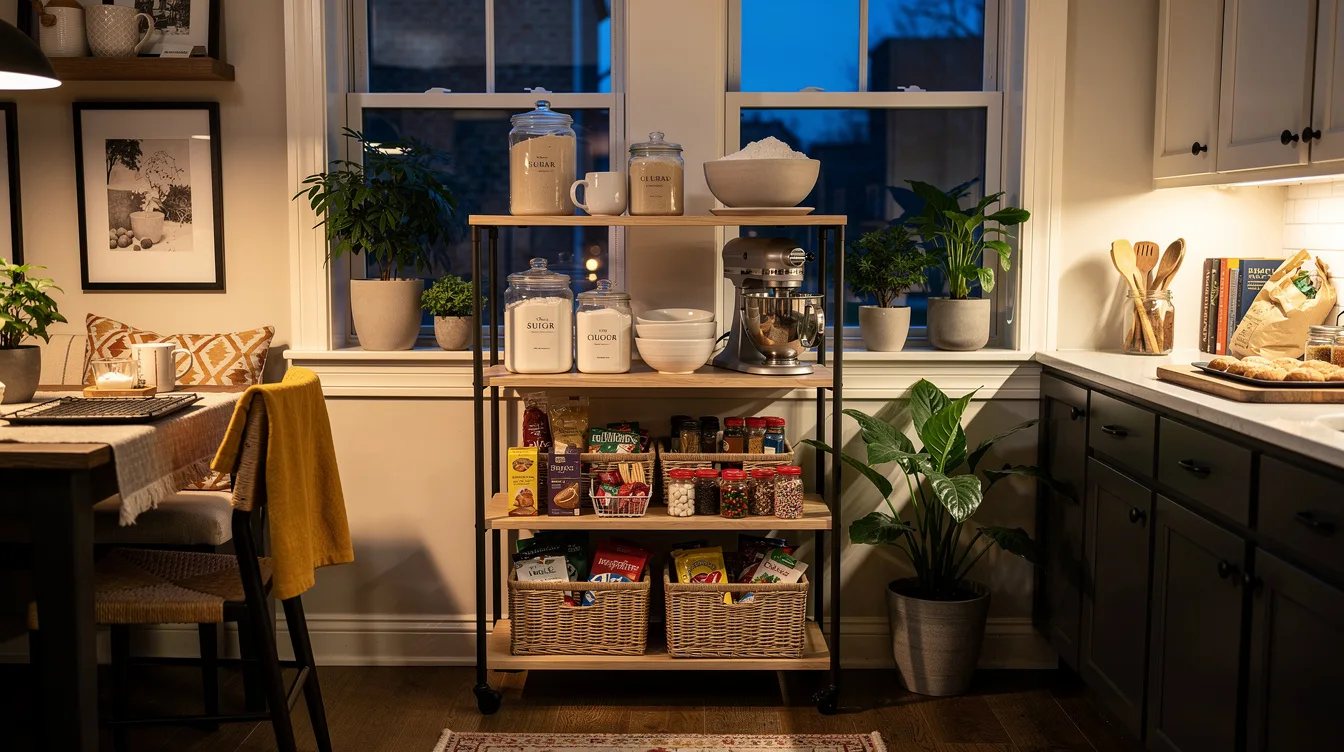
For a frequently used dry ingredient, we chose an IKEA 365+ dry food container with a lid. The 2-quart container is listed at about 7 by 3 by 12 inches and $6.99 in the United States, before tax and delivery.
Its clear plastic body and white tight-fitting lid make a narrow shelf easier to read. Assign one ingredient per container rather than decanting every pantry item, because a focused system is faster to maintain during a busy baking week.
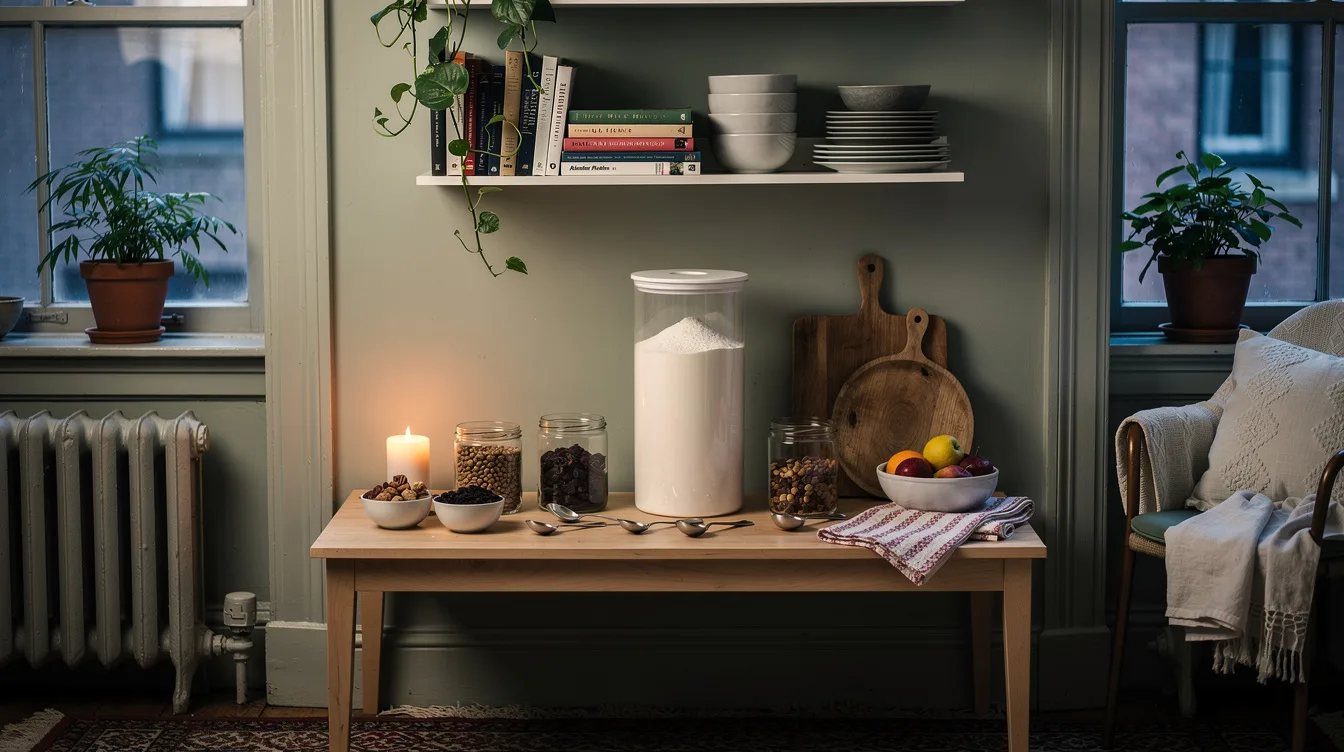
Use Tall Containers for Narrow Gaps
The long, narrow shape of the IKEA 365+ container works best in the part of the cabinet that would otherwise become dead space. It can keep one frequently used dry ingredient accessible while leaving room beside it for the decorating box or tray rack.
We would place the container where its label is visible from the cabinet opening. That small choice prevents repeated pulling, checking, and replacing, which is how organized shelves become messy again.
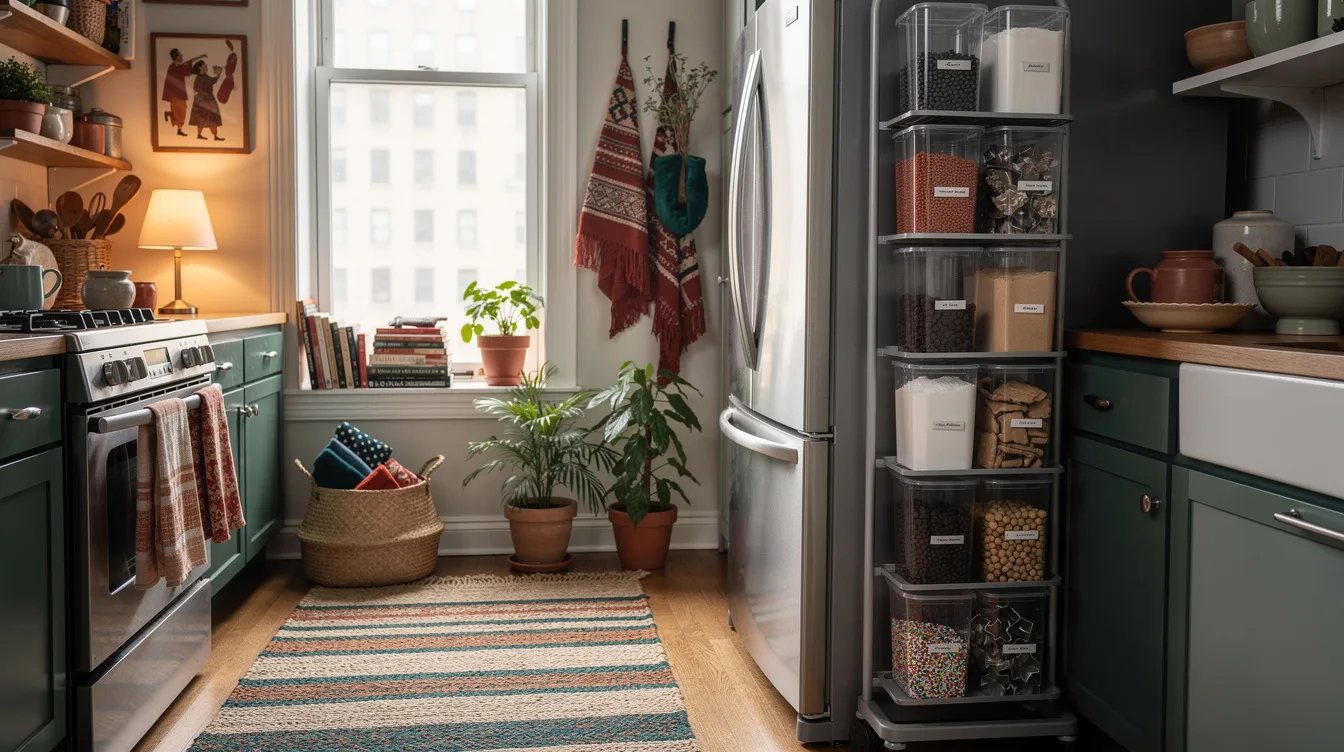
Store Small Quantities in Glass
We reserved the KORKEN jar with lid for smaller quantities of cocoa, dried fruit, decorating sugar, or nuts. The clear glass jar is about 6 inches high and 4¾ inches in diameter, holds 34 ounces, and has a listed U.S. Price of $3.99.
Its 1-quart capacity is useful when a full-size container would leave too much empty space around a small ingredient. The U.S. Listing shows a minimum online order of two, so matching jars can create a tidy pair for the ingredients used most often.
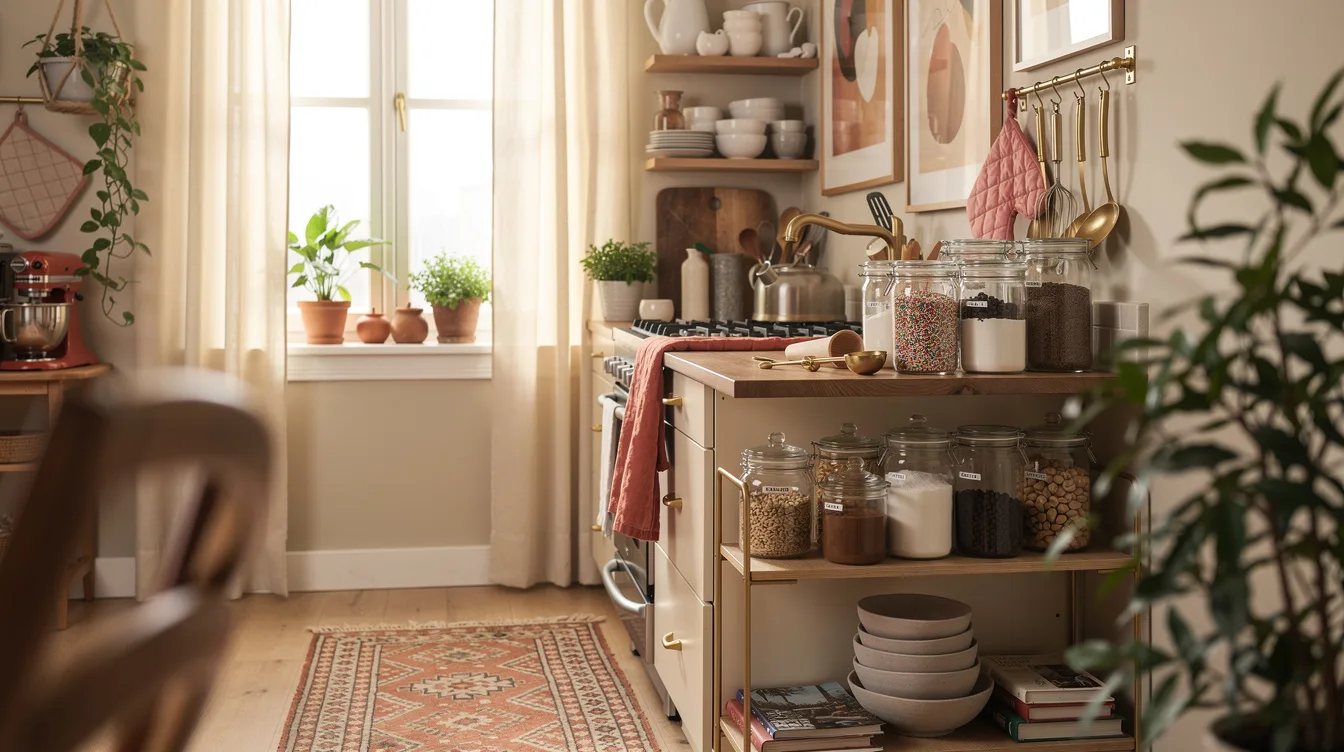
Label the Ingredient and Date
Every KORKEN jar should carry the ingredient name and its original best-before date. That is especially useful for nuts, dried fruit, cocoa, and decorating sugar, where the container can outlast the package it replaced.
We would keep the label facing the cabinet opening and avoid relying on memory. A clear jar should reveal what is inside, but it cannot tell you when the original ingredient was purchased.
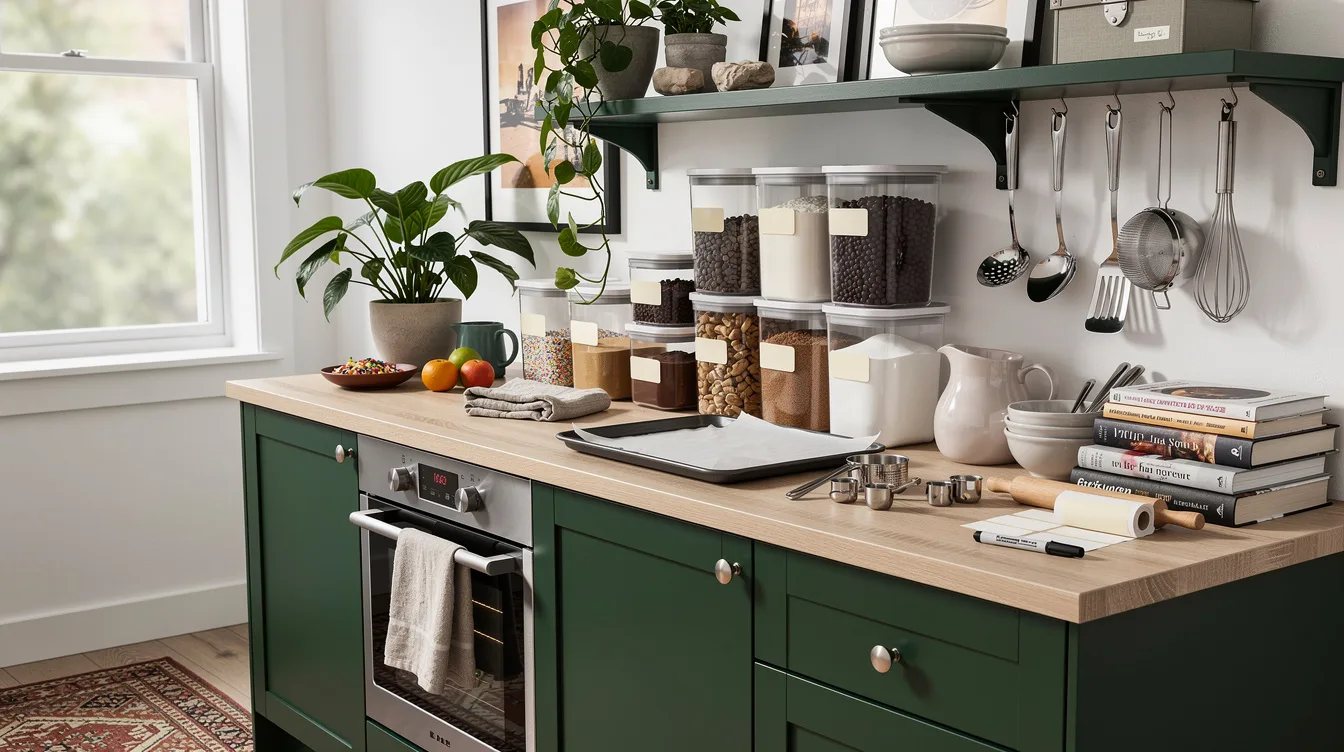
Separate Prepared Components
The rectangular IKEA 365+ food container with lid gives prepared baking components a compact home while the cabinet is in active use. The listed version combines an oven-proof glass container with a plastic lid, measures about 8 by 6 by 3 inches, holds 34 ounces, and costs $6.49 before tax and delivery.
Use it for a small batch of prepared components or a compact amount of finished treats, then stack it with the lid securely in place. Its rectangular shape uses shelf space more efficiently than a round vessel when several items need to sit together.
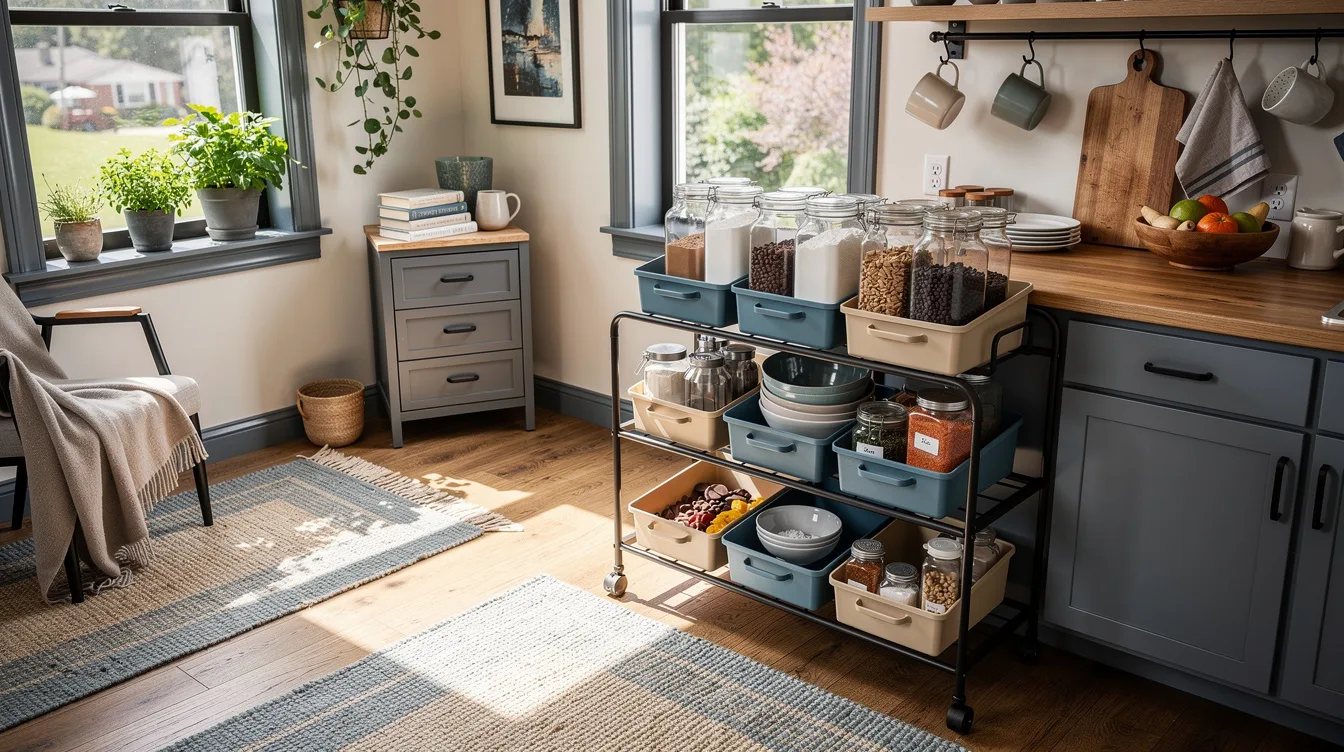
Arrange the Cabinet in Baking Order
We placed the decorating box and lightweight packet basket where they can be reached first, followed by the tray rack and ingredient containers. The order follows the work: gather tools, pull out the pan, measure the dry ingredient, then finish with decorations.
This layout makes the cabinet feel calmer without requiring a new storage zone. The best organizer is the one that shortens the path from shelf to counter every time the oven comes on.
Keep reading
- Small Kitchen Eating Your Counter? 14 Target Christmas Trays
- Small Kitchen Storage Eating Your Counters? 12 simplehuman Finds Under $200
- Kitchen Rug Eating Your Walking Route? 12 Target Placement Fixes
Start with the cabinet shelf that causes the most friction, then add only the organizer that solves that problem. A lift-out decorating box or vertical tray rack will usually make the fastest difference, while the rest can follow as the baking routine proves what is missing.