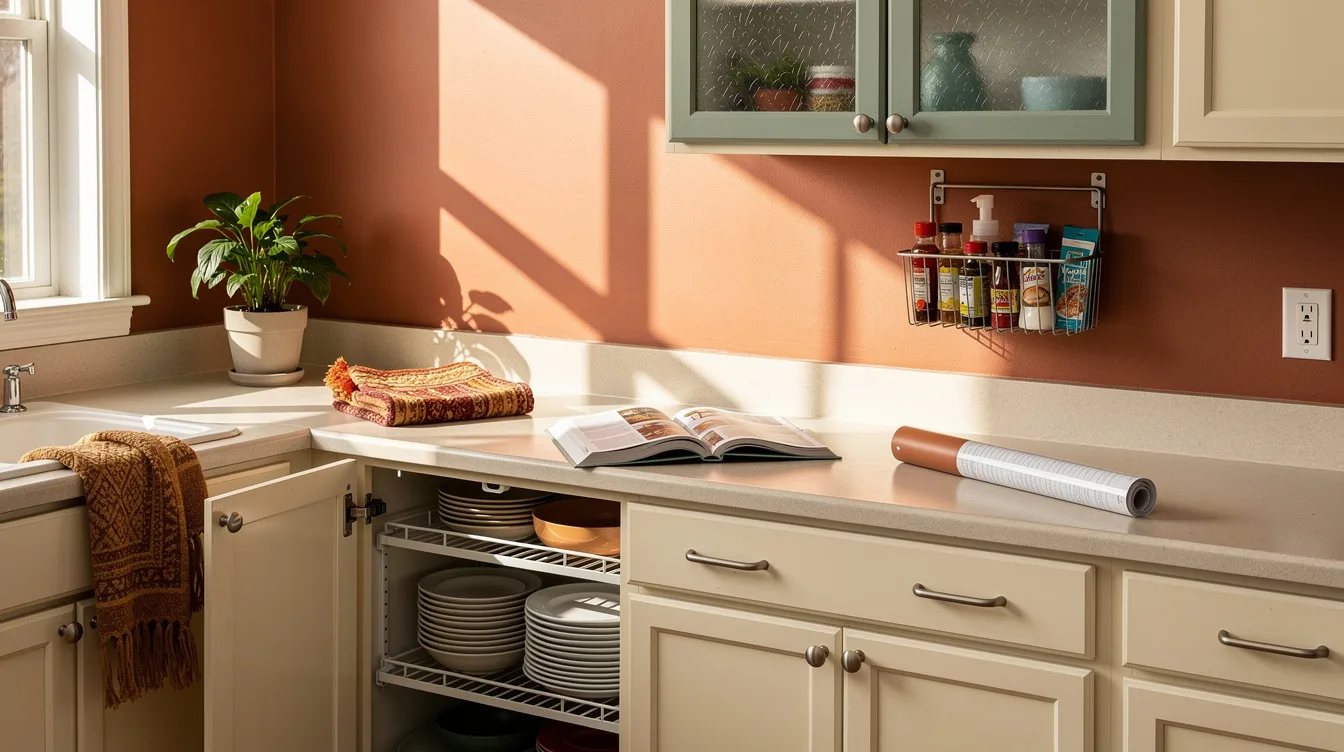
Landlord Said No Holes? 15 Rental Kitchen Fixes That Come Off Clean
04 november 2026Rental kitchens often punish the first impulse: one new handle, one strip of wrap, and suddenly the old finish has a new hole or a lifted edge. A cabinet run with ten pulls can cost about $50 to refresh with IKEA BAGGANÄS, but the expensive mistake is choosing a fix that cannot be reversed.
The safest updates work mechanically: they use existing holes, lift out when needed, or stay on smooth glass without adhesive. Here are the rental-cabinet habits worth dropping, plus the practical replacements that keep the landlord’s finish intact.
What you will find inside
- Drilling New Holes for Replacement Handles
- Measuring Handle Length Instead of Hole Spacing
- Discarding the Original Cabinet Hardware
- Buying Ten Handles Before Counting the Doors
- Gluing Shelf Liner Over a Damaged Bottom
- Using Shelf Liner on Cabinet Fronts
- Skipping a Freestanding Shelf Insert
- Ordering the Deep Insert for a Shallow Cabinet
- Using Adhesive Furniture Wrap on Glass Doors
- Treating Removable Wrap as a Trace-Free Promise
- Wrapping a Door Without Checking Its Width
- Hanging Door Storage Without Checking Thickness
- Letting Door Storage Hit Shelves or Plumbing
- Testing a Full Adhesive Wrap Before One Door
- Leaving the Move-Out Plan Until the Last Day
Drilling New Holes for Replacement Handles
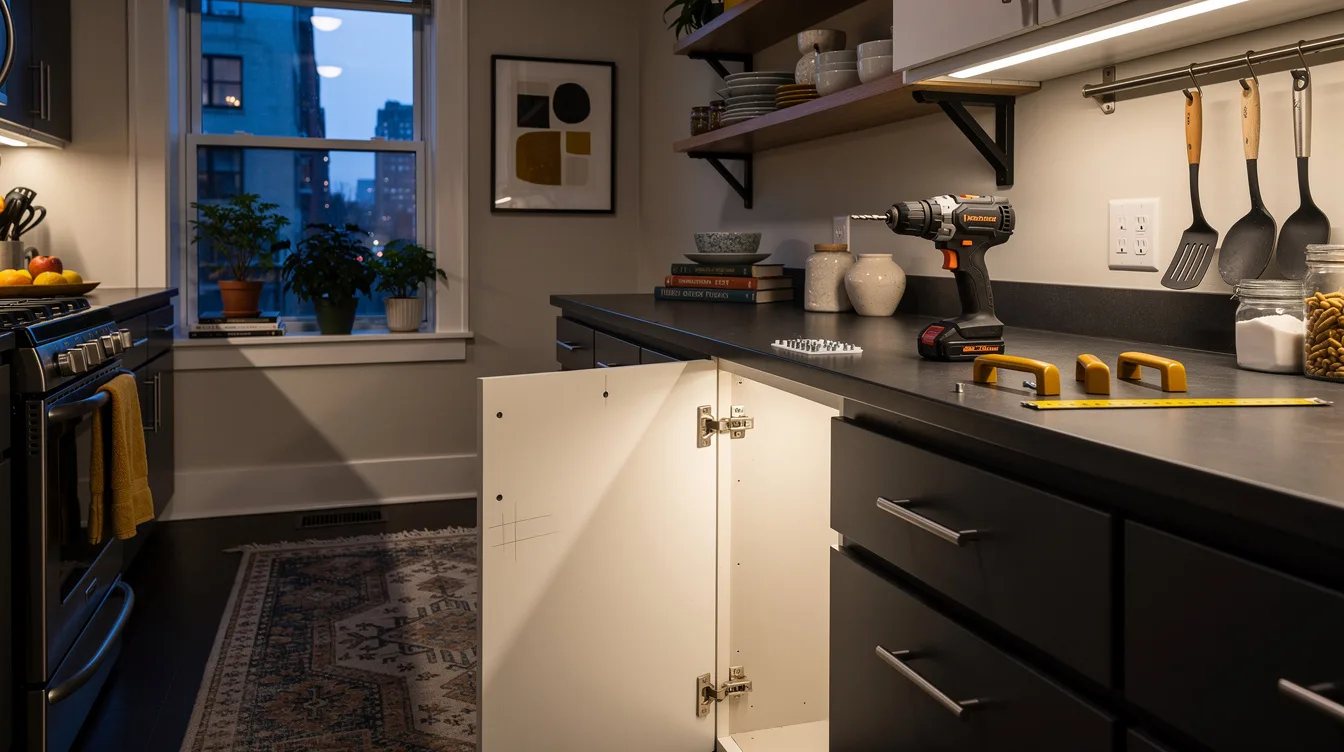
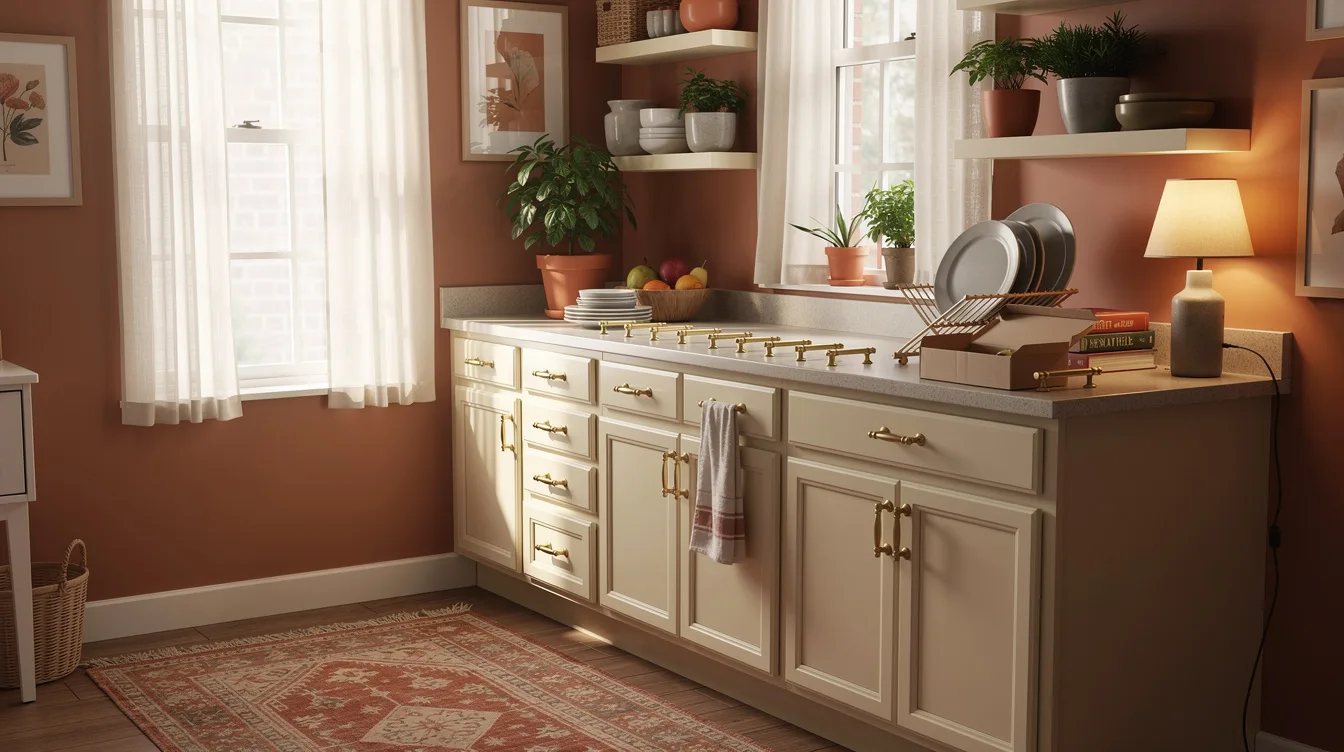
The fastest way to make a rental-cabinet update permanent is to drill before checking the existing hardware. IKEA BAGGANÄS handles can refresh a tired door when their screw spacing matches the holes already there.
Remove one handle and measure from the center of one hole to the center of the other. When the pattern lines up, the original handle can return at move-out and the cabinet face stays untouched.
Measuring Handle Length Instead of Hole Spacing
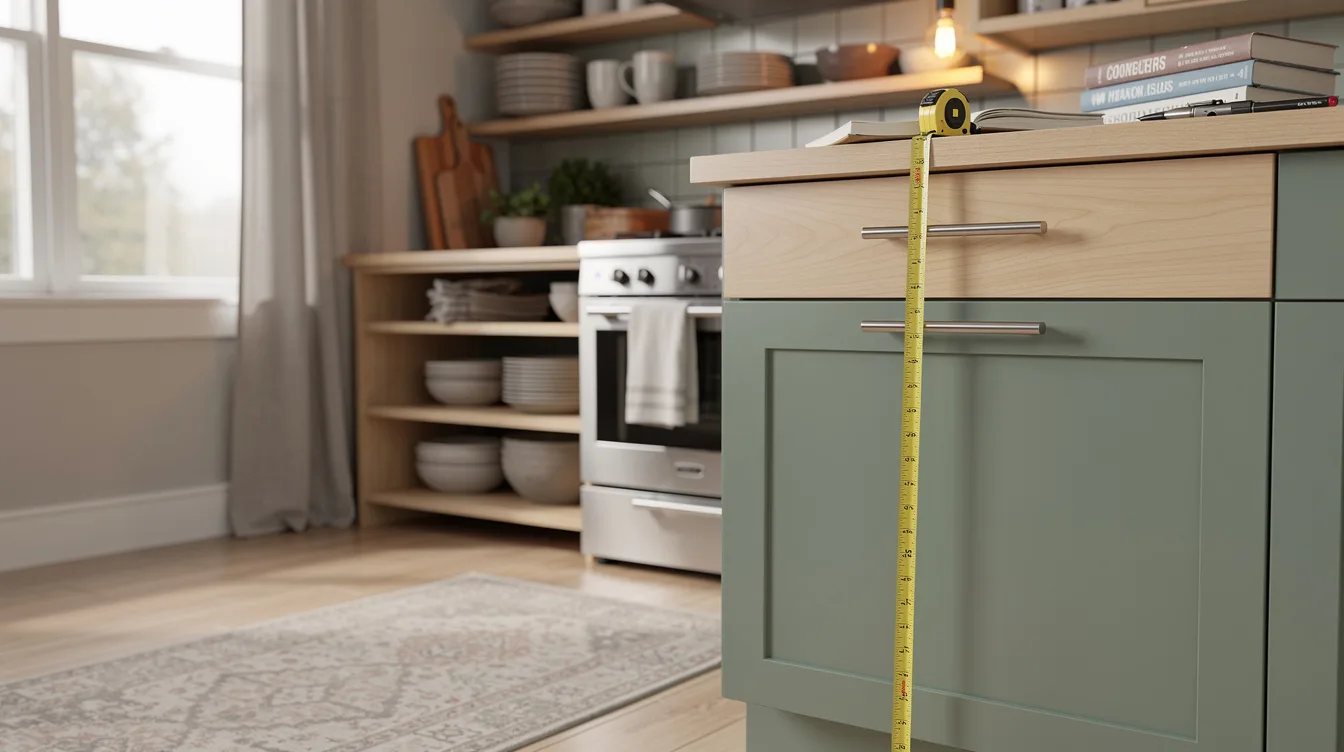
A handle’s overall length only tells you how it will look on the door. The useful measurement is the distance between screw holes, which is about 5 1/16 inches for the stainless-steel BAGGANÄS version.
That pull is about 5 5/8 inches long, but those numbers are not interchangeable. Existing screw spacing controls fit, while overall length controls the visual proportion.
Discarding the Original Cabinet Hardware
Keep every original pull, knob, screw, and washer in a labeled bag before installing anything new. Original hardware is part of the rental’s return plan, even when it looks too dated to save.
A two-pack of stainless-steel IKEA BAGGANÄS handles is about $10, while ten handles run about $50. That is a manageable refresh cost, especially when the old pieces remain ready for reinstallation.
Buying Ten Handles Before Counting the Doors
Count the doors and drawers before ordering a full hardware run, then check whether any fronts use knobs or different spacing. The black IKEA BAGGANÄS finish costs about $9 per two-pack, with ten handles totaling roughly $45.
Buy only the quantity that matches the kitchen, plus a spare if the retailer makes that practical. A partial change can look accidental, while a carefully counted set makes the improvement feel deliberate without touching the cabinet finish.
Gluing Shelf Liner Over a Damaged Bottom
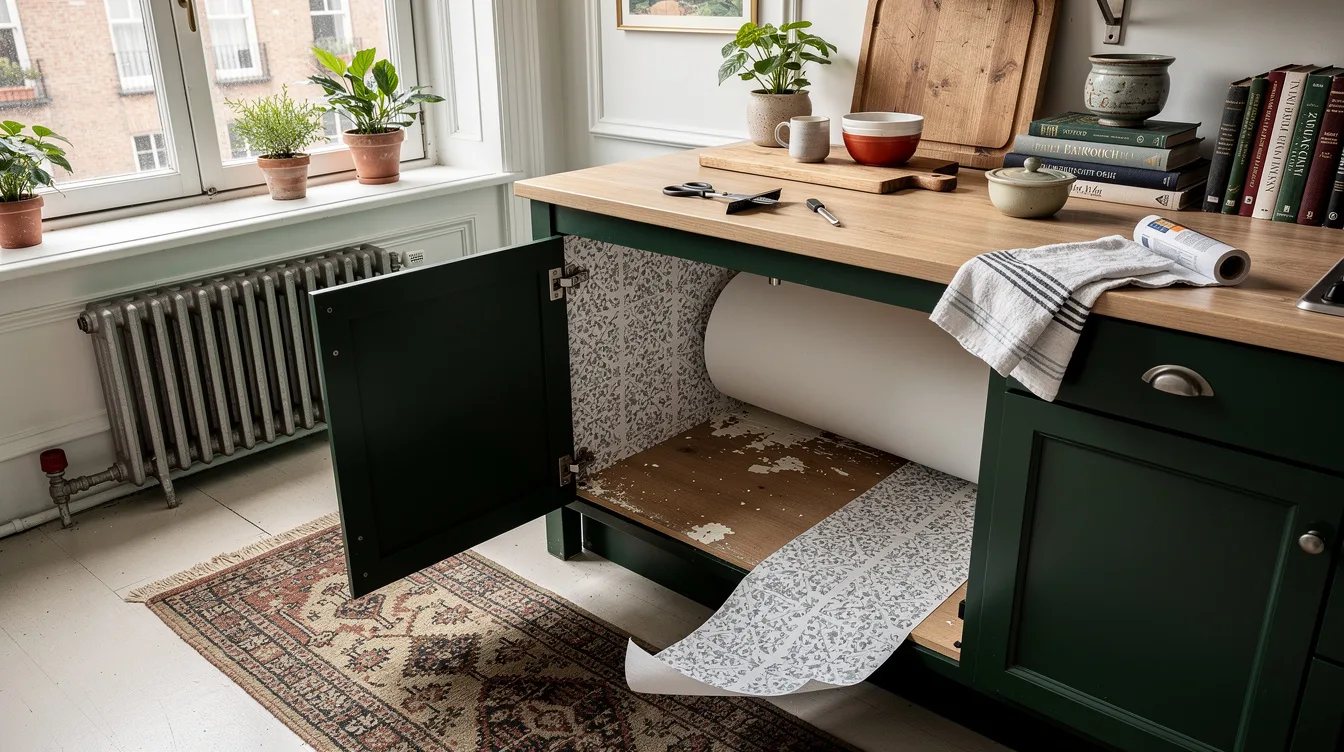
Adhesive is unnecessary for a scratched shelf or drawer bottom. IKEA VARIERA loose drawer liner costs about $4.99 per roll and measures roughly 59 inches by 19 7/8 inches, so it can be cut and lifted out later.
Clean the surface, make a paper template, and trim the liner slightly short of the cabinet walls. It protects and disguises the bottom while leaving the original laminate available for inspection.
Using Shelf Liner on Cabinet Fronts
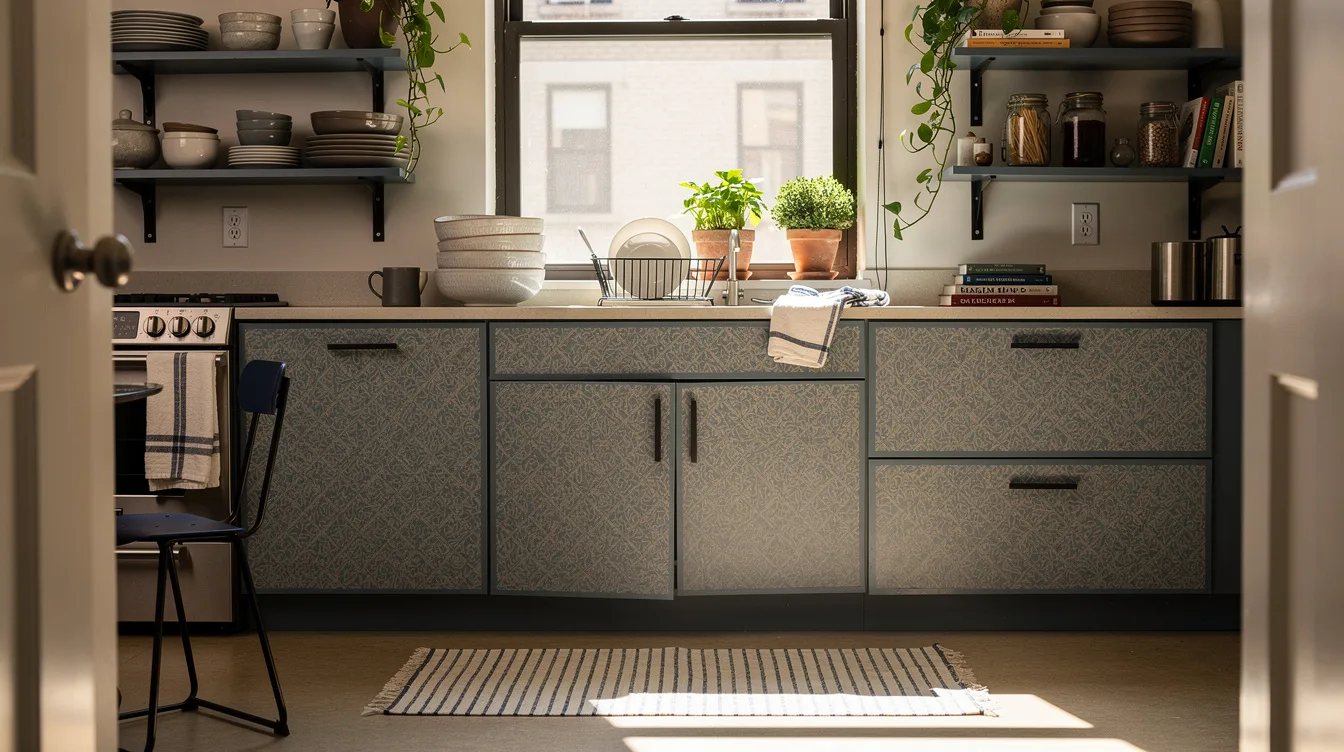
A loose liner belongs inside a cabinet, where gravity keeps it in place. Clear shelf liner can hide scuffs below dishes or cookware, but it is a poor substitute for a front treatment because it can shift, curl, and catch on daily use.
Keep the material on horizontal surfaces and use replacement handles for visible doors. That division gives each fix a clear job: protection inside, reversible hardware outside.
Skipping a Freestanding Shelf Insert
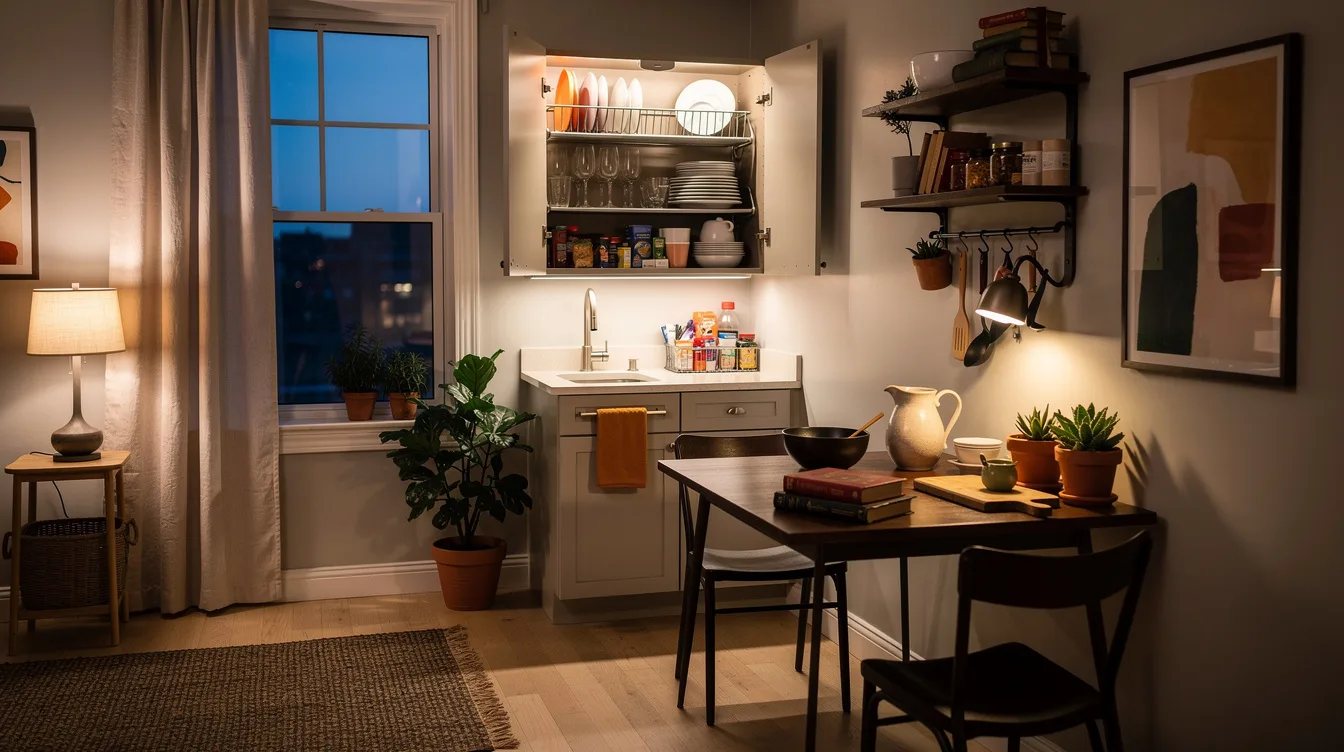
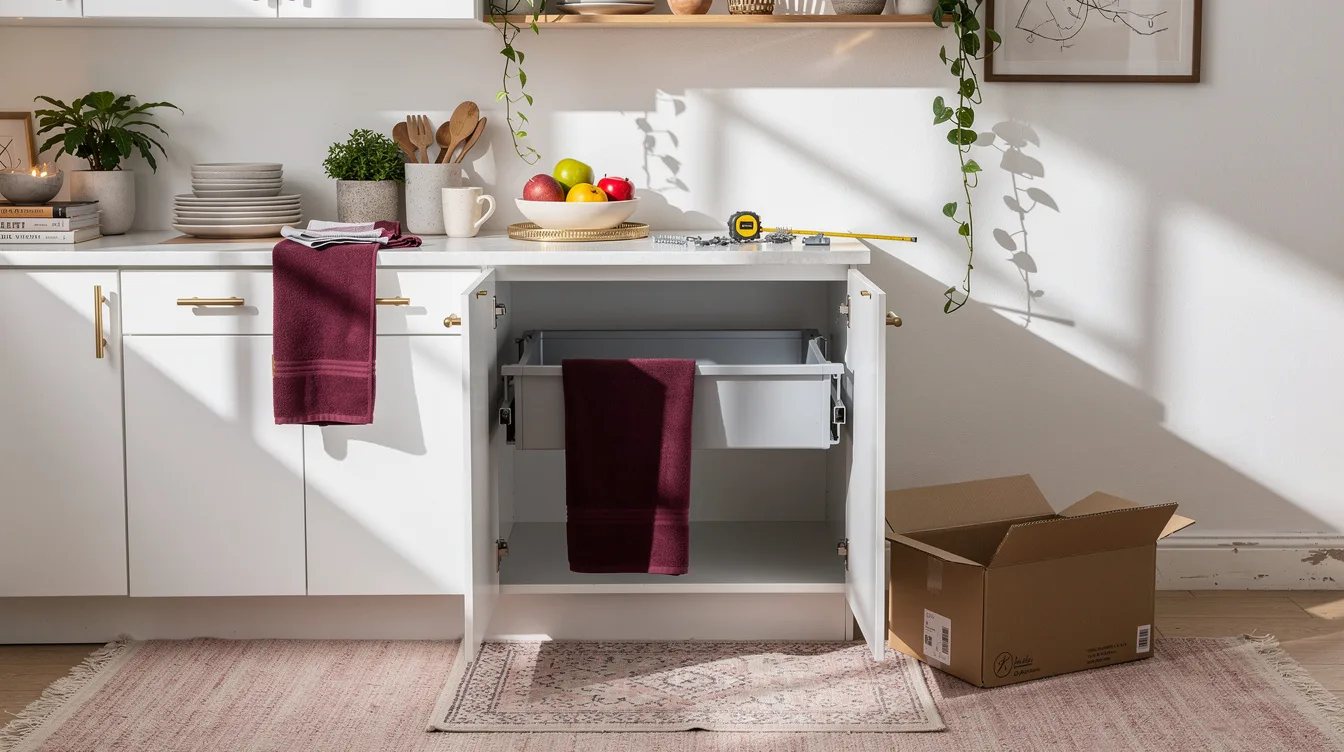
Tall rental cupboards often have one shelf and a large dead zone beneath it. A lift-out IKEA VARIERA shelf insert creates another level without screws, glue, or holes in the cabinet sides.
The deeper version costs about $22.99 and measures roughly 12 5/8 inches wide by 11 inches deep by 6 1/4 inches high. It is especially useful for plates, mugs, and short containers that disappear beneath a tall stack.
Ordering the Deep Insert for a Shallow Cabinet
Freestanding storage still needs a measurement check before it reaches the kitchen. The shallow IKEA VARIERA insert costs about $19.99, while the deeper size is about $22.99, so choosing by price alone can create a shelf that blocks the door.
Measure the cabinet’s clear width, depth, and vertical opening, then account for hinges and nearby containers. Leave enough room for your hand to remove the insert without scraping the side panels.
Using Adhesive Furniture Wrap on Glass Doors
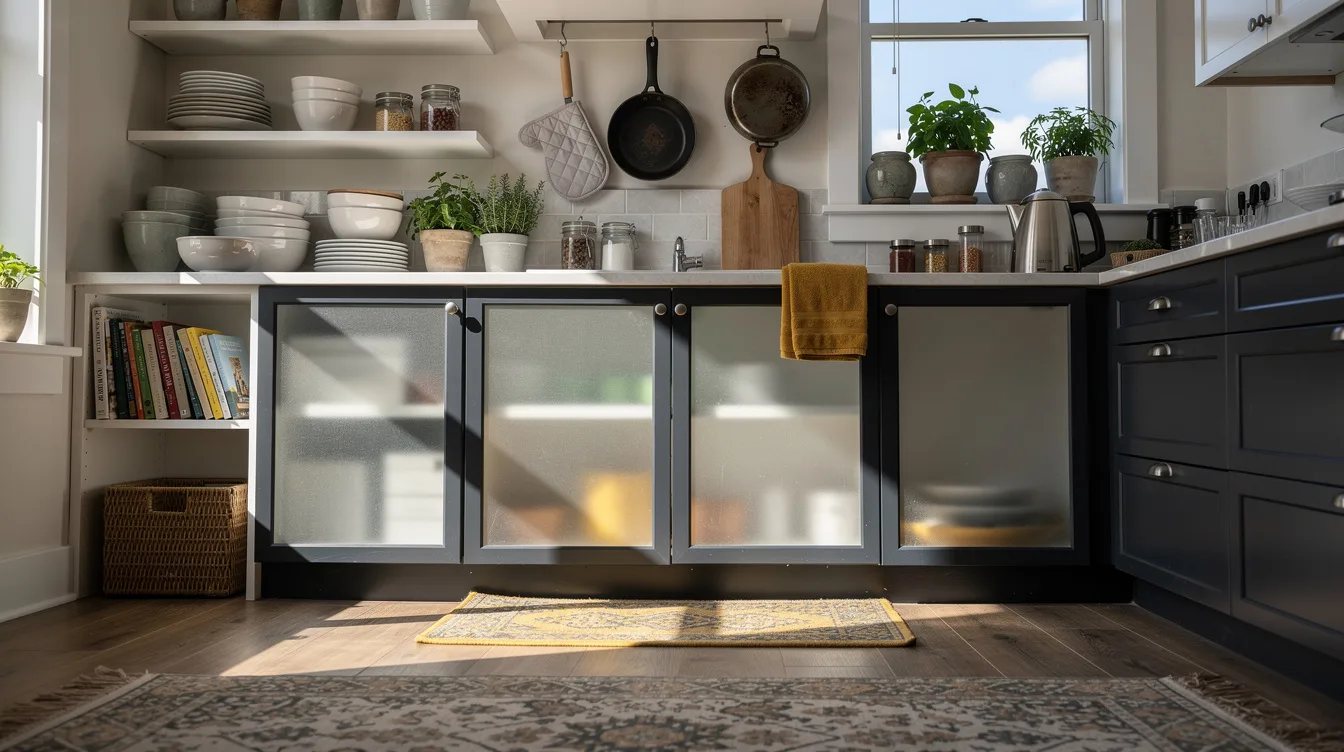
Glass doors offer a clean opportunity for privacy without covering the cabinet frame. Adhesive-free decorative film in etched or stained-glass styles works on smooth glass and can be cut to fit without glue.
Many designs around 24 by 36 inches cost about $24.98, while a larger 36 by 72 inch option runs about $34.98. Use it only on glass, because the same product is not intended for wood or textured cabinet fronts.
Treating Removable Wrap as a Trace-Free Promise
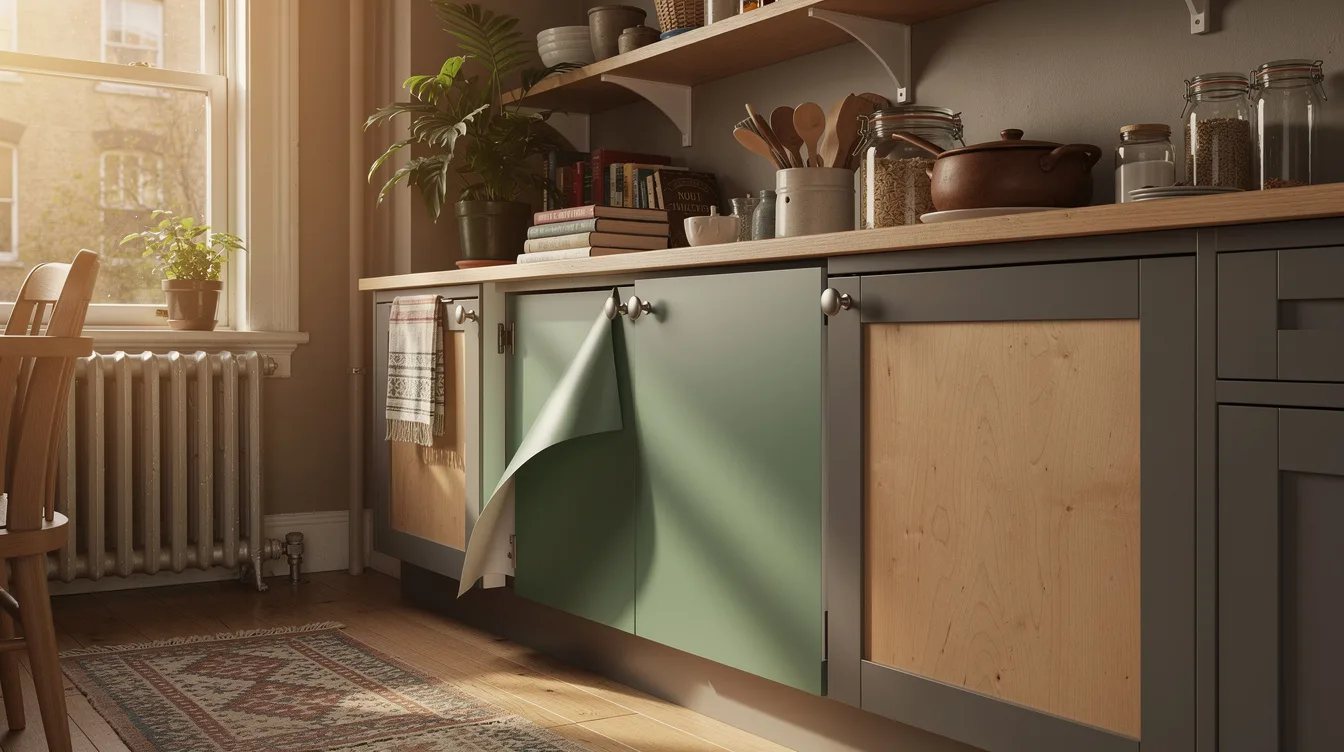
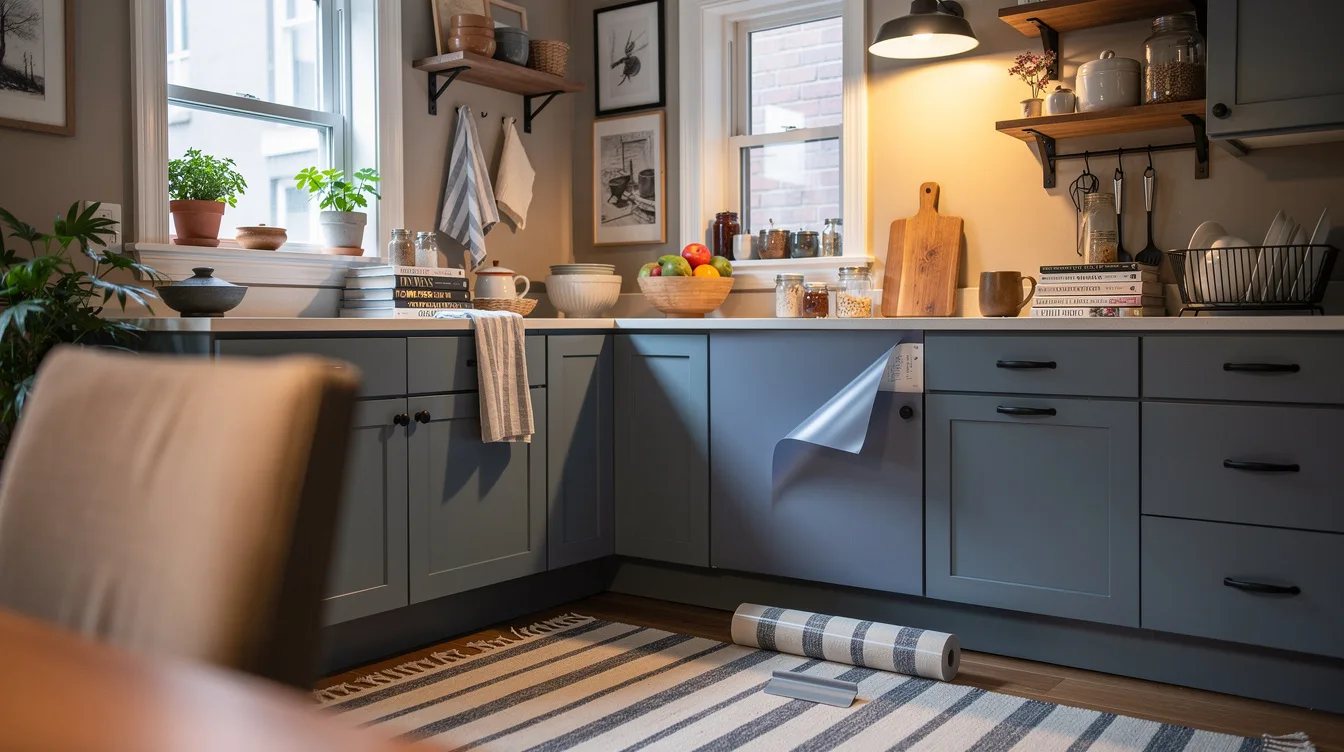
Self-adhesive film can change a cabinet’s color dramatically, but removable does not mean guaranteed harmless. Self-adhesive decorative film may leave residue or lift weak paint and thin veneer during removal.
A listed example costs about $17.57 for two rolls, with each roll roughly 17 3/4 inches by 78 3/4 inches. Consider that material a conditional option for a sound, smooth surface, never the default choice for a fragile rental finish.
Wrapping a Door Without Checking Its Width
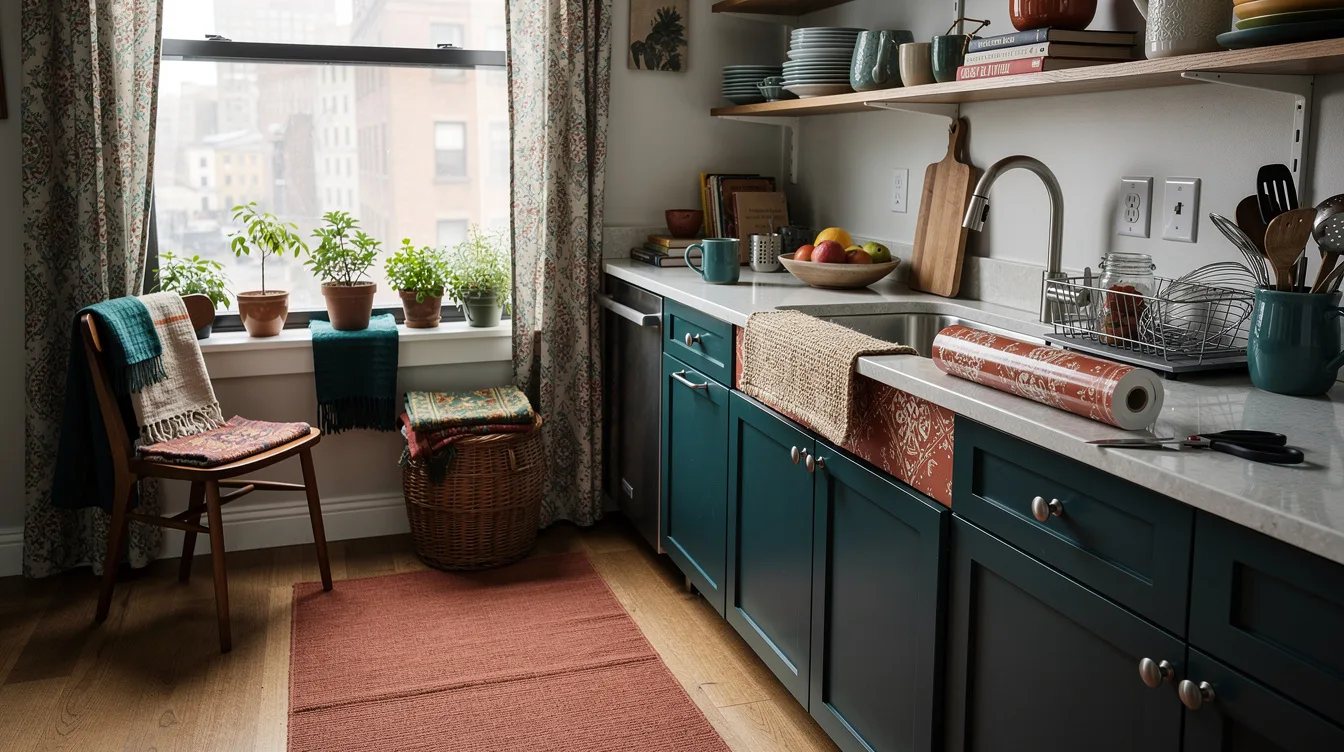
Film width determines whether the finished door has a clean face or an obvious seam. A roll about 17 3/4 inches wide will not cover a door wider than roughly 18 inches in one piece.
Measure the full front, including the area you planned to fold around an edge, before buying. Film seams are difficult to hide on a busy cabinet run, and extra material does not solve a width problem unless the pattern can align cleanly.
Hanging Door Storage Without Checking Thickness
Over-the-door storage is one of the easiest rental additions, provided the door can accept it. Target Brightroom Over the Cabinet Tiered Storage costs about $20 and fits doors up to roughly 7/8 inch thick.
Measure the cabinet door itself, not the surrounding frame, and check for a raised lip that could prevent the hanger from sitting flat. A door that closes normally in the morning may bind once the basket is loaded.
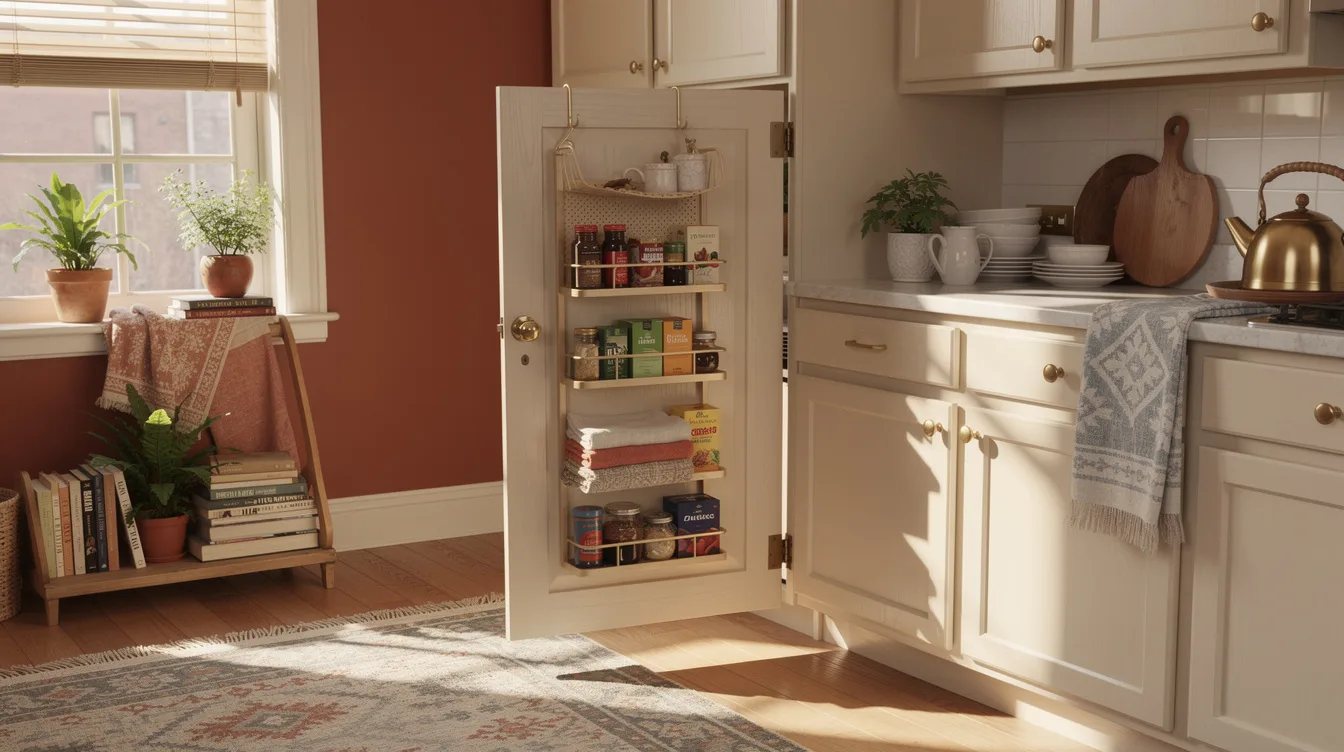
Letting Door Storage Hit Shelves or Plumbing
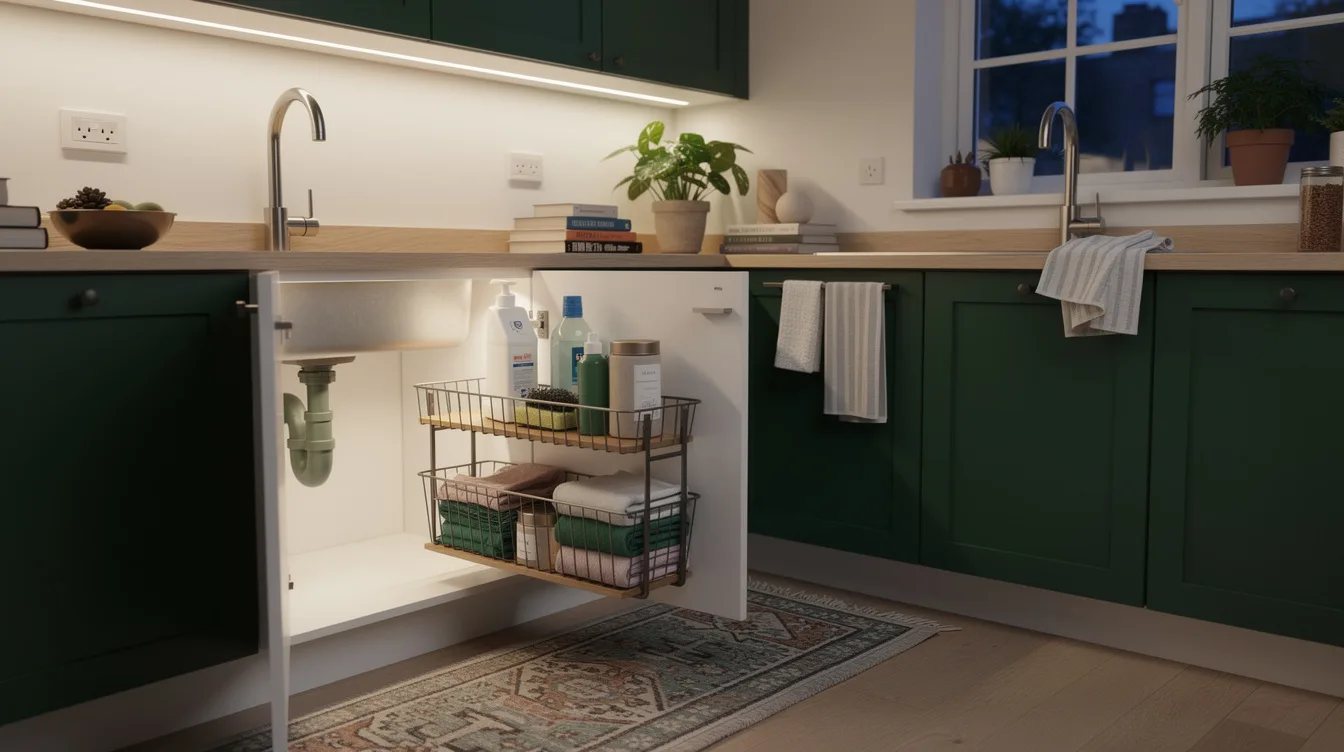
An over-door basket needs clearance on both sides of the cabinet door. The white Brightroom version is about 16 inches high, 12 inches wide, and 6 1/4 inches deep, so the baskets can collide with shelves, hinges, or plumbing beneath a sink.
Close the door slowly with the empty organizer installed, then repeat with the items you plan to store. Under-sink plumbing deserves special attention because a basket that pushes against a pipe can create noise, pressure, or a difficult move-out inspection.
Testing a Full Adhesive Wrap Before One Door
Large-scale cabinet changes should begin with one hidden or low-visibility test area. Apply a small piece of self-adhesive cabinet film, wait according to the product directions, and remove it slowly while watching for paint lift or sticky residue.
This test also reveals how the rental finish reacts to cleaning, heat, and repeated handling. When the sample leaves a mark, switch to replacement handles, lift-out storage, shelf liners, or adhesive-free glass film.
Leaving the Move-Out Plan Until the Last Day
Reversibility works best when removal is part of the installation plan. Store the original hardware, keep product packaging when possible, and label each replacement piece by cabinet location.
Before moving out, lift the VARIERA liners and inserts first, remove the Brightroom organizer, and reinstall the saved handles. For any film, peel slowly from a corner and stop immediately if the finish begins to come away.
Keep reading
- Landlord Said No Holes? 15 Christmas Card Displays Start at $6
- Landlord Said No Holes? These 12 Ace Hardware Spice Racks Work Anyway
- Landlord Said No Holes? 14 No-Drill Garland Hangers for Rentals
Start with a tape measure and the existing handle holes, then move inward to lift-out liners, shelf inserts, and door storage. Save adhesive film for smooth glass, and treat every cabinet wrap as a surface test rather than a promise.