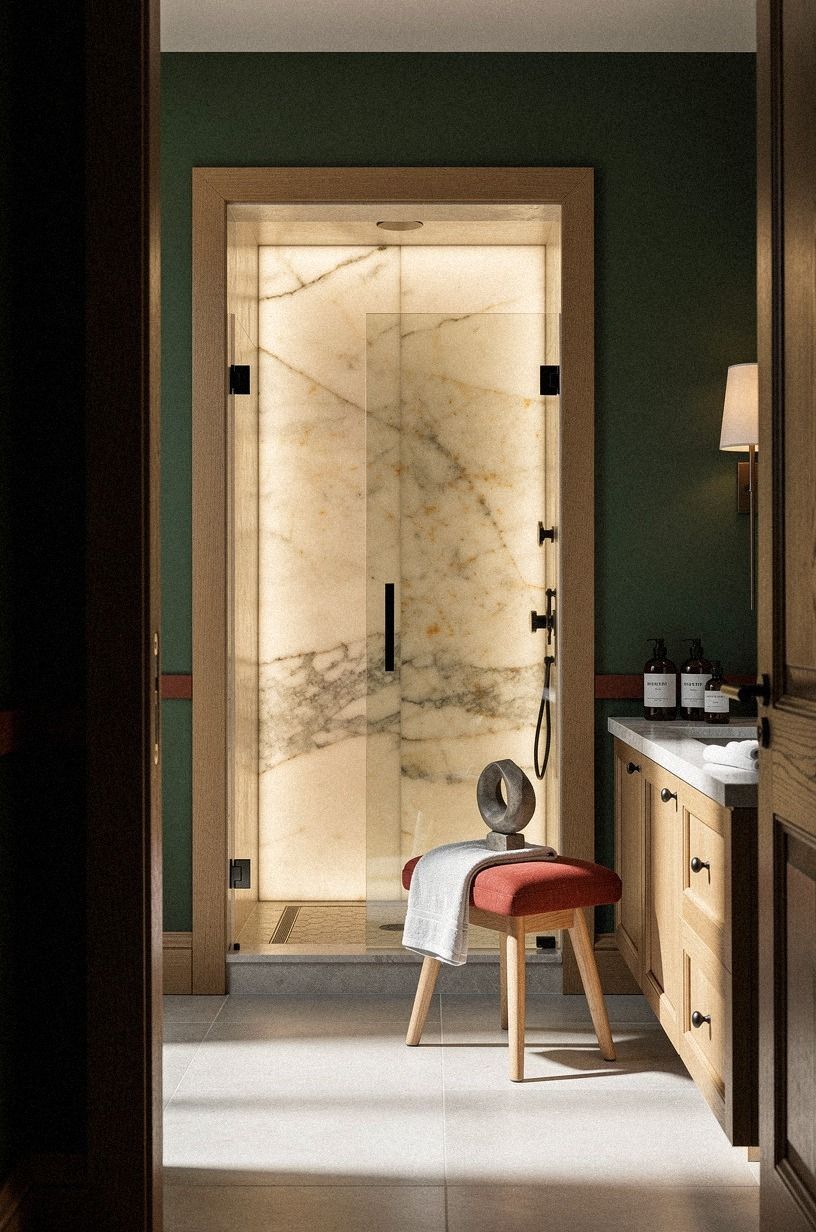
How to Create a Seamless, Earthy Open Shower With Tadelakt & Limestone
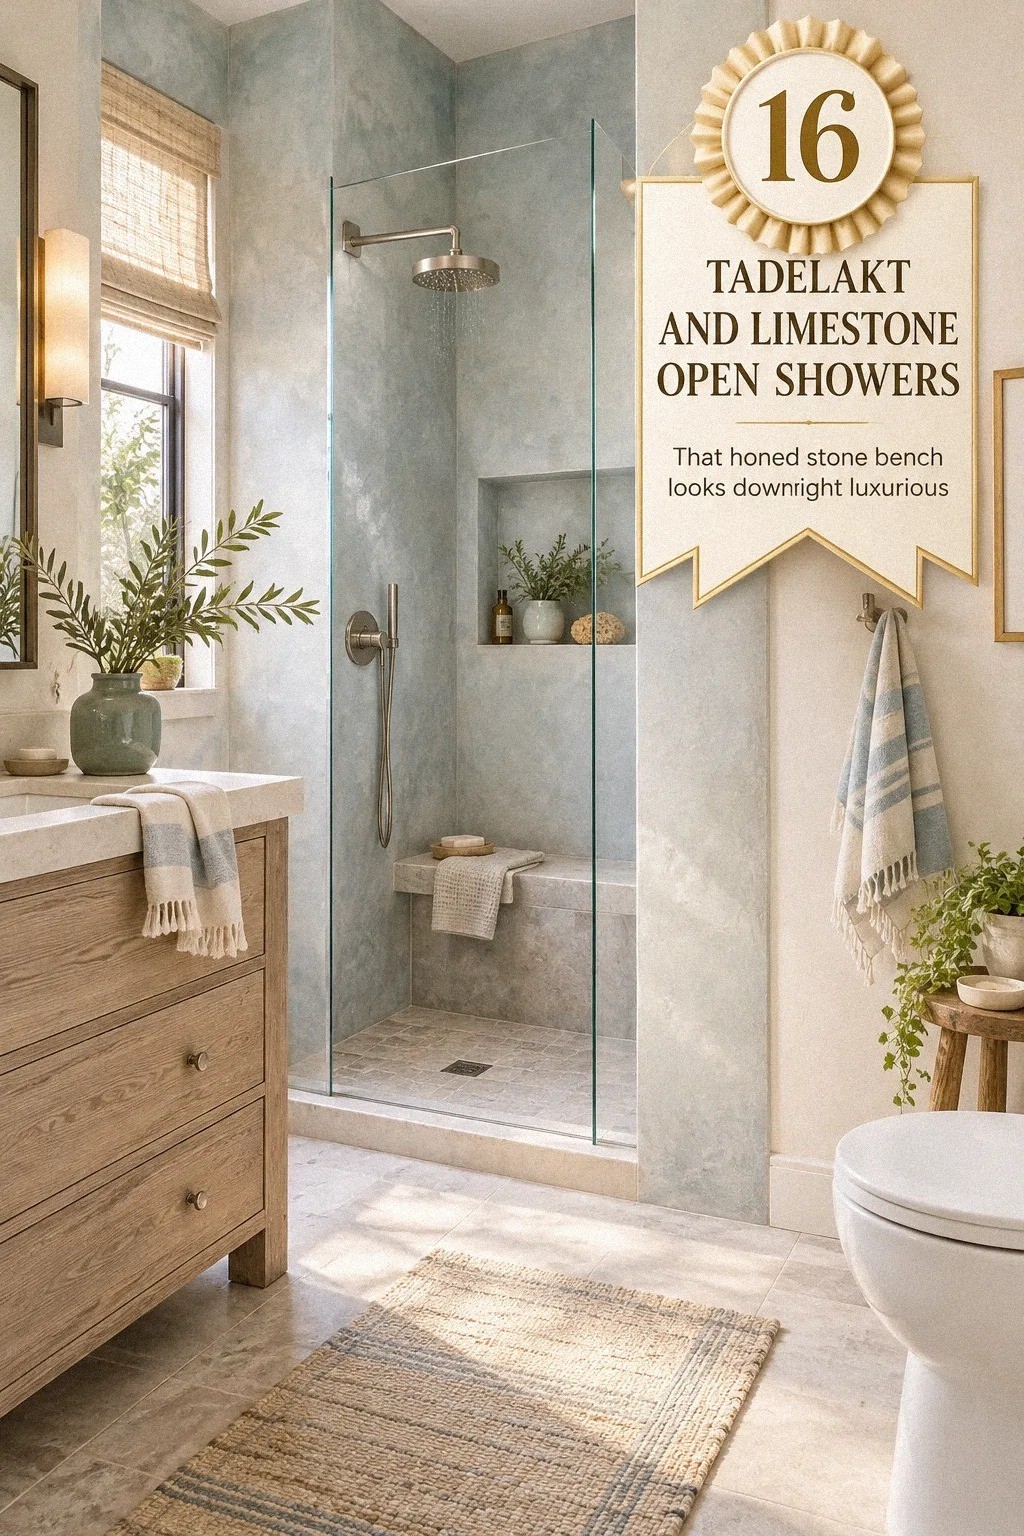
15 october 2026Tadelakt and limestone open shower ideas can create warm, earthy walls without covering every surface in busy grout. I learned that after one bathroom where the shower looked calm from the doorway but splashed water onto everything within 3 feet. The fix wasn't more decor. It was better planning. Start with the wet zone.
Editor's note: The most convincing version uses restraint. Let one surface carry texture, let another ground the room, and make every transition feel deliberate.
- Start with a 36-Inch Shower Footprint
- What Should You Test on a Tadelakt Sample?
- Anchor the Limestone Palette First
- Build the Open-Shower Fall Before Finishing
- Follow the Two-Surface Rule
- Limestone's Quiet Edge
- Frame the Room With the Three-Height Light Stack
- Layer Storage at Reachable Heights
- Pair Tadelakt and Tiles With Restraint
- Paint the Dry Zone With Hague Blue
- Balance Stone With One Wood Note
- Tadelakt or Tile: Which Transition Holds?
- Choose Fixtures That Let the Walls Lead
- Hang Soft Textiles Near the Dry Zone
- Price the Wet Zone Before You Buy
- The Minimal Grout Test
1Start with a 36-Inch Shower Footprint
Measure the shower before you choose a finish. A comfortable shower needs at least 36x36 inches, and that footprint gives you enough room to move without brushing the wall every time you turn.
If your bathroom is tighter, mark the floor with painter's tape for a week. You'll notice whether the door swing, toilet, and vanity still work.
Keep at least 21 inches of clearance in front of the toilet. I once planned a narrow backlit translucent onyx ledge that looked generous on paper, but it stole the walking path in real life. A forest-green, rust, and natural-oak palette can feel grounded, but your first sketch should still show the shower, toilet, vanity, and door together.
Before choosing materials, revisit the open-shower layout and the storage plan. Both affect how spacious the room feels. If the layout feels cramped now, a prettier wall won't solve it.
The footprint also determines where your splash zone ends. A wider opening may look generous, but water can travel farther than expected. Leave enough dry floor for the vanity, towel, and entry path.
Comfort comes from those small practical decisions.
2What Should You Test on a Tadelakt Sample?
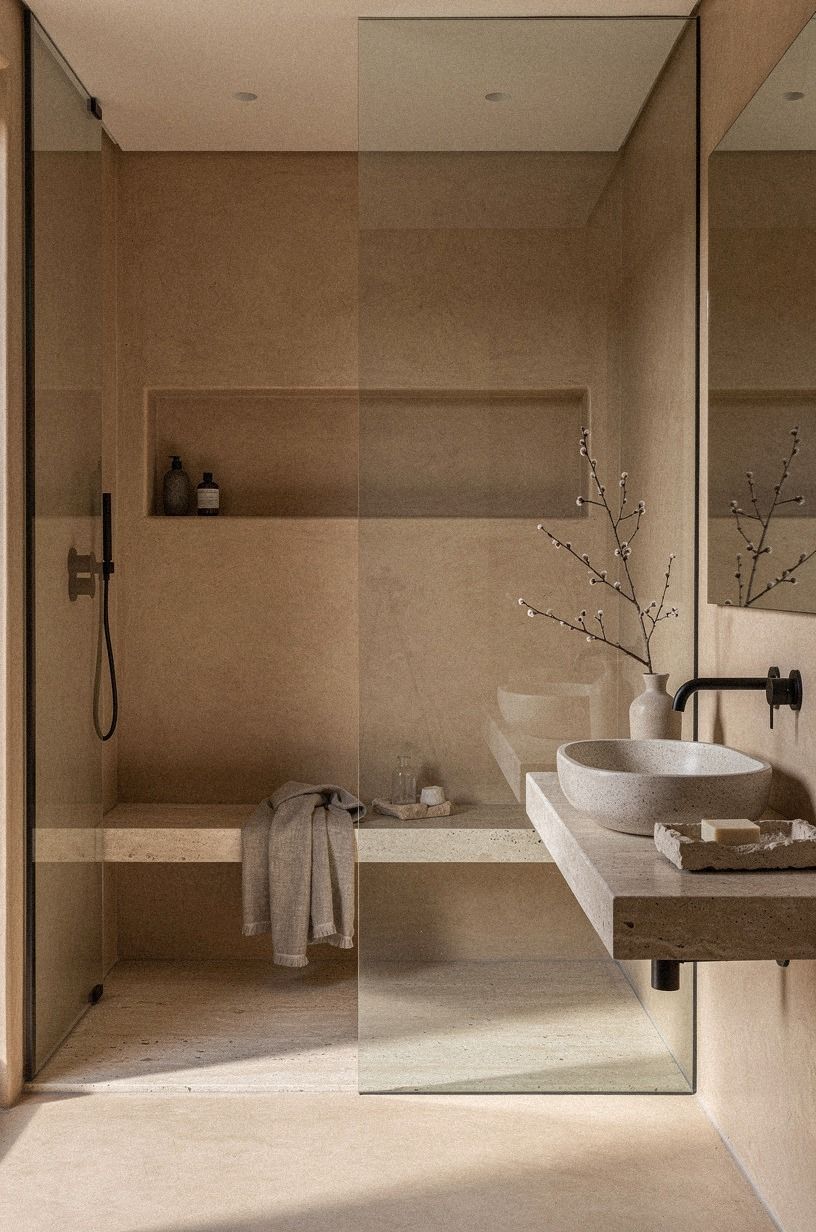
Order or make a tadelakt sample board before you commit to a clay shower wall. Test it beside your proposed stone, grout, brass, and lighting temperature. A dusty-rose and charcoal palette with brass can shift dramatically beside book-matched walnut, so check the finish under the actual light.
Wet the sample and let it dry. You'll see how the surface changes when water darkens the plaster.
Check the corners, too. A sample that looks beautiful in the center may reveal rough edges or uneven color where the finish turns.
Place the board near the shower entrance for a few days, then compare it with the limestone palette and the open-shower fall. Don't skip this step! A small test now can prevent a very expensive change later.
3Anchor the Limestone Palette First
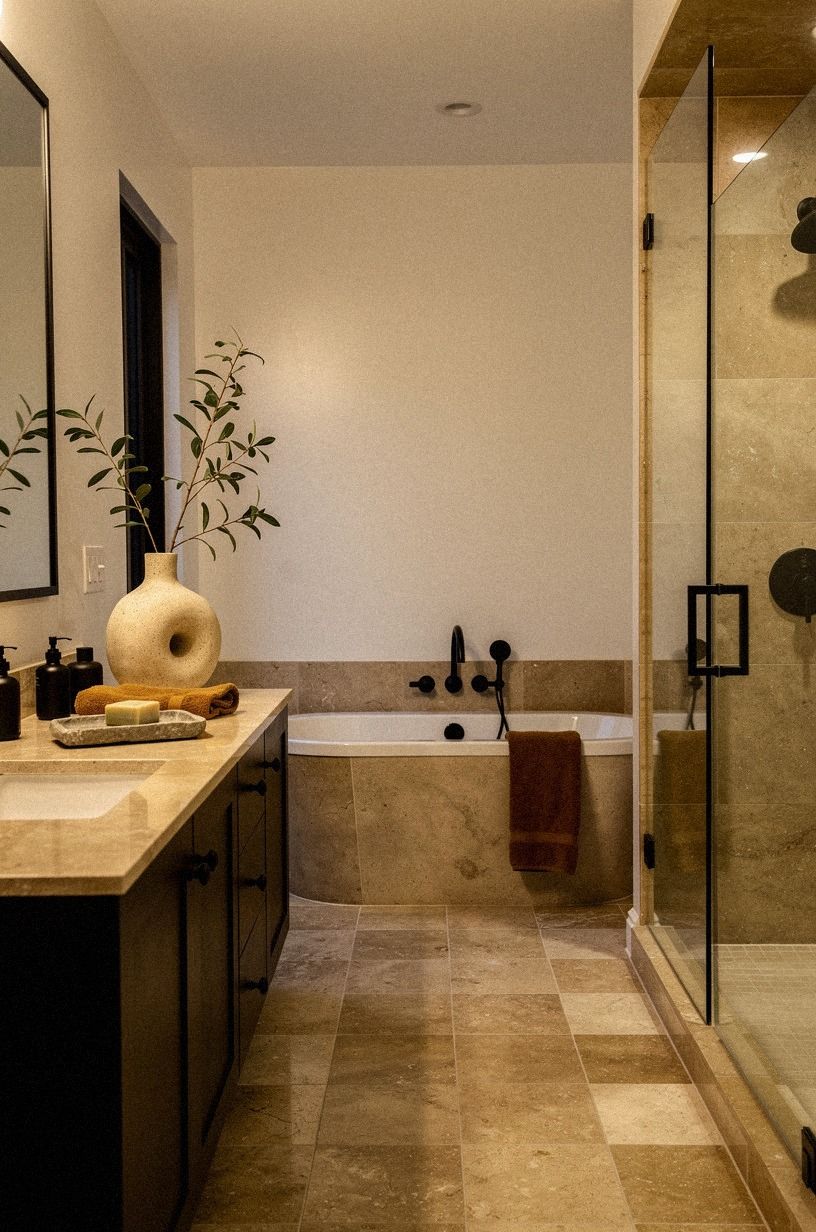
Choose the warm travertine before you pick paint. A warm-white surface with quiet pores wants a different wall color than a cooler stone with gray movement. Hold samples beside honed travertine, not polished stone, because the low sheen tells you more about how the room will feel after steam and water soften the light.
For a warm bathroom, Benjamin Moore Chestertown Buff HC-9 can echo camel and mineral tones. If you want stronger definition, black accents will give the dry zone a quieter outline.
You don't need five competing neutrals. One stone, one plaster tone, and one metal finish will keep your eye relaxed.
Use the dry-zone paint idea only after checking the stone in your room. A color that looks elegant online may become muddy beside a warm slab. The dry-zone paint should support the travertine, not compete with it.
Pay attention to movement. Soft pores and gentle tonal variation can make travertine feel ancient and soulful.
Heavy veining can become the room's loudest feature. Choose the surface that makes you want to stay awhile, not the one that looks most dramatic in a catalog.
4Build the Open-Shower Fall Before Finishing
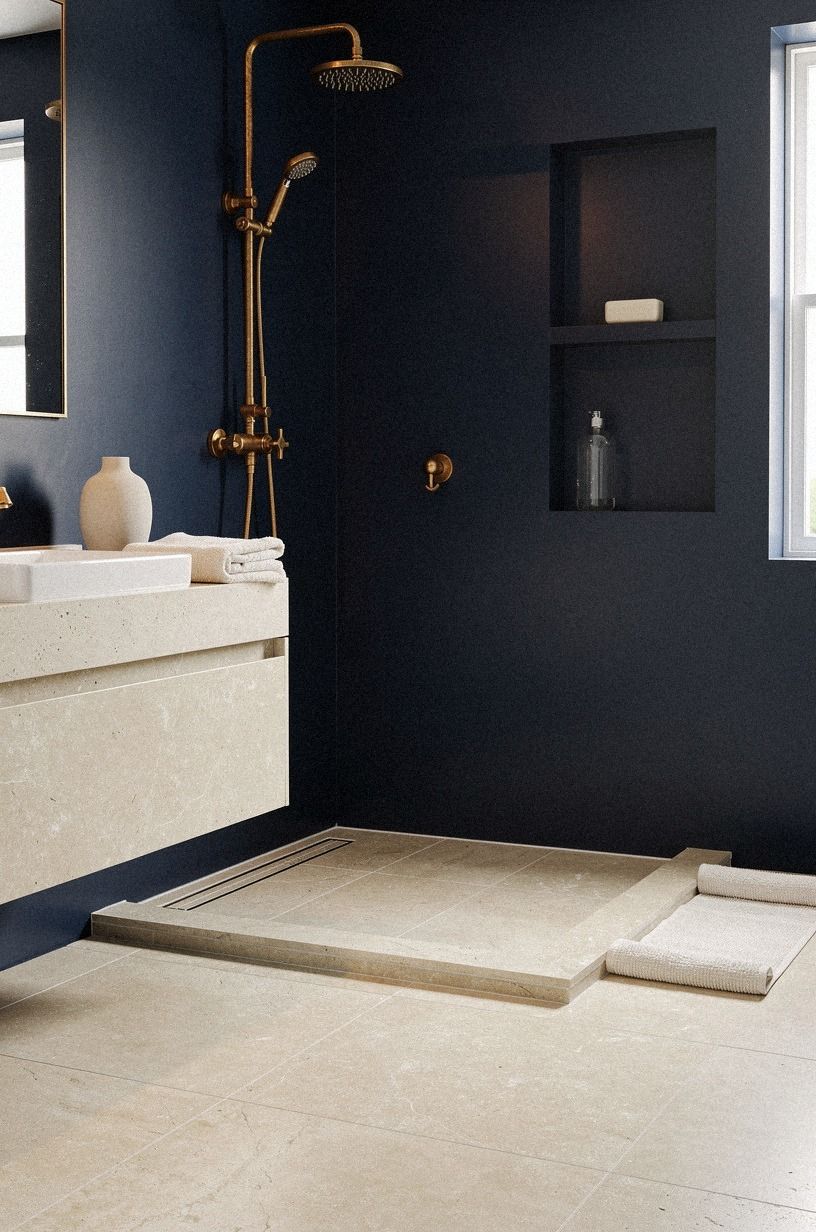
An open shower needs a floor that guides water toward the drain. A midnight-blue, copper, and ivory palette can soften the practical planning, while unlacquered brass adds warmth as it develops a natural patina.
5Follow the Two-Surface Rule
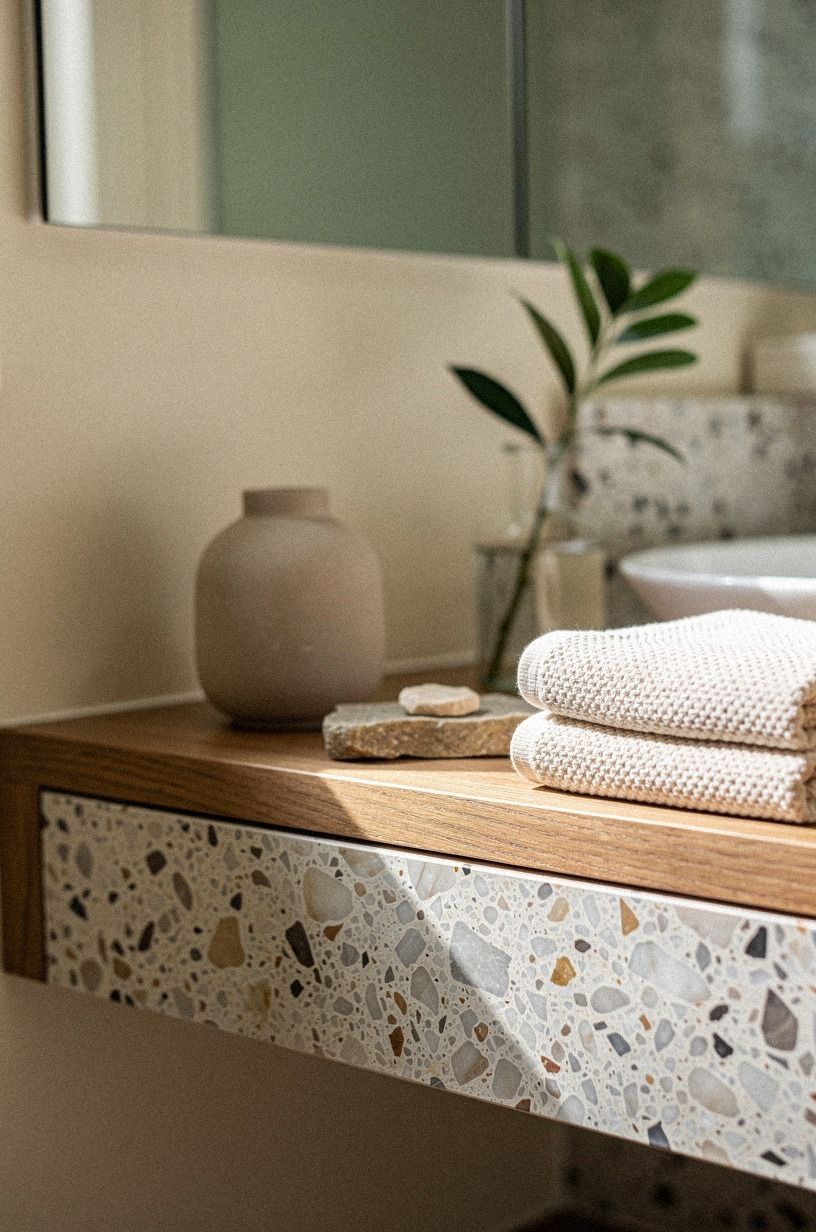
Limit the main bathroom to two dominant surfaces: one for the shower walls and one for the floor or vanity zone. This is the Two-Surface Rule, and it keeps earthy materials from becoming visual noise. Your tadelakt can carry the walls while oversized-chip terrazzo handles the floor, or the terrazzo can frame the shower while a quieter surface supports it.
A sage-green, warm-cream, and natural-wood palette keeps the terrazzo from feeling busy. Don't combine veined limestone, patterned zellige, wood-look tile, and textured plaster in the same small room.
I tried something close to that once, and the bathroom looked busy before a towel even entered the picture. Choose one surface with movement.
Let the other one stay calm.
This rule doesn't mean the room must feel plain. Contrast can come through finish, scale, and light.
A matte plaster wall beside oversized-chip terrazzo already creates depth. The result feels warm and sophisticated because your eye has somewhere to rest.
If you need a third material, use it in a small, purposeful place such as the niche detail. Keep it contained. A narrow zellige accent can feel luxurious; a collection of accents usually feels undecided.
6Limestone's Quiet Edge
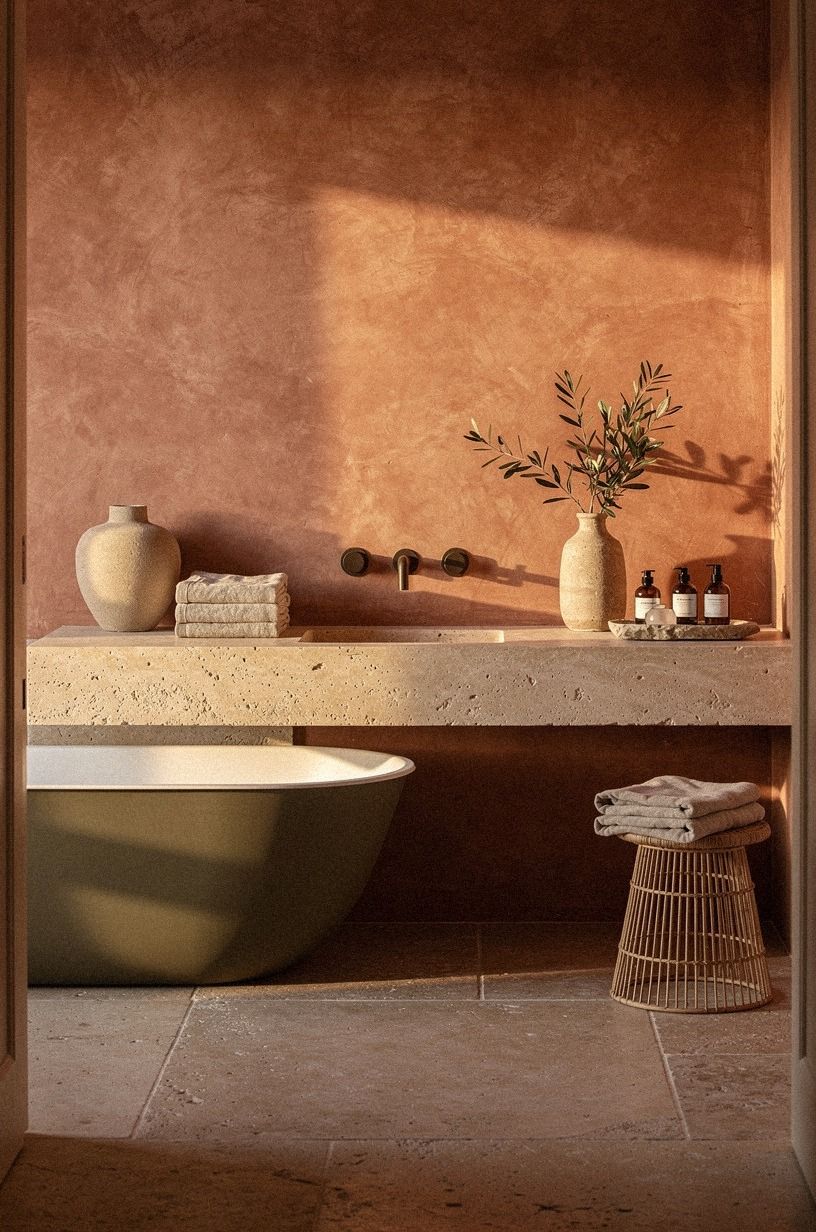
Use limestone to define the edge of the open shower instead of outlining every wall. A narrow vertical return can visually separate the wet zone from the dry zone without adding a bulky partition. Your installer can align that return with the vanity edge or the center of the drain for a deliberate rhythm.
Ask for a sample of the exposed edge before fabrication, especially beside hand-applied Venetian plaster. Limestone can look soft across a broad face but harsh when the cut edge is left rough. A honed finish with natural pitting will feel more grounded than a glossy edge.
The thickness matters, too. A slim return can disappear into the composition, while a heavy edge may make the shower feel architectural.
Neither choice is universally right. It depends on the room's proportions and the scale of the stone.
But don't overbuild the border. One clear stone edge is enough, especially when your bathroom has limited wall space. Let the Two-Surface Rule guide the rest of the room.
7Frame the Room With the Three-Height Light Stack
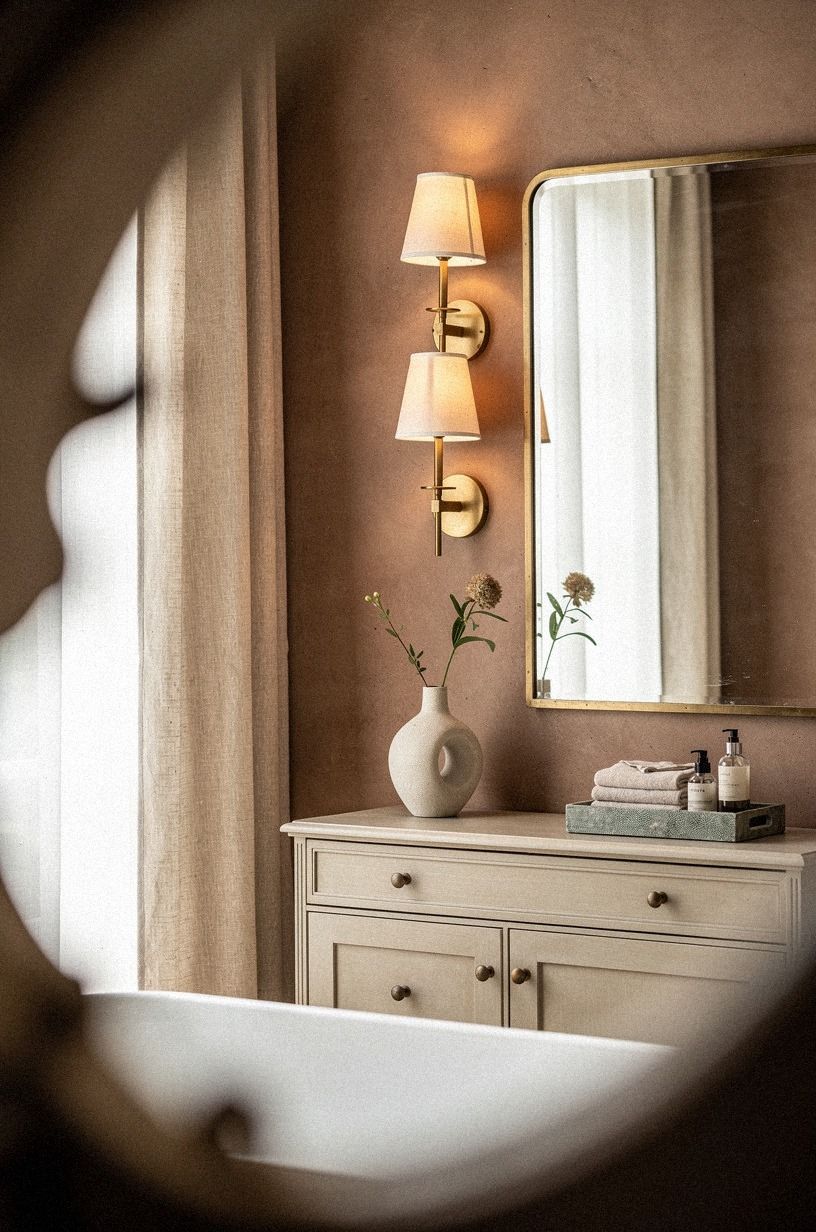
Layer light at three heights: ceiling, face level, and low ambient level. This Three-Height Light Stack keeps the shower from feeling flat after sunset. Your ceiling fixture handles general light, sconces help at the mirror, and a low glow near the floor makes the stone surface readable without blasting the room.
Use warm bulbs and dimmers where your electrical plan allows. Aged brass sconces will bounce a mellow glow across clay-colored walls and linen textures, while a small shagreen accent can add tactility near the vanity. I'd skip a single bright ceiling fixture because it makes every joint and water mark shout.
The mirror light should be flattering enough for daily use, not merely decorative. Place sconces near face height rather than hiding them above the mirror. A gentle side light reveals texture while keeping the room welcoming.
Low lighting can make the evening atmosphere feel intimate and cinematic. It also helps a pale stone retain its warmth after dark.
Coordinate the fixture finish with the hardware plan, then stop adding metal. Good lighting changes everything!
8Layer Storage at Reachable Heights
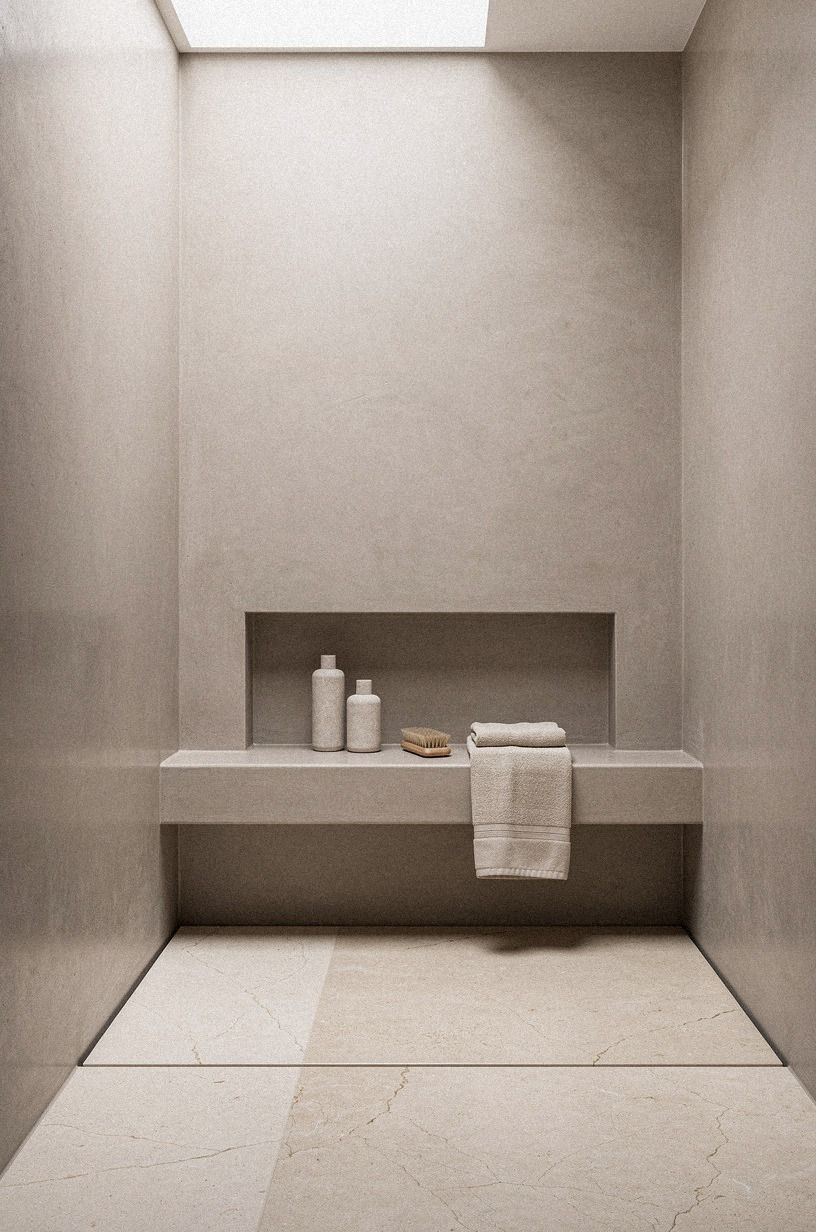
Plan storage before the walls are sealed. A recessed niche should hold shampoo, soap, and a small washcloth without forcing you to bend or reach across the water stream. Your daily items deserve a dry landing spot, too, especially in an open shower where bottles left on the floor collect spray.
Use one long niche instead of several tiny boxes when the wall structure permits. A plum, grey, and rose-gold palette can make the storage feel intentional, while washed Belgian linen works well for a dry-zone curtain or cabinet insert. Keep the vanity height between 32 and 36 inches so the room remains comfortable for most users.
Think through what you actually use. A niche that looks spacious in a drawing can become crowded with tall bottles, razors, and backup products.
Measure your essentials before setting the shelves. A small stone shelf at the right height may be more useful than a deep cavity.
Soft towels, a quiet basket, and nothing more can be enough. The best storage disappears into the architecture and leaves the plaster visible. If you need more capacity, use the wood note in the dry zone rather than adding another material inside the shower.
9Pair Tadelakt and Tiles With Restraint
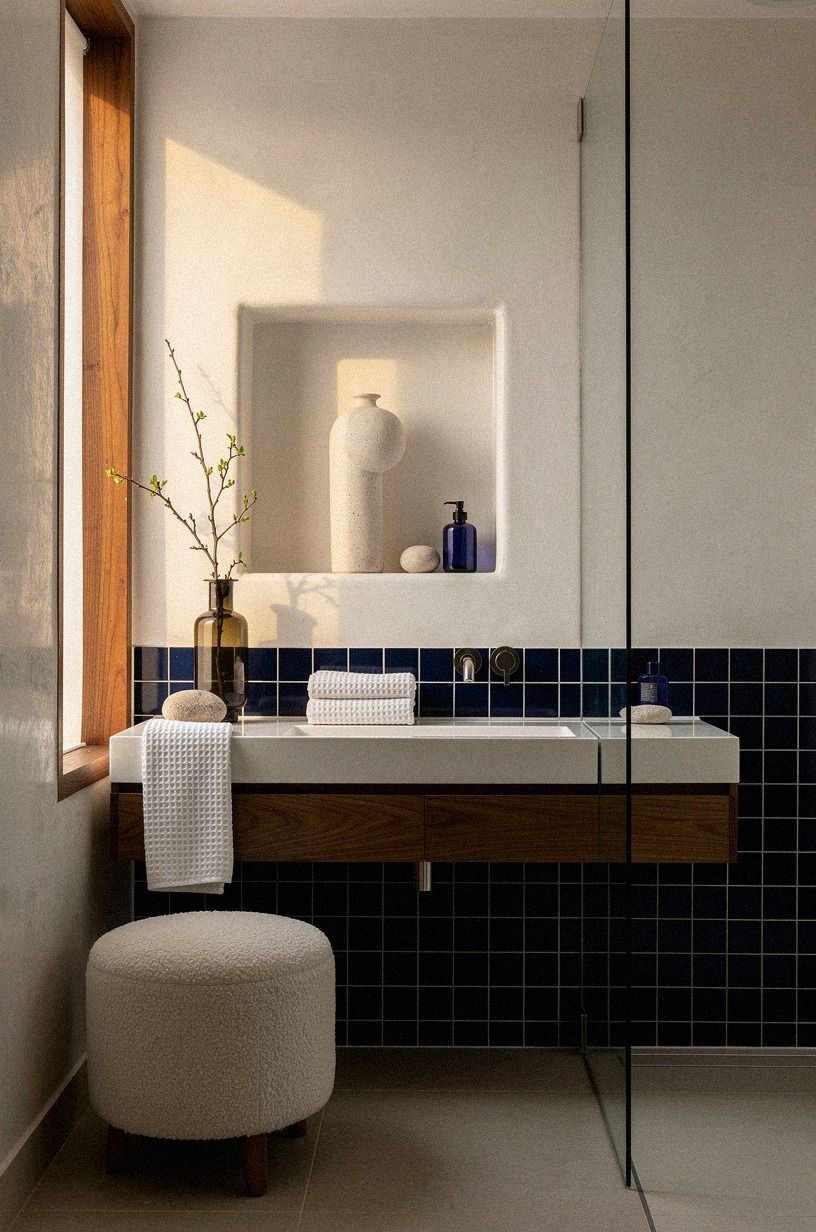
Tadelakt and tiles bathroom designs work best when tile has a clear job. Use tile on the floor, inside a niche, or around a plumbing wall, then let the plaster carry the larger visual field. Your room will feel more peaceful when the grout lines stop before they compete with the hand-finished wall.
If you want a small accent, choose hand-glazed zellige in one restrained color. Navy, white, and walnut give the palette definition, while an organic bouclé stool can soften the harder surfaces. Its uneven surface catches a tiny flicker of light, which is lovely beside matte plaster.
I wouldn't use zellige across every surface here.
Subway tile costs less, but it can make the room feel familiar rather than earthy unless the scale and grout color are carefully controlled. A narrow subway tile can sharpen the composition.
A larger tile can reduce visual interruptions. The right choice depends on how much stone and plaster already occupy the room.
Keep matching grout close to the tile color when you want the accent to recede. Use contrast only when you want the pattern to become a deliberate feature. For a quiet bathroom, the stone palette should remain the main event.
10Paint the Dry Zone With Hague Blue
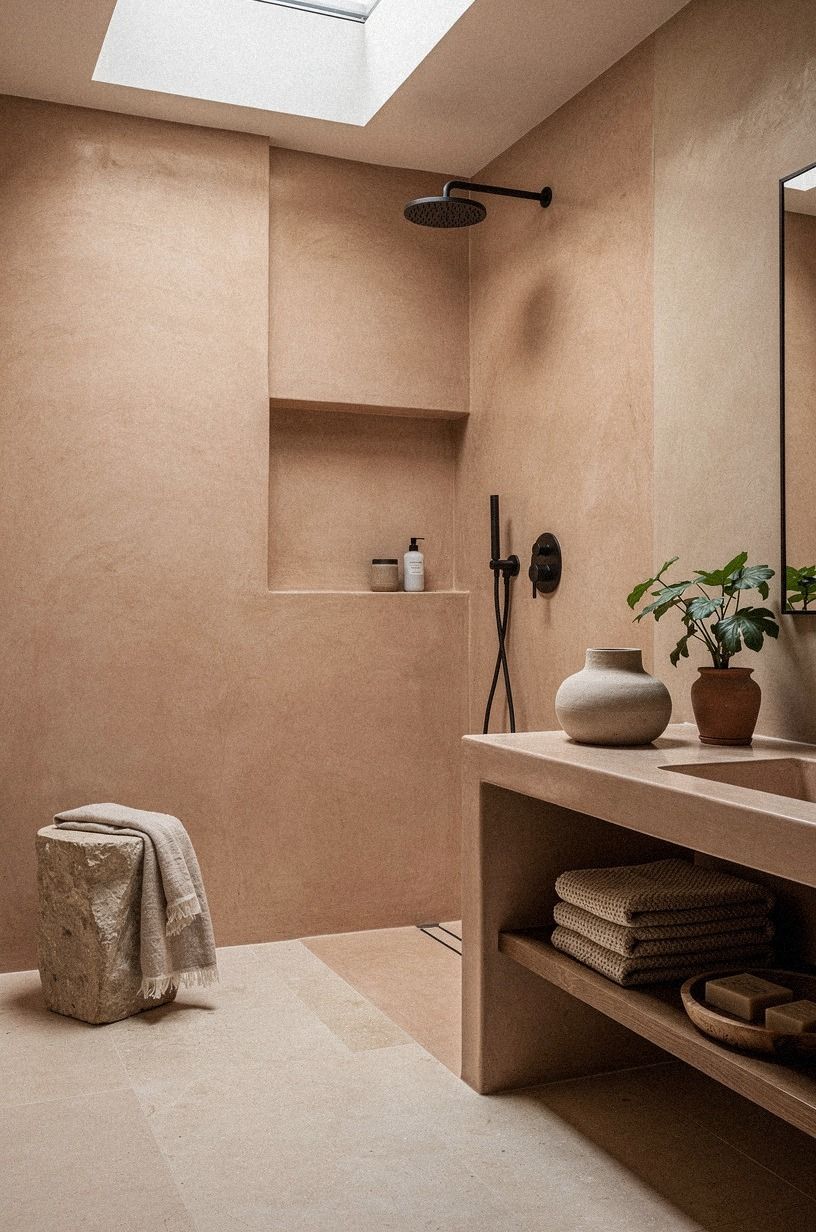
Bring color into the dry zone, not necessarily the shower. If Hague Blue feels too cool, an emerald, gold, and cream palette can create the same depth with more warmth. Pair the paint with Nero Marquina black marble and its fine white veining for a stronger vanity or ledge detail.
11Balance Stone With One Wood Note
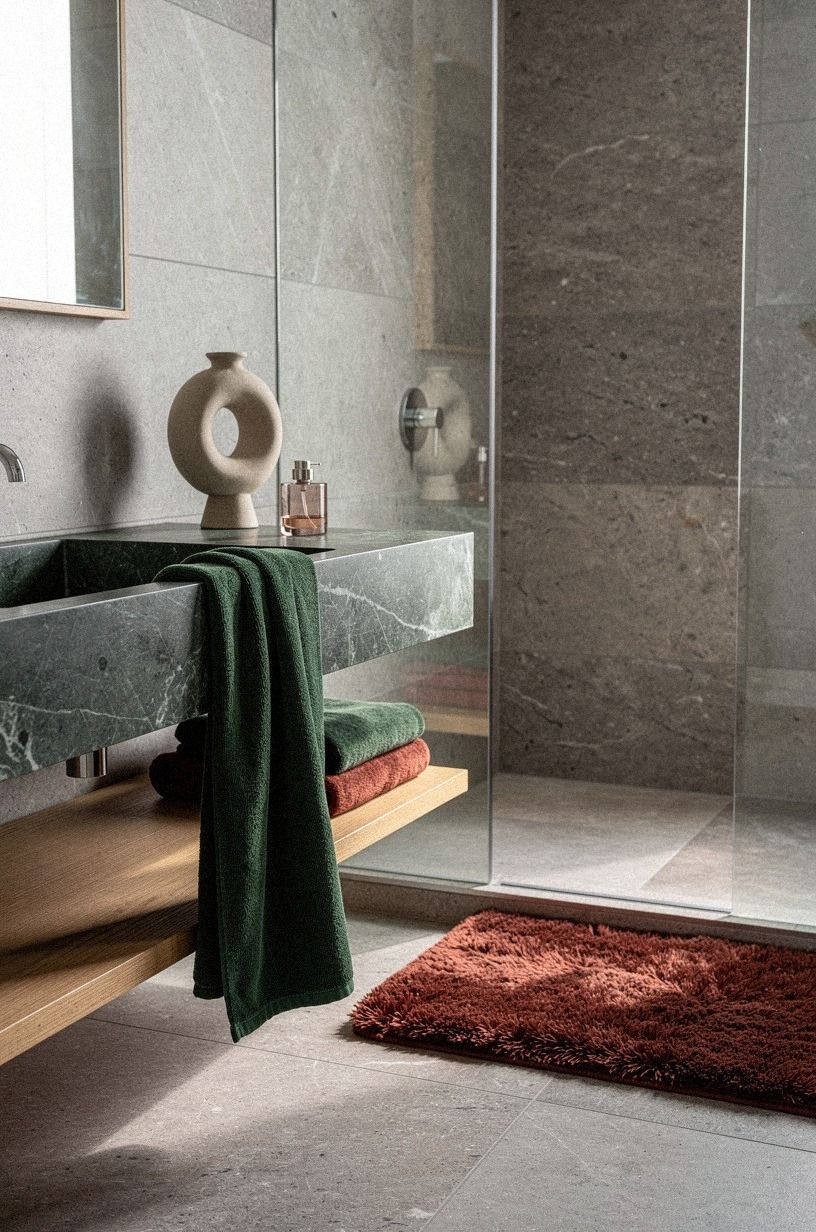
Add one wood element to stop the stone from feeling clinical. A floating vanity, a stool, or a narrow framed mirror can bring in grain without turning the bathroom into a cabin. Your best choice is usually one substantial wood note rather than several small accessories scattered around the room.
Try a deep-pile mohair velvet stool or vanity cushion if your forest-green, rust, and natural-oak palette needs softness. It catches daylight differently than plaster, so the room changes gently as the sun moves. I made the mistake of adding a second wood tone to a similar bathroom, and the two finishes argued all day.
A stool can be beautiful, but it needs enough clearance to avoid becoming a daily obstacle. A vanity offers more function and makes the wood feel architectural. If you choose a mirror frame, keep the profile slim so the stone still leads.
Pick one wood family and repeat it only where repetition feels useful. A drawer front, a small stool, and a framed mirror in three unrelated finishes will dilute the calm. Your eye will notice the difference.
12Tadelakt or Tile: Which Transition Holds?
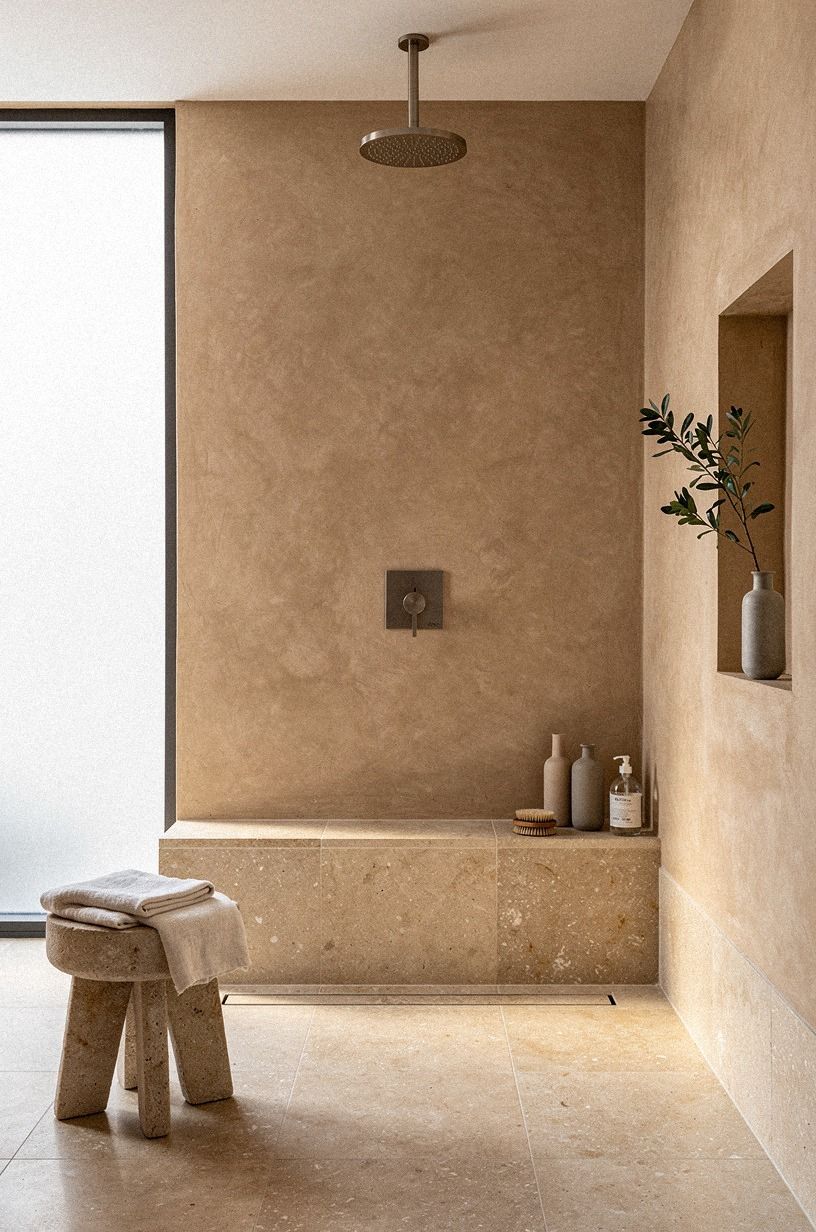
Treat corners, pipe openings, niches, and the floor-to-wall joint as part of the design. A clean transition matters more than one extra decorative detail.
Your installer should clarify how the waterproofing membrane meets the plaster, tile, stone, and plumbing penetrations. Tadelakt may be water-resistant when properly applied and maintained, but the assembly behind it still needs to be designed for a wet environment.
Use a subtle trim or a Carrara marble return with delicate gray veining where two materials meet. A dusty-rose, charcoal, and brass palette can make that transition feel deliberate rather than decorative. If the transition looks improvised, even beautiful finishes will feel disconnected.
Review the open-shower fall, the limestone edge, and the minimal grout test before installation begins. You'll catch awkward junctions while they're still easy to change.
13Choose Fixtures That Let the Walls Lead
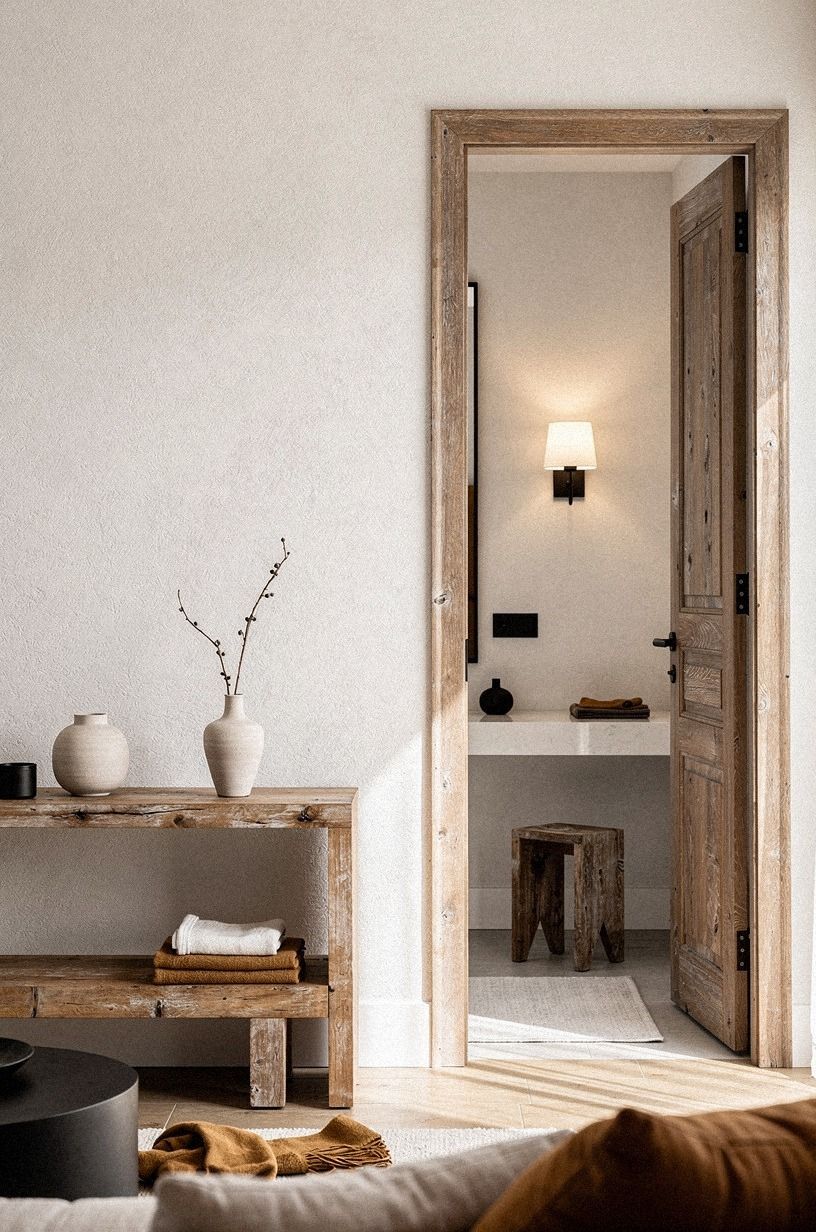
Select fixtures with simple profiles so the material gets the attention. A wall-mounted faucet, a rounded shower arm, and a quiet drain cover can support the room without creating another focal point. Warm white, camel, and black accents give the fixtures a clear role without overwhelming the walls.
Black hardware can sharpen limestone, while reclaimed weathered teak adds warmth near the vanity. I'd skip highly reflective chrome in this setting because it can look cold beside a hand-finished wall. A concealed shower valve gives you a cleaner composition, though it may require more planning behind the wall.
The shape matters as much as the finish. Rounded fixtures soften angular stone, while crisp rectangular profiles feel more tailored. Choose one language and carry it through the faucet, handles, and shower controls.
If you're working within an existing plumbing layout, keep the plumbing location and let the finish do the heavy lifting. Moving every pipe for a new look can consume the budget better spent on waterproofing. The wet-zone cost plan will help you decide where precision matters most.
14Hang Soft Textiles Near the Dry Zone
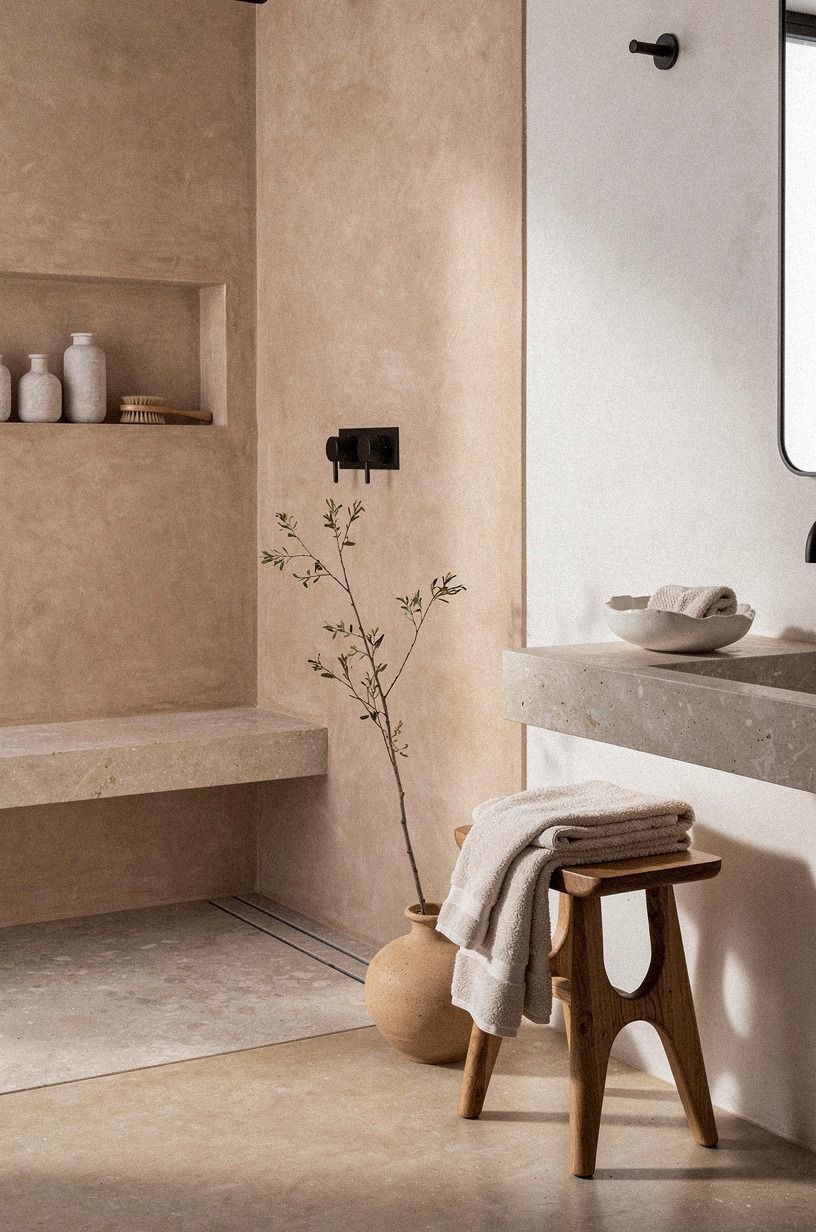
Keep textiles close to the vanity or entry rather than directly beside the open spray. Midnight blue, copper, and ivory can make the dry zone feel inviting, while Calacatta marble with gold veining adds a controlled note of movement near the vanity.
15Price the Wet Zone Before You Buy
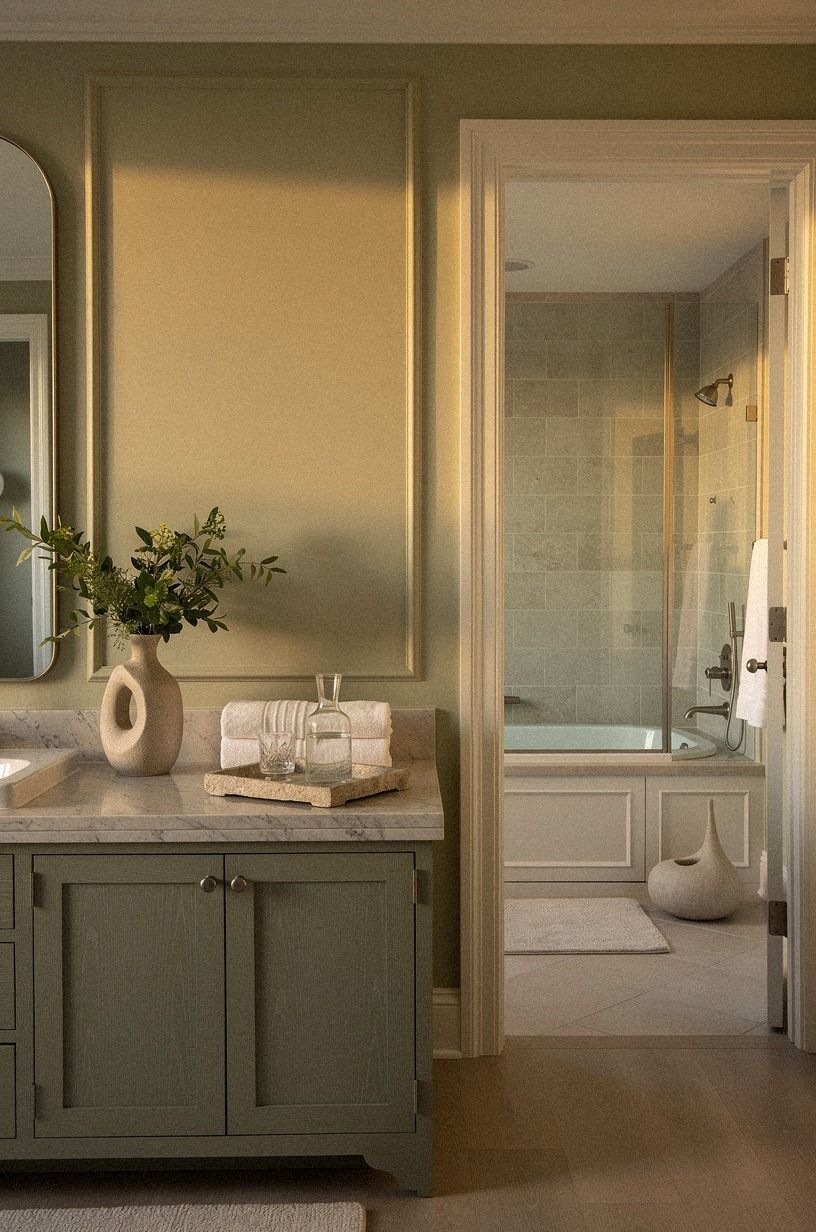
Separate the cost of a cosmetic refresh from the cost of rebuilding a wet zone. Your tadelakt, limestone, waterproofing, plumbing, and labor can move the project into a different category than paint and textiles. The table below uses typical US ranges supplied for bathroom work, so treat them as planning markers rather than a quote.
A limestone shower is not the place to hide a weak waterproofing budget. You can save by keeping the existing plumbing, painting the dry zone yourself, or choosing one stone surface instead of several. A sage-green, warm-cream, and natural-wood palette also gives you room to use cerused white oak where it matters most.
Zellige tile typically runs $15-$35 per square foot, while subway tile typically runs $2-$10 per square foot. Labor and preparation still matter more than the pretty sample. Natural stone can also require more careful layout, cutting, sealing, and delivery.
Request separate line items for demolition, waterproofing, substrate preparation, finish installation, plumbing, electrical work, and cleanup. That makes an attractive low quote easier to evaluate. Ask whether repairs are included if the wall behind the old shower is damaged.
Set aside a contingency for hidden conditions. Older bathrooms can reveal uneven floors, outdated plumbing, or moisture damage.
A clear budget makes the final material decisions feel calm instead of frantic. That distinction matters!
16The Minimal Grout Test
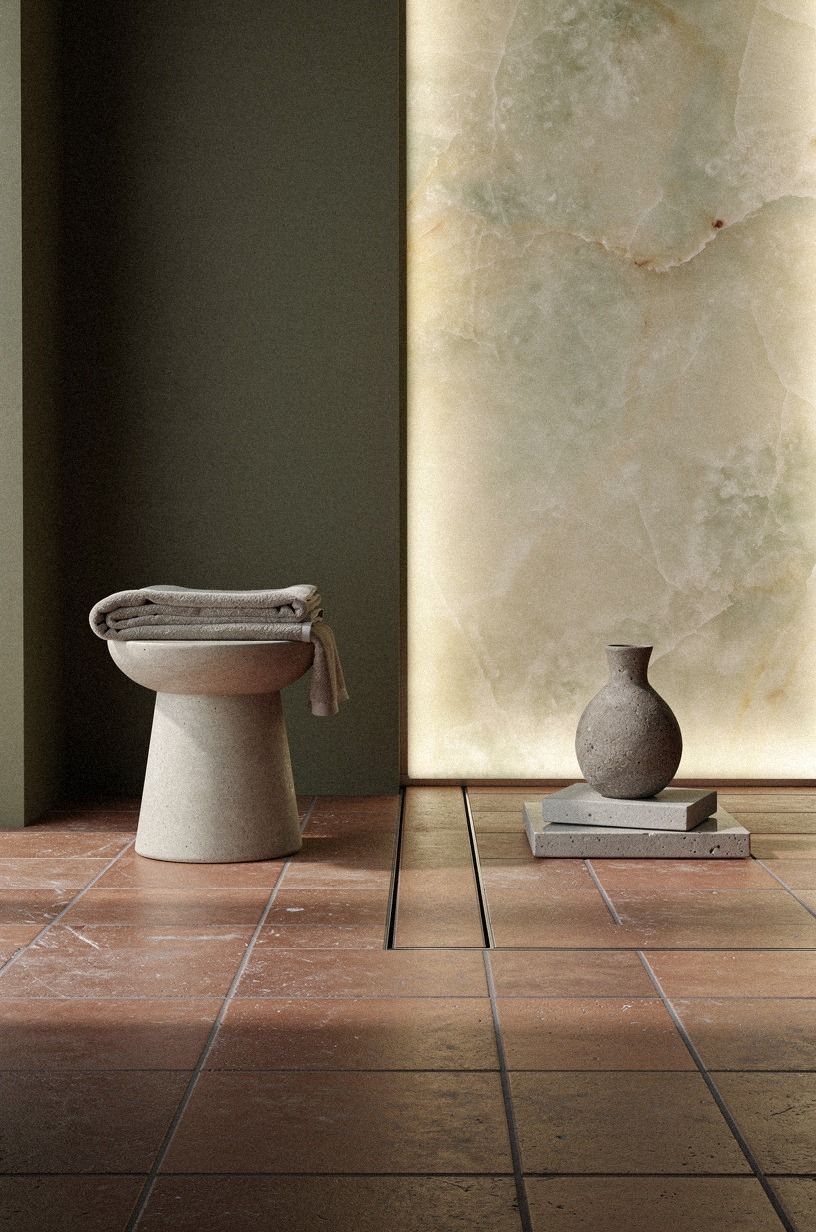
Stand at the bathroom doorway and look for the first thing your eye meets. The doorway test should reveal one calm material relationship rather than a collection of competing details. A terracotta, stone, and olive palette can stay grounded when backlit translucent onyx is limited to one purposeful surface.
Trace the visual path from the entrance to the shower. Does the limestone lead naturally toward the plaster?
Do the fixtures interrupt the view, or do they support it? If the room feels busy from this distance, remove one finish before adding another.
Then step into the shower and check the practical path. Make sure the towel, storage, controls, and drain work without awkward reaching. The best earthy bathroom still has to function on a rushed weekday morning.
Why This Material Pair Keeps Pulling Me Back
I've worked in bathrooms where every surface was technically attractive, yet the room felt strangely loud. The problem was usually not color.
It was that each material demanded attention at the same volume. Tadelakt and limestone behave differently.
One has a quiet, rubbed surface, while the other carries mineral marks, tiny pits, and the irregular edge that tells you it wasn't printed in one afternoon.
I prefer this pairing over a fully tiled shower because the eye gets fewer interruptions. That doesn't mean the combination is effortless.
You have to respect water, movement, maintenance, and the skill of the installer. A bad transition will bother you every morning, and no candle will rescue it. I learned that after choosing a dramatic stone edge without asking how it would meet the plaster.
The earthy look also works because it leaves room for ordinary life. Your towel can be rumpled.
A bottle can sit on the niche. The walls don't demand a showroom routine.
That's important to me. A bathroom should support the first rushed shower of the day and the slower one at night, not punish you for owning products.
Would I choose tadelakt everywhere? No.
In a busy family bathroom, I might use it on one protected wall and limestone on the floor or vanity. In a smaller room, I like the full wet-zone effect because the limited palette makes the space feel calmer.
You don't need a large footprint to make a strong material decision. You need one honest surface, good light, and enough restraint to let it breathe.
What People Always Want to Know
What is the best Tadelakt and Limestone Open Shower Ideas for Seamless, Earthy Walls approach for a small bathroom?
A tadelakt wet-zone wall with a narrow limestone return is my first choice. It gives your small bathroom fewer visual breaks and keeps the shower feeling open. Pair it with a compact floating vanity, warm lighting, and one quiet metal finish rather than several competing accents.
Where can I buy Tadelakt and Limestone Open Shower Ideas for Seamless, Earthy Walls pieces on a budget?
Look for bathroom basics at IKEA, Wayfair, and Target, then check Facebook Marketplace or a local thrift store for mirrors and stools. Secondhand wood pieces can add warmth cheaply. Your savings are better spent on waterproofing and installation than on decorative containers.
How much does a Tadelakt and Limestone Open Shower Ideas for Seamless, Earthy Walls makeover cost?
A bathroom project can range from $200-$1,200 for paint, a mirror, a faucet, and textiles, while a high renovation can reach $12,000-$30,000+. Keeping existing plumbing is often the biggest practical saving. Get a wet-zone quote before ordering stone.
Can I create a Tadelakt and Limestone Open Shower Ideas for Seamless, Earthy Walls look on a budget?
Yes, and you can start with the dry zone. Paint one wall, replace the mirror, and add warm textiles before touching plumbing. Sherwin-Williams Sea Salt SW 6204 can shift the mood for less money, while a carefully chosen tile can suggest the look without rebuilding the shower.
Is a Tadelakt and Limestone Open Shower Ideas for Seamless, Earthy Walls approach worth it in a small space?
Yes, because the reduced grout pattern can make your walls read as one broad field. A 36x36-inch shower footprint is a useful minimum for comfort. Keep the vanity shallow, use a floating profile, and place storage inside the wet zone rather than across the walking path.
Is Tadelakt and Limestone Open Shower Ideas for Seamless, Earthy Walls a good idea for a rental?
Only in removable layers unless your landlord approves permanent work. Use a tension rod, removable hooks, a peel-and-stick mirror frame, and warm towels to bring in the palette. Damage-free changes can echo the earthy look, but don't apply adhesive products inside a wet shower.
Where I'd Start First
If I had to pick one step, I'd start with the 36x36-inch wet-zone layout. A beautiful finish can't fix a cramped path or poor drainage. Mark the footprint on your floor, live with it for a week, and let the walls follow the way you move.
Pin this guide for later when you're ready to price materials.


