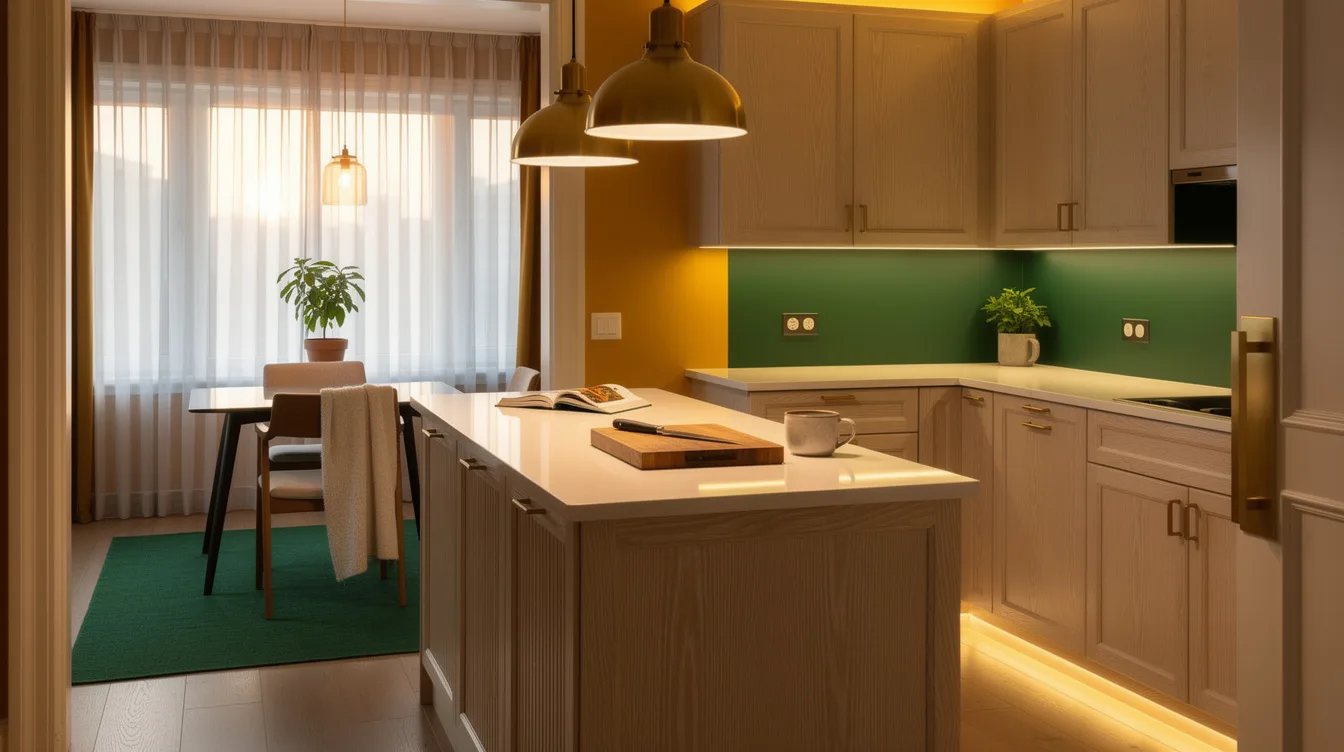
12 Under-Cabinet Lighting Fixes That Make Food Prep Easier
21 august 2026A kitchen can have a handsome stone backsplash and still make a cutting board feel oddly dim at 7 p.m. The problem usually sits under the uppers, where a roughly 24-inch-deep counter needs light aimed at work, not a bright stripe reflected in the wall.
Under-cabinet lighting earns its keep when it removes the shadow your shoulders cast while chopping, reading a recipe, or measuring coffee. Build it as task lighting first, then let the rest of the kitchen handle atmosphere.
What you will find inside
- Run Continuous Light Across Every Main Work Zone
- Move the Fixture Toward the Cabinet Front
- Choose a Frosted Lens Over Bare Tape
- Match Output to the Counter, Not the Backsplash
- Keep Food-Prep Light Near 3000K
- Demand High Color Rendering at the Counter
- Reserve Puck Lights for Small Specialty Spots
- Pick Linkable Bars for a Clean Retrofit
- Use Plug-In Bars Only With a Wiring Plan
- Give Task, Ambient, and Accent Their Own Controls
- Add a Dimmer Before Adding Smart Features
- Use Rechargeable Bars Only as a Renter Bridge
Run Continuous Light Across Every Main Work Zone
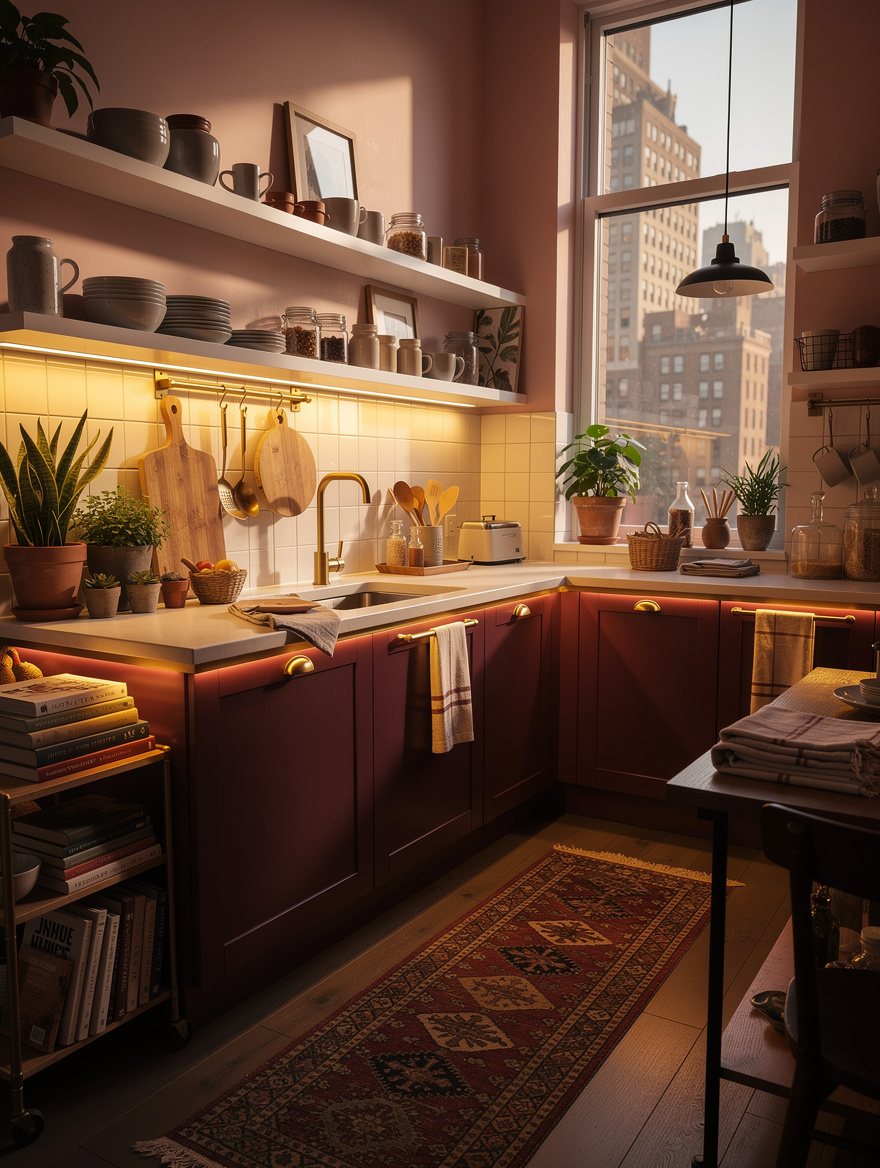
Use a continuous, diffused LED linear light beneath every main upper-cabinet run. A row of isolated circles leaves dark seams exactly where you slide a bowl, knife, or sheet pan.
Treat the sink wall, prep counter, and coffee station as separate runs when cabinet breaks make that cleaner. Continuous light looks more expensive because the counter reads as one usable surface.
Move the Fixture Toward the Cabinet Front
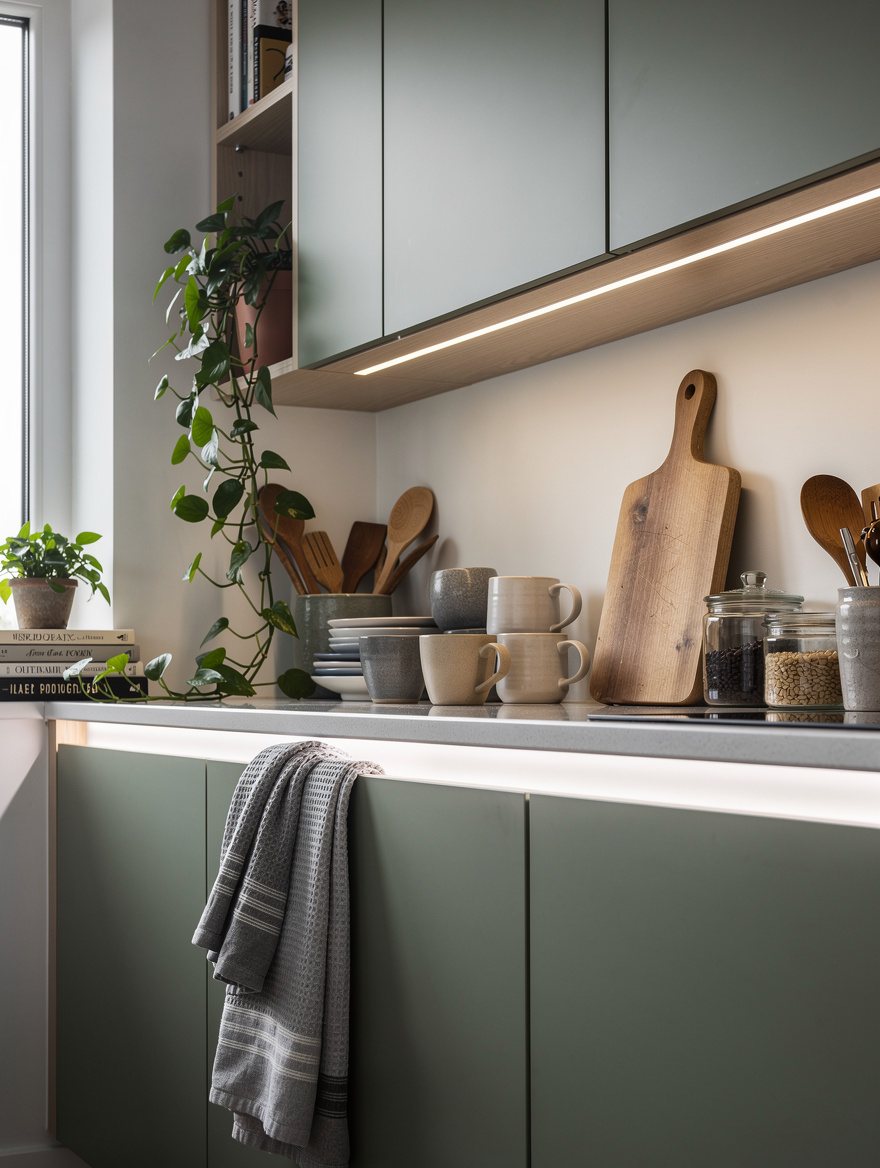
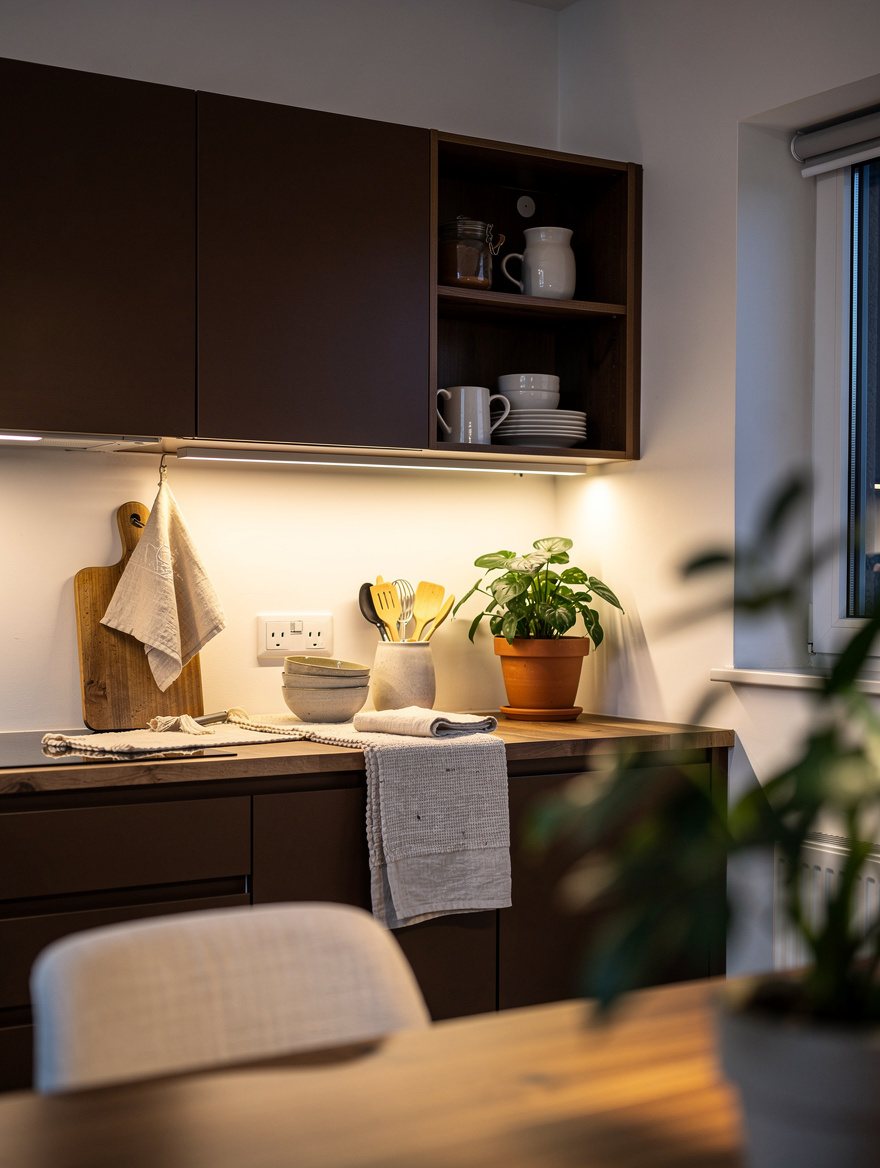
Mount the aluminum channel close to the front edge of the cabinet bottom, pointed down through its lens. That placement throws light in front of your body instead of trapping it against the backsplash.
Center mounting is the common lazy choice, and it creates a bright wall with a shaded worktop. Front-edge placement is the detail I notice immediately in kitchens that actually cook.
Choose a Frosted Lens Over Bare Tape
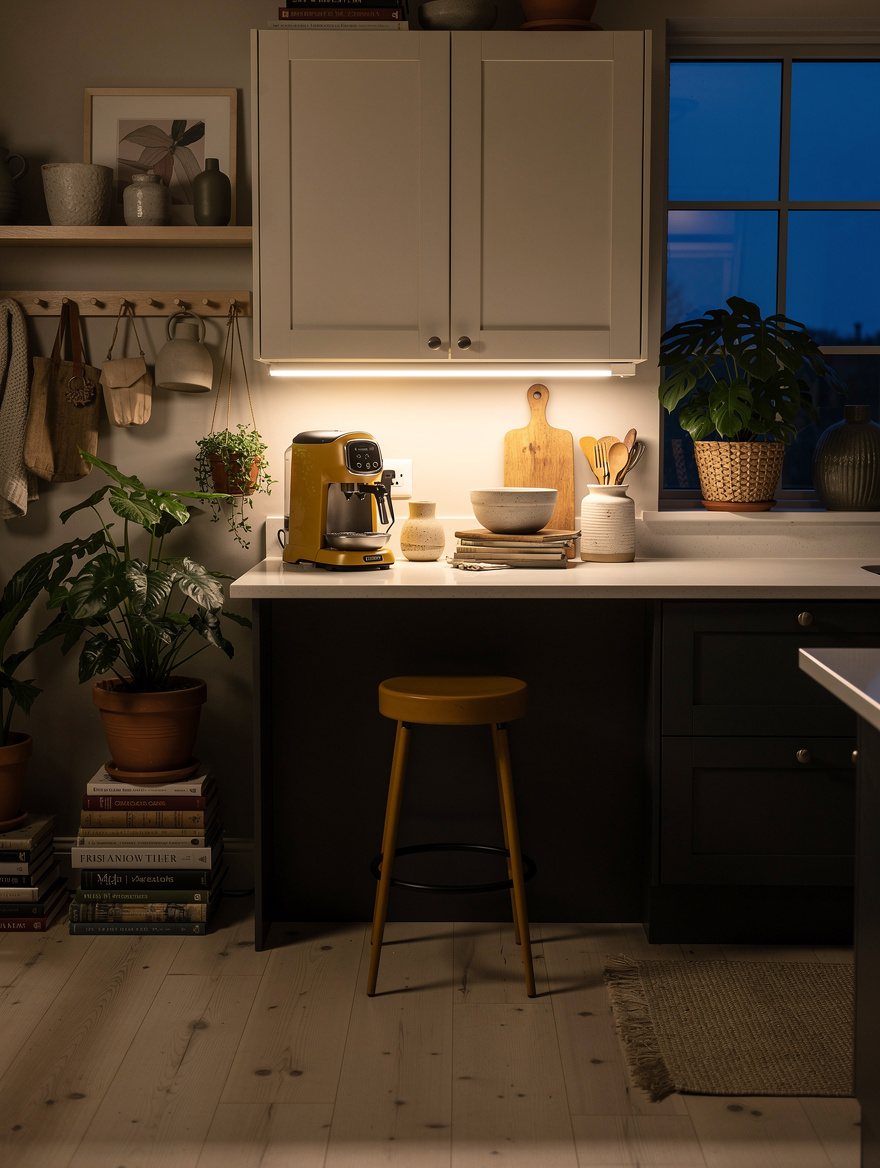
Put LED tape inside an frosted polycarbonate lens, even when the strip claims to be dot-free. The lens softens reflections in glossy tile, polished quartz, and stainless appliances.
A typical tape-and-channel setup for a modest run costs about $25 to $100, depending on the driver and finish. Exposed adhesive tape may save a little money, but it reads temporary from a seated dining table.
Match Output to the Counter, Not the Backsplash
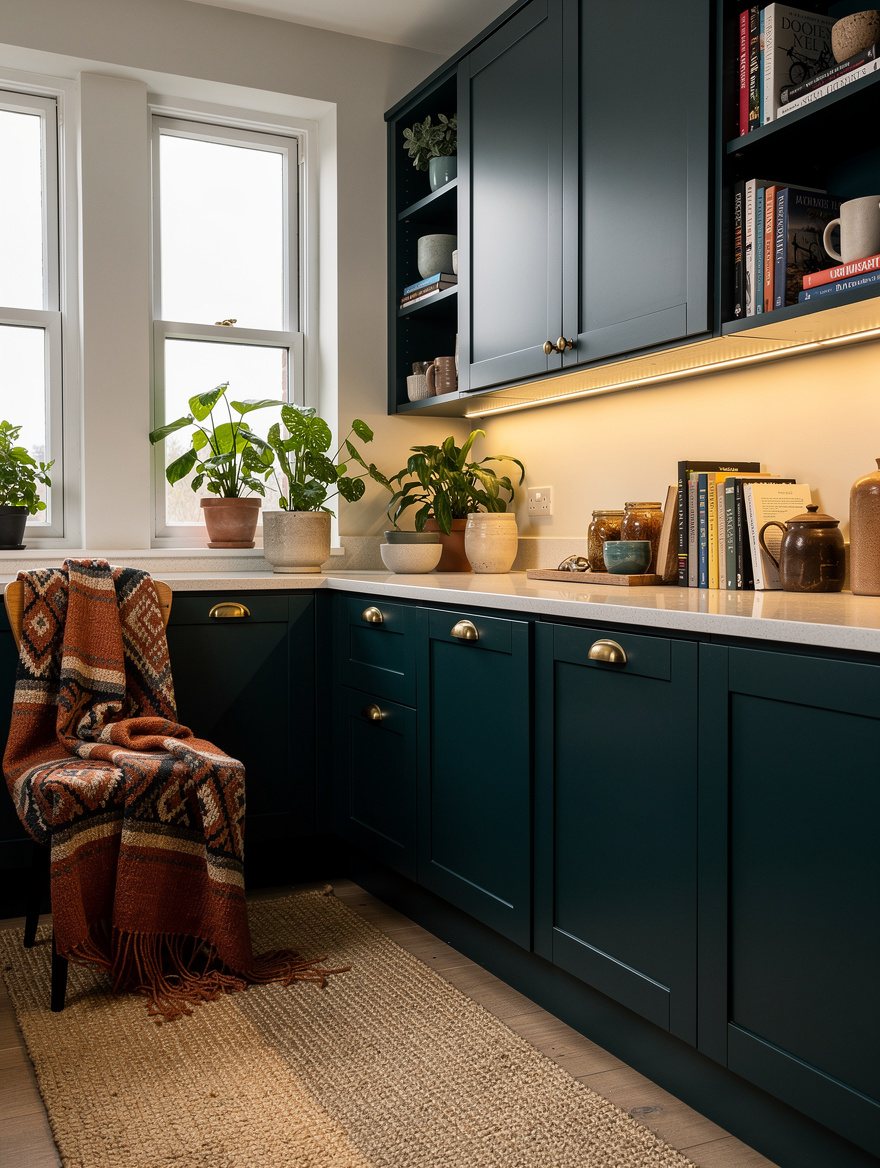
Aim for roughly 300 to 500 lumens per linear foot for primary task lighting. That range gives a wood cutting board enough usable brightness without turning white subway tile into a glare panel.
The Litever 6-bar kit, at around 2,000 total lumens and about 3000K, can make sense for several cabinet sections from one driver. Put it on a dimmer, because full output is for prep, not every hour of the day.
Keep Food-Prep Light Near 3000K
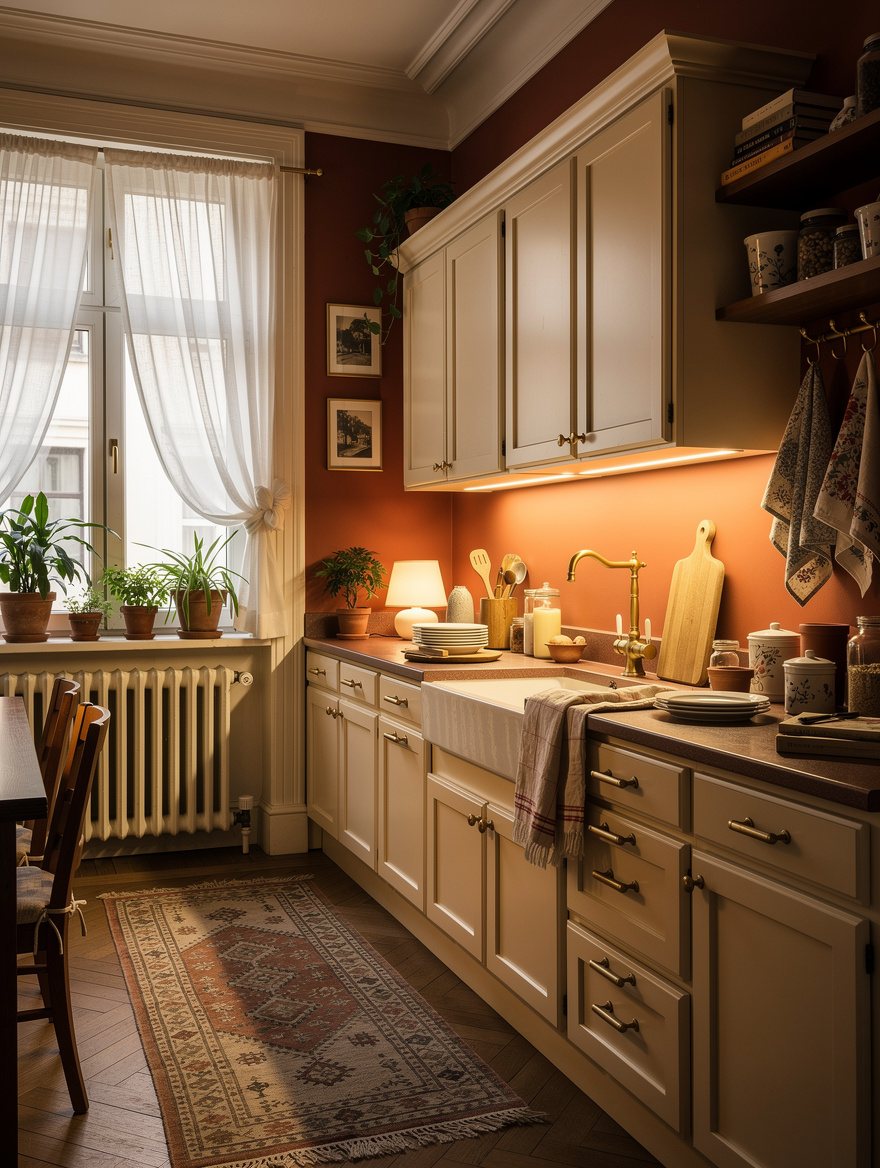
Choose about 3000K for most residential kitchens, especially with oak, walnut, cream paint, or brass hardware. It keeps tomatoes, bread, and skin tones from looking cold while still feeling crisp enough for prep.
About 3500K suits a cooler contemporary kitchen with white quartz, gray cabinetry, and clean-lined chrome. Skip the instinct to buy the bluest light available just because the package says bright.
Demand High Color Rendering at the Counter
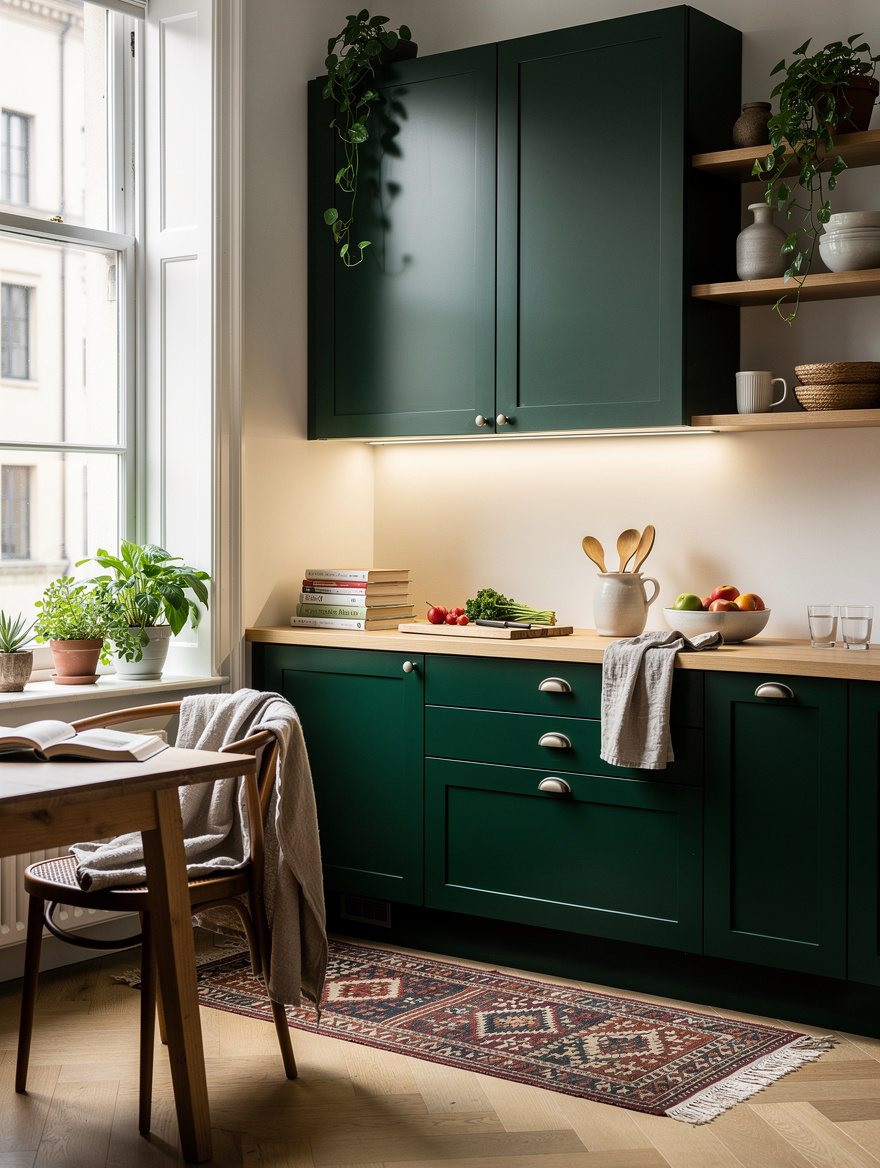
Look for CRI 90 or higher when the light will hit food and finish materials every day. High-CRI light makes greens, wood grain, and veining in natural stone look closer to their real color.
The WOBANE COB 9.8-foot dimmable kit is commonly around $19.79 and is listed around 3000K with CRI 90+. It is a sensible budget start once you add a real channel and diffuser.
Reserve Puck Lights for Small Specialty Spots
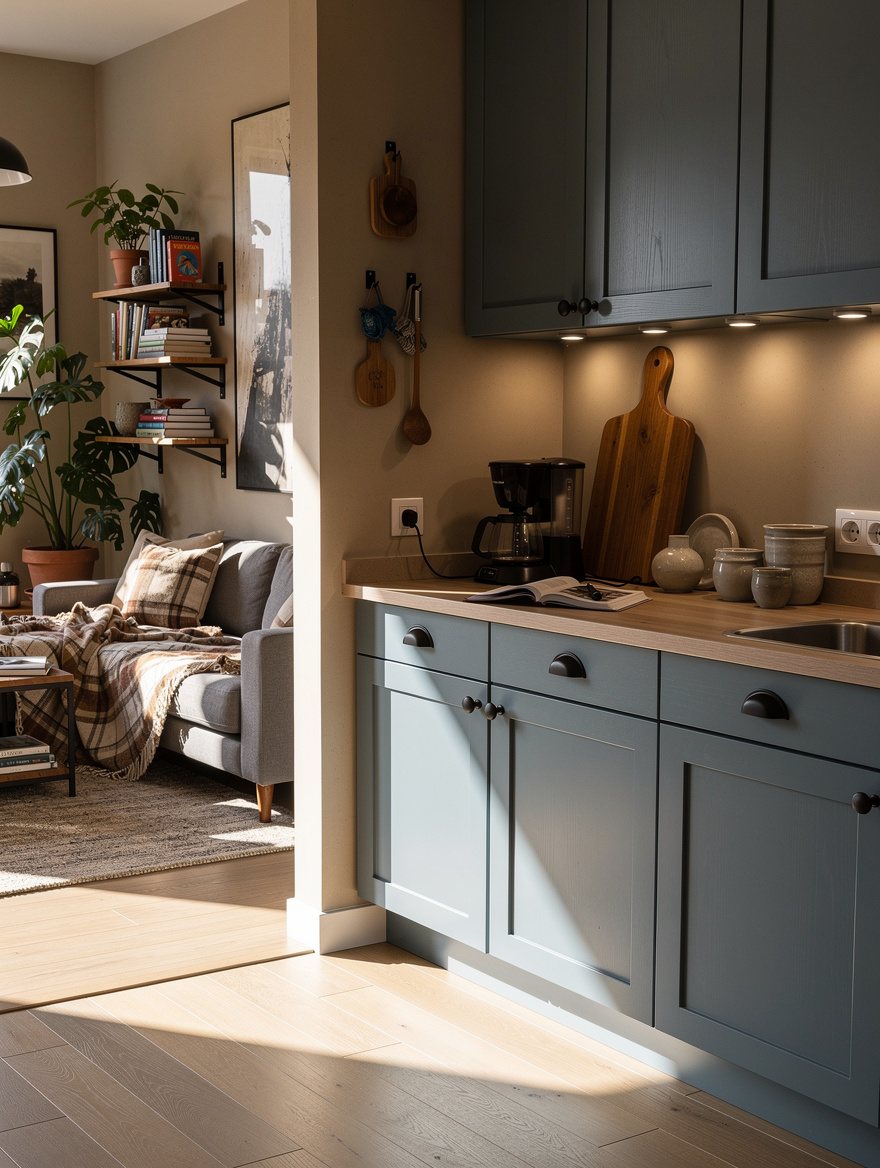
Use puck lights inside a glass cabinet, over a narrow coffee niche, or in a single display bay. Their roughly 2.5- to 3-inch circles make pools of light, which is charming for ceramics and poor for a long counter.
A typical three- to six-puck pack costs about $15 to $50. Do not make pucks your only under-cabinet layer unless you enjoy chasing shadows along the cutting board.
Pick Linkable Bars for a Clean Retrofit
Choose linkable bars when you want an orderly retrofit without routing a cabinet bottom for tape. Common lengths of about 12, 18, 24, and 36 inches let you cover separate bays with deliberate joins.
A GE Enbrighten Premium 24-inch bar is commonly about $50 to $80 and suits shoppers who prefer a modular fixture over a strip. The visible fixture is still worth it when the wiring and lens look intentional.
Use Plug-In Bars Only With a Wiring Plan
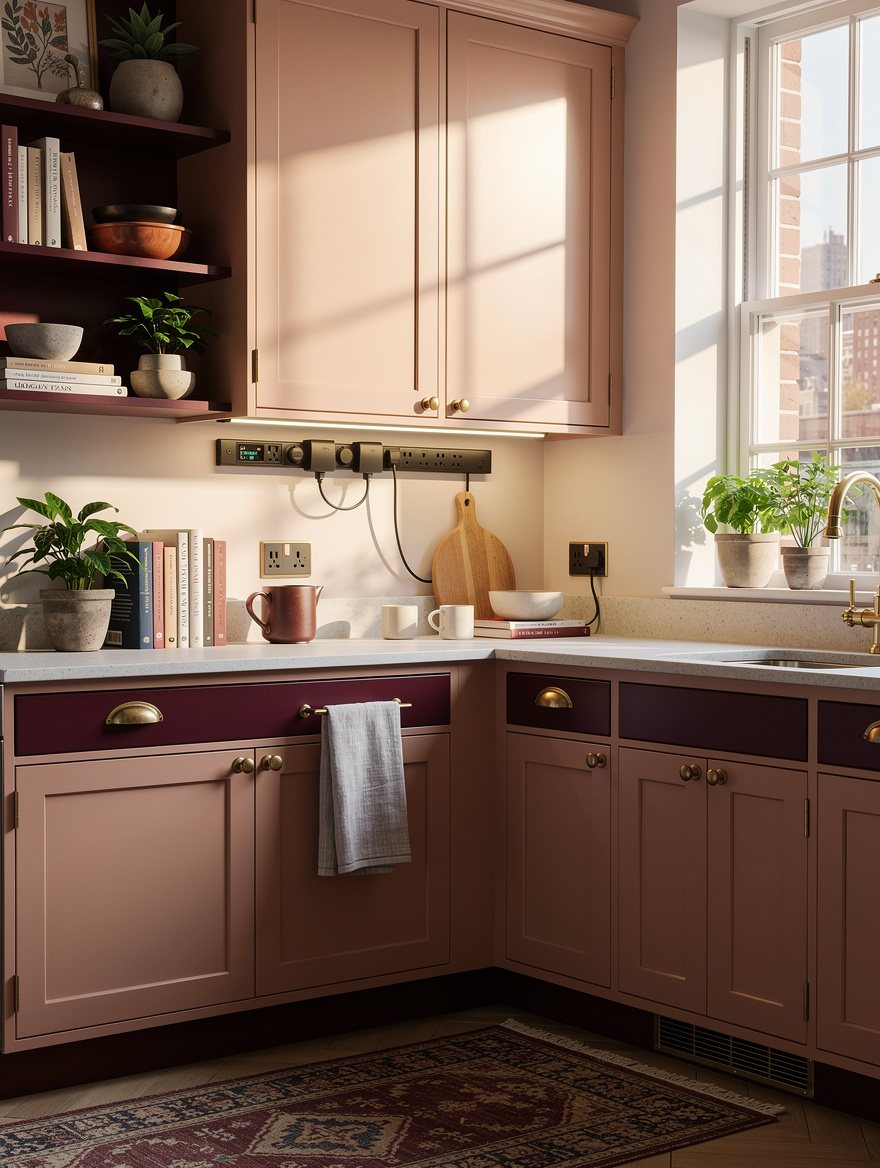
The GE LED HD+ 18-inch light, quoted at about $23.99, delivers around 1,000 lumens with a cool 5000K color temperature and CRI 90. That is a lot of punch for a short run, but its daylight-white cast is a personal taste, not a universal upgrade.
Hide the cord route before you buy the bar. A neat outlet location, a cabinet-side pass-through, and a switch plan matter more than shaving ten dollars off the fixture.
Give Task, Ambient, and Accent Their Own Controls
Keep ceiling fixtures, under-cabinet task lights, and toe-kick LED lighting on independent controls. You should be able to brighten the counter for dinner prep while leaving the rest of the room calm.
For a low night path, roughly 50 to 150 lumens per linear foot at the toe kick is usually enough. This layer should guide a late glass of water, not announce itself from the hallway.
Add a Dimmer Before Adding Smart Features
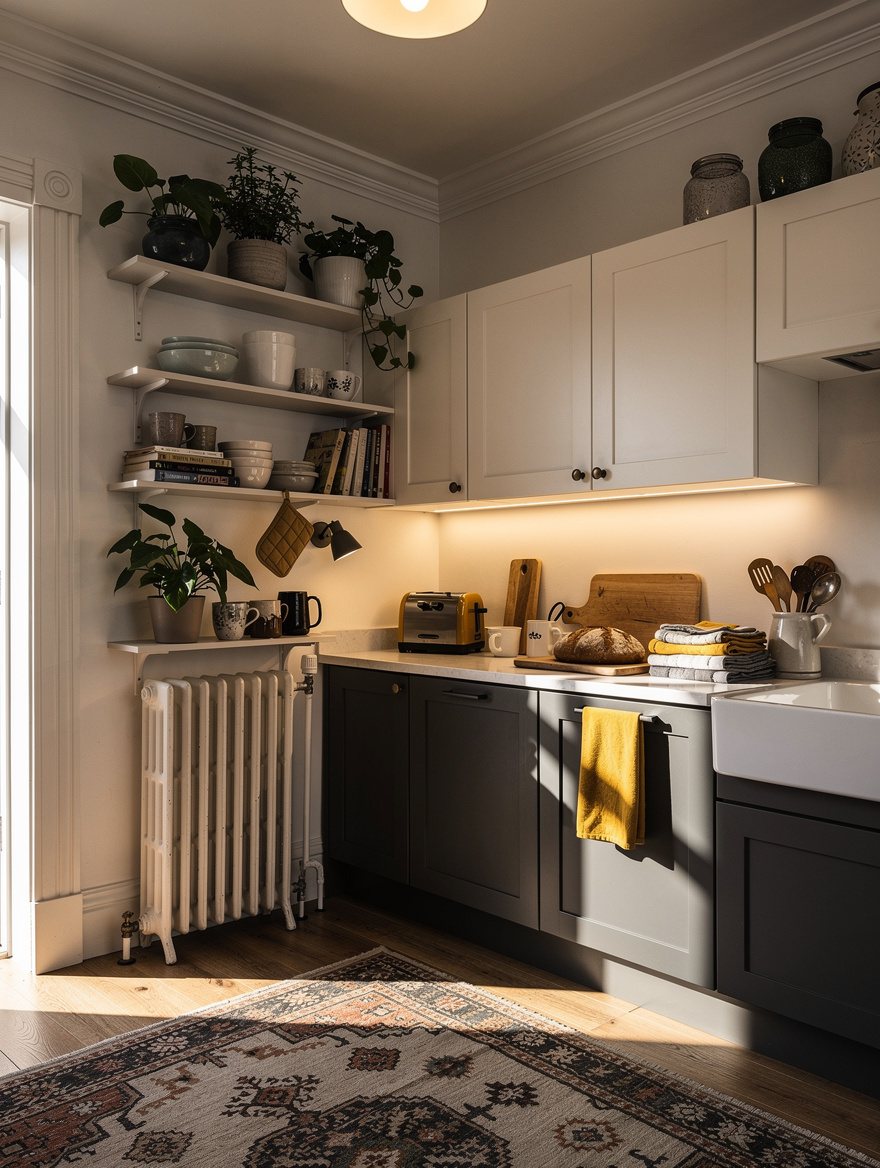
A compatible dimmer is the most useful upgrade in the entire setup. It lets the same under-cabinet run work for pastry dough at noon and a quiet kitchen after the dishes are done.
A Philips Hue Lightstrip Plus approach typically costs about $120 to $180 for an under-cabinet setup. Smart scenes are pleasant, but a warm white dimmer solves the core lighting job for far less fuss.
Use Rechargeable Bars Only as a Renter Bridge
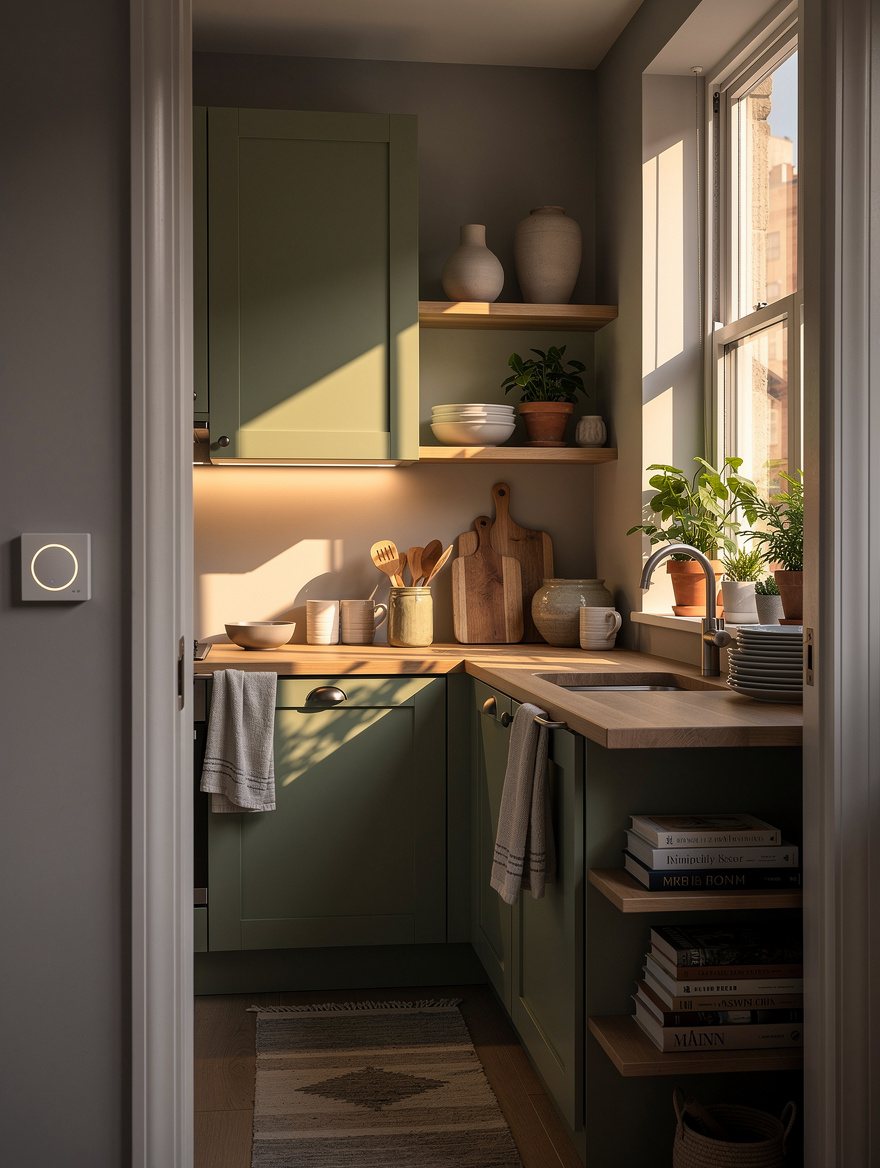
Rechargeable magnetic bars are fine for a rental, a temporary coffee cart, or a cabinet where wiring is impossible. Typical two-packs run about $13 to $30, and the roughly 8- to 12-inch bars install in minutes.
They are not a forever solution for a serious prep counter because charging interrupts the routine. Use the magnetic light bar as a bridge, then plan a wired or plug-in linear run when the kitchen becomes yours.
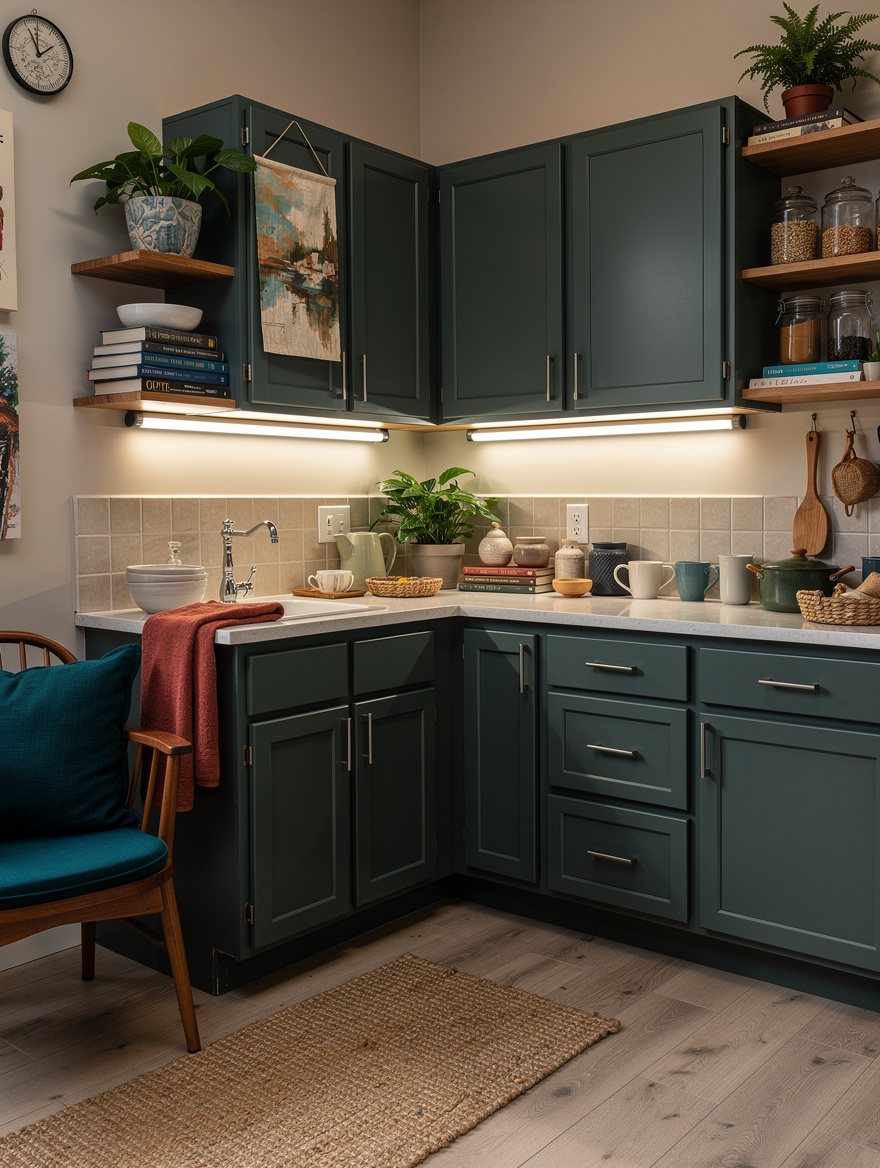
Start with the counter where you chop most often: install one dimmable, diffused linear run at the cabinet front edge, then stand there after dark before buying anything else. That single test will tell you where the kitchen still needs light.


