13 DIY Home Gym Ideas That Actually Build One Without Spending a Fortune
24 july 2026A DIY home gym doesn't need a fortune to work: a solid budget setup runs about $300 to $1,200 in most US homes, and it's the fancy extras that blow the budget. I know because I built my first one wrong, spending real money on a machine I used twice before it became a clothing rack. These 13 ideas are the do-over, the setup I'd build if I started from zero tomorrow.
- Start With the Floor: The 8x10 Rubber Mat Rule
- Paint It Dark Before You Buy Anything
- Hang One Big Mirror (Not a Mirror Wall)
- Build Your Own Gym at Home Around a Wall-Mount Rack
- Adjustable Dumbbells Over a Full Weight Set
- The Two-Zone Layout
- The Half-Bay Garage Setup
- Cheap Home Gym Setup: Where I'd Spend and Where I Wouldn't
- Do You Need a Cardio Machine at All?
- The Overhead Clearance Check
- Light It Like a Gym, Not a Basement
- The Pegboard Wall (Storage That Looks Intentional)
- Instead of Buying New, Hunt Second-Hand
1Start With the Floor: The 8x10 Rubber Mat Rule
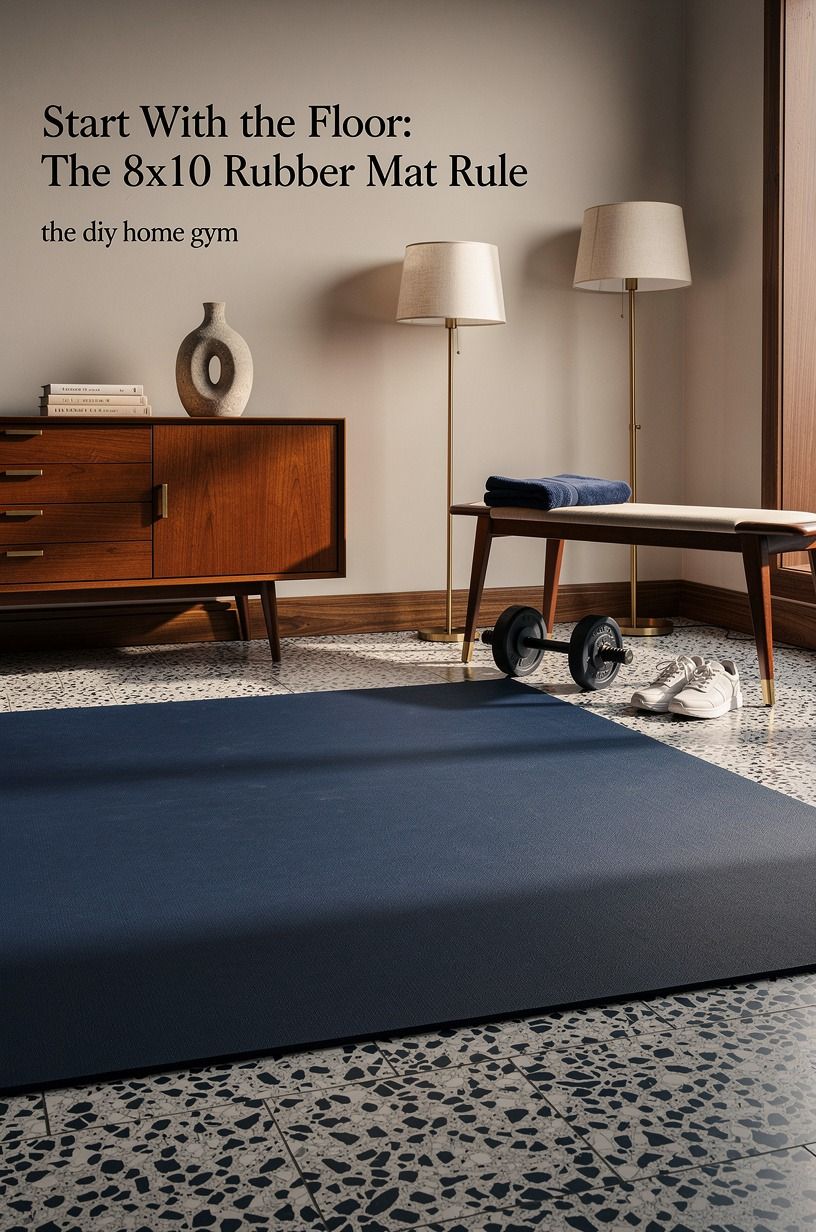
Every cheap home gym setup lives or dies on the floor, and most people get it backwards. They buy equipment first, then wonder why everything wobbles and the room still feels like a garage. You want a dedicated mat zone of about 8x10 feet, and you want real rubber under it, not foam puzzle tiles.
Rubber flooring runs about $2 to $8 per square foot in the US, so that 8x10 zone lands roughly between $160 and $640 depending on thickness. Foam compresses under a rack and stays dented forever.
Rubber doesn't. I'd skip the interlocking foam tiles entirely; they're fine for stretching, useless under anything heavy.
And here's the part nobody respects: the floor is what makes a corner read as a gym instead of a storage unit. If you're renting, loose-lay mats need zero screws, and you can roll them up the day you move.
2Paint It Dark Before You Buy Anything
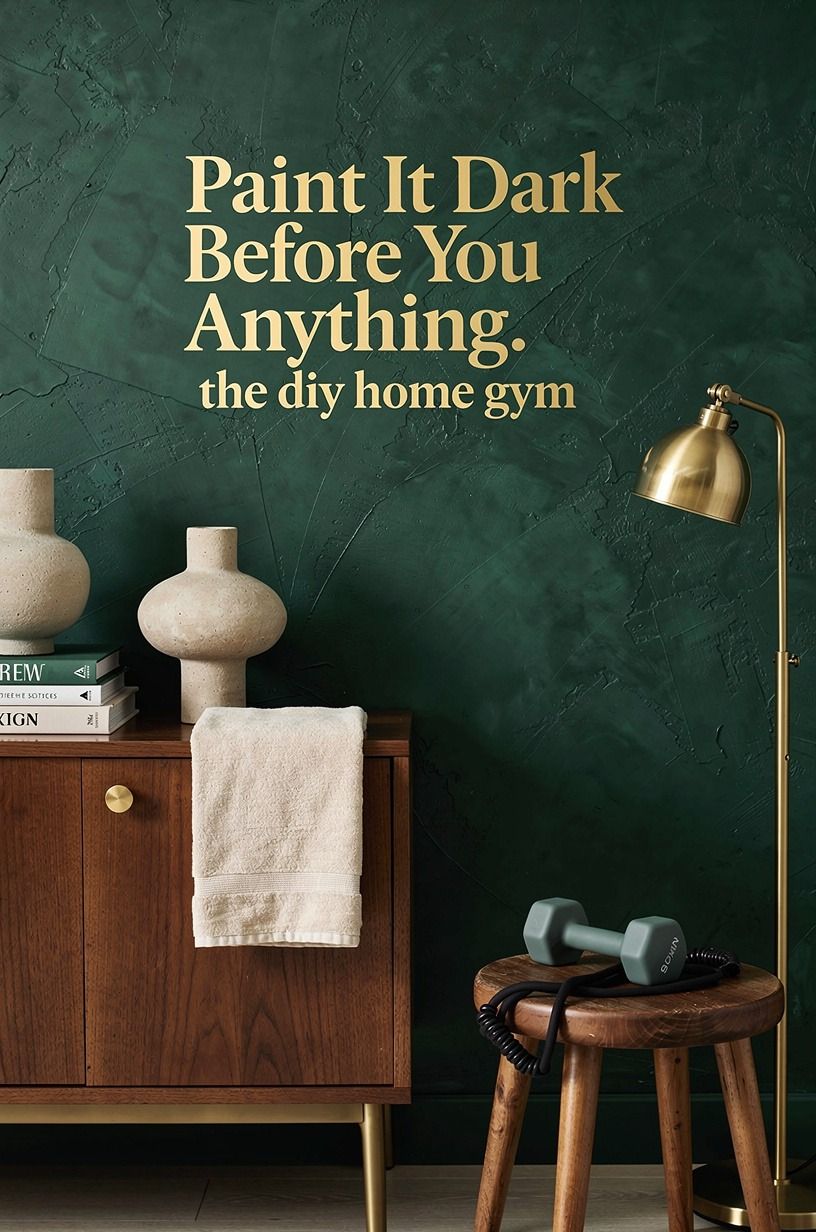
This is the cheapest move on the whole list, and it does more than half the equipment. A gallon of Farrow & Ball Studio Green (No. 93) on one wall gives the room instant intent, the way a dark backdrop makes even a basic dumbbell rack look deliberate instead of stranded.
I've tried the bright white gym look. It shows every scuff, every sweat mark, every fingerprint on the mirror by week two. A deep green hides all of it, and it photographs better, which matters more than you'd think when you're checking your form on video.
Benjamin Moore Chestertown Buff (HC-9) is the warmer option if your space gets northern light, and Farrow & Ball Down Pipe (No.26) reads almost green in low light, which is gorgeous but moody. One wall, one gallon, one Saturday. That's it.
3Hang One Big Mirror (Not a Mirror Wall)
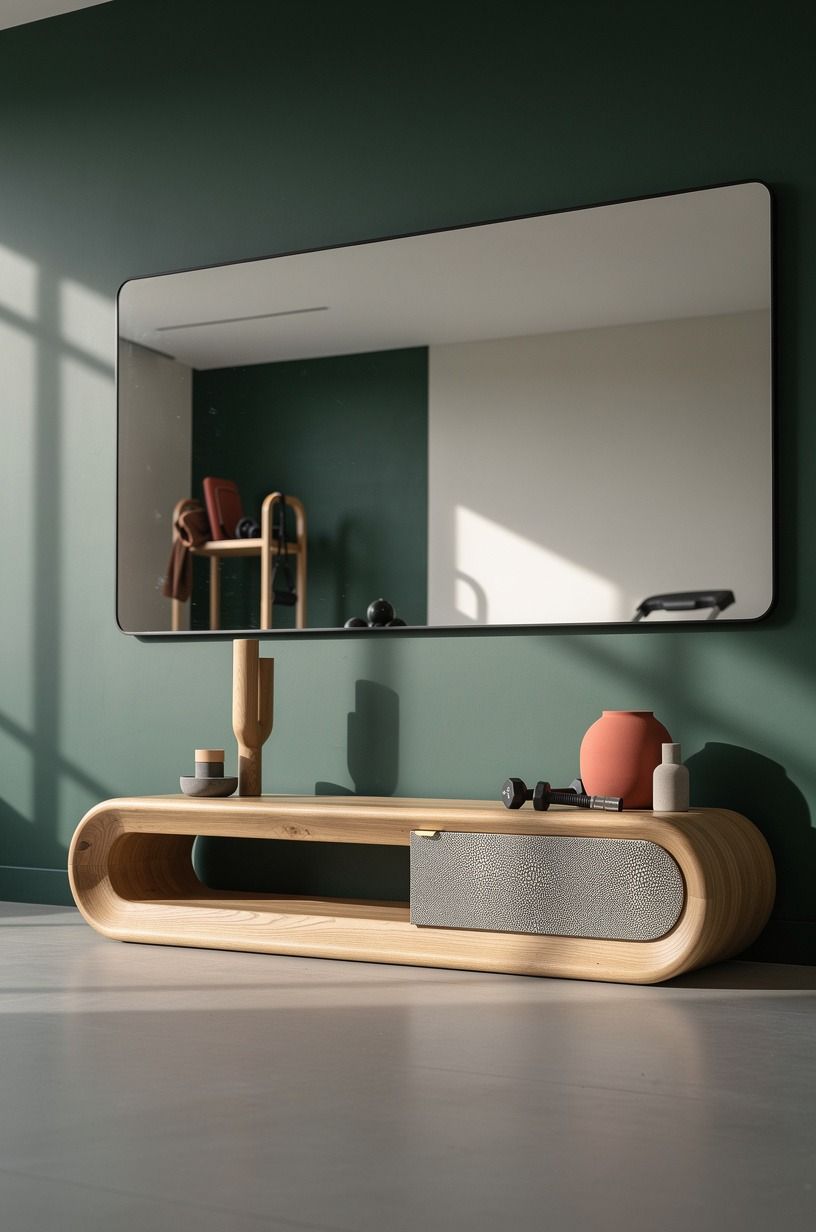
You don't need a wall of mirrors. You need one honest mirror at eye level where you lift, big enough to check your squat depth and your shoulder position. A single gym mirror runs about $100 to $400 depending on size, and the middle of that range is plenty for a home setup.
Mount it at eye level for your working position, not your standing position. That's the mistake I made, hanging mine for standing height and then never actually seeing my deadlift form. Watch your form from the floor up if you train on mats.
Skip the mirrored closet doors from the big-box store. They're thin, they flex, and the reflection warps just enough to lie to you. One solid sheet, anchored into studs, beats three cheap panels every single time!
4Build Your Own Gym at Home Around a Wall-Mount Rack
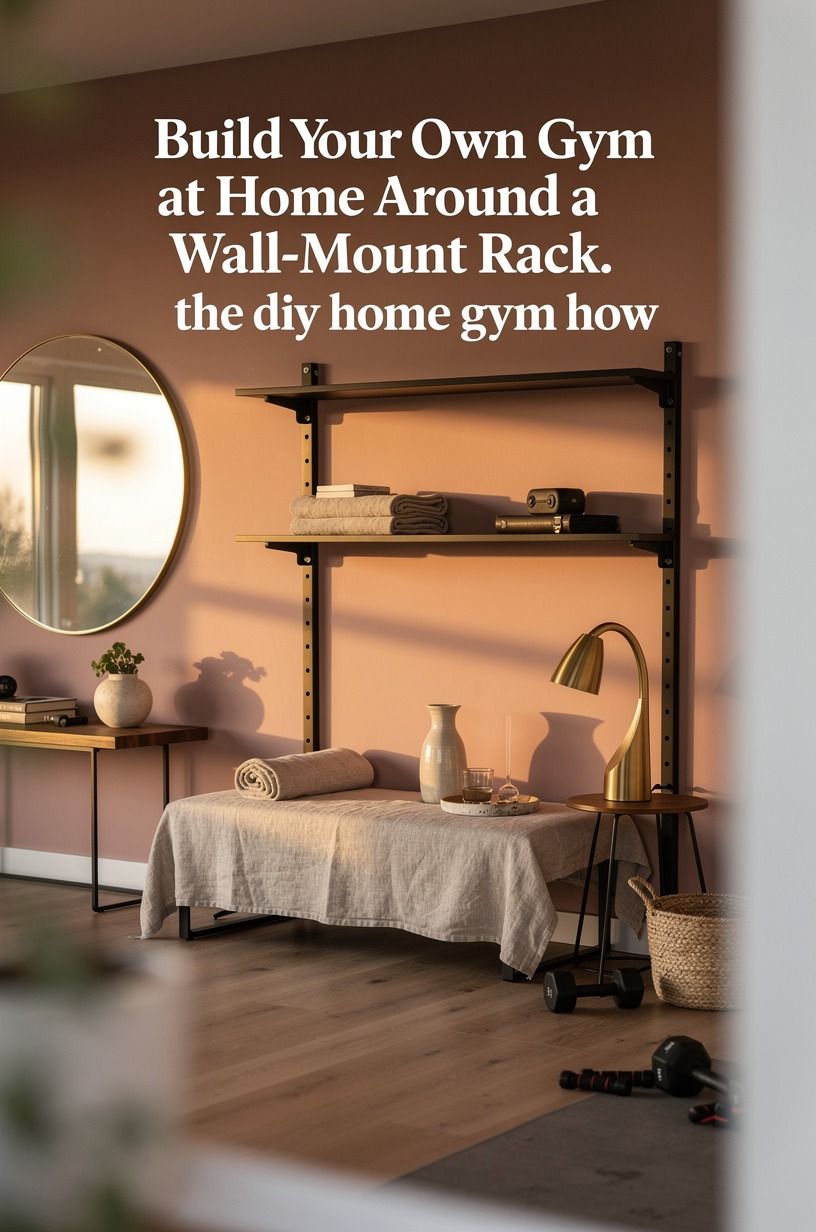
If you lift, the rack is the anchor, and a wall-mount rack is the budget hero of this whole list.
5Adjustable Dumbbells Over a Full Weight Set
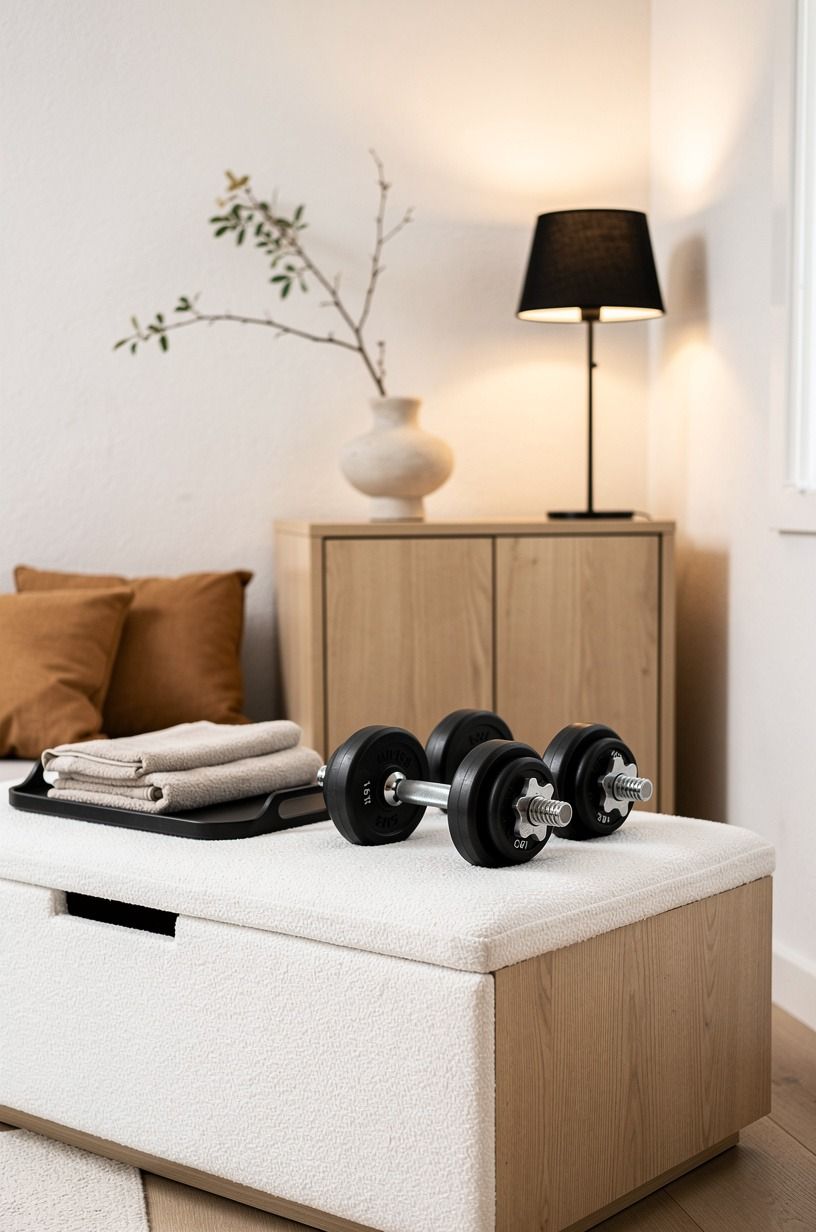
Why pay for twelve pairs of fixed dumbbells when two adjustable ones cover the same range? A good set of adjustable dumbbells costs $200 to $700, and that single purchase replaces an entire rack of iron that would cost twice as much and eat a whole wall.
I went back and forth on this for months, honestly. Fixed dumbbells feel better in the hand, no argument. But the footprint math kills them in a small space: a full set needs a storage rack, and that rack needs its own 6x6 feet of breathing room.
The one trap to avoid is the ultra-cheap spin-lock kind with the threaded collars. They're slow to change, they rattle, and the collars loosen mid-set. Spend in the middle of the range and you'll never think about it again.
6The Two-Zone Layout
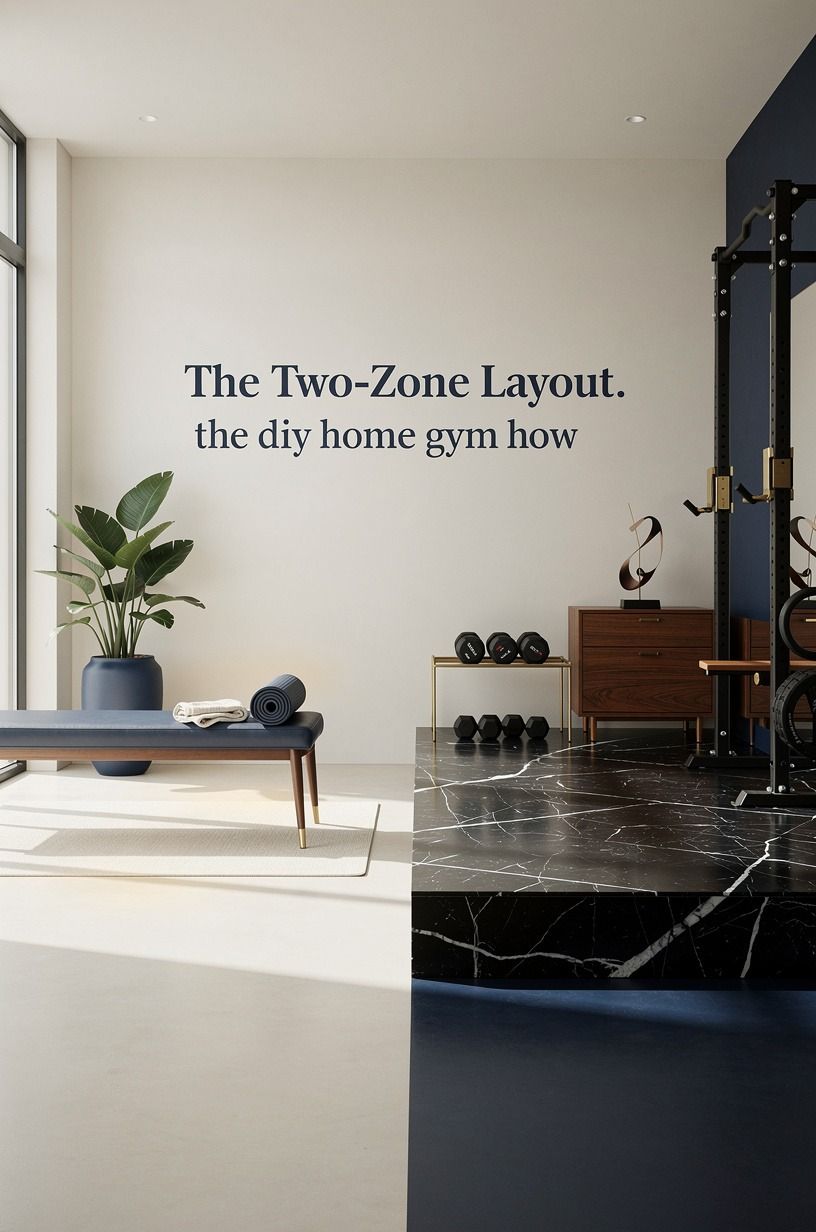
Here's a framework I wish someone had handed me on day one: split your space into a sweat zone and a stretch zone, and never let them overlap. The sweat zone holds the rack, the weights, the heavy stuff. The stretch zone holds a mat, a band hook, and open floor.
Most home gyms fail because everything shares one 8x10 patch, so you're dragging a bench off your yoga mat and tripping over a kettlebell on the way to stretch. Give each zone its own floor, even if one zone is just a rolled mat leaning in the corner.
And the stretch zone doesn't need to be big. Four feet by six feet is enough for mobility work, and cork yoga blocks plus a wall hook for bands cover the rest. Your future stiff hips will thank you.

7The Half-Bay Garage Setup
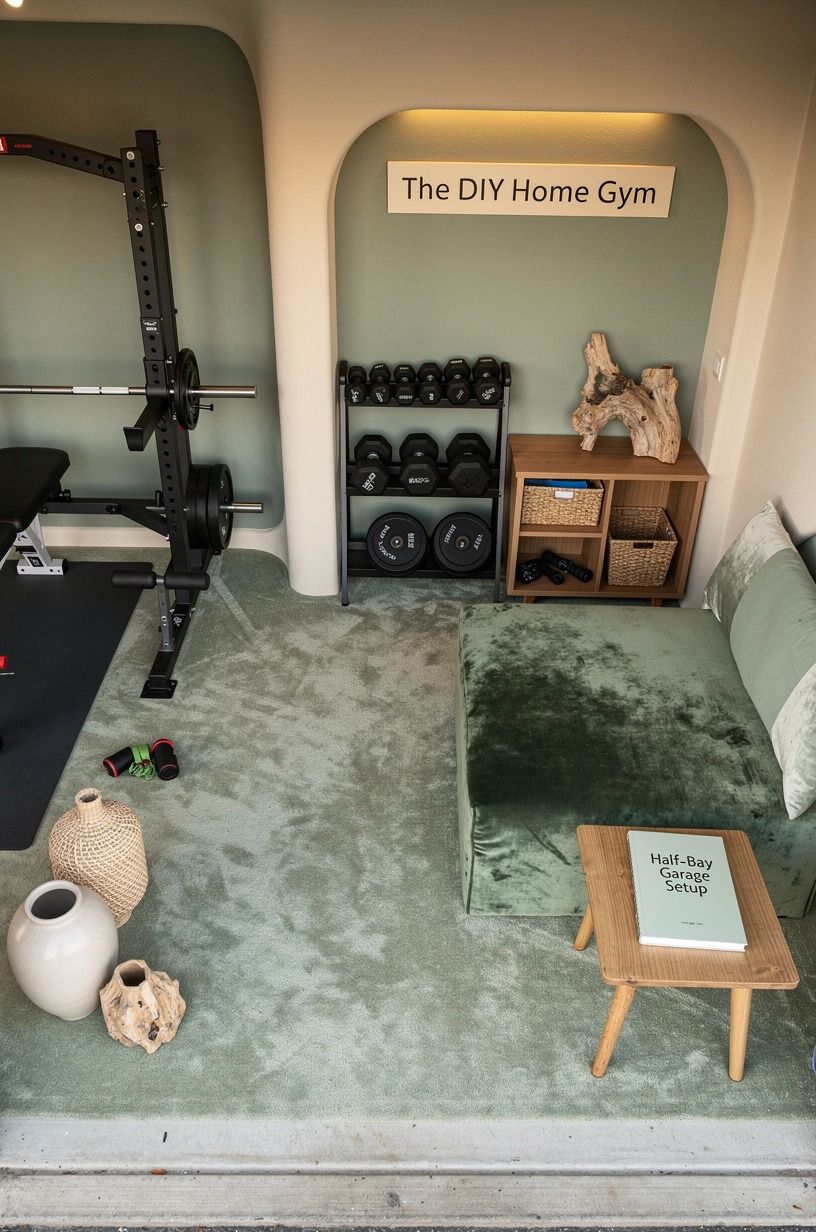
If you've got a garage, you don't need the whole garage. You need half a bay, roughly 8x10 feet along one wall, with the rack folded flat and the car still pulling in at night. That's the whole concept, and it's how most real DIY home gyms actually survive family life.
The enemies here are temperature and moisture, not space. Rubber mats handle cold concrete fine, but bare metal bars will rust near a drafty door, so keep your barbell racked on the wall away from the gap and give it a wipe of oil every month or so.
But the biggest win is psychological. A garage corner that's always set up gets used; a gym you have to assemble from a pile gets skipped.
Fold-out, lift, fold-back, done. Ten minutes from car to first set.
8Cheap Home Gym Setup: Where I'd Spend and Where I Wouldn't
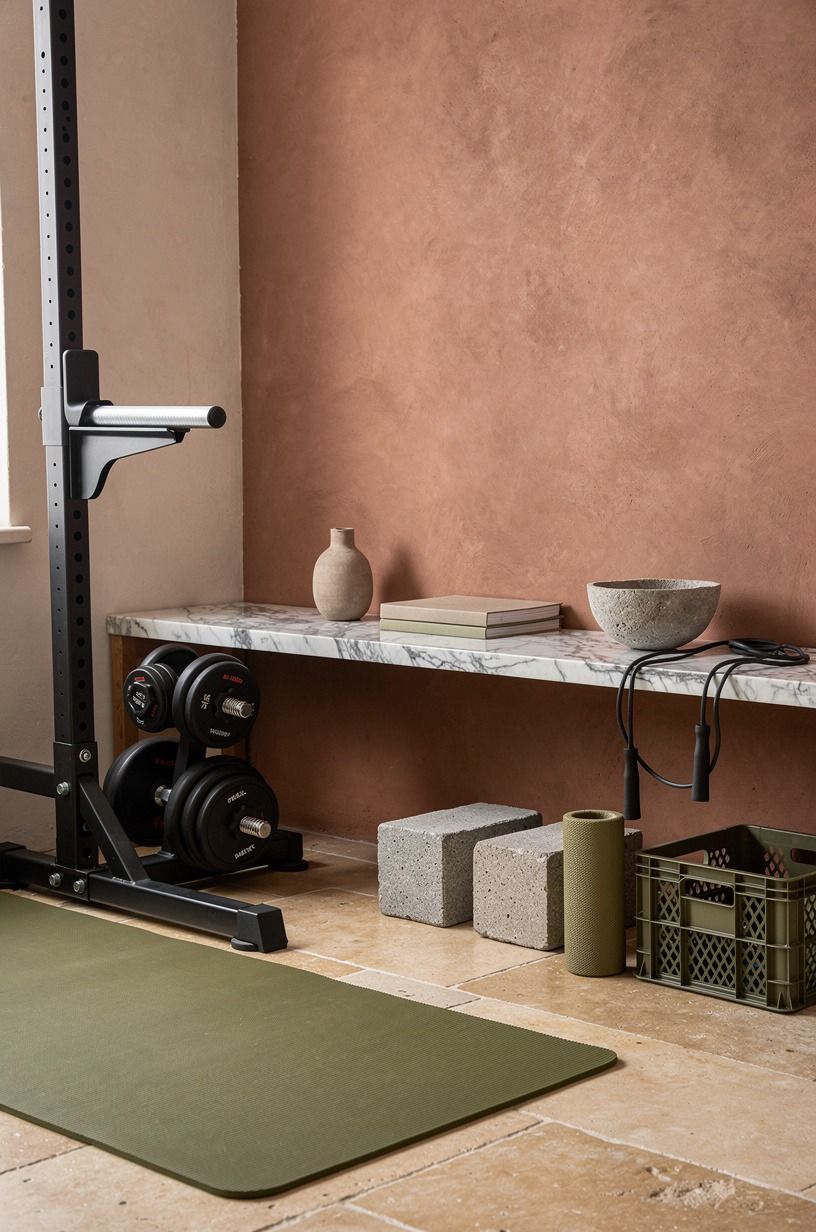
This is the section to screenshot. Here's what the tiers typically look like in the US, based on the ranges I keep seeing:
And the line items inside those tiers:
My rule after doing this twice: spend on the floor and the rack, cheap out on everything else. A resistance band set and a jump rope cover more workouts than any single machine, and they cost less than dinner out!
The budget tier is genuinely enough for years of training. The higher tiers buy comfort and looks, not better workouts.
9Do You Need a Cardio Machine at All?
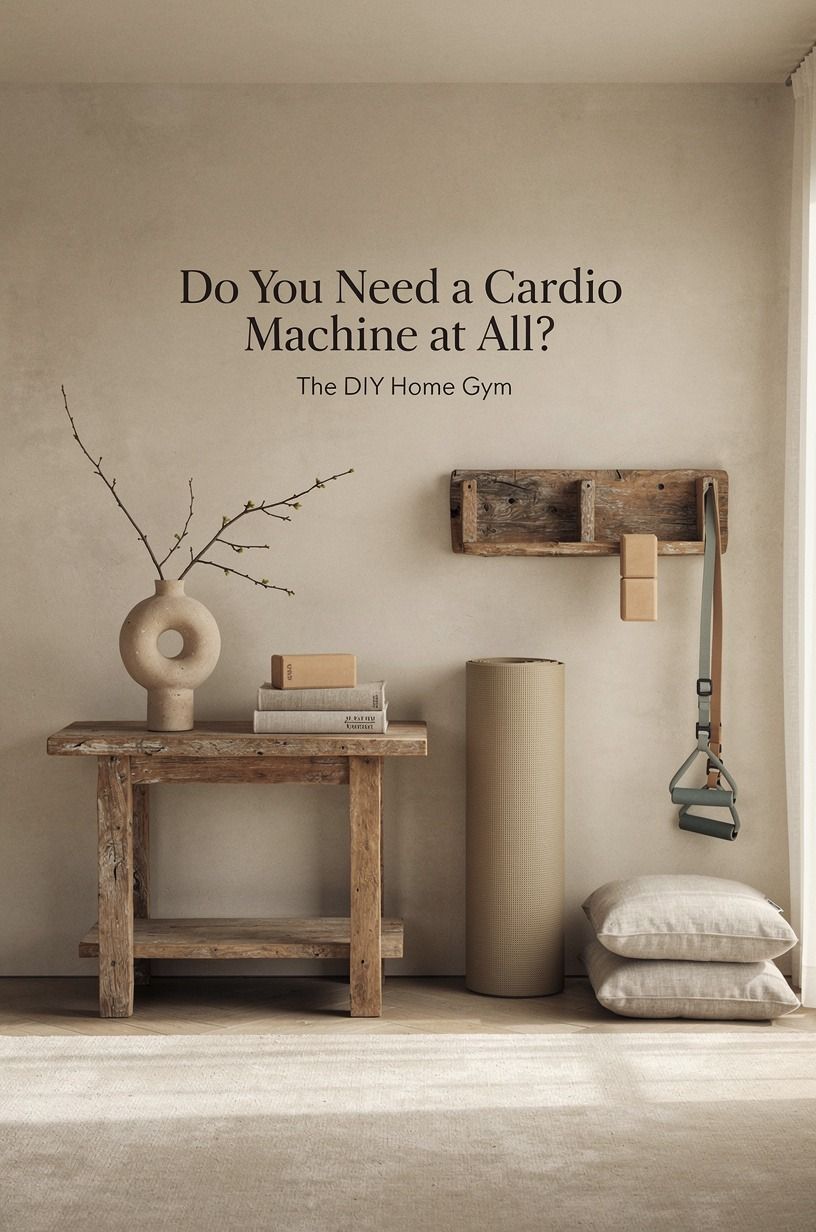
Short answer: probably not, at least not first. A cardio machine is the single biggest budget-killer in home gyms, and it's the item most likely to become furniture within a year.
You already own a cardio machine. It's called outside.
If you genuinely hate running, fine, but start with a jump rope and a month of honest use before you commit four figures to a treadmill. I've watched three friends buy machines in January and sell them by summer, every single time!
The exception I'll grant: if winter where you live is truly brutal and outdoor cardio isn't realistic, look at a used rower or bike on the second-hand market (section 13 covers that hunt). Used cardio gear is everywhere because of exactly the pattern I just described. Their abandoned resolution is your discount.
10The Overhead Clearance Check
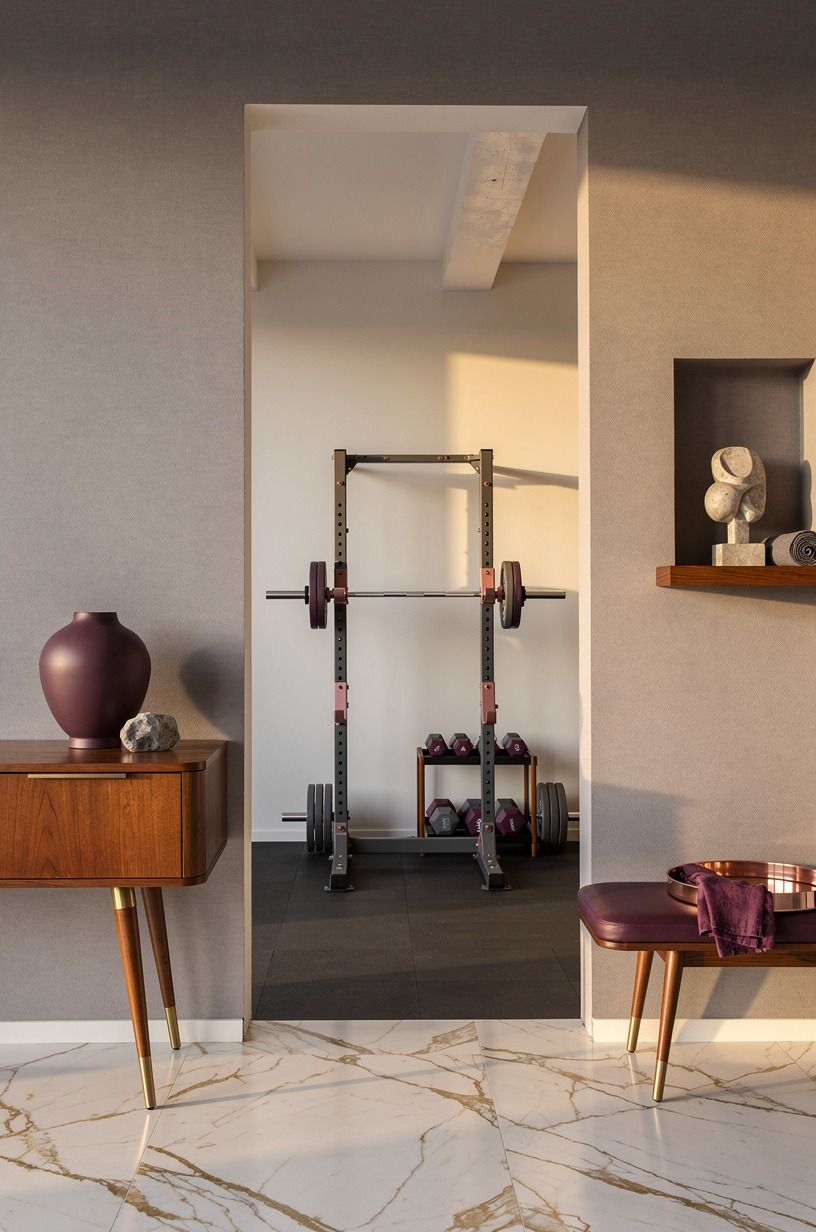
Before anything arrives at your door, measure your ceiling. You want 8 to 9 feet of clear height for jumping, overhead presses, and pull-ups, and a lot of basements fail this test by four inches, which is exactly enough to ruin the plan.
I made this mistake with a pull-up bar, drilling it into place before checking my head clearance on the way up. First rep, I nearly scalped myself on a duct. Measure with your arms fully extended overhead, then add six inches.
Low ceiling doesn't kill the gym, it just changes the menu. Floor presses instead of overhead presses, a kettlebell for swings at chest height, bands instead of pull-up work. You lose almost nothing, and you gain a room that doesn't fight you every session.
11Light It Like a Gym, Not a Basement
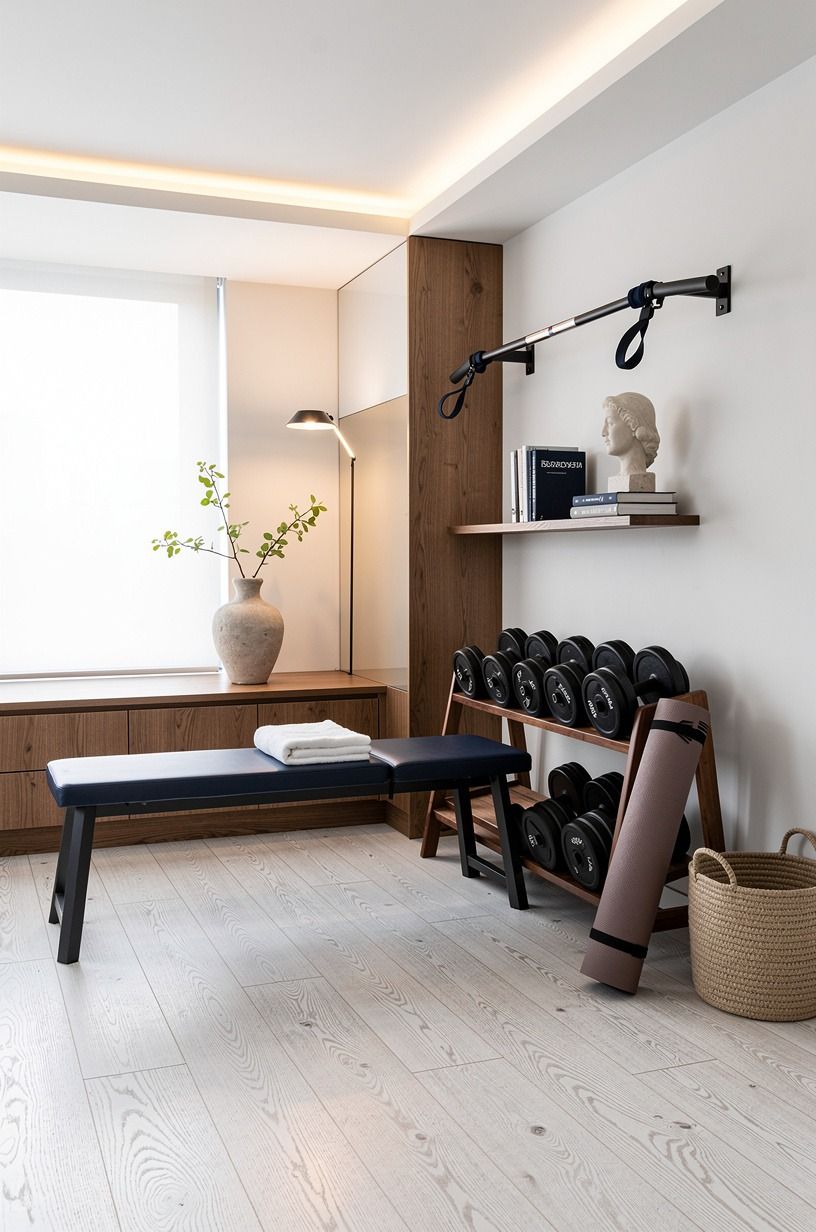
Overhead builder-grade lighting is why so many home gyms feel like punishment.
12The Pegboard Wall (Storage That Looks Intentional)
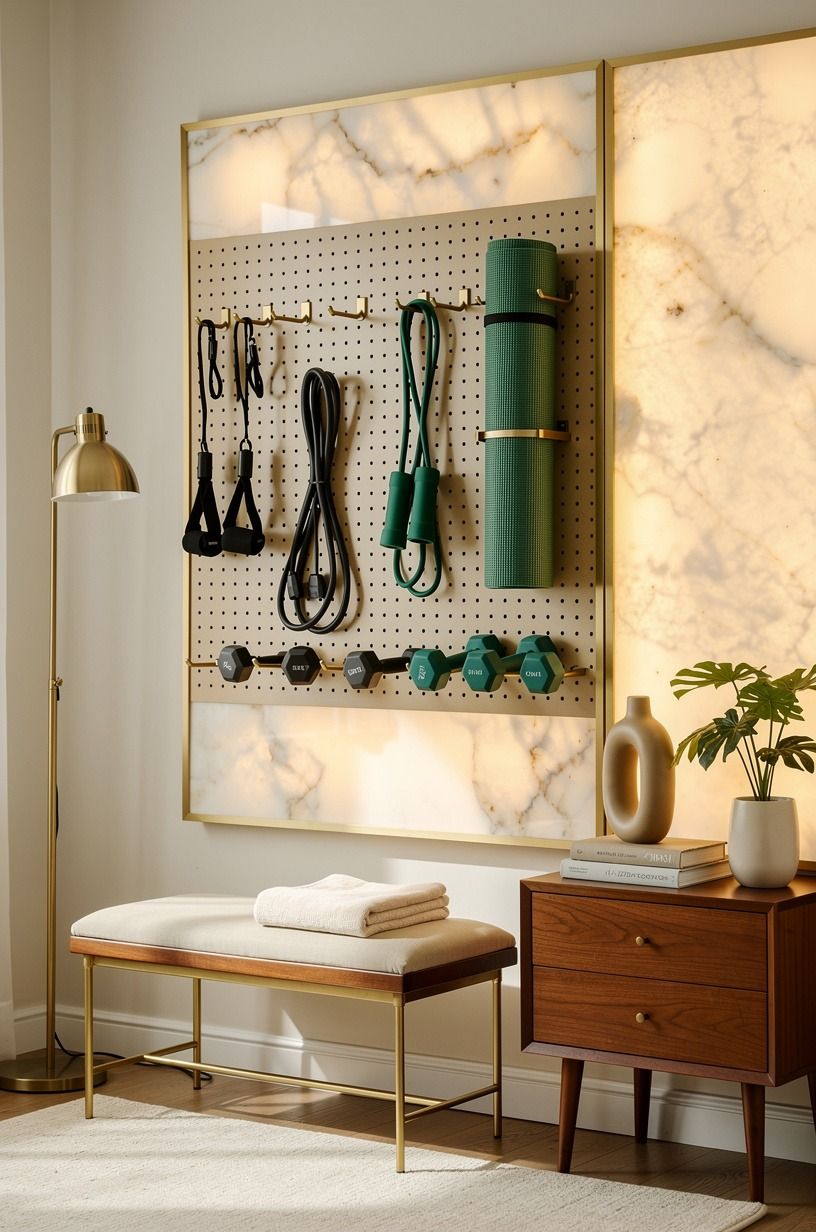
Floor clutter is what separates a gym from a pile of equipment, and the cheapest cure is vertical storage. A sheet of pegboard on the wall holds bands, jump ropes, lifting belts, and a towel, all visible, all off the floor, all grab-able mid-workout.
Paint it the same deep green as your accent wall (Studio Green works beautifully here) and the storage disappears into the design instead of looking like a workshop. Hooks cost almost nothing, and you can rearrange them as your gear collection grows.
The rule I'd give you: if it touches the floor between workouts, it needs a wall home. Kettlebells and dumbbells get a pass because they're heavy.
Everything else hangs. It takes one afternoon, and it's the difference between a room that looks maintained and one that looks abandoned.
13Instead of Buying New, Hunt Second-Hand
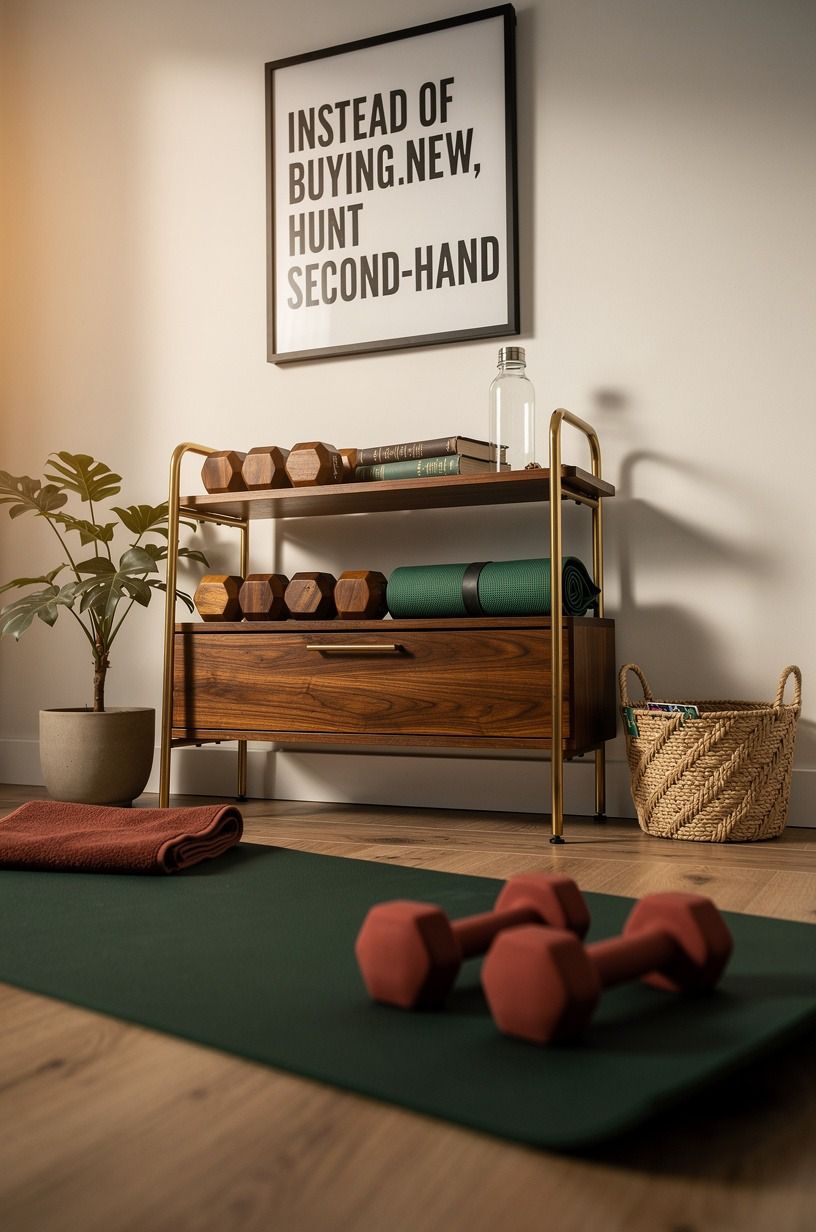
Here's the contrast nobody leads with: the best home gym deals aren't in stores at all. Iron doesn't wear out. A twenty-year-old weight plate works identically to a new one, and the second-hand market is full of barely-used gear from abandoned resolutions.
Search in late January and again in early summer, when people give up or move. You'll find racks, benches, and plate sets at half of retail, sometimes less. Bring a friend, check the welds on anything that holds weight, and walk away from anything with cracked rubber on cables.
The one thing I'd buy new is anything with a motor or a warranty that matters, plus your rubber flooring, because used mats carry smells you don't want. Everything else?
Used wins. My entire plate collection is second-hand, and not one plate has complained.
What I Got Wrong the First Time
I want to be honest about the money I wasted, because it was a lot, and it was all avoidable. My first home gym started with a machine.
A big, multi-station thing with cables and a leg developer and a lat bar, bought on a wave of January motivation because it looked like a real gym in the listing photos. I used it maybe a dozen times. The movements felt cramped, the resistance curve was weird, and it occupied so much floor that everything else I wanted to do had nowhere to happen.
I sold it a year later for about a third of what I paid, and the guy who picked it up told me he was buying it from someone else who'd barely used it. There's a whole economy of regret out there.
The second mistake was cheaper but dumber: foam floor tiles. They looked tidy for about two weeks.
Then the bench feet punched through, the tiles separated at the seams, and every workout ended with me re-assembling the floor like a jigsaw puzzle. Real rubber cost more upfront and has never asked me for anything since.
The third mistake was having no plan. I bought pieces one at a time, whatever was on sale, and ended up with gear that didn't fit the room or each other. If I'd drawn two zones on paper first and measured my ceiling before ordering, I'd have saved hundreds and months of annoyance.
So the lesson I'd hand you is boring but true: floor first, rack second, everything else last, and never buy a machine to feel motivated. Motivation follows a room that's easy to walk into. Build the room, and the workouts show up on their own.
The Questions Worth Answering First
What is the best DIY home gym setup for a small space?
A folding wall-mount rack plus adjustable dumbbells covers nearly everything in about 8x10 feet. The rack folds flat when you're done, and the dumbbells replace a full weight rack. Add a mat zone and you're done, no renovation required.
Where can I buy home gym pieces on a budget?
Start with Facebook Marketplace for racks, plates, and benches, since used iron works exactly like new. Big-box stores cover mats and mirrors, and IKEA handles storage basics cheap. Late January is prime hunting season, right when resolutions expire.
How much does a DIY home gym cost?
A typical budget build runs about $300 to $1,200 in the US, covering mats, a mirror, bands, and one rack. Mid-range with real flooring and lighting lands around $2,000 to $8,000. Planning the layout first costs nothing at all.
Can I build a home gym on a tight budget?
Yes, and the budget tier is genuinely enough. Rubber mats in an 8x10 zone, one mirror, a band set, and a jump rope covers months of real training for a few hundred dollars. Add the rack later when you know you'll use it.
Is a home gym worth it in a small space?
Absolutely worth it, and small spaces force better decisions. A dedicated 8x10 corner with a folding rack beats a big room full of random gear, because everything stays reachable. Keep the floor clear and the zone defined, and you'll use it more.
Is a DIY home gym a good idea for a rental?
Yes, as long as you stay no-drill where it counts. Loose-lay rubber mats, a free-standing or door-frame pull-up bar, and removable hooks for bands all leave zero damage. Skip the wall-mounted rack unless your landlord signs off in writing.
Where I'd Start First
If I had to pick one, I'd start with the floor. Good rubber underfoot makes a $300 setup feel serious, and bad flooring makes a $2,000 one feel like a garage sale. Pin this for later, then measure your 8x10 zone tonight.
title: 13 DIY Home Gym Ideas That Build One Without Spending a Fortune meta_description: Build a DIY home gym for $300 to $1,200 with 13 budget ideas that skip the junk. Real costs, layouts, and gear picks worth saving. Pin this for later. focus_keyphrase: diy home gym slug: diy-home-gym-budget-ideas


