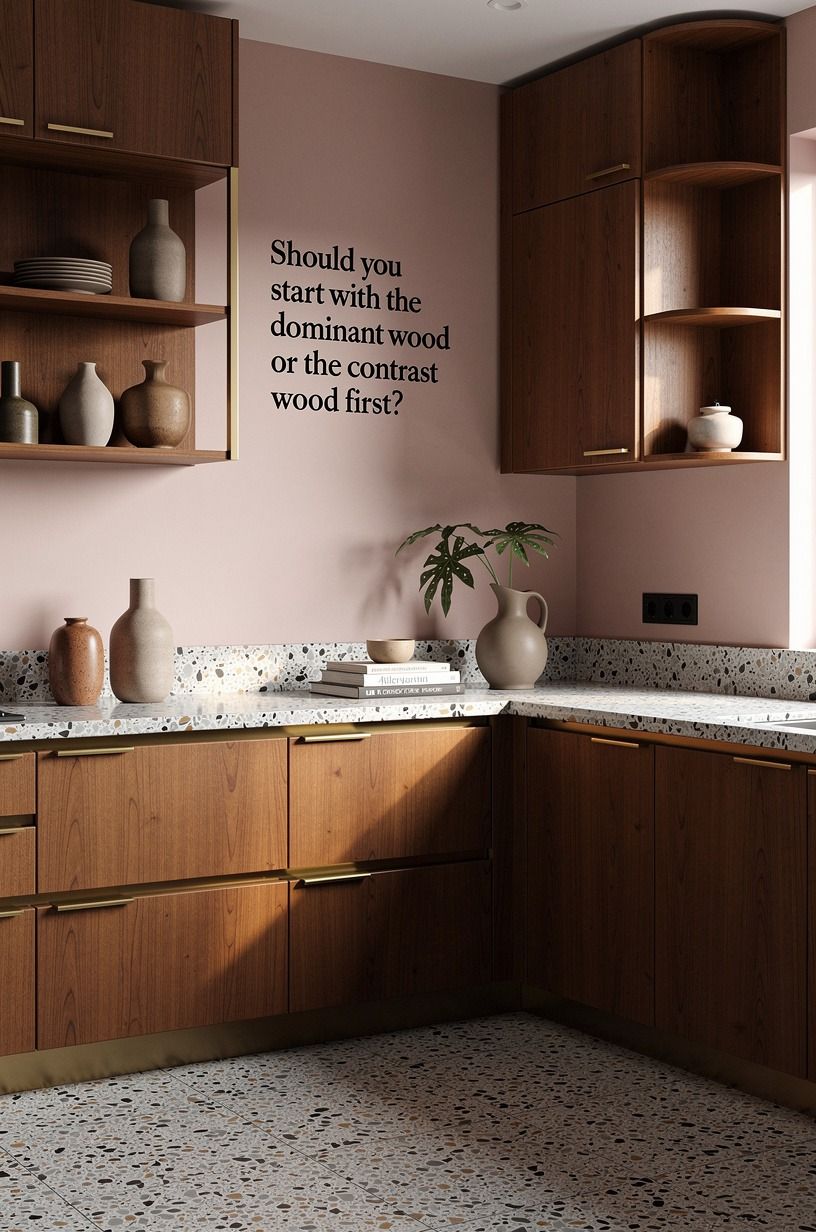
No-Fail Japandi Kitchen Wood Tones: Mixing Oak, Walnut & Birch Without Clashing
19 july 2026Mixing oak, walnut and birch in a kitchen sounds simple until you stand in the doorway and the room looks like three different apartments are fighting for the same lease. I've been there, more than once, and the fix isn't picking "the right wood." It's understanding how light, grain and undertone actually behave once they share a counter. Here's the no-fail way to do it.
- Should you start with the dominant wood or the contrast wood first?
- Layer walnut in as the contrast voice
- Use birch for the lightest note in the trio
- What if your kitchen already has two woods fighting?
- Match undertones, not wood species
- How do you know the mix works at every hour?
- Choose shaker fronts in oak over maple
- Keep the counter quiet so the woods can talk
- Float a chunky oak open shelf over walnut cabinets
- Skip the matching barstools, mix oak and black
- Paint the walls a quiet warm white, not a cool gray
- Run one continuous wood up the wall
- Build the Three-Tone Cutting Board Display
- Frame the window with a slim birch trim
- Hide the appliances behind oak panels instead of stainless
- Mix wood tones through the floor AND the cabinetry
- Anchor the island with a darker walnut base and oak top
- Use brass hardware as the bridge between all three woods
1Should you start with the dominant wood or the contrast wood first?
Anchor everything with one dominant wood first, before you mix anything. Most Japandi kitchens I've styled lean on white oak for the floors, the island base, or both. Once the dominant tone is set, the next two woods have something to react against, and the eye reads the room as one decision instead of a sample sale.
The whole space feels grounded, serene, and quietly intentional from the moment you walk in. If you're starting from scratch and need a floor-first anchor, my best wood floors guide walks through which oak tones actually hold their warmth under LED.
2Layer walnut in as the contrast voice
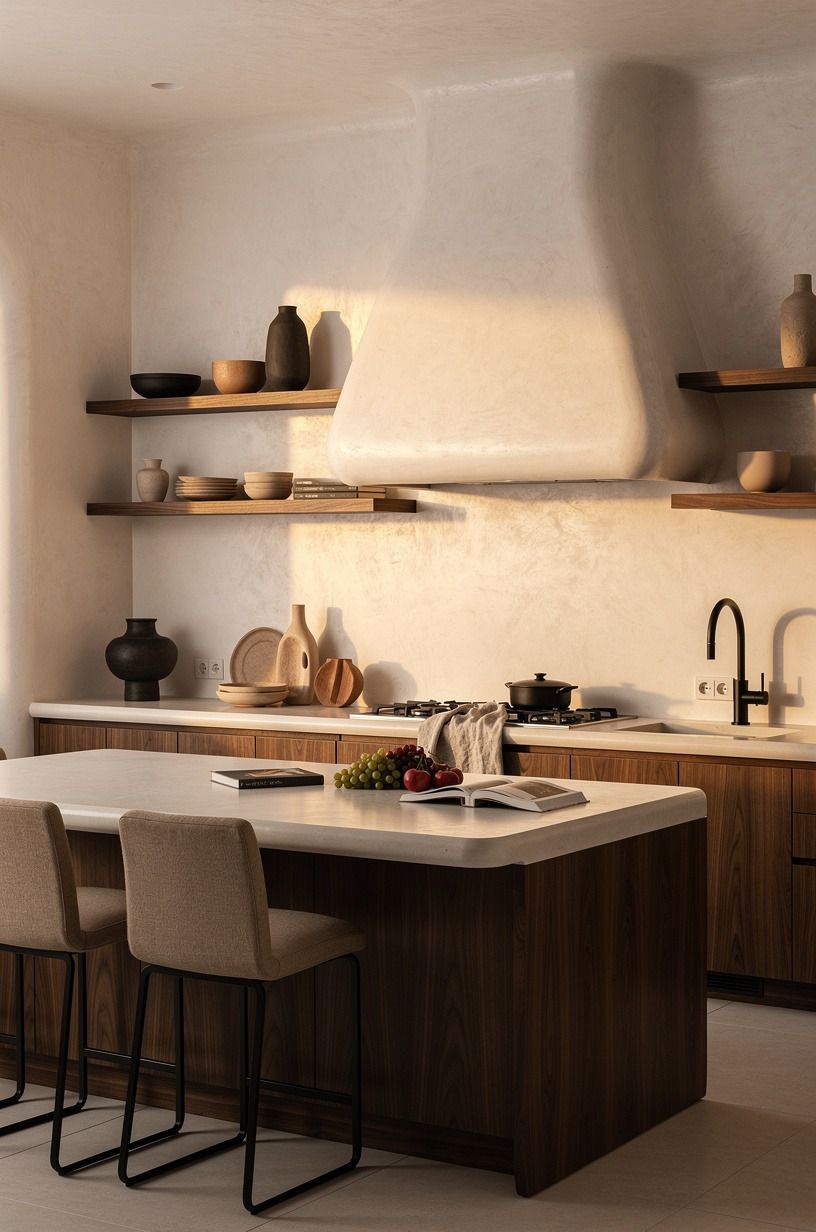
American walnut is gorgeous, but it drinks light. Put it on every cabinet and the room caves in by 4pm.
Use it as the smaller voice: open shelves, the cutting board leaned against the backsplash, the stool tucked under the island, a single drawer front on an otherwise oak run. That ratio is what gives you the cinematic Japandi mood without the cave, and it's the move that keeps walnut reading as warm chocolate rather than muddy espresso. For a deeper look at walnut's quirks, my mixing walnut in a Japandi kitchen piece is the follow-up.
And here's the part most people miss: walnut darkens more in sunlight than oak does, so a window-facing walnut shelf will be a full shade deeper than the same shelf on a shaded wall by year two. Plan for that!
3Use birch for the lightest note in the trio
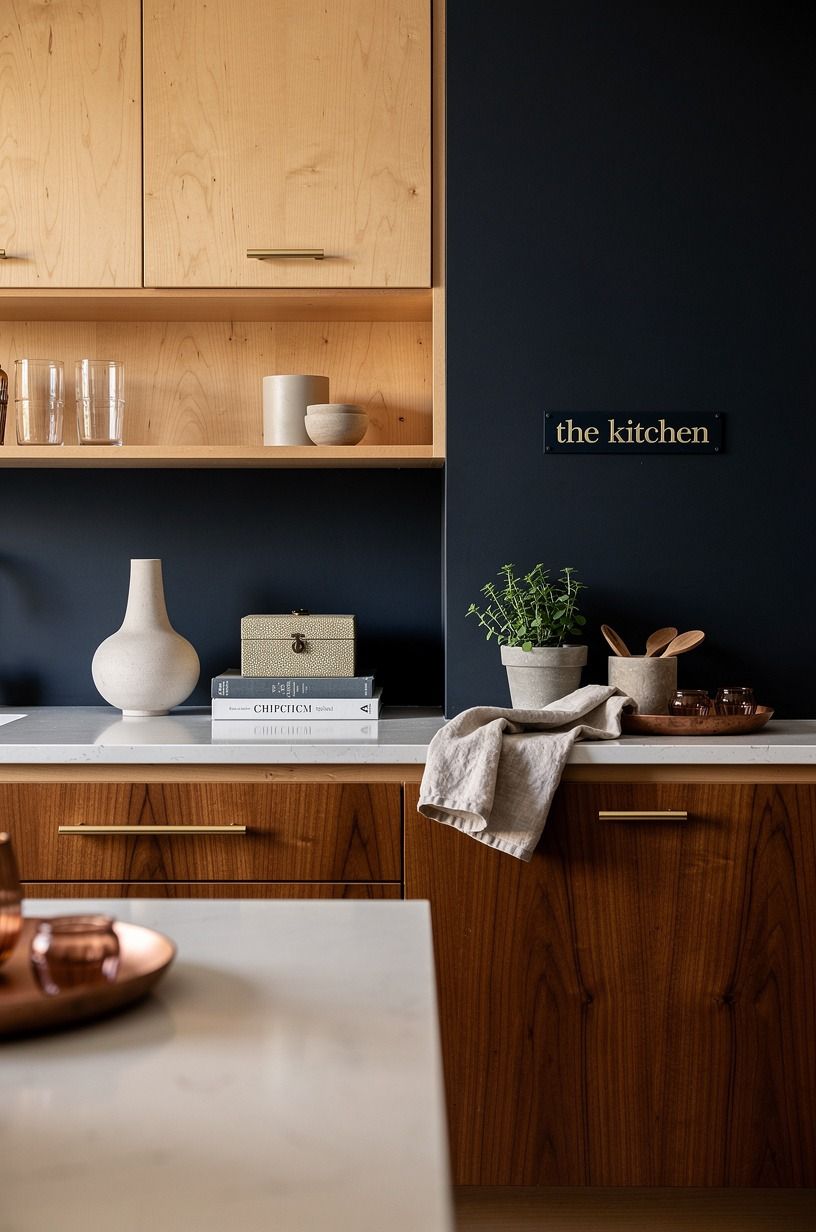
Birch plywood is the unsung workhorse here. It's pale, it's quiet, and it carries almost no orange undertone, which is exactly what oak and walnut need between them.
Try birch for the upper cabinet boxes, the inside of a glass-front up, or a slim floating shelf above the sink. The contrast feels intentional, not accidental, because birch sits closer to white than oak does, even when both are "light." And birch takes a clear matte seal beautifully: two coats of Waterlox Original and the grain glows without going plastic.
If you're after the lightest possible finish, Baltic birch with a whitewash pickling stain will pull the wood toward a Scandinavian white that lets walnut and oak own the warm half of the room. Skip birch for high-touch surfaces like counter tops, though: it dents under a cast-iron pan faster than oak does, and the dents show.
4What if your kitchen already has two woods fighting?
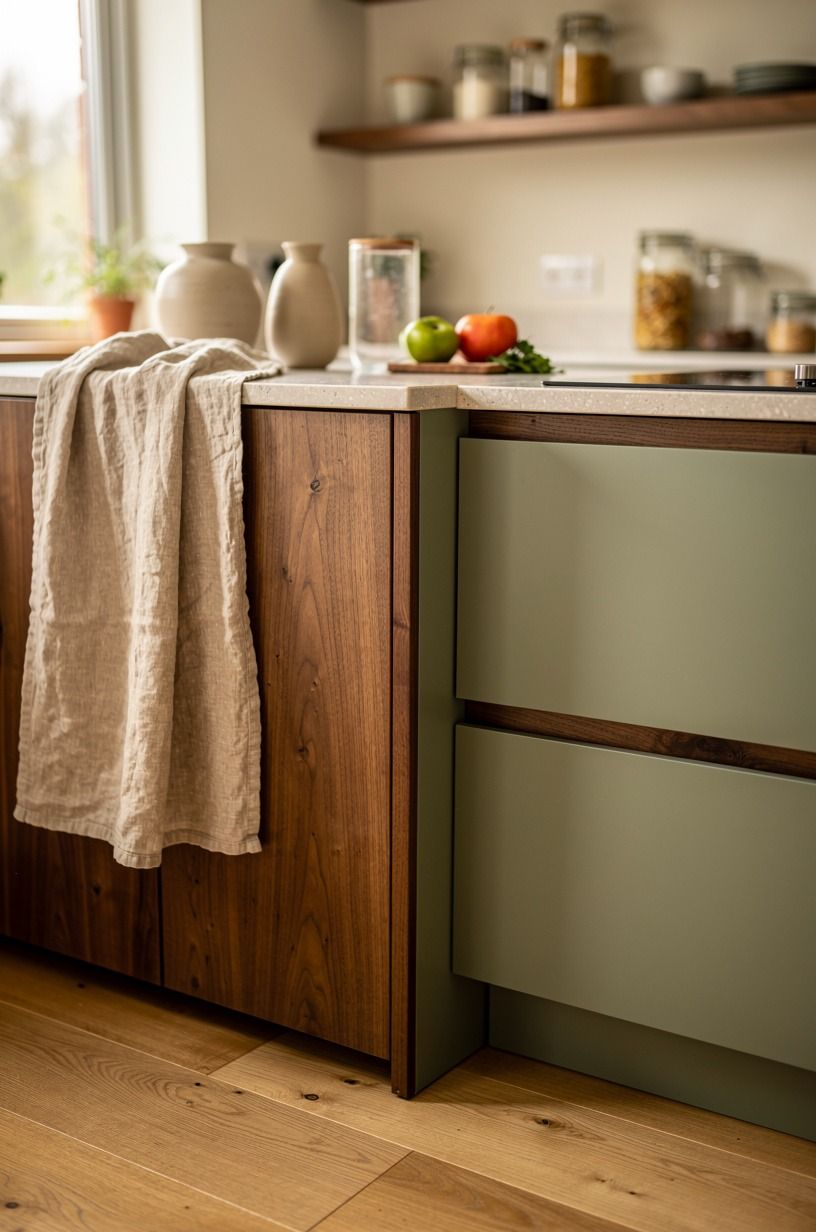
If the room already has oak floors and walnut open shelves, the third wood has to earn its place. The Two-Wood Rule I use on every Japandi job: the third wood must appear in three or fewer places, and all three must be in the same sightline. A birch stool, a birch tray on the counter, and a birch cutting board stacked together count.
A birch stool here, a birch shelf across the room, and a birch cabinet door twelve feet away don't. The brain reads scattered third woods as clutter, and the eye stops trusting the room. You want every sightline to feel curated, not chaotic.
If you're starting from a kitchen that already mixes two woods, my troubleshooting a mixed-wood kitchen guide walks through the fix without a full renovation.
5Match undertones, not wood species
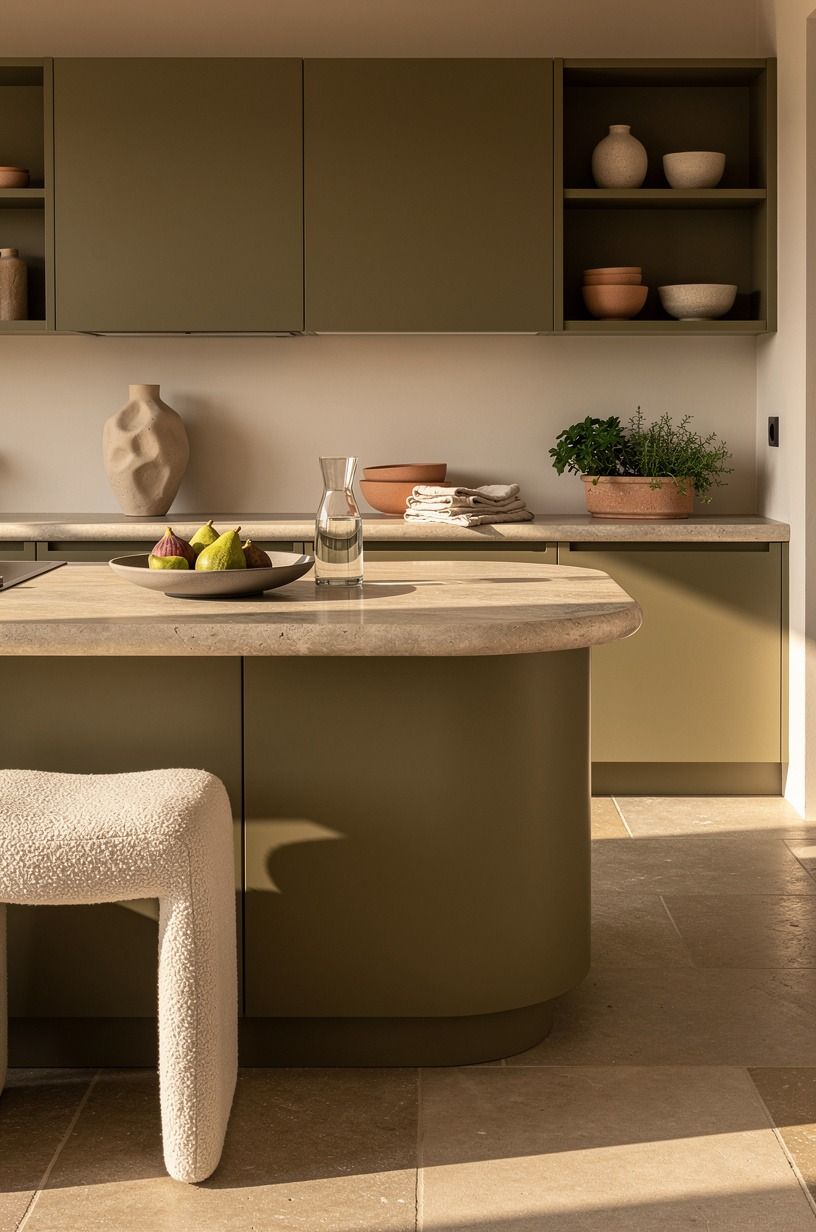
This is the part that saves you. White oak and European birch both lean a little cool-gray in their raw state.
American walnut leans a touch purple-brown. Pair walnut with maple or cherry and they'll fight the whole afternoon.
Pair walnut with a slightly cool oak and they shake hands. Always pull a sample of each wood, lay them side by side, and squint. If they share the same undertone family when the light is dim, they'll behave when the room gets bright.
For a deeper read on undertone theory, my paint and wood undertone matching guide is the cheat sheet.
6How do you know the mix works at every hour?
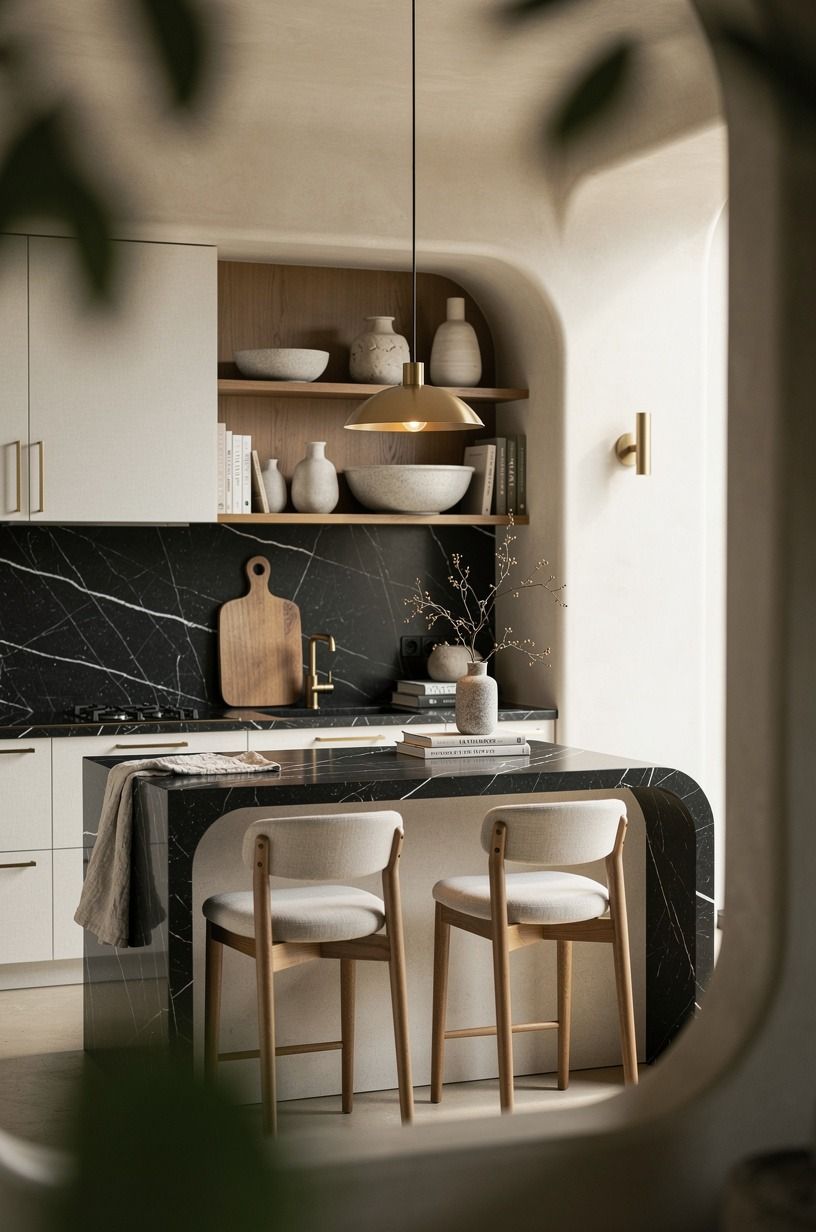
Most Japandi kitchens are wrong by 6pm, not by noon.
7Choose shaker fronts in oak over maple
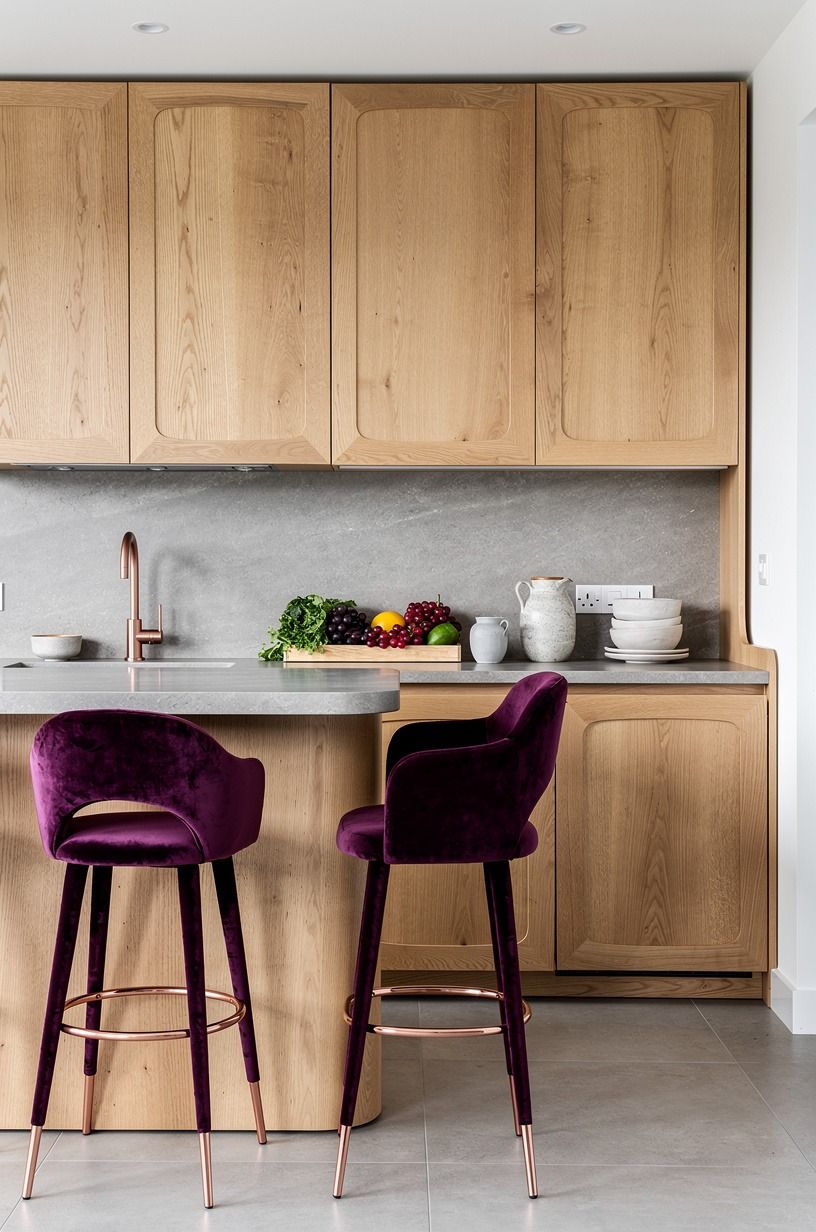
When you're repainting, the door style matters more than people think. Oak shaker fronts take paint beautifully and keep a visible grain even after two coats.
Maple shaker fronts go opaque and read as plastic under raking light, which is the opposite of the Japandi mood. If you're going painted, paint oak, not maple. If you're going natural, leave oak raw and seal it with a matte hardwax oil so the grain still breathes.
And the rail and stile profile matters: a 2-inch rail reads quieter than a 1.5-inch one, and the quiet profile is what carries the Japandi mood through. If you're prepping for paint, my painting oak cabinets without sanding walkthrough saves a full weekend.
8Keep the counter quiet so the woods can talk
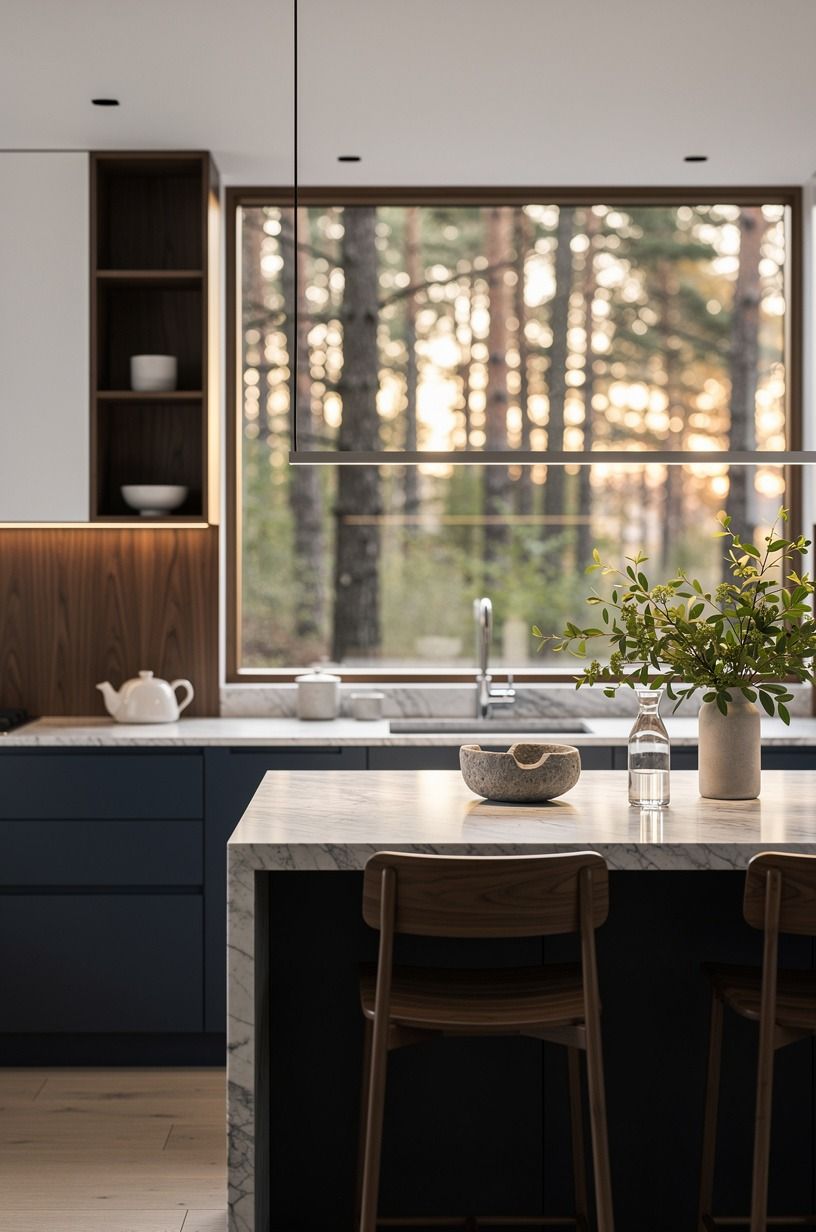
The biggest mistake I see with mixed-wood Japandi kitchens is a busy countertop. A heavily veined Calacatta Gold marble counter will fight oak and walnut at the same time, and you'll feel the noise every time you walk in.
Go quieter: honed white quartz, soapstone, or a low-vein quartzite lets the woods lead. The whole room calms down by a full register, and the kitchen starts to feel serene instead of busy.
And honestly, a quiet counter also makes cooking feel easier, because your eyes aren't working overtime between the chopping board and the surface underneath. A subtle, soothing slab is the difference between a kitchen that photographs well and one that feels inviting at 7am when you're half-awake.
If you're torn between two stones, my choosing a Japandi kitchen counter guide breaks down the trade-offs without the showroom pressure.
9Float a chunky oak open shelf over walnut cabinets
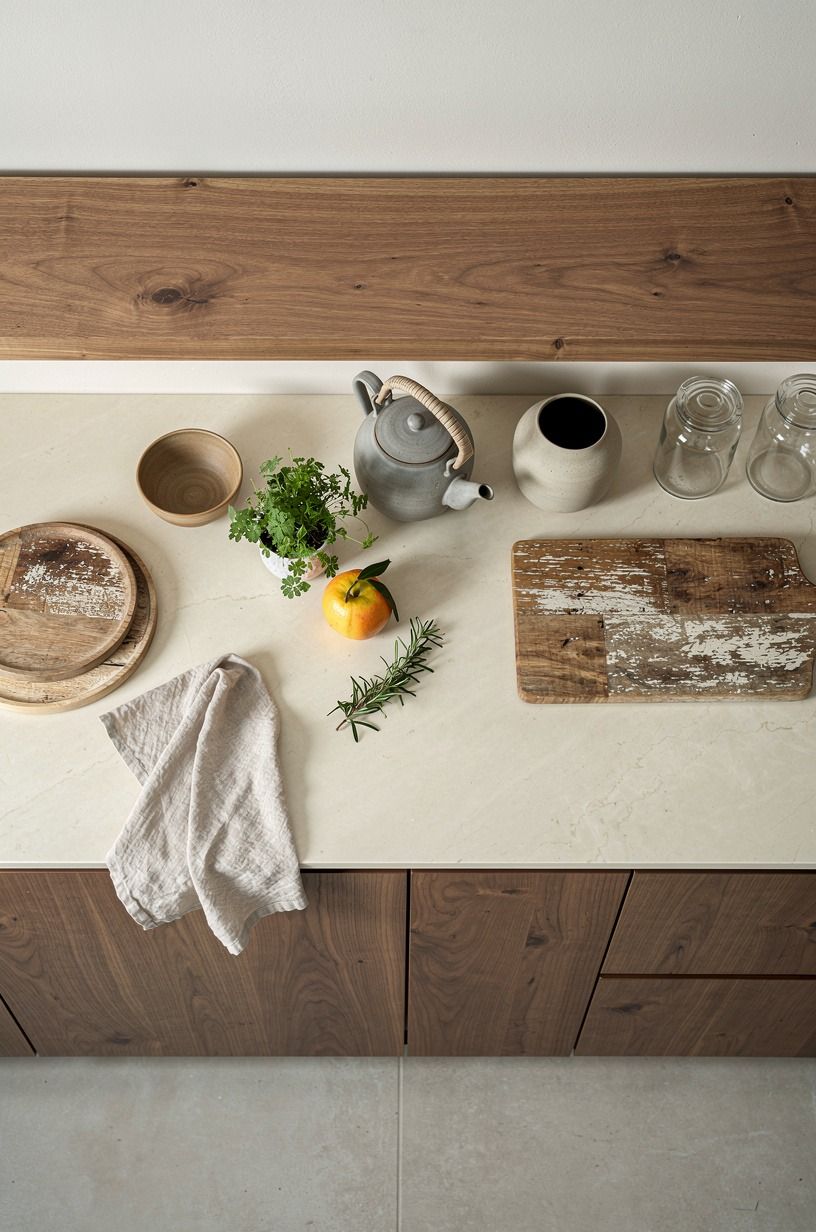
This is the move that gets photographed the most when I install it. A 2-inch thick white oak floating shelf, 36 inches long, mounted 18 inches above a run of walnut lower cabinets. The thickness catches shadow, the grain reads warm, and the walnut grounds everything underneath.
The shelf becomes a soft, calming focal point that makes the whole run feel elegant and intentional, not heavy. Use Kreg-style hidden brackets so the shelf appears to levitate, and oil it with Osmo Polyx-Oil in matte so it ages instead of yellowing.
If you're mounting into drywall instead of studs, my floating shelf on drywall guide covers the anchor math so it doesn't end up on your counter.
10Skip the matching barstools, mix oak and black
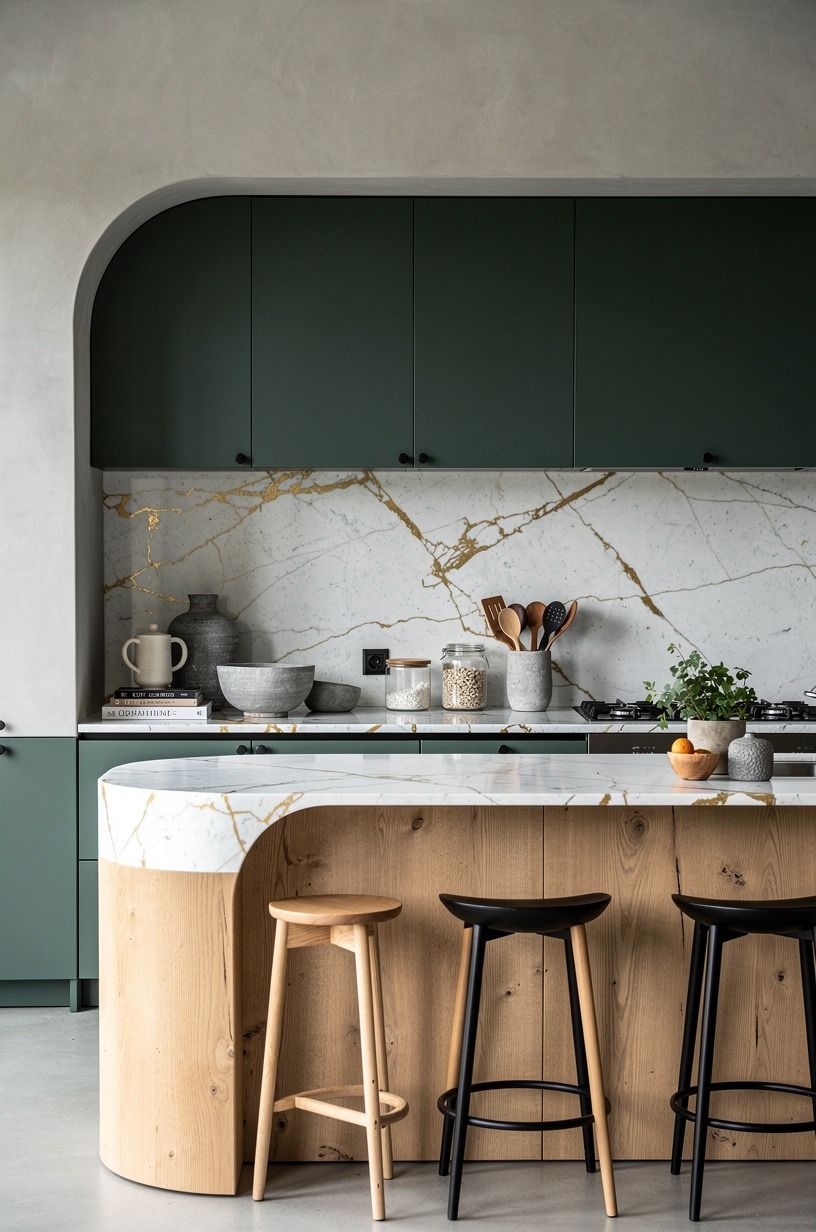
Matching stools in a Japandi kitchen make the island look like a showroom.
11Paint the walls a quiet warm white, not a cool gray
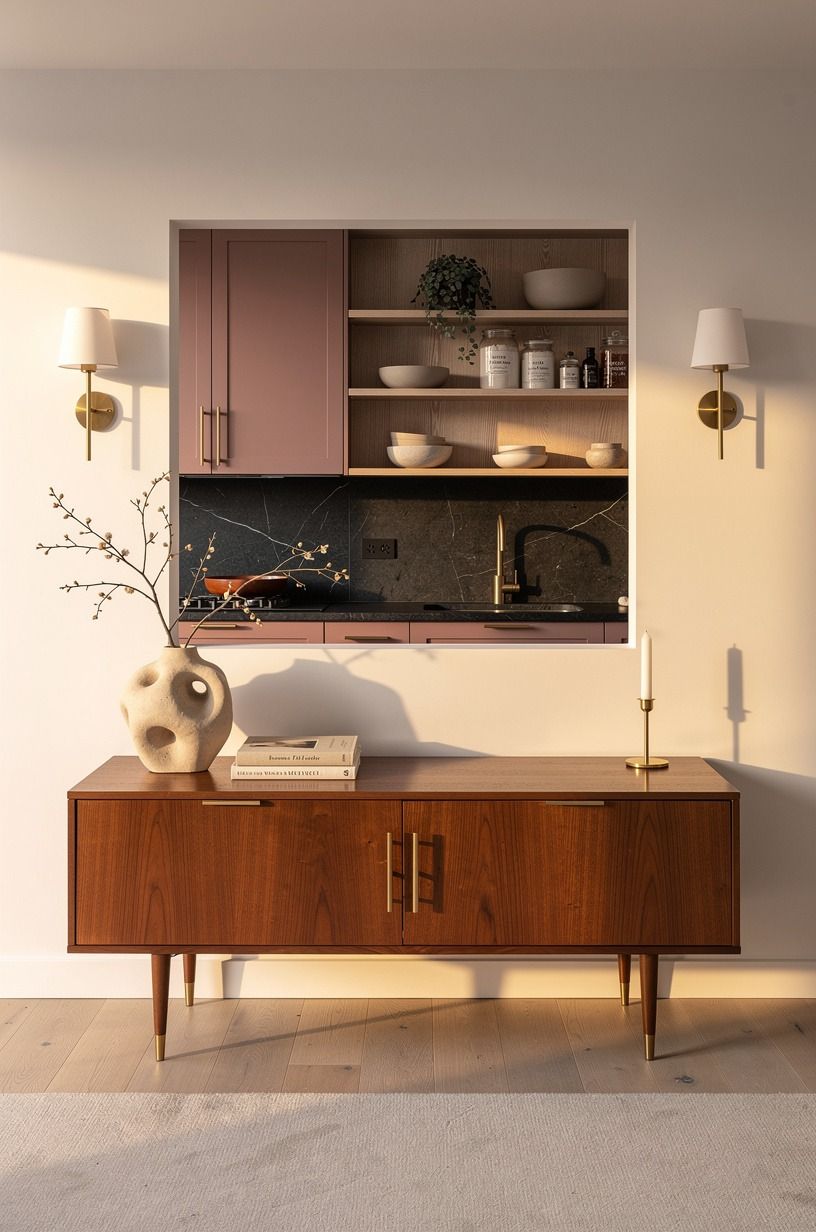
This is where most Japandi kitchens quietly fail. Cool gray walls push the oak gray and the walnut muddy. Go warm and quiet instead: Benjamin Moore White Dove (OC-17) is the move, or Farrow & Ball Joa's White if you want a touch more depth.
Both let oak read oak and walnut read walnut, and the room stays bright and welcoming without ever feeling cold or sterile. If you want a deeper, moodier room, Farrow & Ball Studio Green (No.93) on the island only is gorgeous, and it'll make the wood tones glow against it like a quiet jewel box.
For more Japandi-tested paint colors, my Japandi kitchen paint palette guide rounds up the eight that don't fight the wood.
12Run one continuous wood up the wall
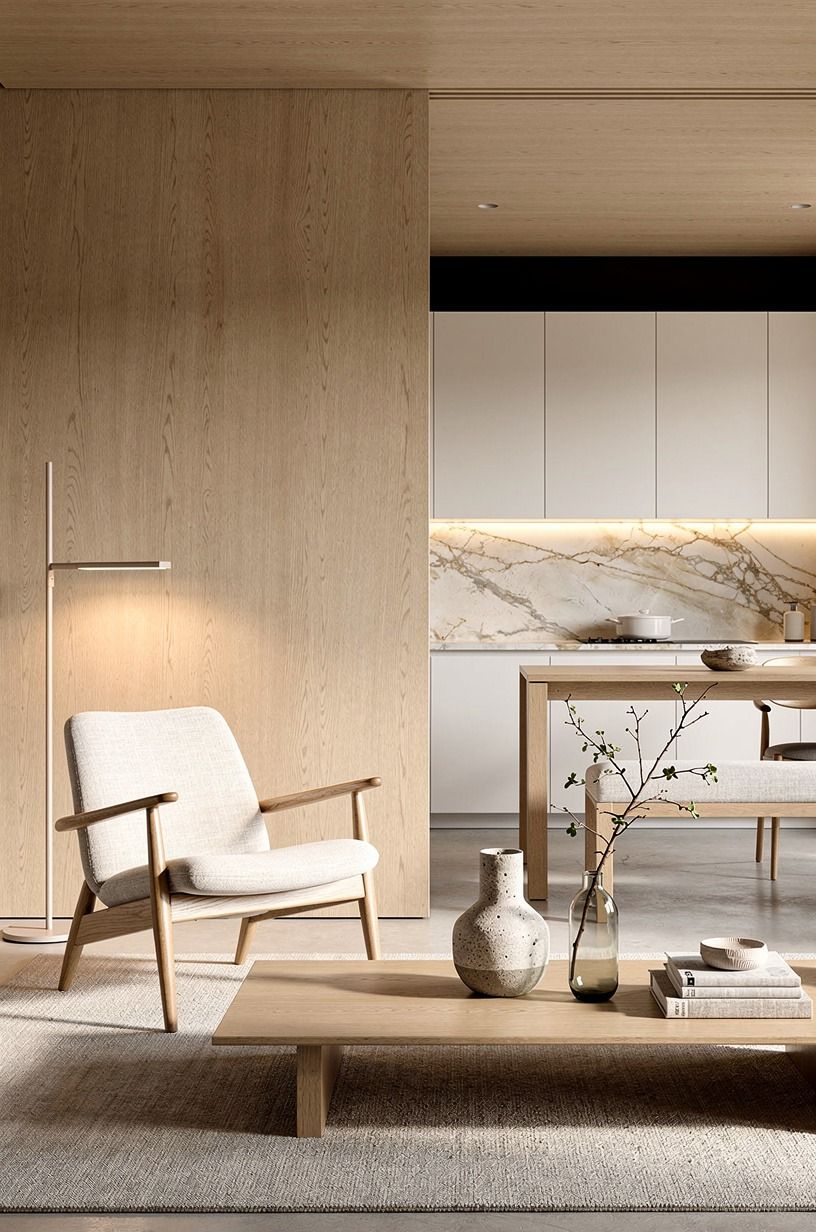
When you carry one wood up an entire backsplash-to-shelf wall, the eye reads it as architecture.
13Build the Three-Tone Cutting Board Display
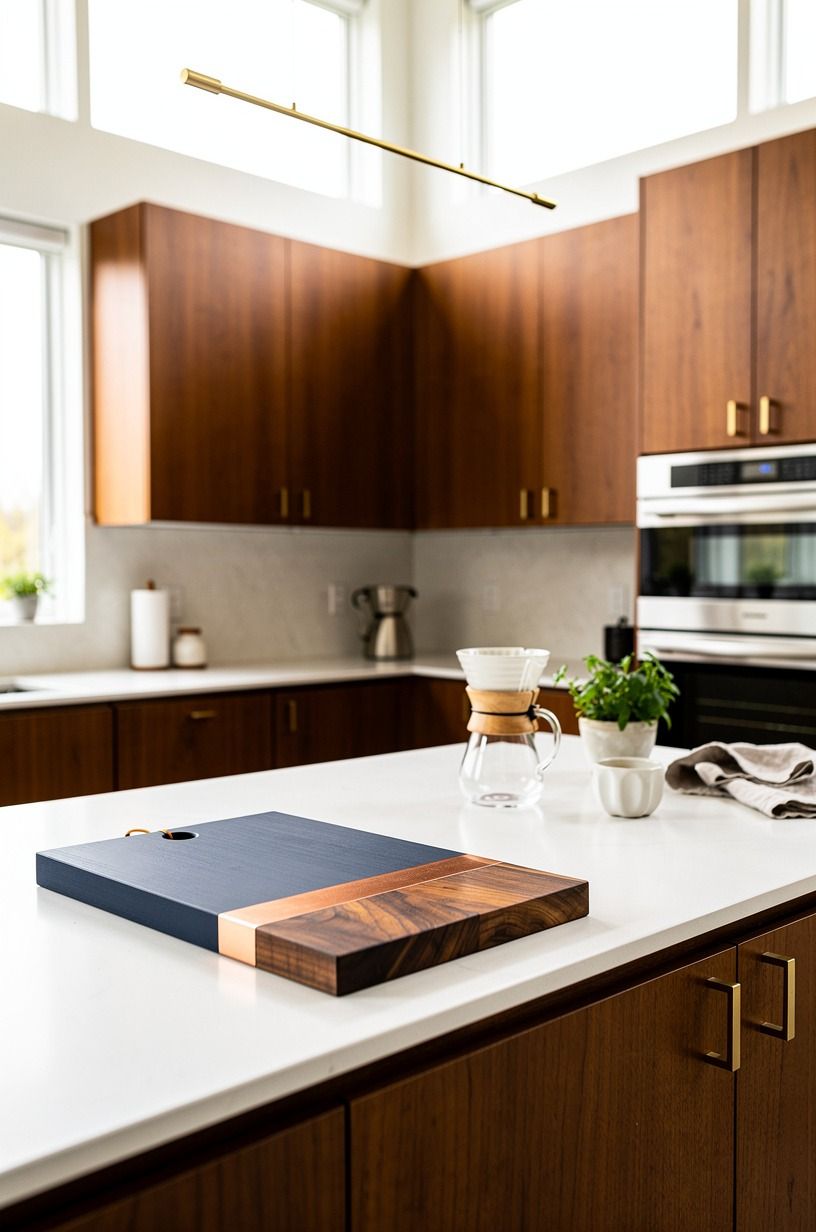
A small, repeatable styling move: on the counter, lean three cutting boards in oak, walnut and birch against the backsplash, biggest in back, smallest in front. That's it. One move, all three woods introduced in a single sightline, no commitment to a renovation.
I keep mine leaning next to the stove and rotate them by season. It also doubles as actual kitchen equipment, which is the whole Japandi point.
And the boards themselves do real work: the walnut board for bread, the oak board for cheese, the birch board for vegetables. No wasted space, no decorative-only objects stealing counter real estate.
14Frame the window with a slim birch trim
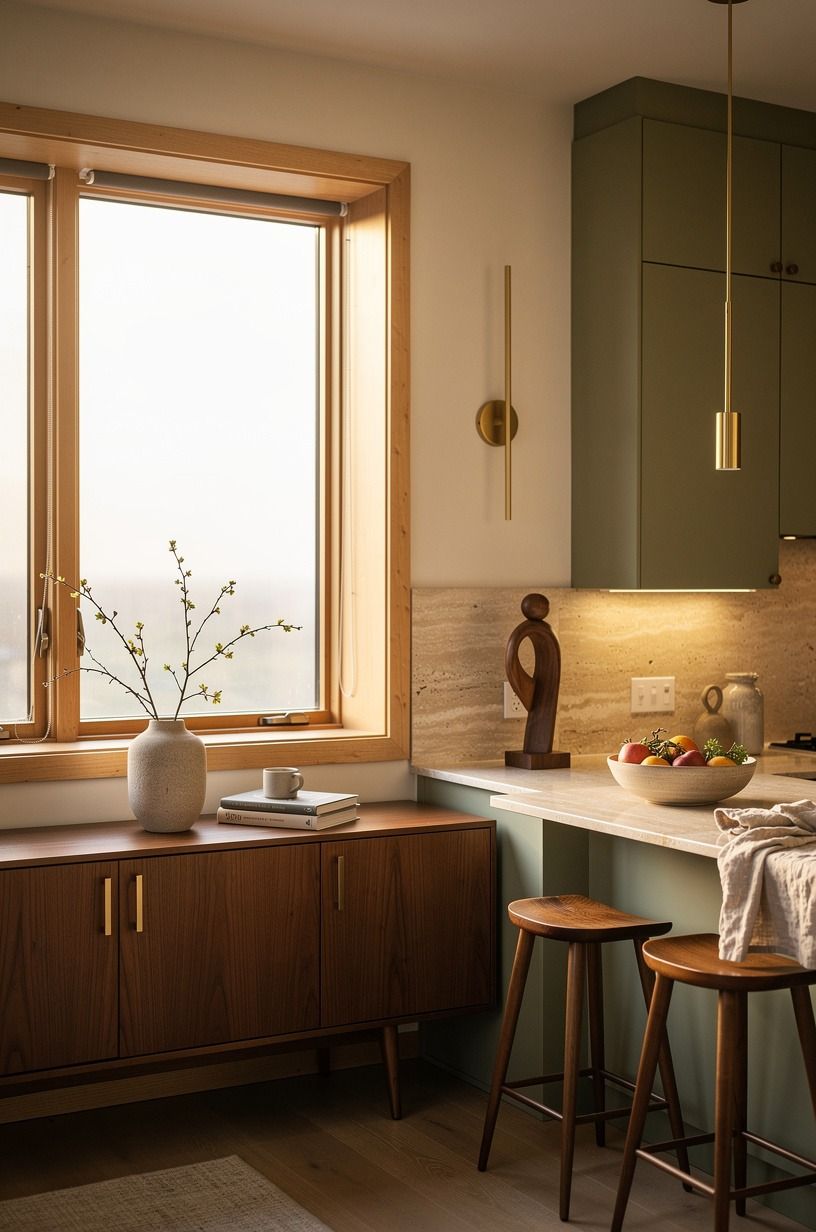
Windows get ignored in Japandi kitchens because everyone focuses on the cabinetry. But a 3-inch birch trim around the window frame pulls the lightest wood up high and balances the warmer oak and walnut below. It's a $60 job if you have a table saw, less if you don't, and it changes the room's center of gravity.
If you're renting, 1x3 birch primed MDF from any big-box store does the same job with no damage. Pair the trim with a slim linen roman shade in oatmeal or oat, and the window becomes the eye of the kitchen instead of an afterthought, a soft and welcoming focal point that brightens every morning you walk in.
15Hide the appliances behind oak panels instead of stainless
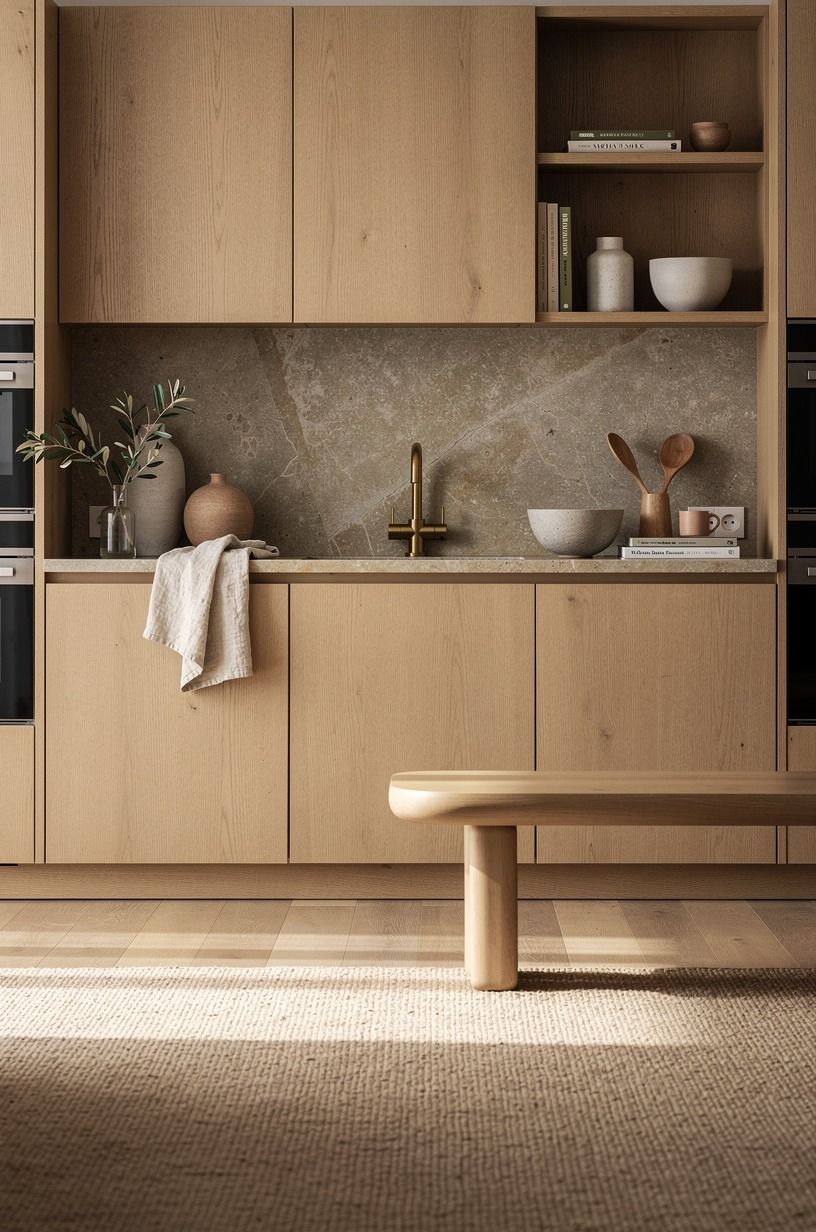
Stainless steel refrigerators and dishwashers interrupt a wood-tone Japandi kitchen like a trumpet in a string quartet. Integrated oak panels on the fridge, a birch tambour door on the dishwasher, and the room suddenly feels built, not assembled.
IKEA's KUNGSBACKA fronts in oak are a solid starting point and they fit the standard kitchen cabinet dimensions. If the panel route is too big a project, a sliding barn-style oak door that covers the appliance wall is the half-commit that gets you 80 percent of the look. For a full breakdown of integrated panel pricing, my integrated appliance panel cost guide lays it out by brand and finish.
16Mix wood tones through the floor AND the cabinetry
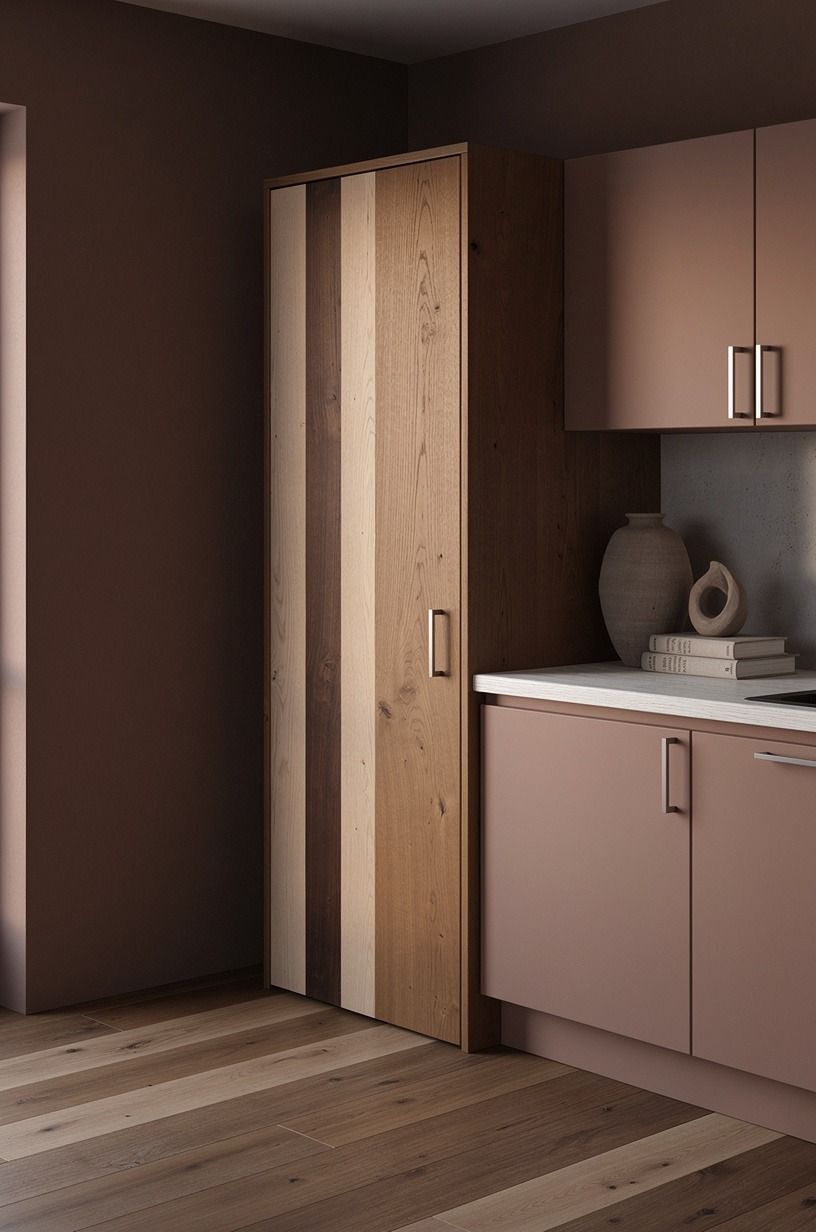
This is the upgrade that ties everything together when the rest feels close but not quite. If your floor is one tone (say, oak) and your cabinetry is another (say, walnut), the eye catches the seam at the toe kick every single time.
Engineered white oak in a slightly different grade, laid in the same direction as the original, blends the transition. Most landlords and HOAs won't fight engineered wood in the same tone, either. And this approach works in reverse too: if you've already got one wood floor and you're adding cabinetry in a different tone, picking a floor vent or threshold in a third wood (say, walnut) is a $40 way to nod to all three woods in the room.
Worth doing!
17Anchor the island with a darker walnut base and oak top
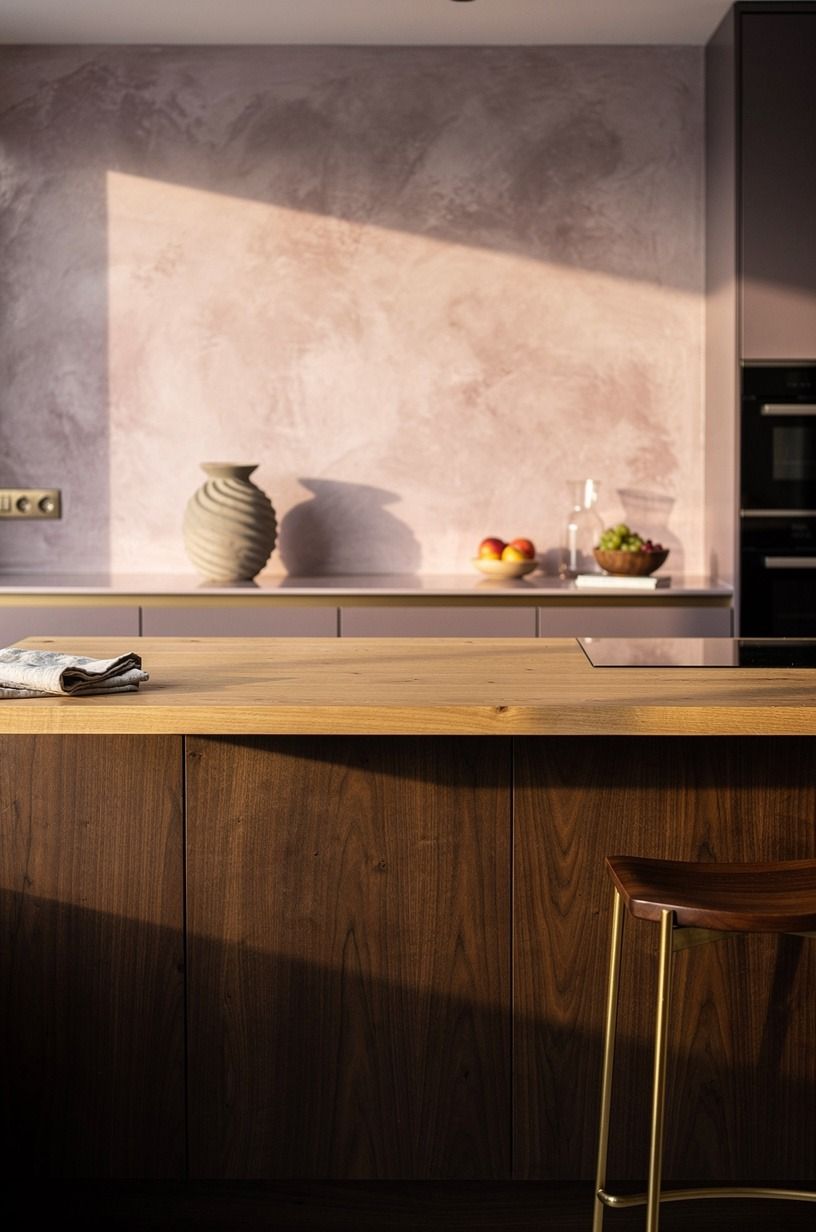
Most Japandi islands get the wood tones backwards: oak base, walnut top. I learned this one the hard way.
A walnut base feels heavier at the floor, like the island is rooted, and the oak top catches the eye-level light. Flip it and the island feels like it's floating off the floor in a way that doesn't read as Japandi, it reads as modernist.
Same woods, same room, totally different energy. Article's Salla walnut console has the right walnut tone if you want to test the base look before committing to a custom build.
And if you're working with a small island, the same principle applies in reverse: lighter wood on the bottom, darker on top, just at a smaller scale. The eye reads the same gravity either way.
18Use brass hardware as the bridge between all three woods
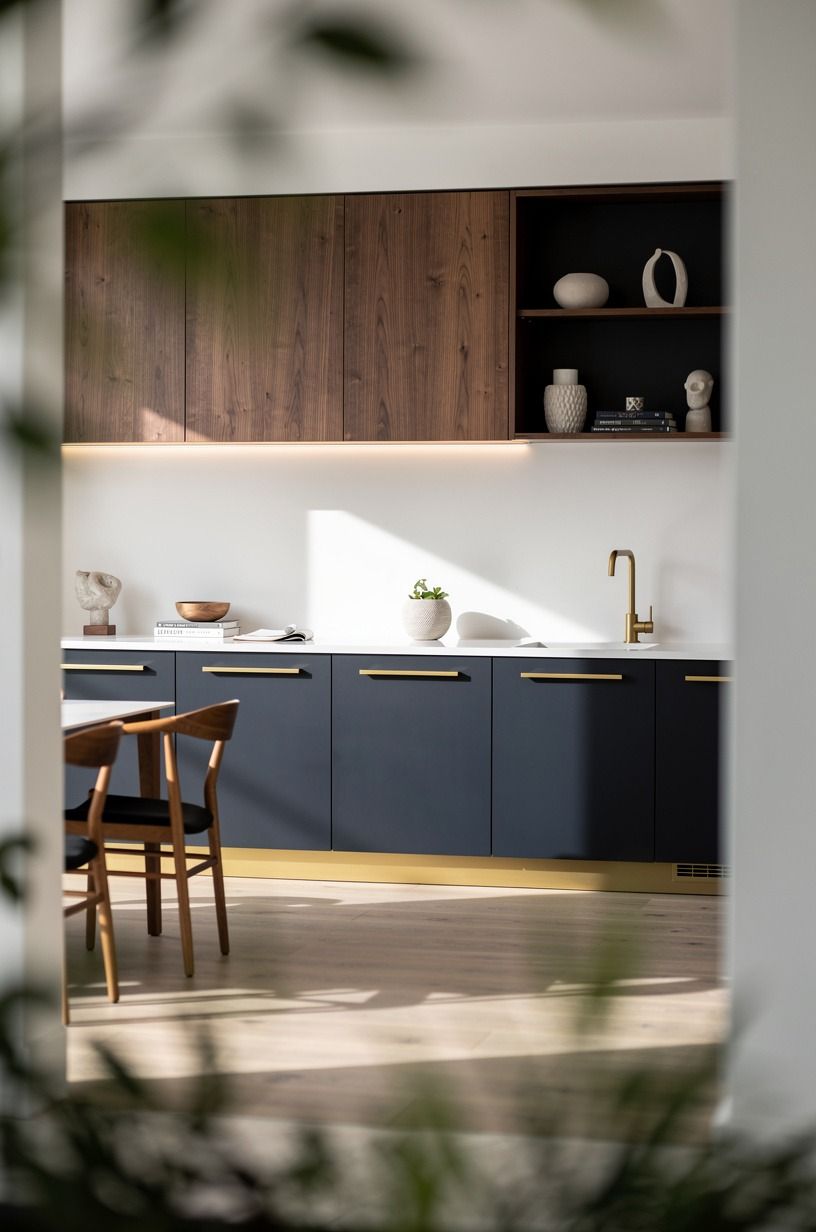
The single best unifier for a three-wood Japandi kitchen is unlacquered brass hardware. Brass carries the warm undertone that oak and walnut share, and it picks up a soft patina that birch benefits from. The patina is what makes the kitchen feel organic, lived-in, a little luxurious without shouting about it. Rejuvenation's streamline brass pulls in 5-inch length or CB2's brass cup pulls do the same job for less.
Keep all the hardware in the same finish across the room: cabinet pulls, faucet, the apron-front sink, even the stove knobs. One metal, one undertone, three woods that finally look like they belong together, harmonious and elegant at once. And do not, I repeat do not, mix brass and black hardware in the same kitchen.
The eye reads it as two decisions competing, and the room loses the cohesion you're trying to build. Pick one metal family and run it wall to wall!
For the brass care routine, my maintaining unlacquered brass in a kitchen guide is the follow-up read.
The Quiet Philosophy Behind Every Japandi Kitchen That Actually Works
Most Japandi kitchens I've walked into feel off for the same reason: they're trying to be three rooms at once. The owner falls in love with a walnut island on Pinterest, then an oak floor at the showroom, then a birch shelf at a friend's house, and by move-in day the kitchen is doing something no single human would have designed.
The deeper rule, the one underneath all eighteen moves above, is that Japandi isn't really about wood tones. It's about restraint.
The whole tradition rests on the idea that a room should breathe, that you should be able to see one thing clearly without three other things talking over it. Wood tone is just the loudest instrument in that orchestra.
So when you mix oak, walnut and birch, you're not really picking colors. You're deciding who speaks, who supports, and who stays quiet.
The dominant wood is your lead voice. The contrast wood is your harmony. The third wood is the breath between phrases.
Get the ratio right and the room feels inevitable, like it could only have been built this way. Get the ratio wrong and you'll feel a low hum every time you walk in, even if you can't name what's bugging you.
I've also noticed that the homes that pull this off tend to be the ones where the owner let one wood age. They didn't seal everything to museum-grade perfection.
The oak pickling faded into something warmer over a year. The walnut oxidized a touch darker.
The birch yellowed at the edges from morning sun. A Japandi kitchen should look better at month twelve than at week one.
If yours looks "done" on day one, you've probably over-finished it.
And honestly, if I had to point to the one move that separates the kitchens that look pulled-together from the ones that look assembled, it's the brass hardware. People obsess over the wood.
They forget that the eye reads metal before it reads wood. Get the brass right, in unlacquered not polished, and the three woods suddenly have a shared temperature.
Skip that step and the wood mix will keep nagging you forever, no matter how many times you rearrange the cutting boards.
If you're renovating a kitchen and you're stuck between two of the woods (oak and walnut is the classic standoff), go with the one that matches the light in the room you'll cook in most. North-facing kitchens want the warmth of walnut to fight the cool light.
South-facing kitchens can take the lightness of oak without washing out. The wood doesn't care about the trend.
It cares about the sun.
The Questions I Get Asked Most
What is the best wood mix for a small Japandi kitchen?
For a small kitchen, I'd start with white oak as the dominant tone, walnut as the contrast, and skip the third wood entirely until you've lived with the room for a month. Two woods in a 60/40 split reads cleaner in a tight footprint than three. A small kitchen doesn't have the wall space to absorb a third tone without crowding.
If you do want a third wood in a small space, run it on a single vertical element, like a slim birch floating shelf above the sink, so the brain reads it as an accent, not a fourth wall.
Where can I buy Japandi wood-tone pieces on a budget?
The honest answer is a mix of three sources. IKEA carries solid oak in the KALLAX and GERTON lines, plus oak-veneer options in the kitchen cabinet program.
Article does solid walnut and oak furniture at mid-tier prices, and they ship flat-packed. Target's Threshold line has birch shelves and oak accents that punch above their price. For second-hand walnut and oak, Facebook Marketplace is unreal right now, especially for butcher block counters and islands that just need a light sand and a coat of Osmo oil.
Skip the wood-tone "look-alike" melamine from big-box stores, it never photographs well and it chips within a year. For more sourcing options, my Japandi kitchen shopping sources guide rounds up the best US and Canadian shops.
How much does a Japandi wood-tone kitchen makeover cost?
Most Japandi kitchen makeovers I'm asked about run $3,000 to $12,000 for a refresh (repainted fronts, new hardware, a wood-tone island top, lighting) and $25,000 to $60,000+ for a full remodel with new cabinets and counters. The good news is that the highest-impact moves are the cheapest: repainting existing oak cabinets, swapping to unlacquered brass hardware, and adding one floating oak shelf will run you about $300 to $1,500 and change the room completely. If you're only doing one thing, do the hardware swap first.
Can I create a Japandi wood-tone kitchen on a tight budget?
Yes, and the cheapest path is also the most forgiving. Free: rearrange what you own, lean three wood-tone cutting boards against the backsplash, swap cabinet pulls for unlacquered brass, paint the island a moody color like Farrow & Ball Studio Green.
Cheap ($20-$60): add a single birch floating shelf from IKEA, oil your existing wood counters with Howard Feed-N-Wax, replace plastic accessories with wood and brass. Worth the splurge ($150-$300): one solid walnut or oak butcher block island top from IKEA's KARLBY line, which fits standard cabinet bases and lasts decades.
Is a Japandi wood-tone mix worth it in a small kitchen?
It's almost more worth it in a small kitchen than a big one, because the room has less space to dilute the effect. Every sightline becomes a wood-tone decision, which sounds intimidating but actually makes the room feel more considered. The single best small-kitchen move is to keep all the wood tones within one undertone family (warm-cool, warm-cool) so the eye doesn't get pulled around.
And if your kitchen is under 80 square feet, I'd skip the third wood entirely. Two woods at 70/30 reads cleaner than three at 50/30/20 in a tight footprint.
Is a Japandi wood-tone kitchen a good idea for a rental?
It's one of the best styles for a rental because none of the moves need to be permanent. Peel-and-stick wood-grain vinyl in oak or walnut on the existing countertops (renter-safe, pulls off cleanly with a hair dryer). Tension-rod wood shelves between cabinets for extra storage without a single screw.
Freestanding walnut or oak islands on locking casters that roll with you to the next place. Command-strip brass hooks for hanging utensils.
The only thing I wouldn't do in a rental is paint the cabinets dark, because you'll fight to repaint them back to white when you leave and that's a long weekend nobody needs. For the full renter-friendly Japandi playbook, my Japandi kitchen renter guide is the deep dive.
The One I'd Do Tonight
If I had to pick one, I'd start with the brass hardware swap. You can do it in afternoon for under $200, and the wood mix finally feels like one room. Pin this and grab my brass hardware buying guide before Saturday!


