Rental Walls Screaming for Help? 12 No-Nail Christmas Light Fixes
10 november 2026Christmas lights can make a rental living room feel festive until the first strip pulls away a patch of paint. We worked from a 36-by-80-inch doorway and a window recess, comparing clear clips, tension rods and existing curtain hardware.
The most useful starting point is a roughly $9.69 pack of purpose-made clips on sound, smooth paint. For delicate walls, a rod-based display keeps the seasonal glow off the finish entirely.
These are practical Christmas 2026 setups using listed US retail prices before tax, not promises that every local store will match them.
What you will find inside
- Clip Smooth Paint Before You Trace a Line
- Frame a Doorway With C7 Bulbs
- Use a Mirror as the Bright Focal Point
- Keep Clips on Finished Wood and Glass
- Spend the $9.69 on the Smaller Clip Pack
- Use the 100-Clip Pack for Long Routes
- Fit a Tension Rod Inside a Window Recess
- Choose the Steel Rod When the Strand Is Heavier
- Hang Curtain Lights From an Existing Rod
- Gather a Five-Foot Light Curtain Without Kinks
- Keep the Power Box on the Sill
- Remove Adhesive Slowly Before Checkout
Clip Smooth Paint Before You Trace a Line
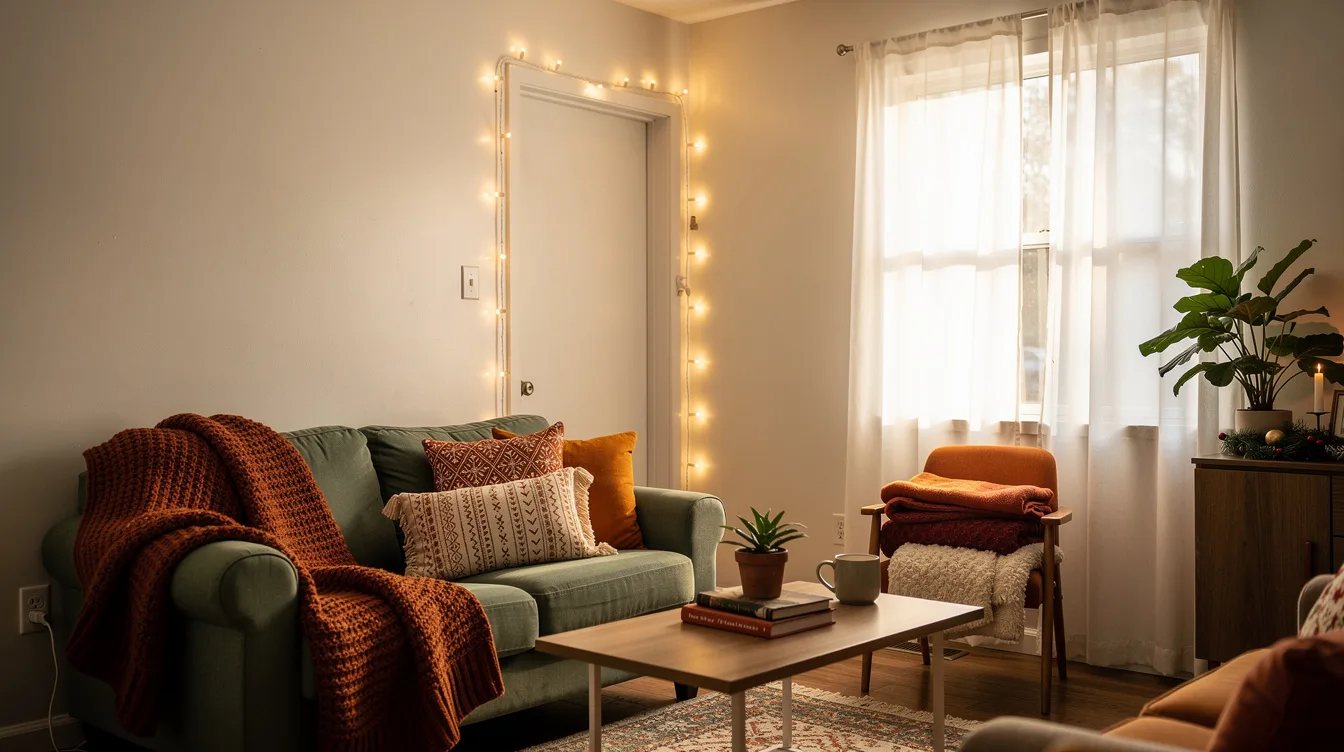
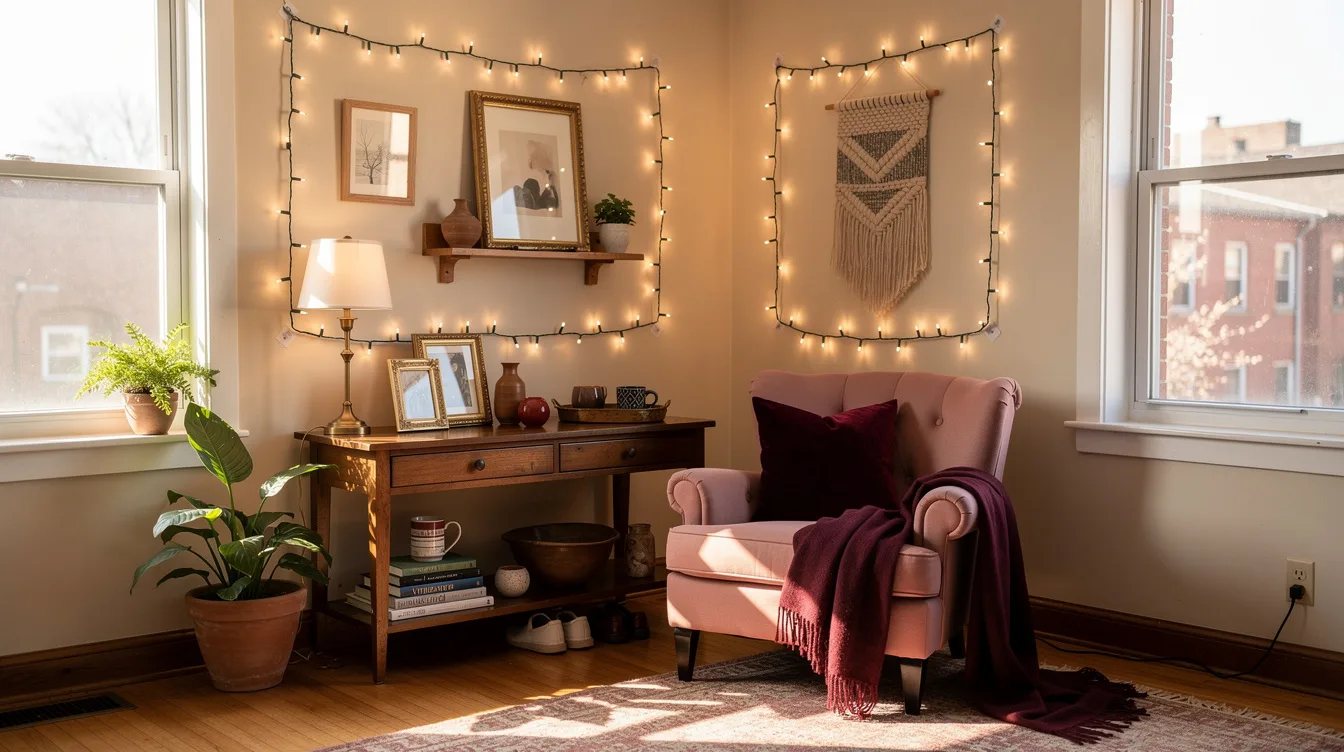
For sound, smooth painted walls, 10-foot Command Clear Decorating Clips are the most practical starting point. They are made for string lights, come with clear plastic clips and replaceable adhesive strips, and keep the strand close to the wall instead of letting it sag.
We place the first clip near the power source, then map the route before pressing anything down. The surface matters more than the holiday mood: heavily textured walls are a poor match, and weak paint can still lift when the strips come off.
Frame a Doorway With C7 Bulbs
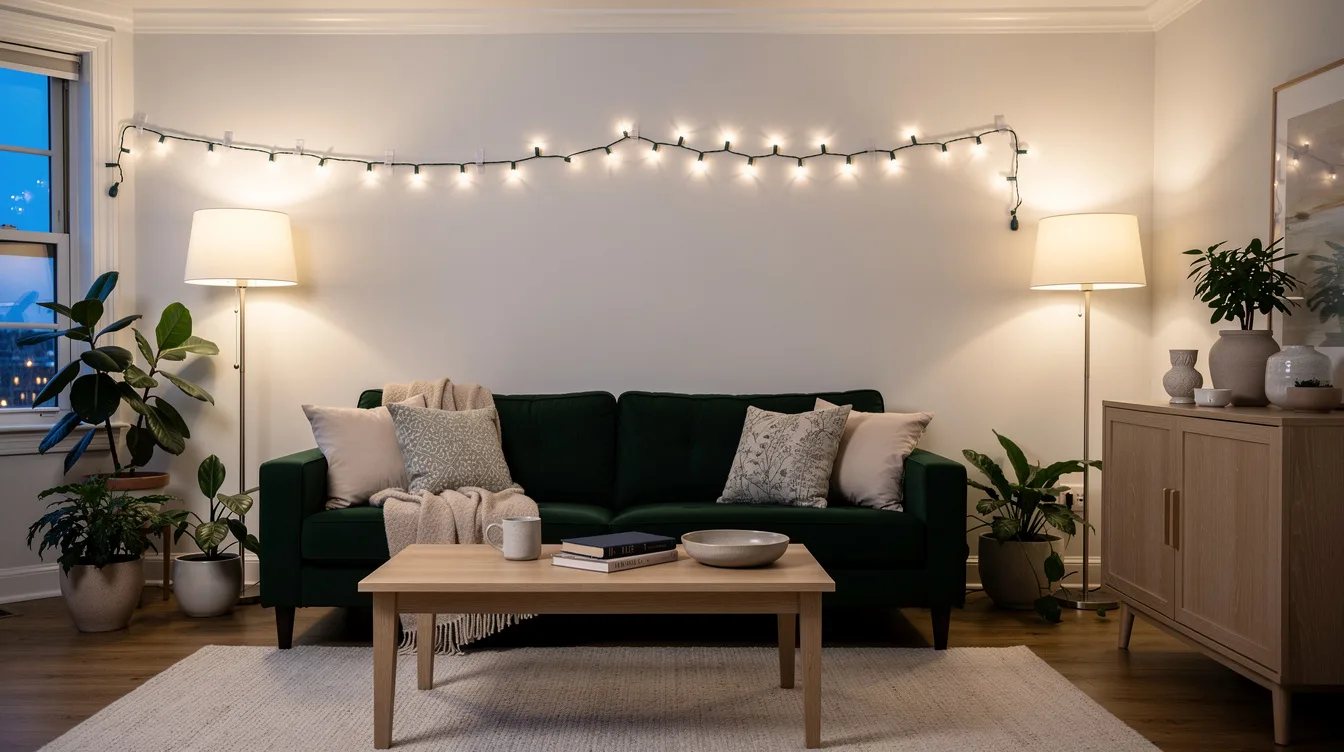
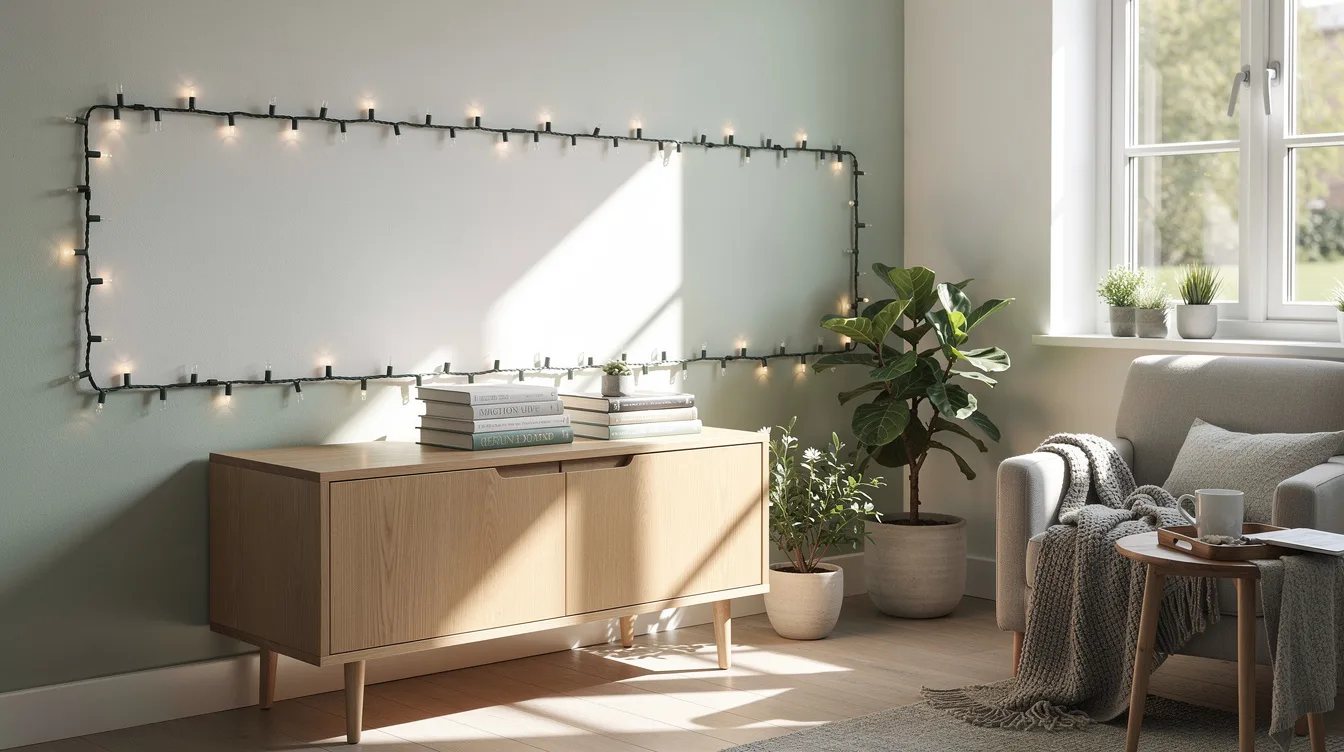
A doorway gives Christmas lights a natural outline, especially when the rest of the room stays quiet. For a 36-by-80-inch doorway, the route needs roughly 16.3 feet of illuminated strand, plus enough unlit lead to reach the outlet.
Northlight warm-white LED C7 lights from Target make the shape easy to see because their bulbs have more presence than fine fairy wire. A 20.25-foot, 50-light strand is listed at about $23.19, and a roughly $9.69 clip pack brings the component total to about $33 before tax.
Use a Mirror as the Bright Focal Point
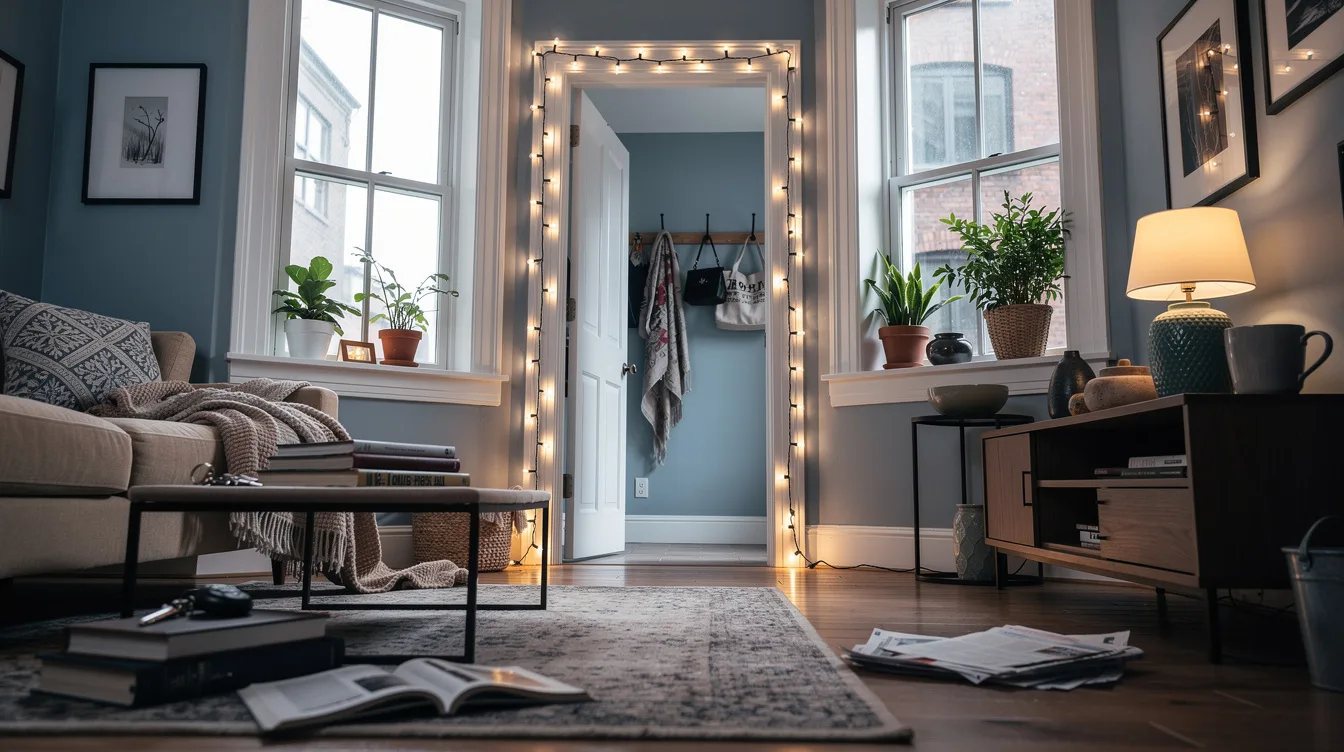
A mirror can carry a light outline without making the wall itself the main event. Use clear clips on the surrounding smooth painted surface, or attach them to the mirror edge only when the product instructions and surface finish allow it.
Keep the strand slightly outside the reflective face so the bulbs read as a border rather than glare across the glass. Clear plastic decorating clips work best here because they disappear from normal viewing distance and can follow the corners without bulky tape showing.
Keep Clips on Finished Wood and Glass
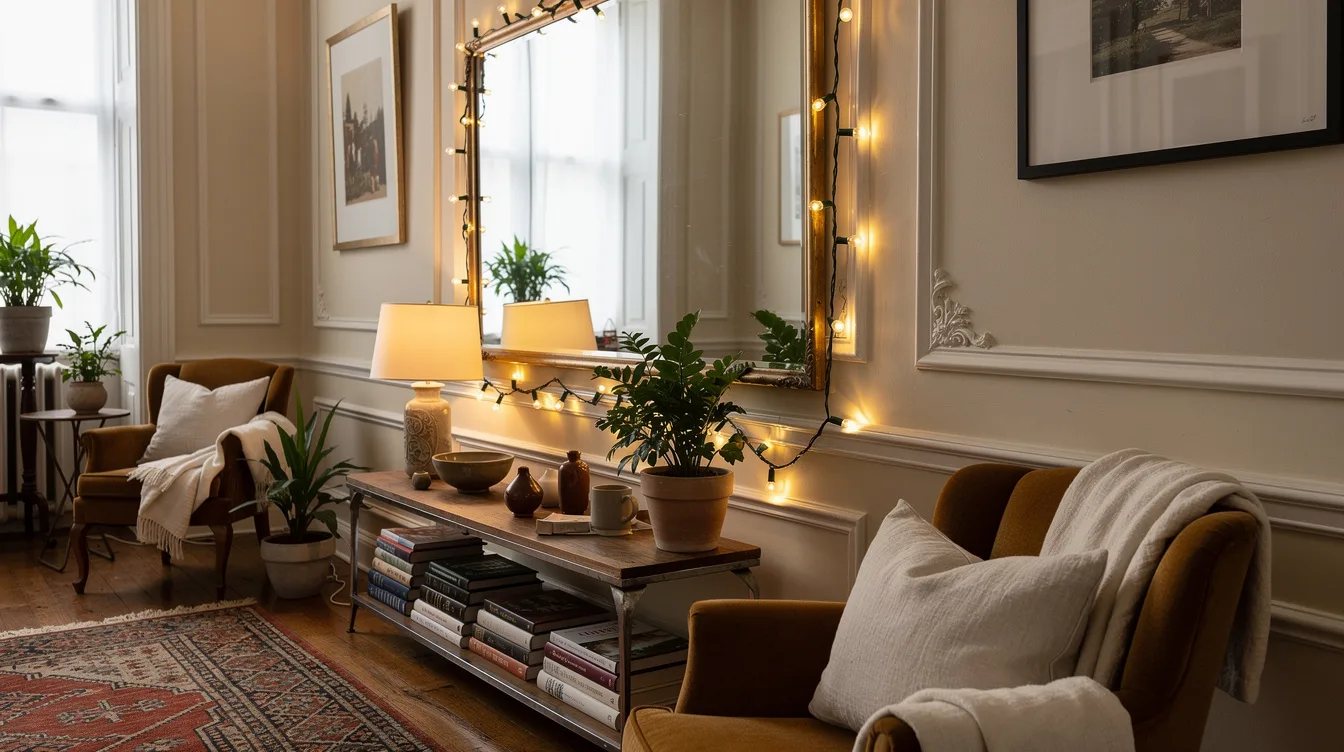
Rental walls are not the only place for a no-nail display. Finished wood, glass, tile and metal are also listed as suitable surfaces for Command decorating clips, which opens up a mantel, glass door or painted trim detail without drilling.
We keep the route compact and avoid placing clips where a door, drawer or curtain will rub against the wire. The cleanest result usually has the light strand doing one job, either outlining an object or tracing an edge, rather than wandering across every available surface.
Spend the $9.69 on the Smaller Clip Pack
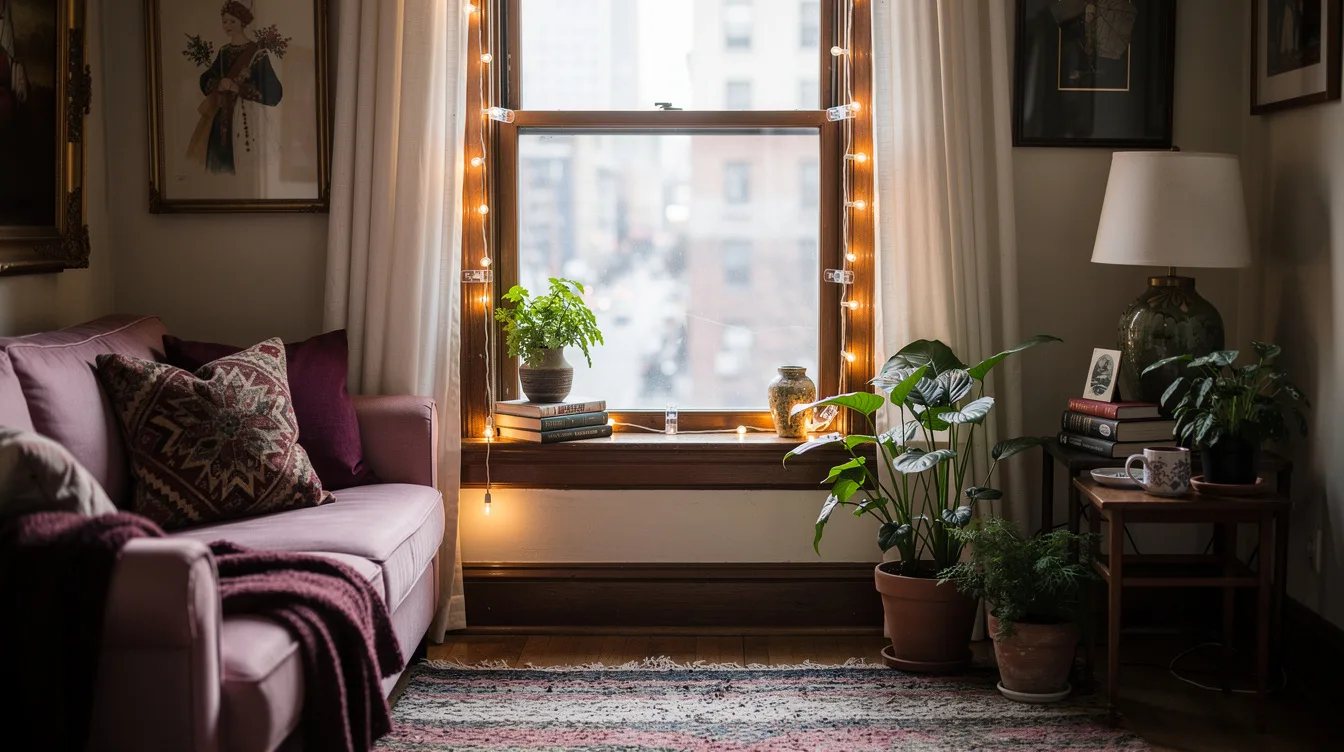
The 40-clip, 48-strip pack of 10-foot Command Clear Decorating Clips is a sensible choice for one doorway, a small mirror or a short window outline. Its listed price is approximately $9.69 before tax, so the setup stays inexpensive if the rental only needs one seasonal accent.
Clip spacing deserves a plan before installation. The retail packaging suggests one clip per 2 feet of lights, while a Command decorative wall project uses clips every 5 to 7 inches for a more controlled shape, so follow the instructions supplied with the exact clips and lights.
Use the 100-Clip Pack for Long Routes
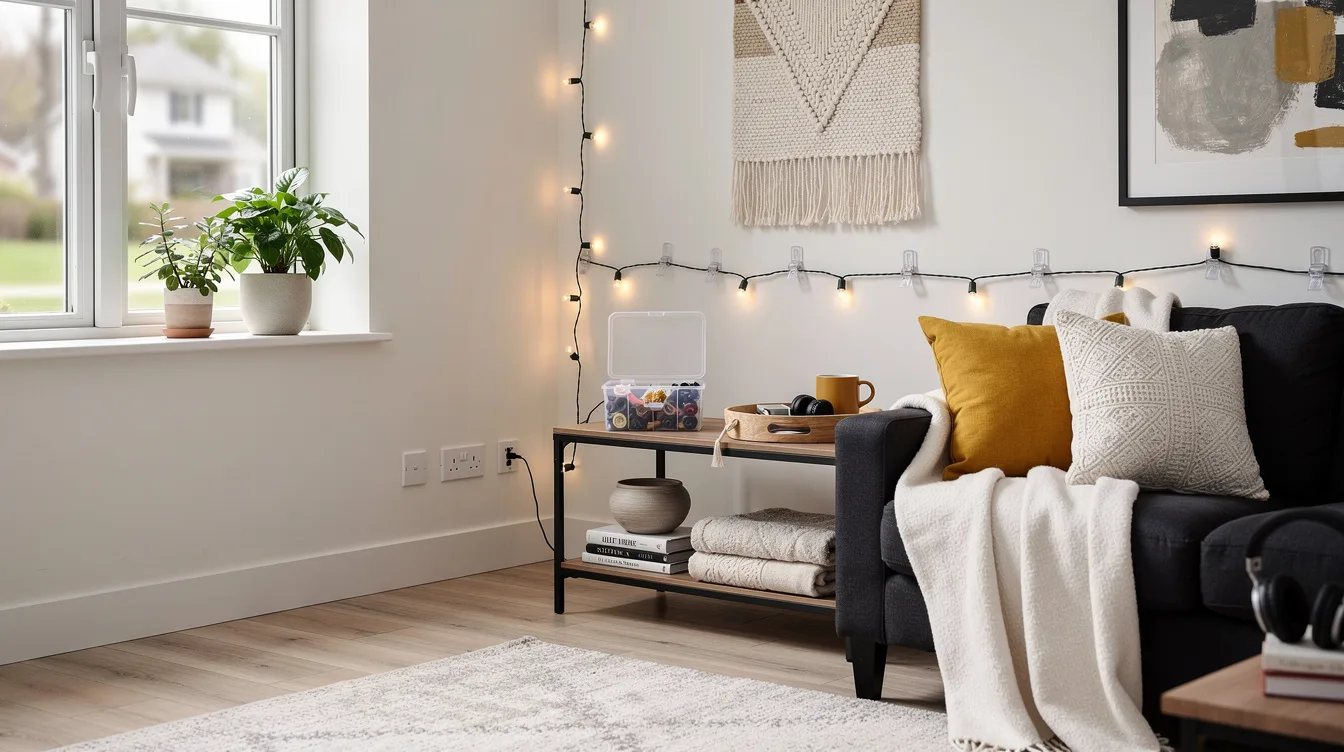
Longer routes need more than a handful of attachment points, particularly when the strand turns around corners. The 100-clip, 104-strip pack is listed at approximately $18.49 and gives a large living room outline more room for adjustment.
Clear adhesive strips are useful when the route needs small corrections, but every extra clip still belongs on a sound surface. Lay the lights on the floor first, mark the turns mentally, and reserve the densest spacing for corners or shapes that need a crisp edge.
Fit a Tension Rod Inside a Window Recess
A window recess is the best place to avoid adhesive on the wall altogether. The Room Essentials Round Tension Curtain Rod adjusts from 28 to 48 inches and is listed at about $6, making it a practical support for a light curtain when the recess has two opposing sides.
This solution cannot span a flat, uninterrupted wall. Set the rod inside the recess, then suspend the top cable with loose, non-adhesive ties so the light strand is supported by the rod rather than pressed against painted drywall.
Choose the Steel Rod When the Strand Is Heavier
For a setup that feels less delicate, the Room Essentials Heavy Duty Tension Curtain Rod adjusts from 28 to 48 inches, uses steel, and has a maximum diameter of about 1 inch. Its listed price is about $10 before tax.
Heavy duty does not mean unlimited capacity, so check the rod's installation instructions and stated load limit. Pressure mounting can also leave marks on delicate finishes, which makes a quick test in an inconspicuous area a reasonable rental precaution.
Hang Curtain Lights From an Existing Rod
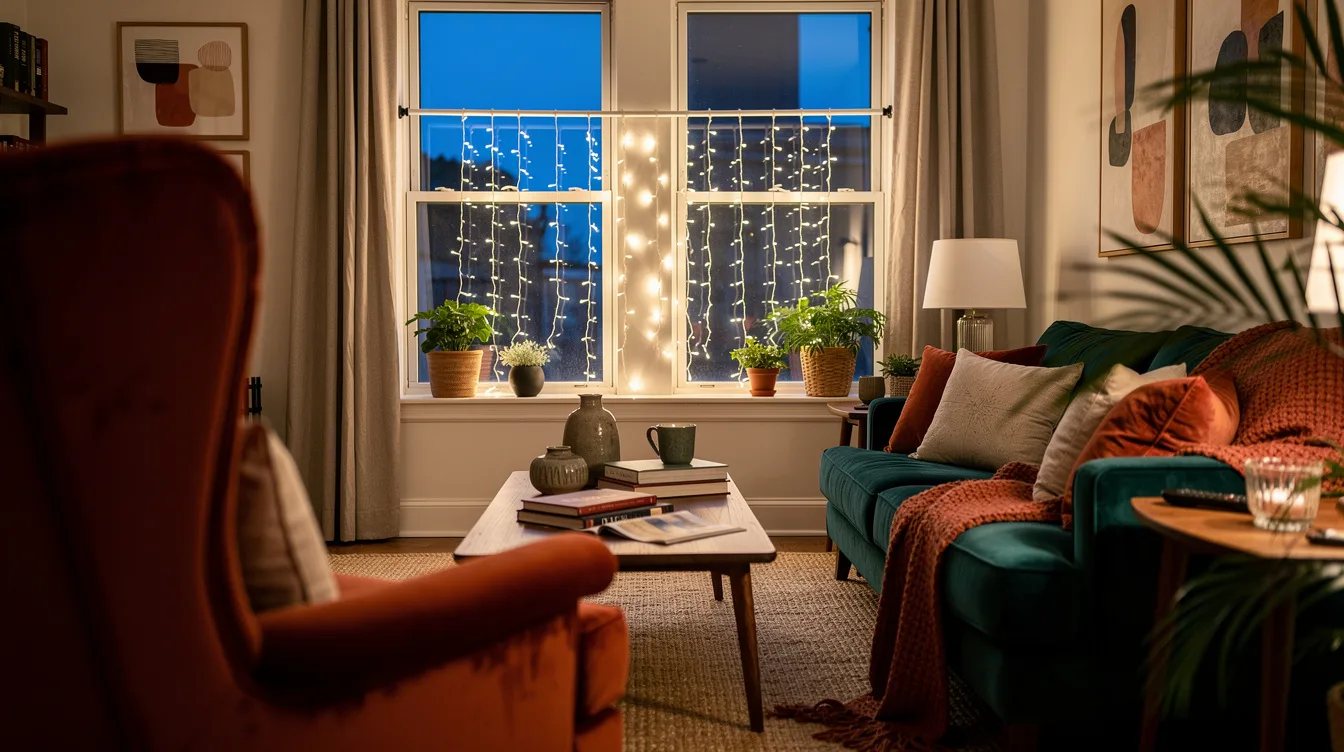
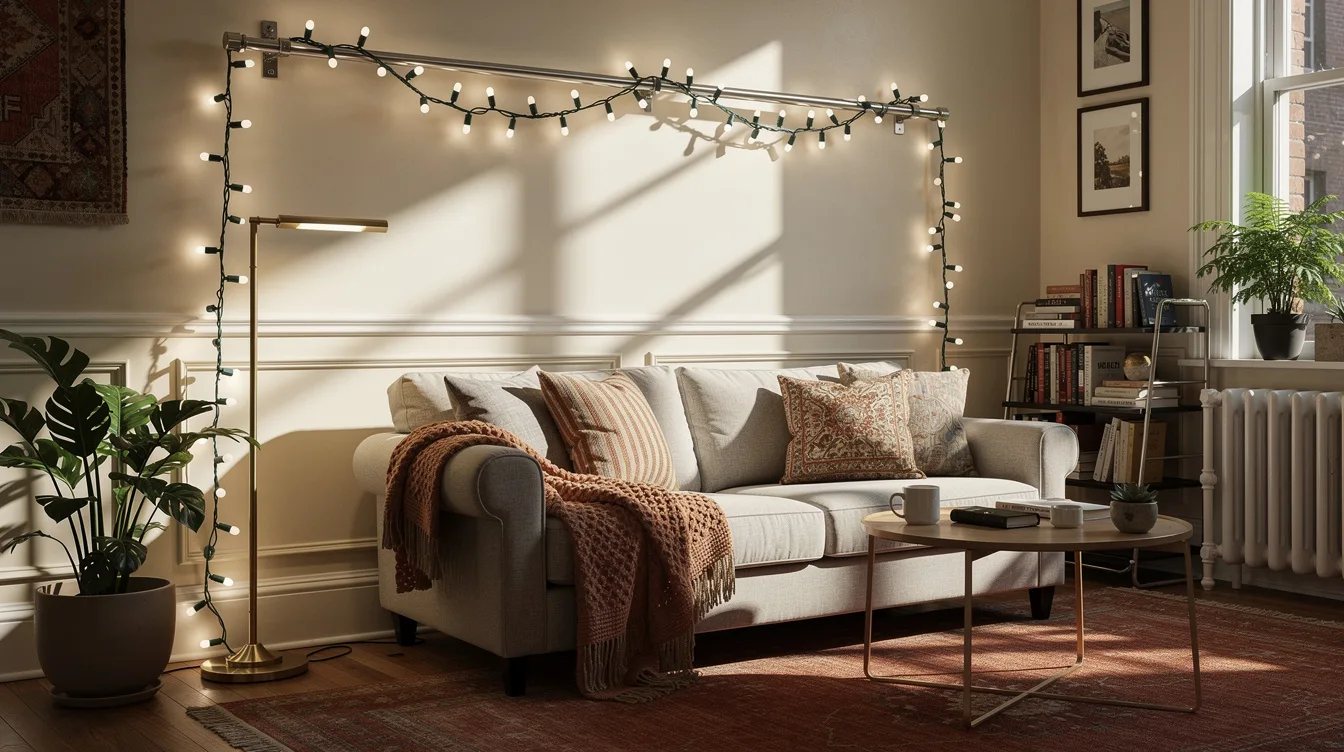
An existing curtain rod can carry the display without adding adhesive or pressure to the wall. Attach the light curtain's top cable with loose ties, keep the wire clear of moving curtain panels, and leave enough slack for the curtains to open normally.
West & Arrow warm-white LED Curtain String Lights are listed at about $17 for a curtain measuring 5 feet wide by roughly 4.6 feet deep. This approach works especially well in a bedroom or living room where the rod already has a clear view from across the space.
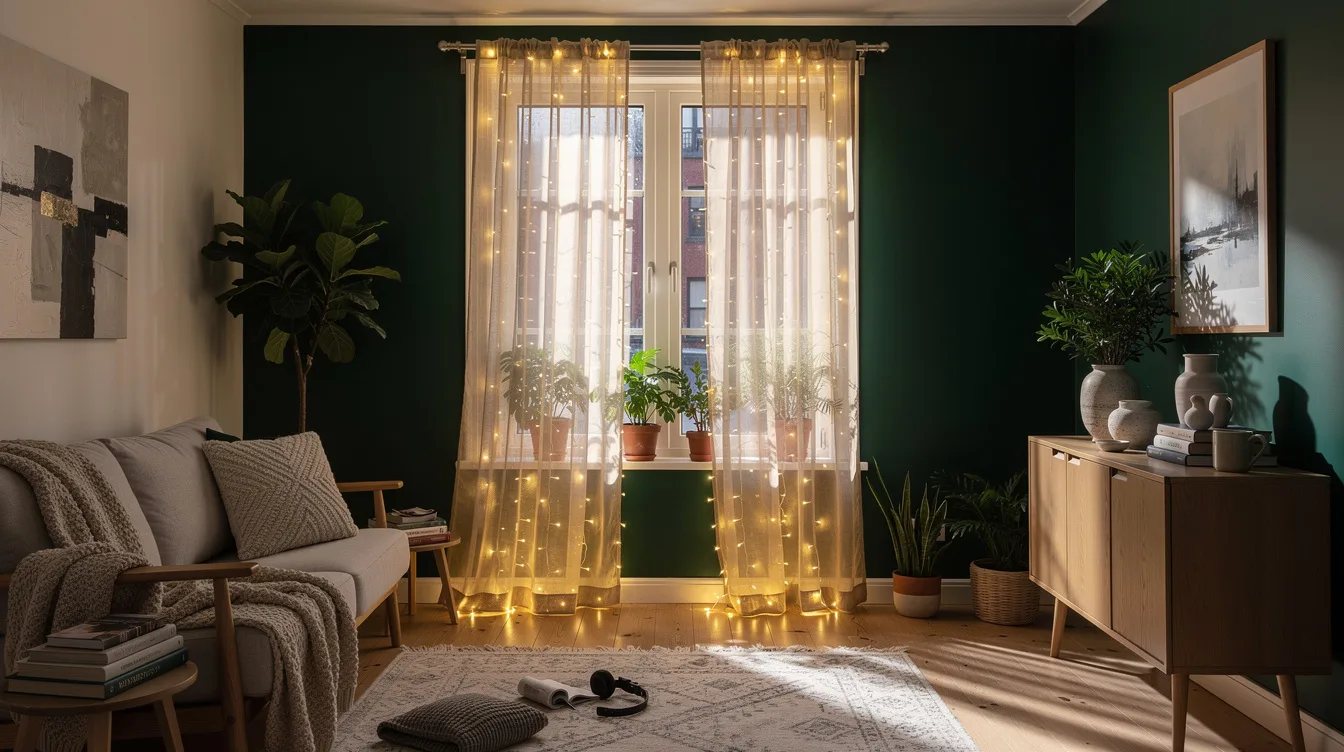
Gather a Five-Foot Light Curtain Without Kinks
A 5-foot-wide curtain can be wider than a 28-to-48-inch tension rod, so do not force the top cable into a tight bend. Gather it gently, choose a wider rod when the recess allows, or use an existing curtain rod with enough span for the cable to hang naturally.
The West & Arrow LED curtain strand can use USB or battery power, which gives more placement freedom near a window. Keep the cable path relaxed and avoid hanging the battery box or USB supply from the illuminated strands.
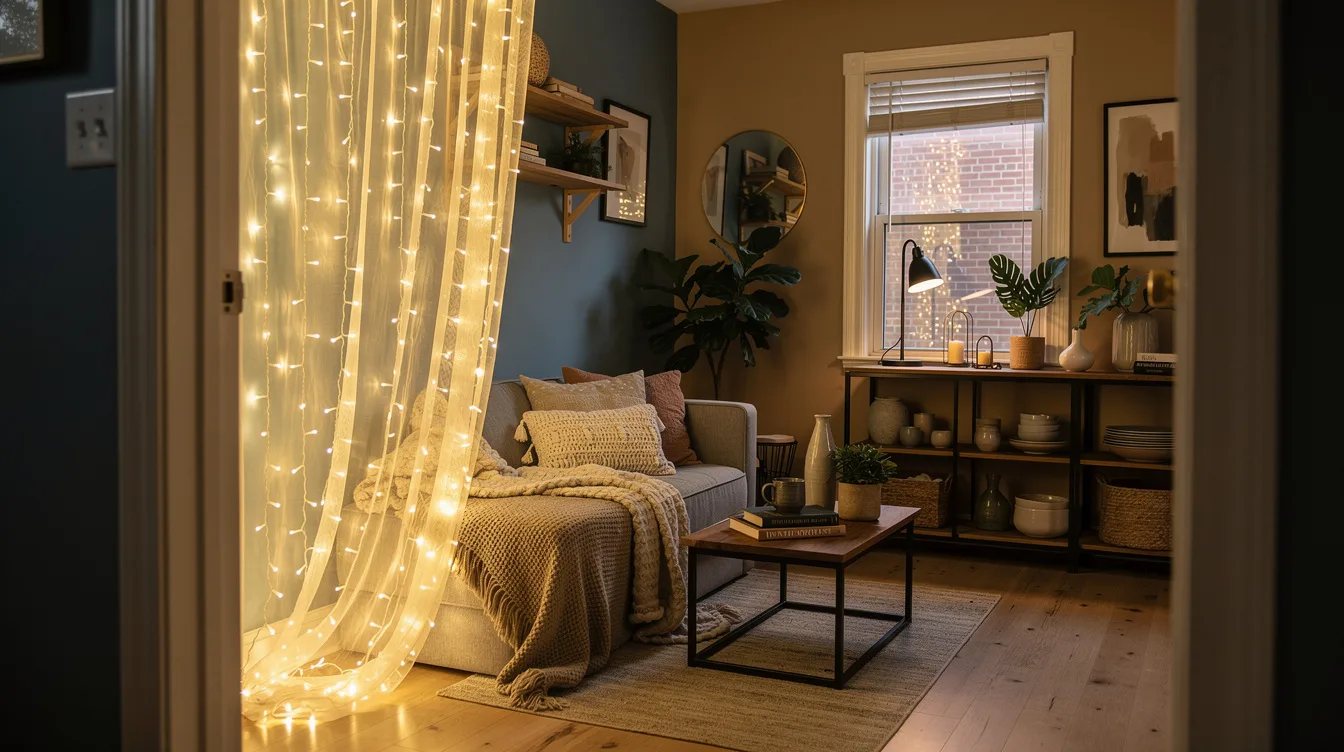
Keep the Power Box on the Sill
Power management determines whether a light display looks intentional or improvised. Set the battery box or USB supply on the sill, a nearby shelf or the floor beside the outlet, and let the strand carry only its own weight.
With a window setup, USB or battery power keeps the controls within reach and reduces the temptation to stretch a cord across the glass. Leave ventilation around the power box, keep cords away from moving windows, and use the light manufacturer's instructions as the final word.
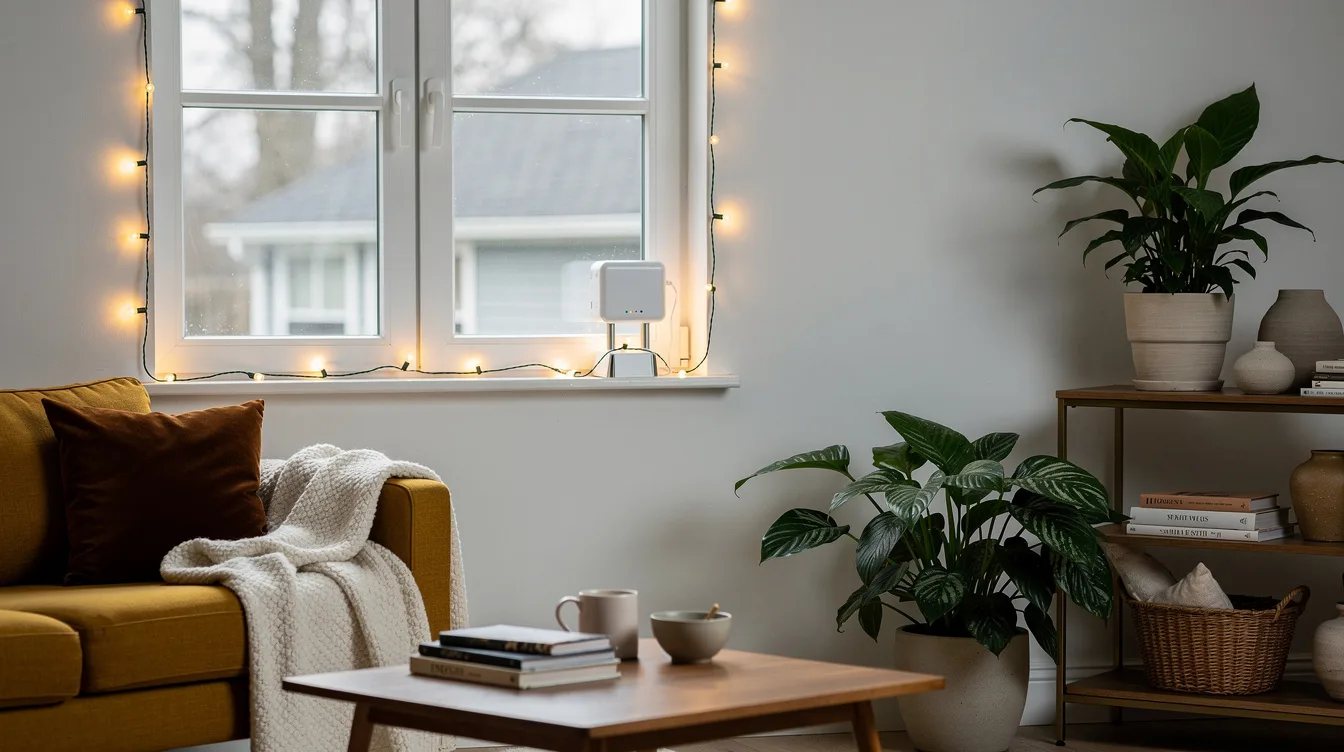
Remove Adhesive Slowly Before Checkout
Taking the lights down is part of the rental strategy. Pull each replaceable adhesive strip slowly in the direction recommended by its instructions, supporting the clip as the strip releases instead of yanking the light strand from the wall.
No-nail does not mean guaranteed damage-free. Weak paint may still lift, so photograph the wall before installation, avoid rushed removal, and choose the tension-rod or existing-rod option when the finish already looks fragile.
Keep reading
- Lease Rules Banning Balcony Drills? These 14 Christmas Light Fixes Help
- Cabinets Screaming for Help? 14 Christmas Garland Ideas Without Damage
- Walmart Entryway Screaming for Help? 12 Christmas Mats
Start with the least risky surface you already have: an existing curtain rod or a window recess. If the wall is sound and smooth, map the route first, use purpose-made clips, and remove every strip slowly when the season ends.