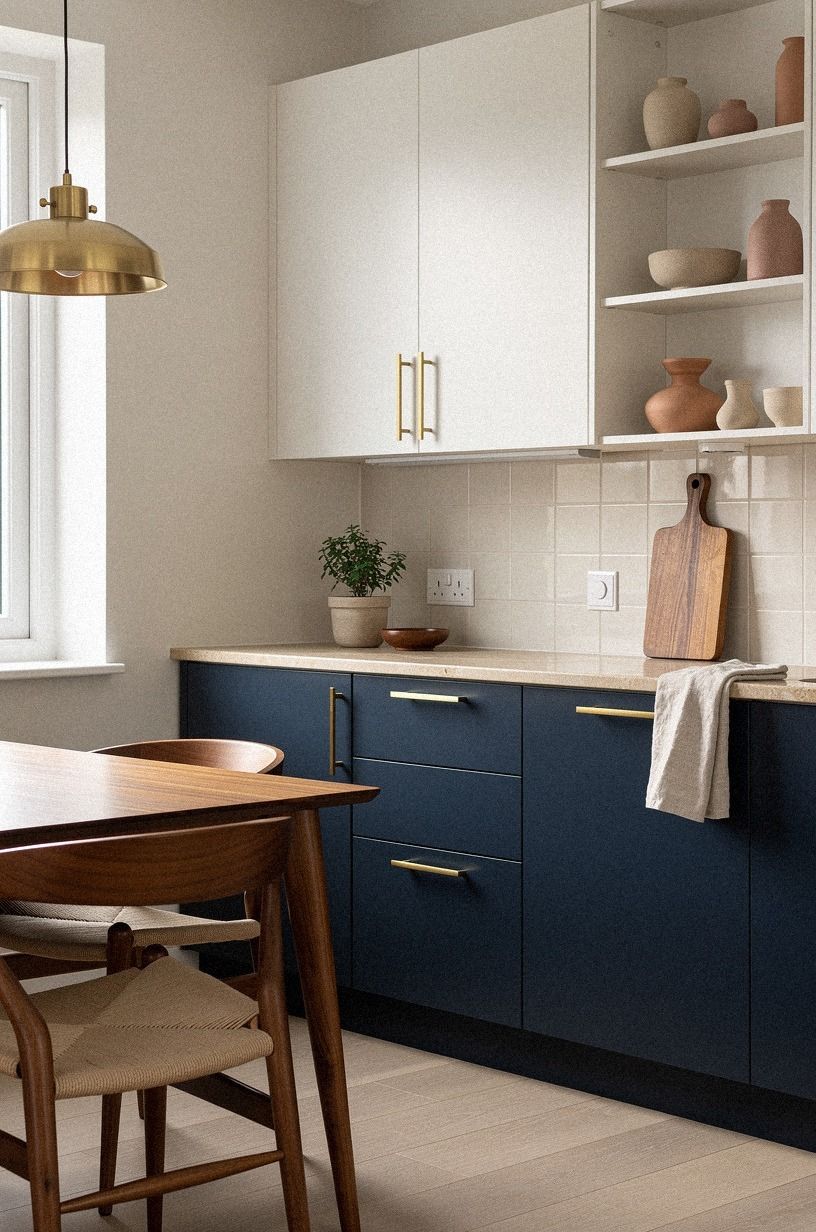
Easy DIY Breakfast Nook Bench Build for Beginners, No Fancy Tools Needed
16 october 2026A beginner DIY breakfast nook bench can be built with a plywood box, a seat board, and basic hand tools. I once overcomplicated one with too many cuts, but your bench doesn't need a workshop full of equipment to look intentional. Start by measuring the wall, choose the right depth, and let the finish carry the room.
- Measure the Wall Before You Buy Anything
- Build the One-Box Bench Frame
- The Two-Wood Rule Keeps the Finish Calm
- Measure the Wall Before You Buy Anything
- Build the One-Box Bench Frame
- The Two-Wood Rule Keeps the Finish Calm
- What Seat Depth Feels Right?
- Anchor the Bench Without Making It Permanent
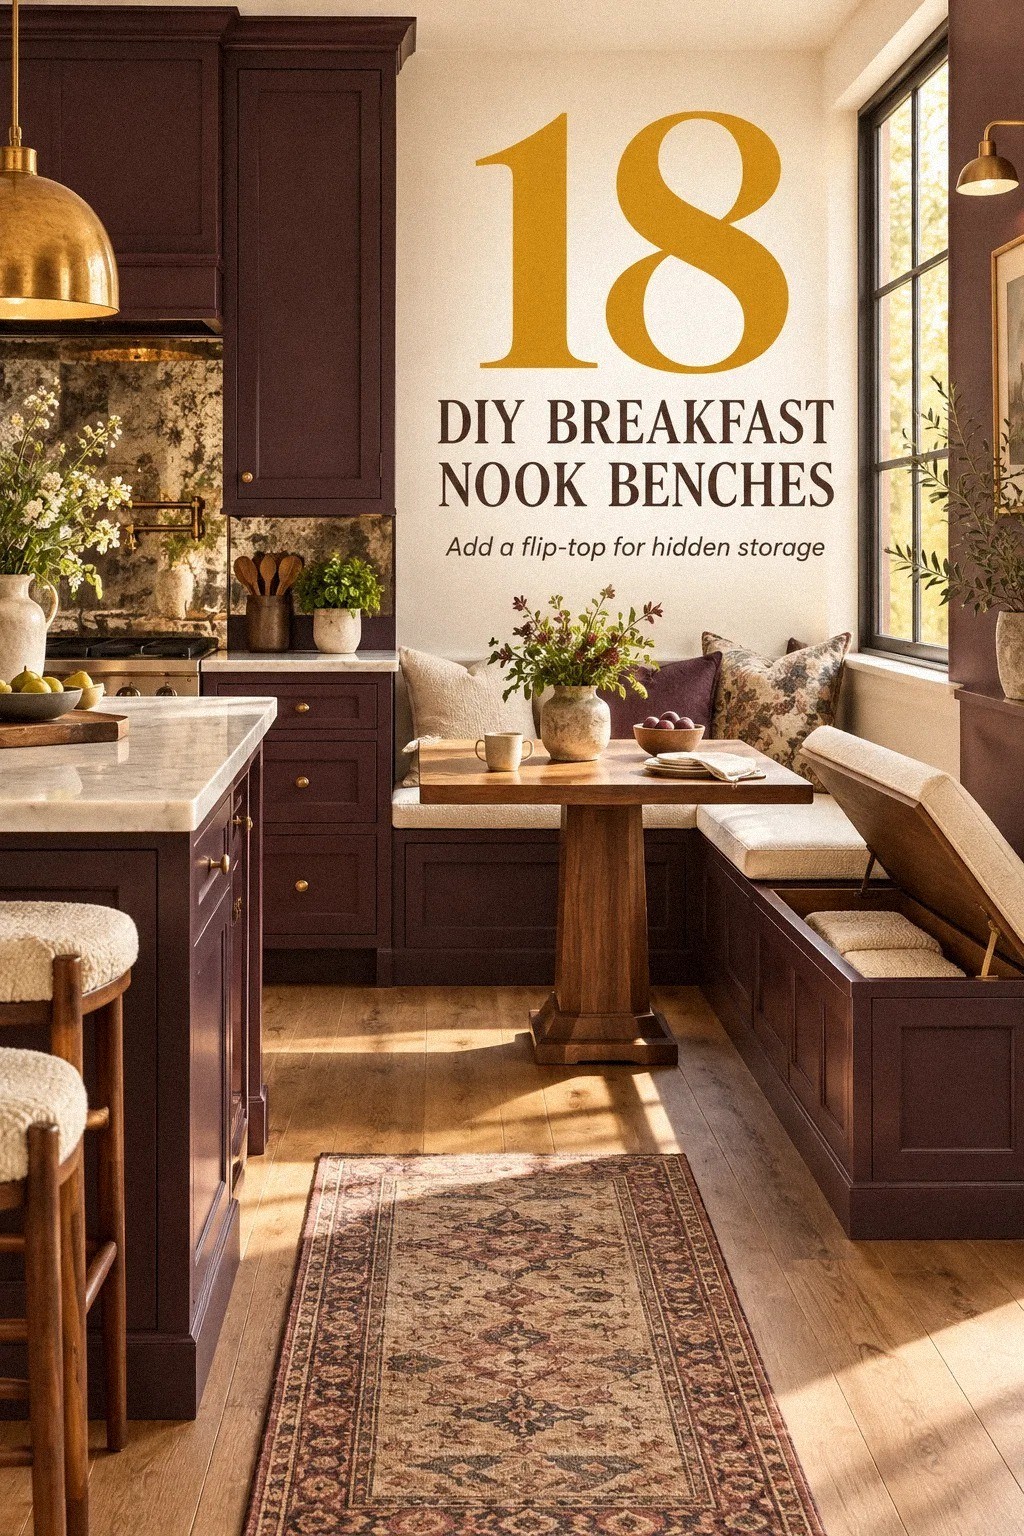
- Add a Lift-Up Lid for Hidden Storage
- Let the Cushion Float Above the Base
- How Do You Sew a Simple Box Cushion Cover?
- Paint the Base Before You Install the Seat
- Layer the Three-Height Light Stack
- Frame the Nook With a Narrow Shelf
- Budget Bench or Full Remodel?
- Choose Paint Colors That Meet the Kitchen
- Build Open Cubbies Under the Seat
- Why Does a Round Table Win Here?
- Style the Table With Three Useful Layers
- Add a Removable Back Panel for Rental-Friendly Style
- Finish With a Small-Space Dining Nook Layout
1Measure the Wall Before You Buy Anything
Your first move is measuring the wall where your breakfast nook bench will sit. Check the full width, the baseboard height, and the distance from the wall to the table edge. A bench that runs wall to wall can look built-in, but you’ll want a small amount of breathing room if the walls aren’t square.
I use painter’s tape to mark the footprint before cutting anything. It’s a simple step, yet it shows you where knees, chair legs, and cabinet doors might collide.
Keep the seat near standard counter height only if your table matches it. For a dining table, your 3/4-inch plywood seat base should usually sit lower than the 36-inch counter height.
Measure the door swing, too. A beautiful nook becomes frustrating when a nearby pantry door clips the bench every morning. Leave enough room to pull out a chair, turn sideways, and carry a plate without twisting around the table.
The wall wins this argument. If your measurements are wrong, no finish will save the bench. Marking everything first feels cautious, but it’s the smartest and most reassuring part of the build.
2Build the One-Box Bench Frame
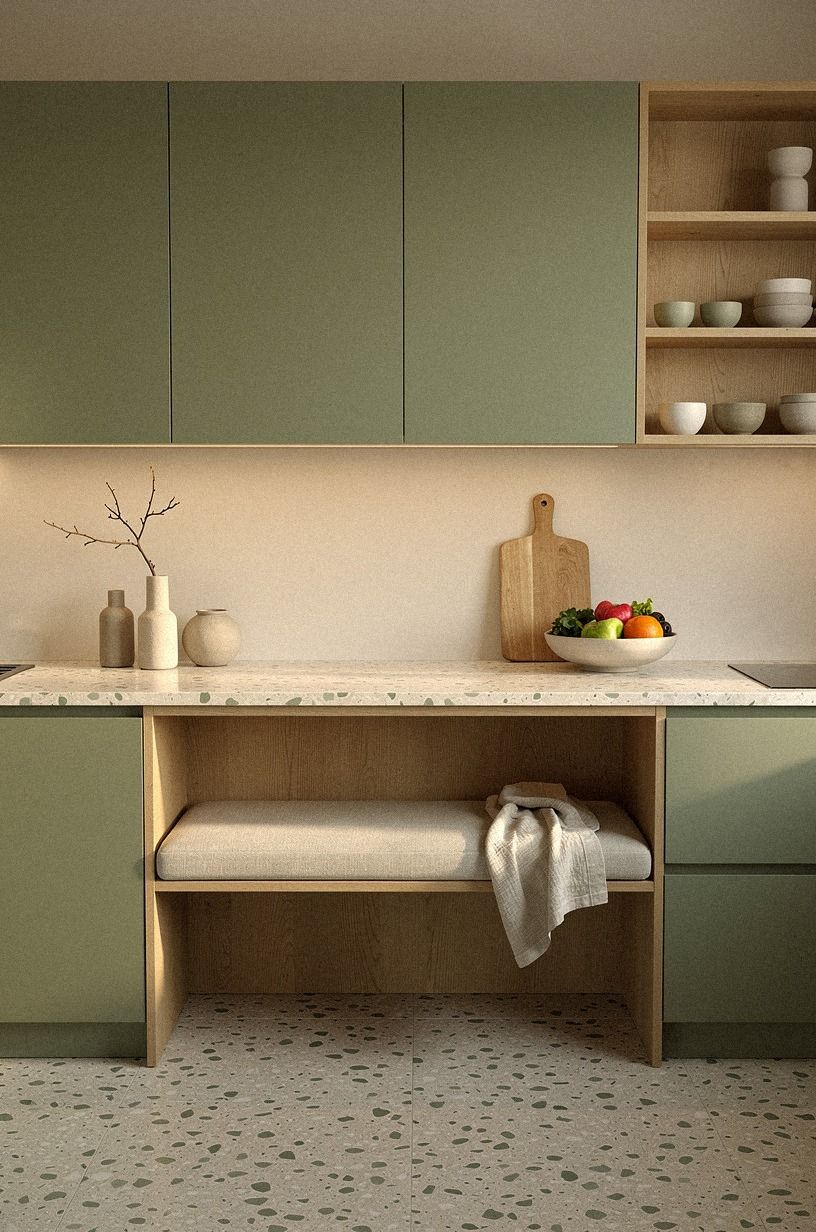
The easiest frame is a long rectangular box with a top, bottom, front, and two ends. You don’t need complicated joinery. A sheet of plywood, wood screws, corner blocks, and a drill can get your bench standing quickly, especially if you’re new to woodworking.
I like a simple painted base with an oversized-chip terrazzo seat or accent because the large aggregate gives the finished nook character without requiring decorative trim. Your frame should sit flat, and you’ll want to check it with a level before fastening it to the wall. If your floor slopes, use thin shims under the base instead of forcing the box into position.
Before you fasten the box, check the intended seat depth against the table location. That quick test can prevent a frustrating rebuild later. It’s worth taking ten minutes now.
But don’t make the frame so deep that your table feels pushed into the room. A generous bench is useful; a bulky one makes your dining nook feel cramped.
3The Two-Wood Rule Keeps the Finish Calm
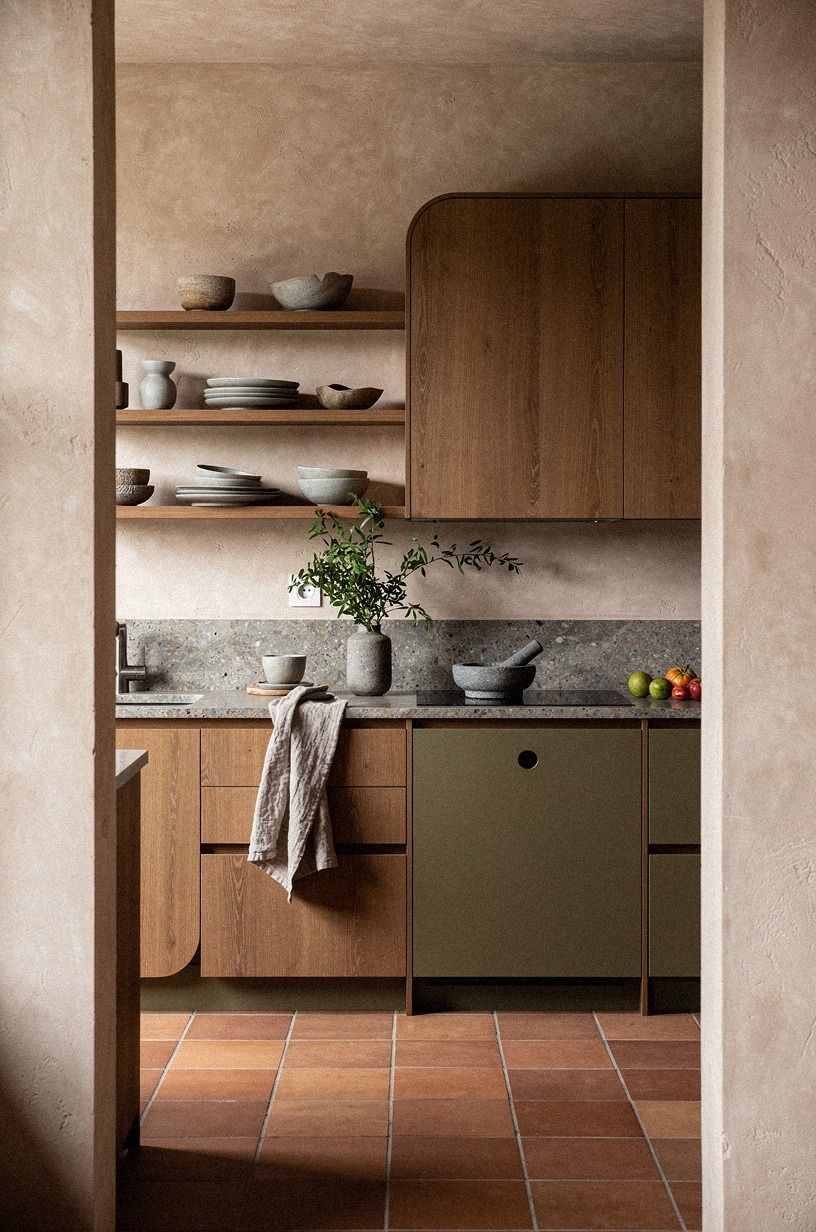
The Two-Wood Rule keeps your breakfast nook from looking like a lumber display. Choose one main wood for the bench and one supporting wood for the table or shelving. Your eye can handle contrast, but it doesn’t need five competing grains beside the same cup of coffee.
A breakfast nook wall finished in hand-applied Venetian plaster works well with a painted base, while a walnut-toned table can add a handsome darker note. I’d skip mixing red oak, pine, bamboo, and walnut in one small corner. They each have a different undertone, and the result can feel restless instead of warm.
And if you’re using a wood stain, test it on the actual material first. Your sample board may absorb stain differently from the finished edge, particularly if you’re working with soft pine. A real test board gives you a clearer, more reliable answer than a tiny store sample.
For a gentler result, repeat the main wood once on the shelf or table. That small echo creates a calm, collected feeling without making every surface match.
4What Seat Depth Feels Right?
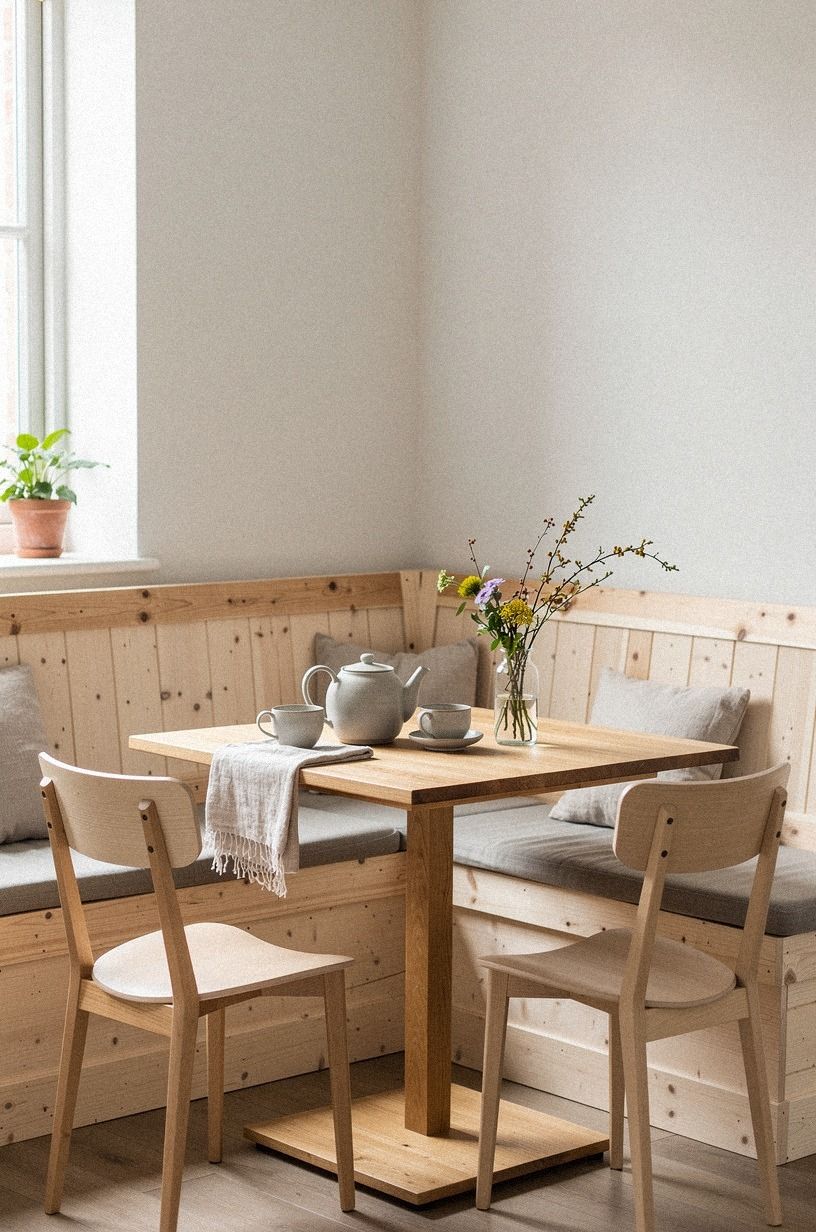
Your bench seat needs enough depth to support you without making the table feel miles away. A narrow seat looks tidy, but you’ll notice the missing comfort every morning. Measure from the front edge of the bench to the wall, then allow room for the cushion and your posture.
A seat built with 18-inch bench depth gives you a comfortable starting point for many breakfast nooks. Your cushion will take up some of that space, so don’t push the table against the seat until you’ve tested the finished thickness.
Sit on a temporary board first. Yes, it looks silly.
It saves a second rebuild.
If you’re comparing layouts, anchor the frame only after the seat, cushion, and table positions feel natural together. The order matters.
Try the seat at breakfast time, not only while standing in the empty room. Your knees, elbows, and coffee mug will reveal problems that a tape measure can’t. A slightly shallower seat may feel more graceful if it keeps the table close.
But avoid making the bench deeper just because your wall allows it. I’d rather have a slightly smaller seat and a clear walking path than a giant box that steals every inch around the table.
5Anchor the Bench Without Making It Permanent
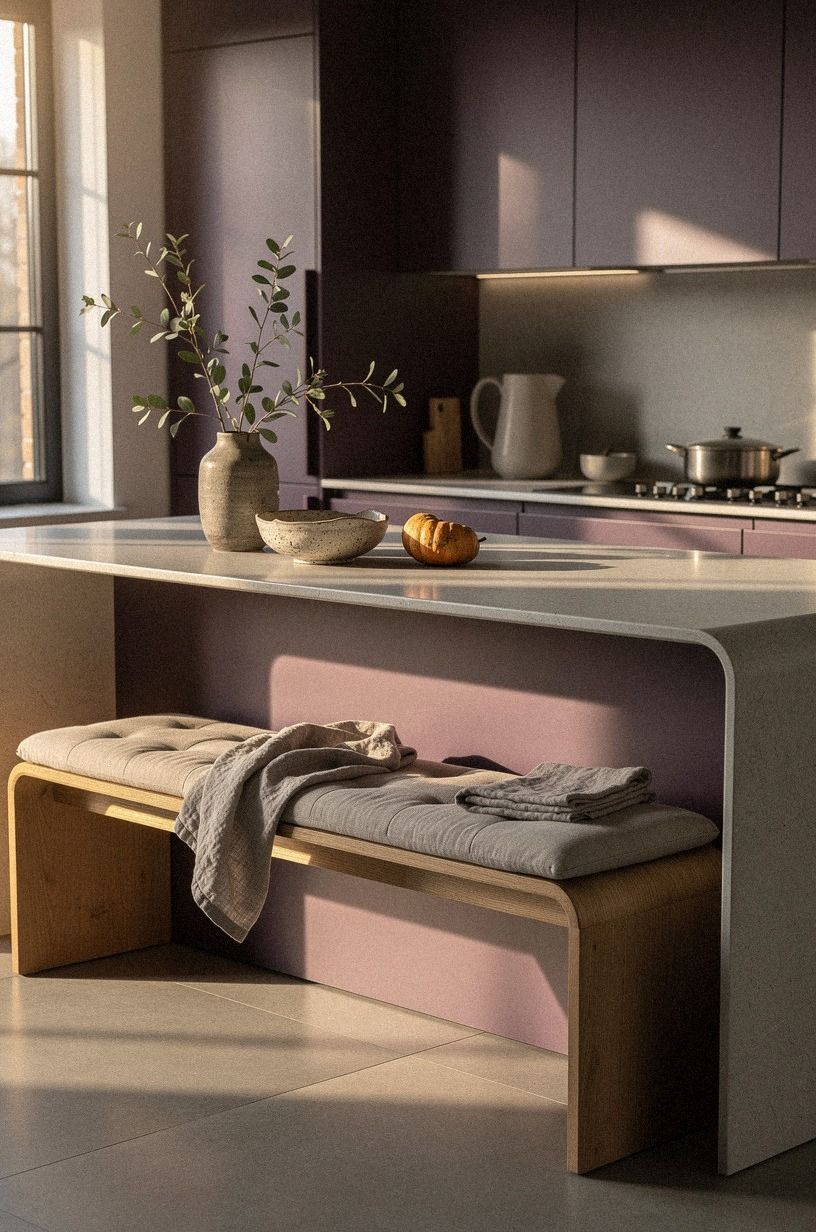
A freestanding breakfast nook bench can feel stable if you add a wall cleat and secure the frame at key points. Your cleat carries some of the load, while the floor supports the rest. You’ll want to locate studs before fastening anything, and your stud spacing will determine where the screws land.
Use a solid pine wall cleat along the back edge, then check the frame from both sides before tightening the structural screws. If you’re renting, keep the structure freestanding and use furniture-grade anti-tip hardware only where your lease allows it.
Don’t rely on drywall anchors for the entire bench. They’re useful in the right place, but your everyday seat needs stronger support. The goal is a bench that feels quiet and solid when you sit down, not one that shifts with every breakfast.
A careful anchor creates a grounded, confident feeling without making the entire project irreversible. If you need to remove the bench later, label the cleat and keep the hardware in a small bag.
6Add a Lift-Up Lid for Hidden Storage
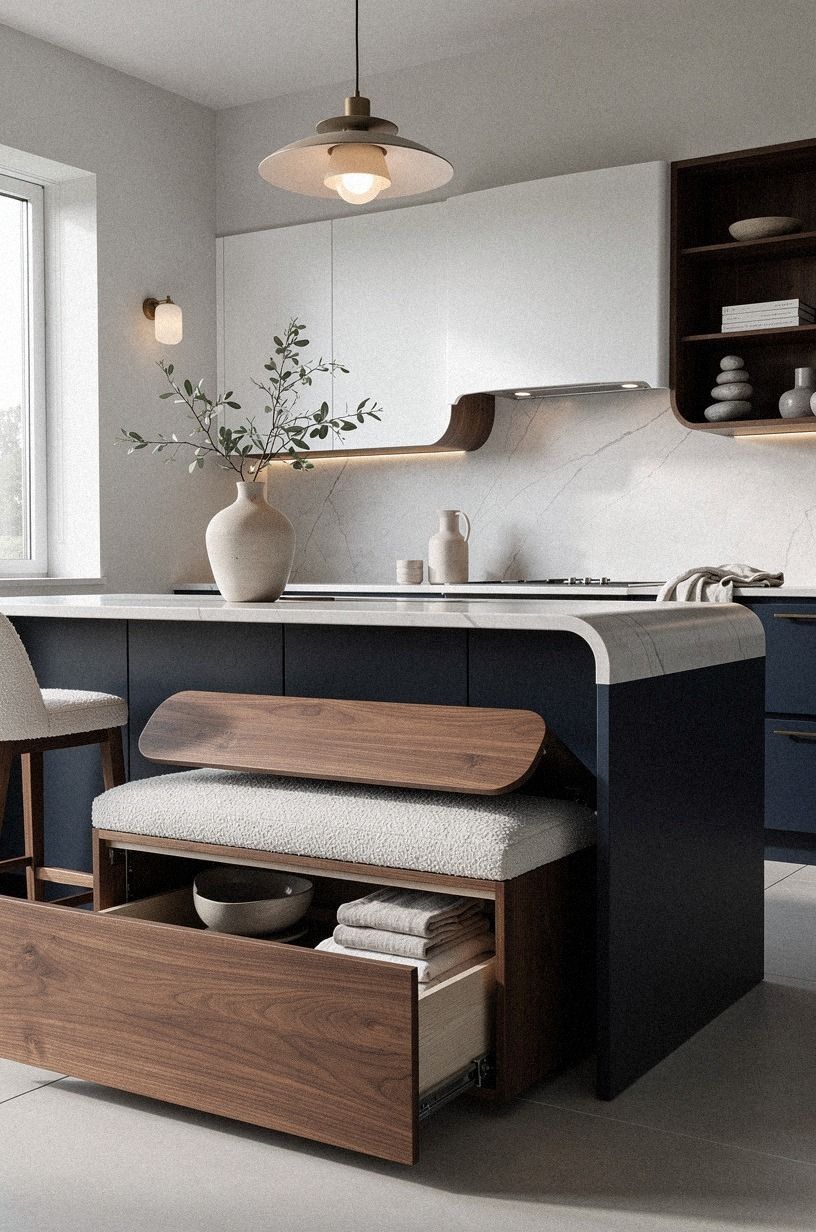
A lift-up seat turns your breakfast nook bench into useful storage for napkins, table linens, board games, or the stack of mail you keep pretending you’ll sort. Your storage will work best when the interior is divided into two or three reachable zones rather than one deep cavity.
A piano hinge gives the lid even support across the length, and soft-close lid supports can keep small hands from getting pinched. I’d use a thin strip of weatherstripping where the lid meets the box. It reduces rattling, which matters more than you’d expect in a quiet kitchen.
If you’re storing heavy dishes, don’t make the lid your only access point. You’ll hate lifting a full seat to find one serving bowl. Put lighter items inside, and your daily routine will stay simple.
You can also float the cushion above the lid so the storage remains accessible without sacrificing a soft, finished silhouette. Leave a small finger gap or install a discreet pull so the lid doesn’t become annoying to open.
7Let the Cushion Float Above the Base
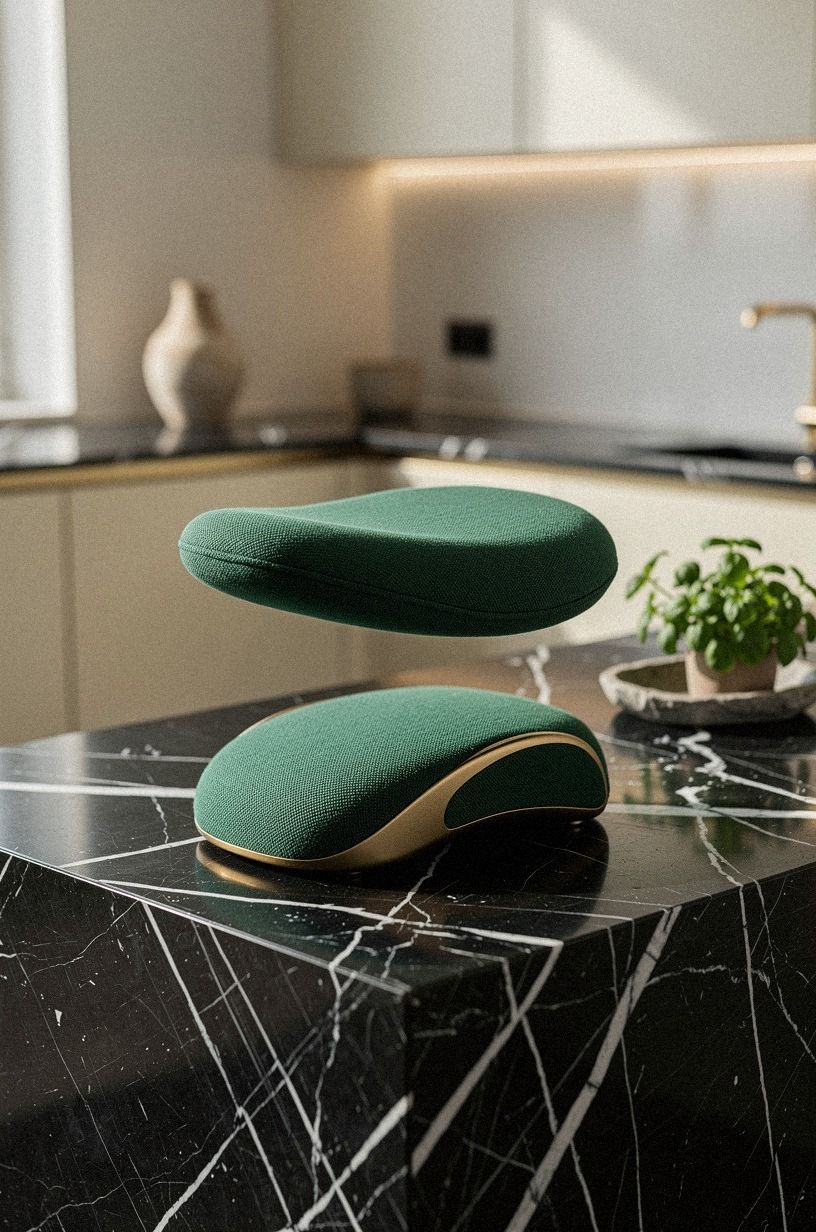
A cushion that sits slightly proud of the bench makes the whole nook look softer and more finished. Your upholstery should cover the seat without hanging so far over the front that it catches knees. Measure the finished wood base, then allow room for the fabric wrap and batting.
I prefer a Nero Marquina marble accent with white veins near the cushion for a dramatic breakfast nook because it catches morning light and gives the emerald, gold, and cream palette some weight. If you’re worried about crumbs, Belgian flax linen is easier to live with and develops a relaxed texture over time.
For a family kitchen, consider high-density foam with a thin layer of polyester batting. It gives you a supportive seat without the saggy feeling that can make a new cushion look tired within months.
But skip a cushion that’s too puffy. An overstuffed seat can swallow your usable depth and make your table feel low. A firm foam insert with a thin layer of batting gives you the inviting look without turning your bench into a sofa.
The best cushion feels generous when you sit down, yet visually light when you walk past it. That balance makes the corner feel polished rather than bulky.
8How Do You Sew a Simple Box Cushion Cover?
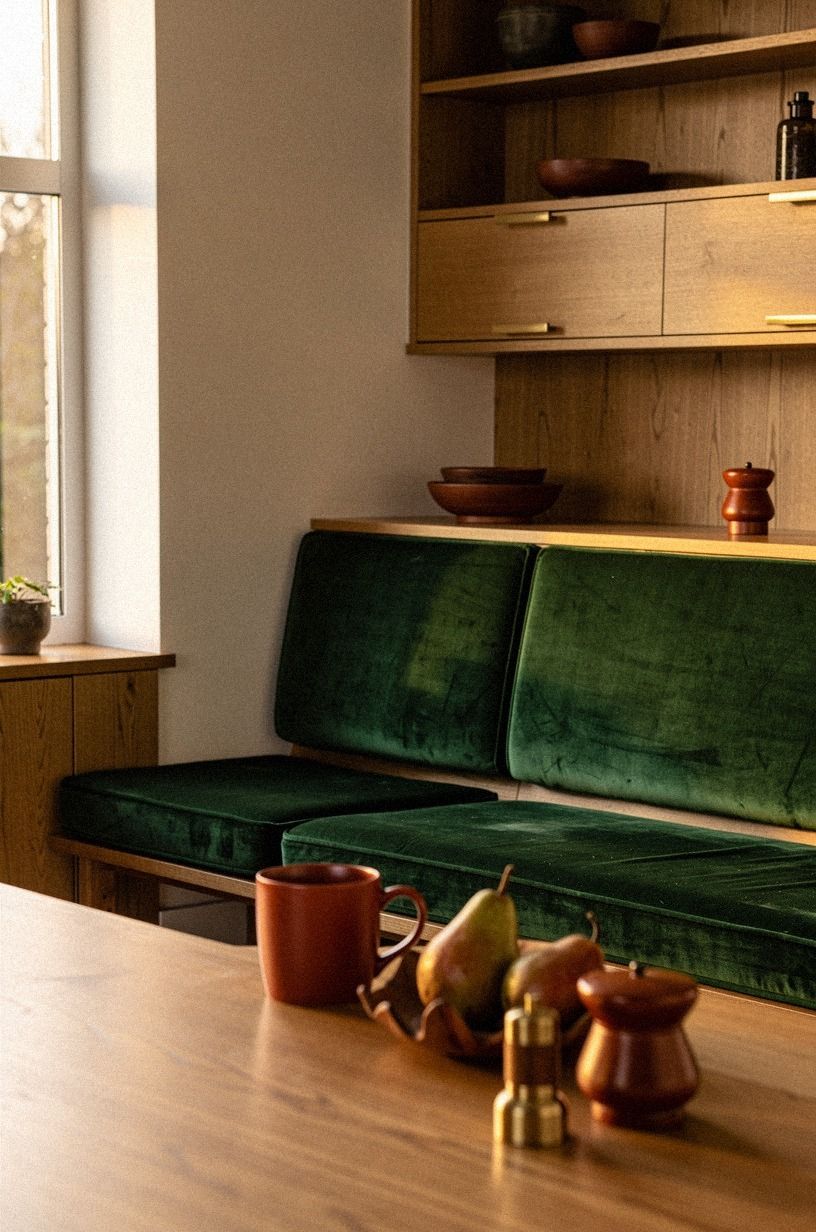
You don’t need advanced sewing skills for a box cushion cover.
9Paint the Base Before You Install the Seat
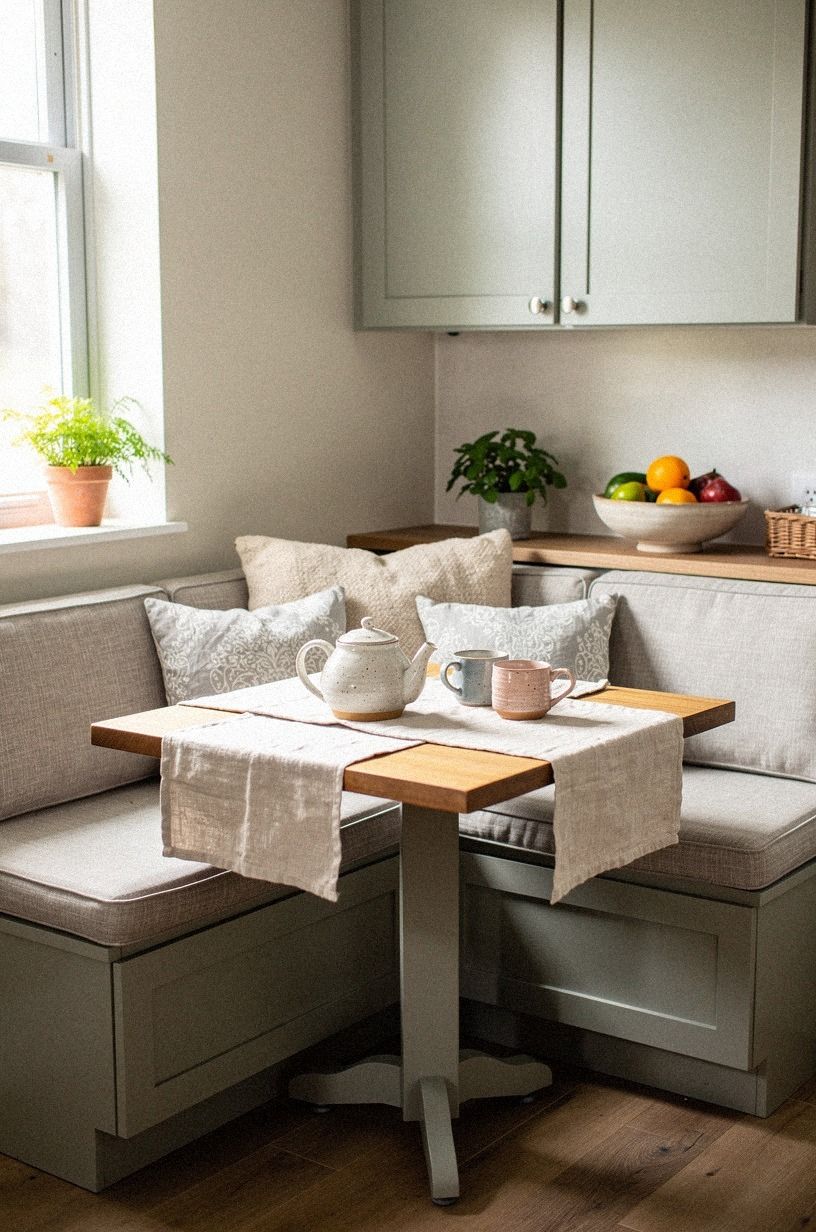
Painting the frame before installing the seat saves your back and keeps brush marks away from the cushion. Your base can become a quiet color block beneath the brighter upholstery, or it can disappear into the wall.
Benjamin Moore First Light 2102-70 is a gentle dusty rose when you want the nook to feel warm without becoming sugary. For a moodier corner, Farrow & Ball Railings No. 31 creates charcoal depth around pale upholstery and brass details. I’d avoid painting the base a random gray if your floor already has cool undertones.
Before painting, choose the light plan and note where shadows will fall. A color that looks airy beside a sunny window can become surprisingly heavy beneath a dim fixture.
Use fine 220-grit sandpaper on exposed edges, remove dust, and apply a durable waterborne enamel in thin coats. A smooth painted base feels more custom than a rushed one, even if your tools are basic.
Don’t rush the prep. Let each coat dry fully before handling the frame. The extra patience creates a cleaner, more reassuring finish.
10Layer the Three-Height Light Stack
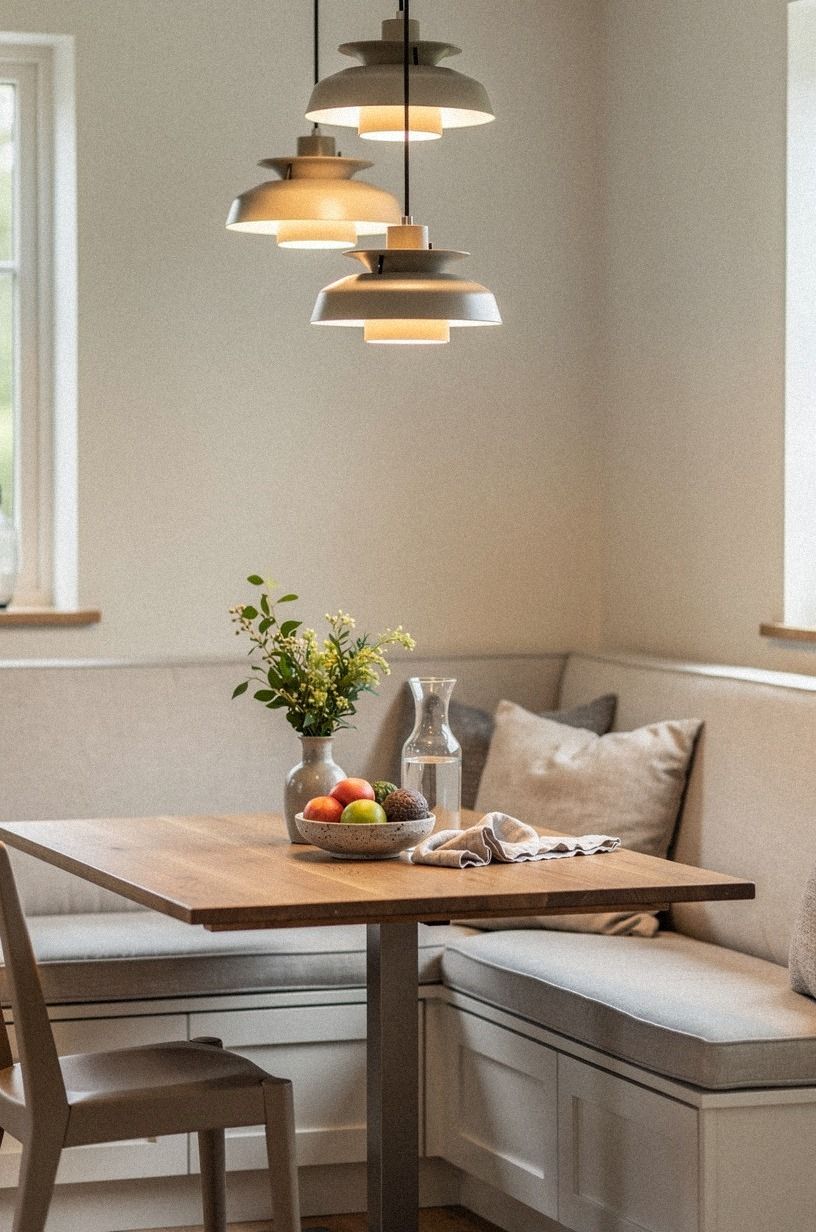
The Three-Height Light Stack gives your nook a more finished atmosphere without adding complicated electrical work. Your lowest light can come from a table lamp, the middle light from a wall sconce, and the highest point from a pendant or existing ceiling fixture.
A plug-in picture light can create a warm pool over the bench without opening the wall. I’d choose a warm-white bulb and keep the cord tucked along the underside of a shelf. The light should land on the table, not shine directly into your eyes while you’re eating.
And if you’re planning a pendant, measure the table first. A low fixture makes the nook intimate, but your tallest person shouldn’t have to dodge it. Your goal is layered light, not a daily obstacle course.
A dimmer switch is especially helpful if breakfast happens before sunrise. Bright task light helps with food preparation, while a softer setting makes the same corner feel calm during a late dinner.
Warm light makes even a basic plywood bench feel surprisingly welcoming. Use the room’s natural daylight as part of the design, too.
11Frame the Nook With a Narrow Shelf
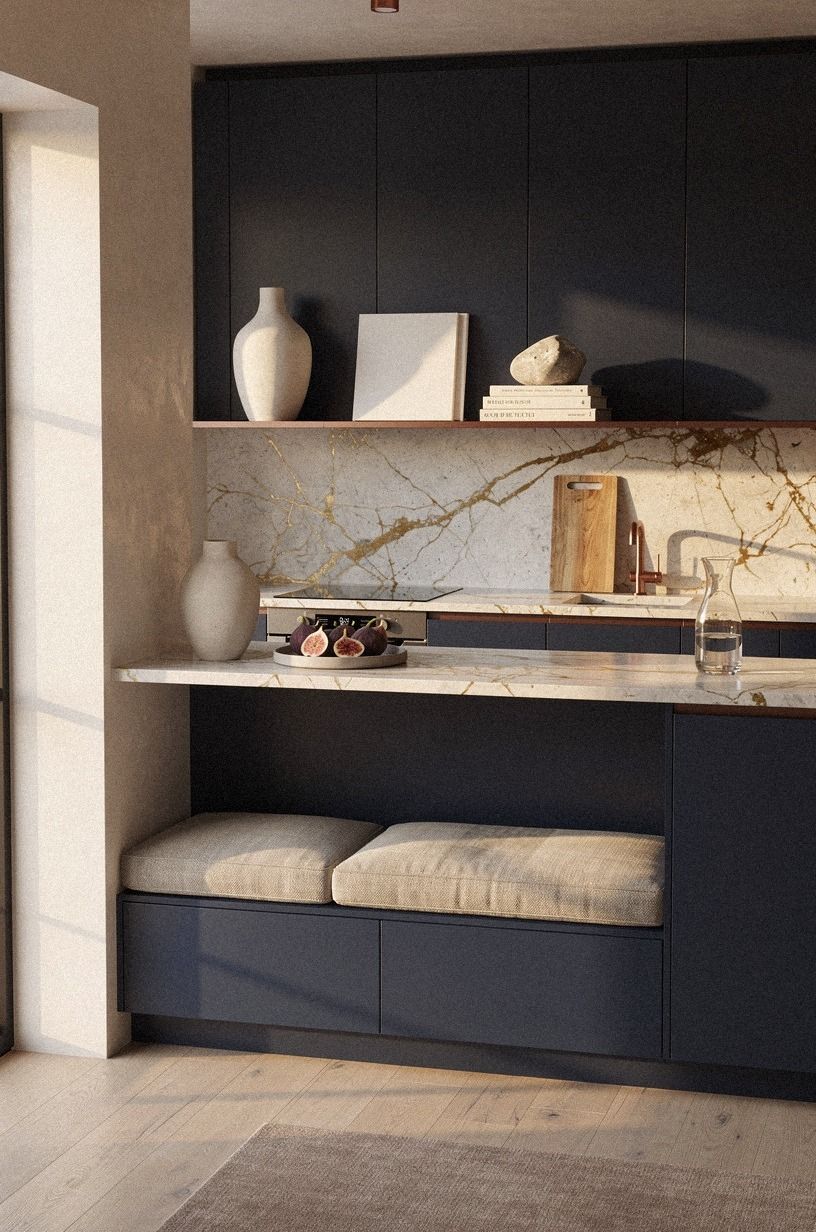
A narrow shelf above your breakfast nook bench gives your wall useful structure. Your shelf can hold a small vase, coffee tins, artwork, or the cookbook you reach for every weekend. Keep the depth modest so it doesn’t crowd anyone sitting below.
I like copper-toned brackets under a Calacatta marble shelf with gold veining because the combination gives the midnight blue, copper, and ivory palette a polished focal point. You’ll want to leave enough clearance above the bench for your shoulders and enough space above the shelf for objects that don’t feel squeezed.
If you’re deciding what to display, compare the storage options before filling the shelf with everyday items. A hidden compartment may be more useful than another decorative basket.
One ceramic bowl, a framed print, and a small plant can look more collected than twelve little objects. The shelf should support your routine, not become another surface you have to dust.
But resist filling every inch. Leave a little negative space around the objects so the nook feels open, intentional, and easy to maintain.
12Budget Bench or Full Remodel?
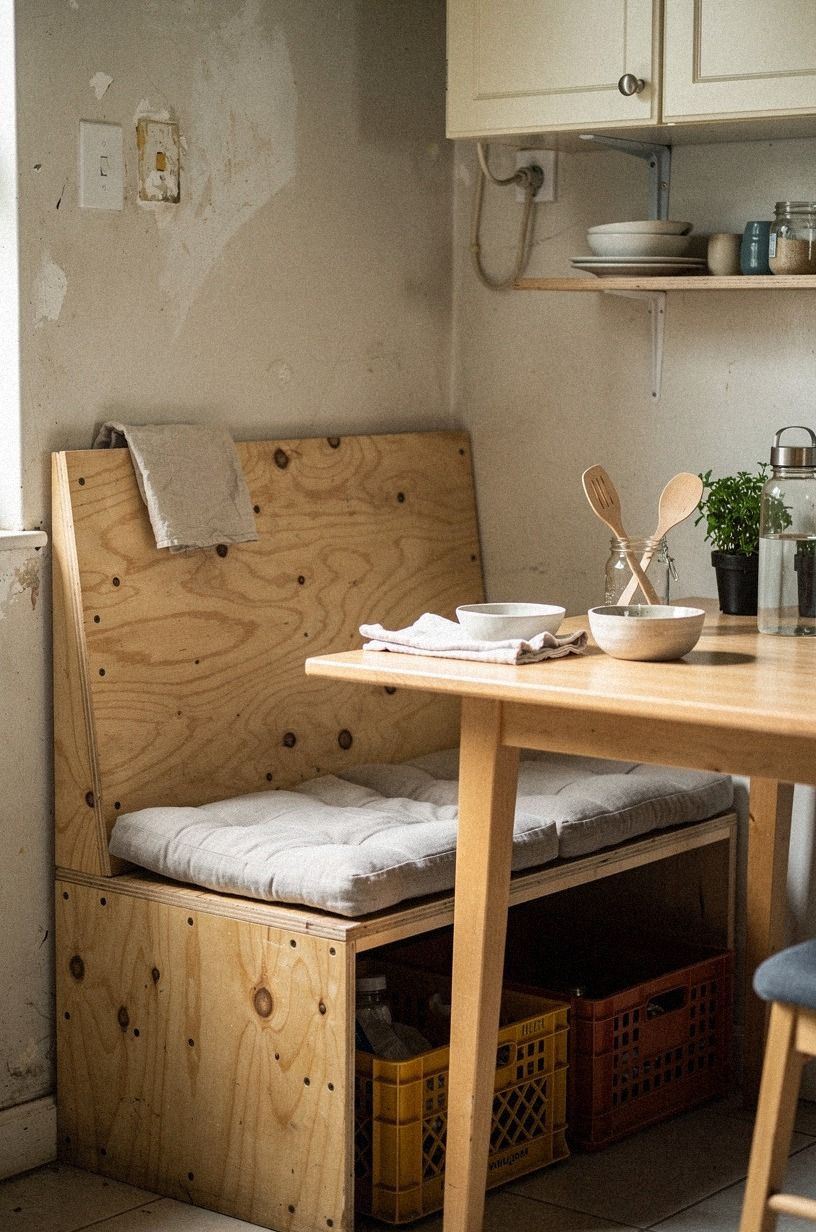
Your bench itself may use a smaller budget than a full kitchen update, but the surrounding materials still affect the finished price. A painted plywood base costs less than a stone-topped built-in, while a custom cushion can become the largest line item if you choose premium fabric.
These typical US kitchen benchmarks help place the project in context. They aren’t a quote for your bench, and your total will depend on the frame, finish, upholstery, and whether you already own the tools.
If you’re building only the bench, your material choices matter more than the kitchen tier. Your best saving move is keeping the frame simple and spending where your hands touch the project, especially the seat and cushion.
Choose cerused white oak for visible surfaces and standard plywood for hidden parts. You don’t need quartz or custom millwork to create a beautiful result. Careful proportions will do more than a costly upgrade.
A budget build can still feel elevated when the edges are clean, the fabric is durable, and the proportions are thoughtful. Those details have more impact than an expensive accessory.
13Choose Paint Colors That Meet the Kitchen
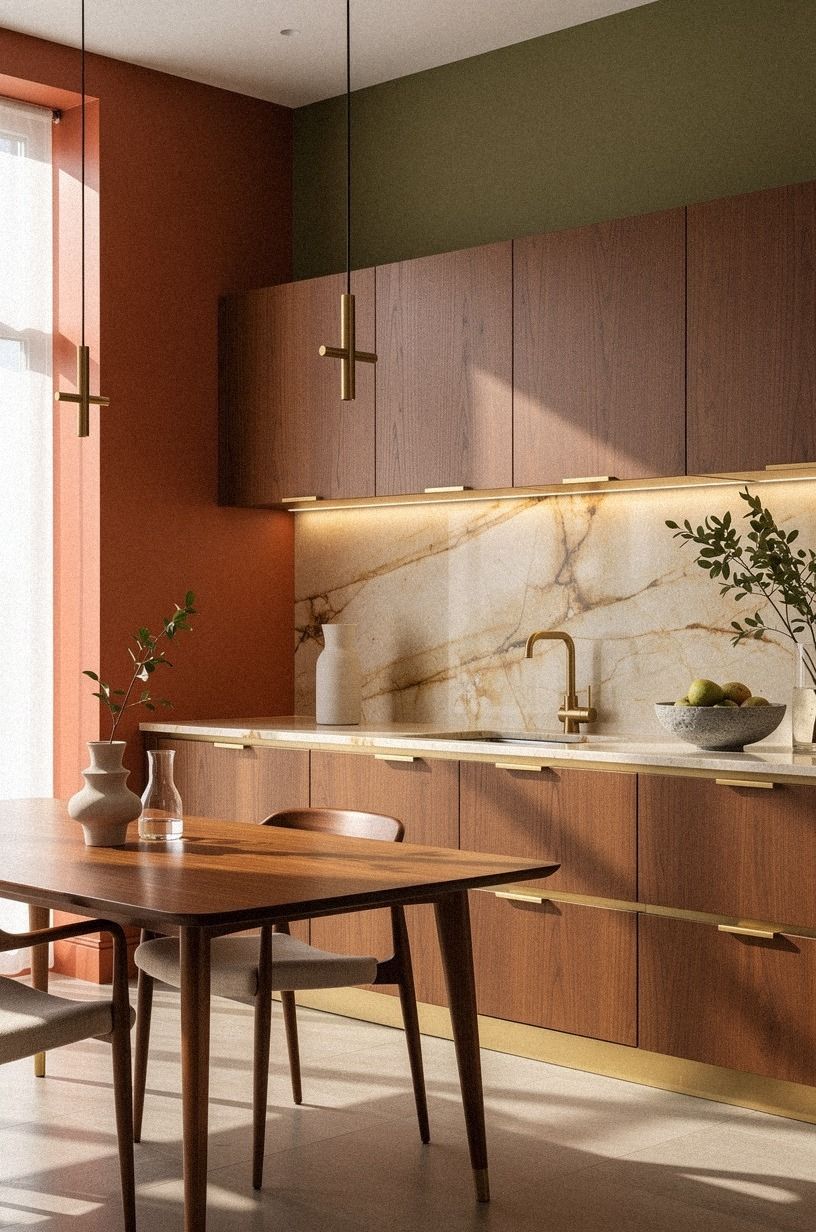
Your breakfast nook bench should relate to the kitchen, but it doesn’t need to match every cabinet. Your color can repeat a cabinet undertone, echo a nearby rug, or give a plain wall a stronger focal point.
Sherwin-Williams Cavern Clay SW 7701 works when you want a grounded terracotta that feels warm without turning the nook overly rustic. I’d use it on the base with stone nearby, then introduce backlit translucent onyx only where the kitchen can support a luminous accent. The combination needs some visual warmth to stay inviting.
And if your kitchen already has dark cabinetry, choose a lighter bench base or a pale cushion. Your small dining corner doesn’t need another heavy block. Paint a sample board and watch it in morning, afternoon, and evening light before committing.
For a calmer palette, use the two-wood rule and let the paint supply the contrast. For a bolder nook, repeat one saturated color in a rug, vase, or artwork.
A thoughtful color can make the bench feel integrated even when the construction is completely new. That connection is what makes a DIY project feel established rather than temporary.
14Build Open Cubbies Under the Seat
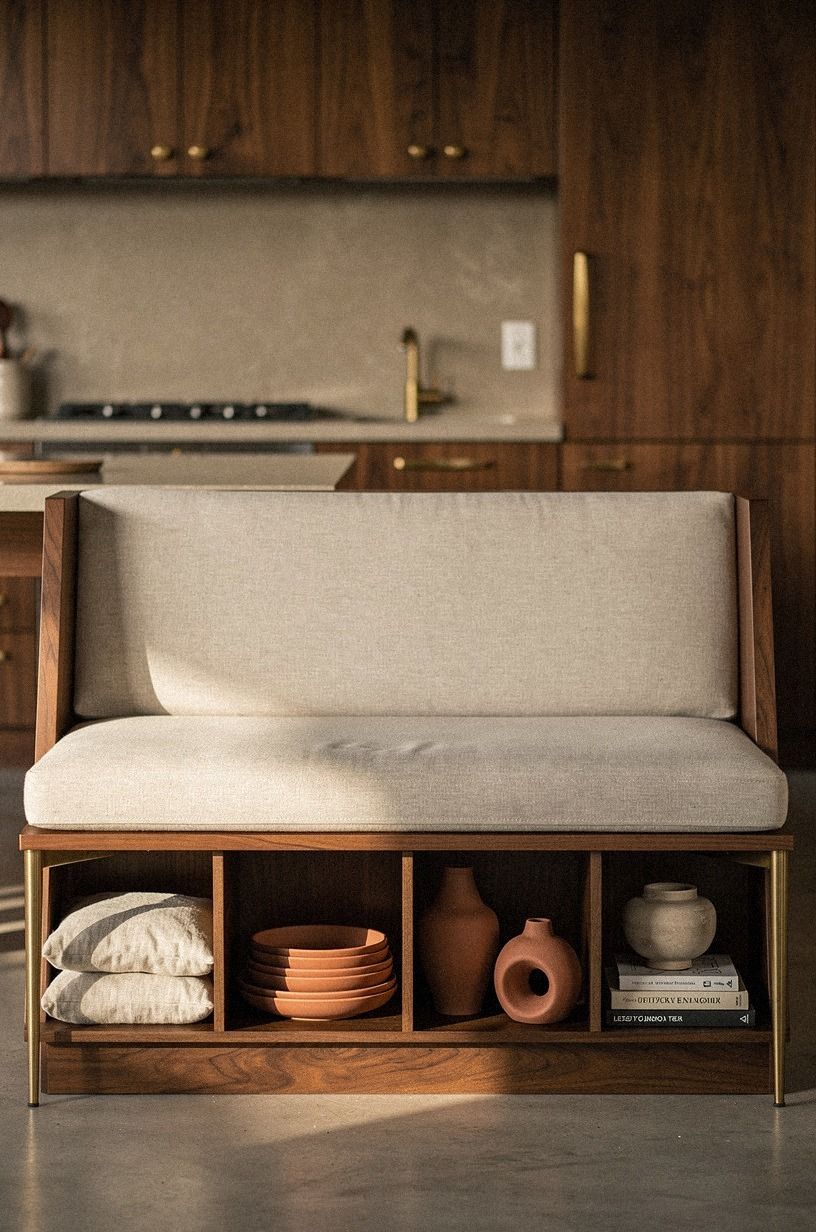
Open cubbies under the breakfast nook bench can hold baskets, cookbooks, or the extra napkins that never seem to have a home. Your cubby openings should be wide enough to access without scraping your knuckles against the frame.
A cane webbing door panel can hide clutter while still allowing the base to breathe visually. If you prefer open storage, use matching baskets so the bench doesn’t look like a collection of unrelated bins. I’d skip tiny cubbies because they create awkward compartments that fit almost nothing.
For a cleaner look, keep one section open and one section closed. Your daily items can stay visible, while the less attractive supplies disappear behind a panel. It’s a small decision, but it keeps the nook practical after the first week.
Use book-matched walnut dividers or shelf pins if you need adjustable storage. Measure the baskets before cutting the openings. That simple bit of planning gives you useful, generous storage instead of attractive compartments no one can reach.
15Why Does a Round Table Win Here?
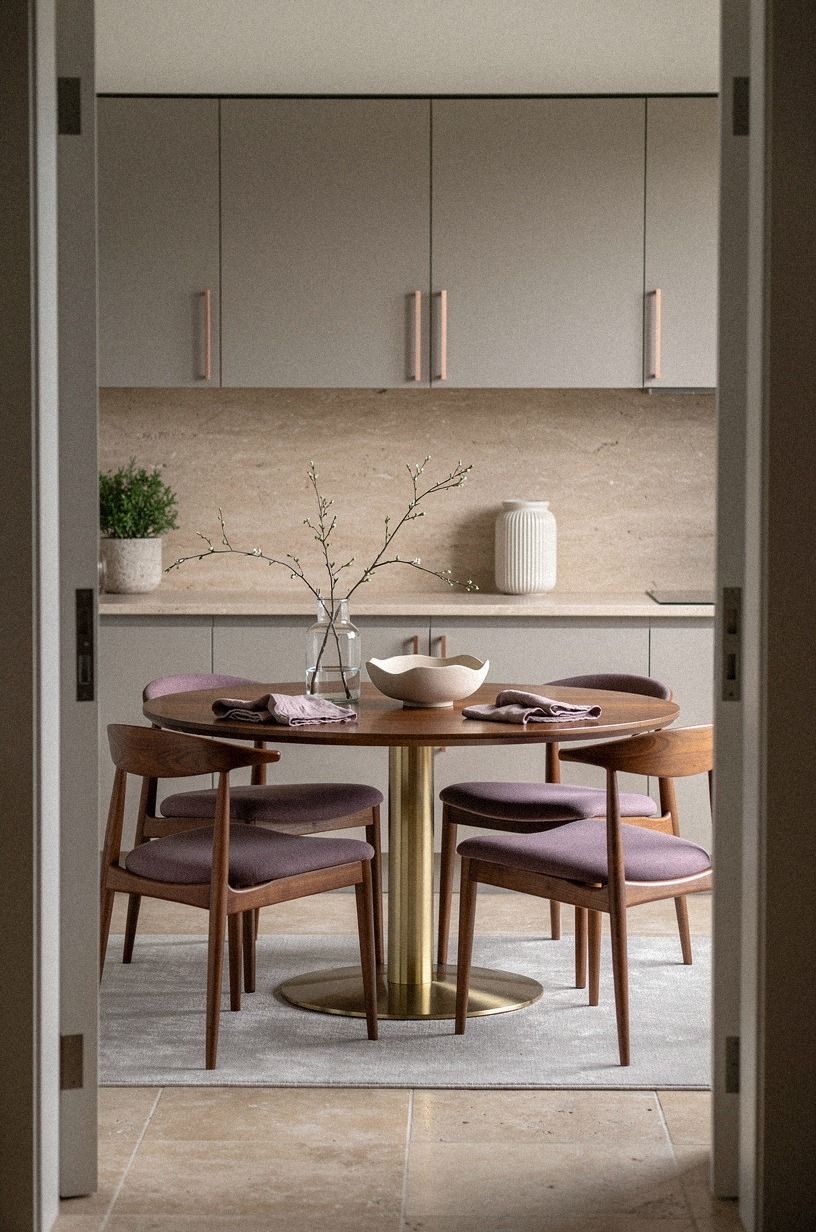
A round table with a warm travertine top can make your DIY dining nook feel easier to move through because there are no sharp corners catching hips and chair backs.
16Style the Table With Three Useful Layers
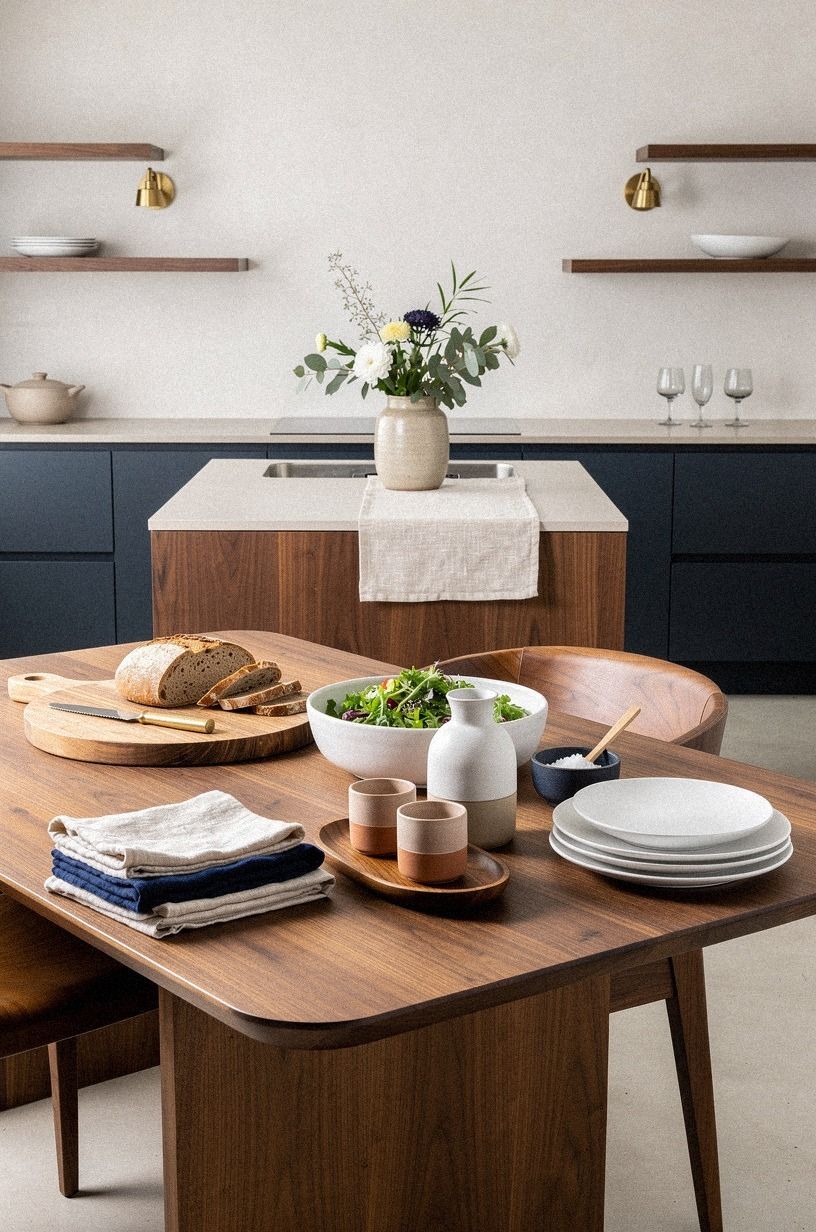
Your table styling should make the nook feel ready for breakfast, not staged for guests. Start with something low, add a practical item, and finish with one object that brings texture. Your arrangement should leave enough open surface for plates and mugs.
A hand-thrown stoneware bowl filled with pears gives you color, shape, and a useful place to drop keys. Add a linen runner, an unlacquered brass lamp, or a walnut tray if you have room. I’d skip tall flowers when your bench faces the table because they interrupt conversation.
And don’t buy new decor just to fill the surface. Your everyday cutting board, favorite mug, and one small plant can make the nook feel lived-in. The best breakfast corners look ready for you, not waiting for special occasions.
Keep the most-used objects within easy reach. A beautiful arrangement that has to be cleared every morning won’t survive real life. For a softer finish, add one matte ceramic vase instead of several small accessories.
17Add a Removable Back Panel for Rental-Friendly Style
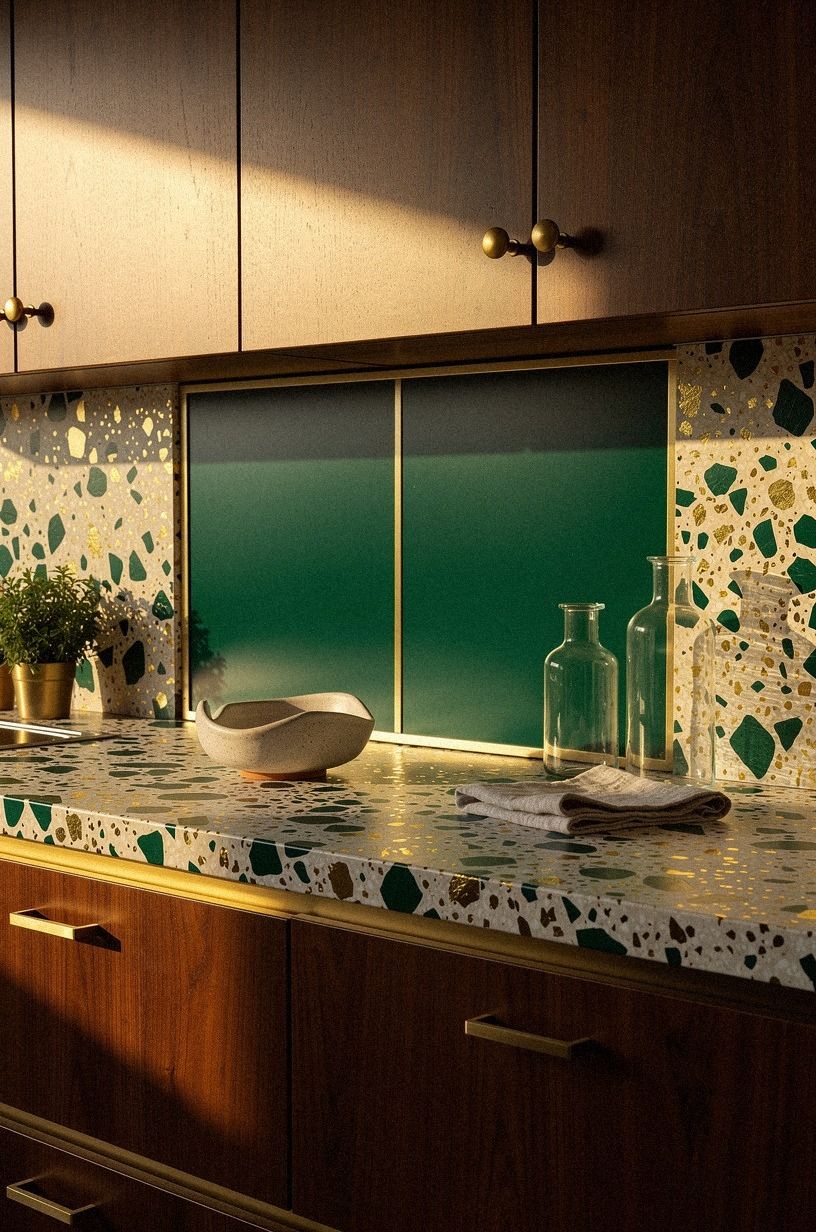
A removable back panel lets you change the look of your breakfast nook without rebuilding the bench. Your panel can cover a plain wall behind the seat, protect the paint from daily contact, or create a stronger backdrop for the cushion.
An oversized-chip terrazzo panel can add texture when you need a rental-friendly update. Use removable strips according to the manufacturer’s instructions, and test one hidden area before covering the full wall. I’d avoid permanent adhesive if your lease requires the original paint to remain intact.
A tension-mounted shelf can offer a similar temporary solution when you don’t want to drill. Choose a restrained pattern that supports the table and flooring rather than competing with them. A soft vertical line works better than a busy print in a small dining nook.
Your bench already has a strong horizontal shape, so the wall panel should give it height and balance. If you’re unsure about the backdrop, paint the base first and live with the simpler version for a week.
The right panel should solve a visual problem, not create another project.
18Finish With a Small-Space Dining Nook Layout
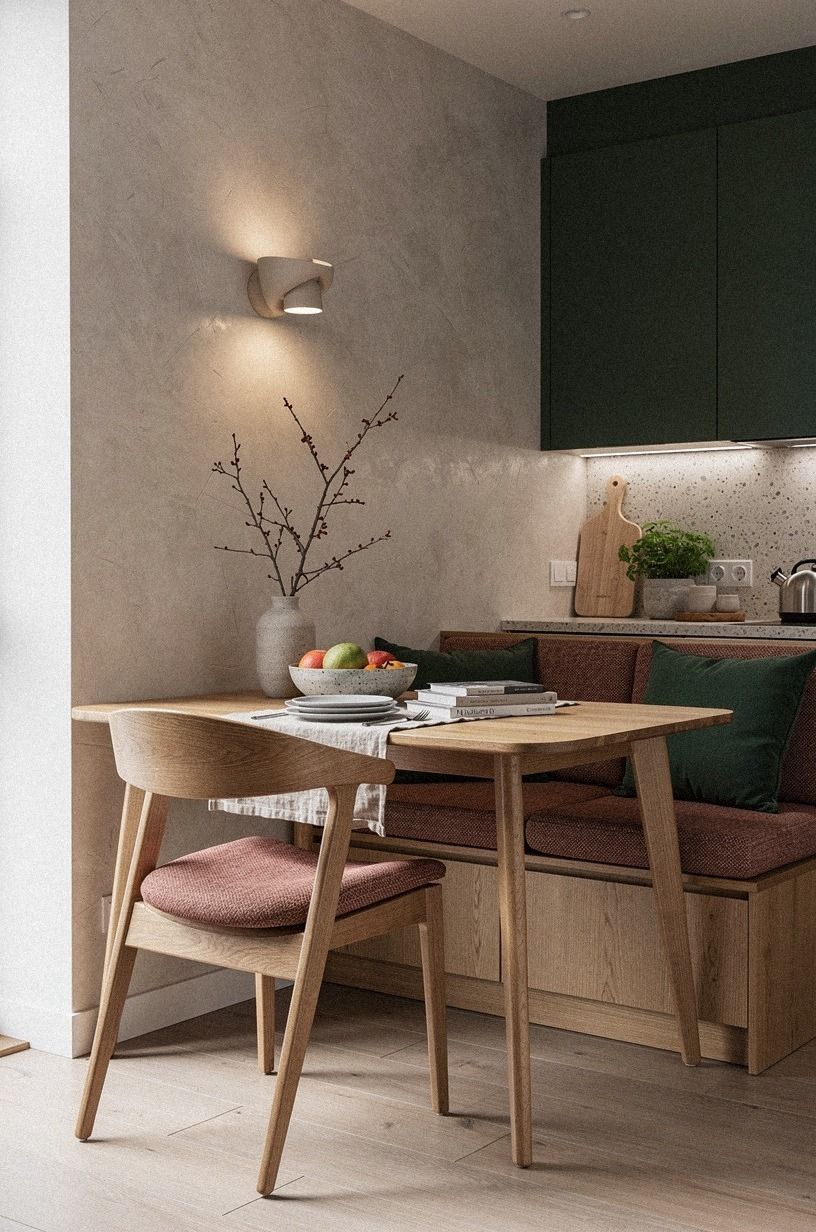
The final layout should help your mornings, not only look polished. Your bench, table, lighting, and storage need to work together so you can sit, stand, serve food, and clean up without moving three pieces of furniture first.
Keep natural oak near the seat or shelf if the room feels cold, and let hand-applied Venetian plaster bring softness to the surrounding wall. Leave the kitchen work path clear, and check that doors can open fully beside the bench. I’d rather see a smaller table with comfortable circulation than a larger one that blocks the room every time you pull out a drawer.
And if you’re working in a very tight space, use one bench side and two lightweight chairs. Your layout will feel flexible, and you won’t lose the welcoming quality that made you want a breakfast nook in the first place.
Add felt floor pads beneath the chairs and choose a washable cushion cover if the nook will handle everyday meals. Before you finish, review the round-table clearance, test every drawer and door, and sit through a full pretend breakfast.
If the movement feels easy, the design is working.
The Design Choice I’d Defend
I’ve built enough small seating projects to know that the frame is rarely the part people remember. They remember whether the bench feels comfortable, whether the table is easy to reach, and whether the corner makes ordinary mornings feel a little less rushed. That’s why I’d put more thought into the seat depth and cushion than into decorative trim.
My biggest mistake was treating the bench like a storage cabinet first and a seat second. I made the box too deep, then watched everyone perch on the front edge because the table sat too far away.
It looked useful. It didn’t feel useful.
Your body will tell you the truth faster than a sketch will.
I also learned that paint color changes the apparent size of the nook. Farrow & Ball Railings No. 31 can make a shallow corner feel rich and architectural, but it can feel heavy if your lighting is weak.
Benjamin Moore First Light 2102-70 gives you more warmth, especially when the table and cushion are already dark. Neither is universally right.
Your daylight, flooring, and nearby cabinets decide the winner.
The part worth spending on is the surface you touch every day. A firm cushion, washable cover, and stable frame will matter more than a high-end bracket hidden underneath.
If your budget is tight, make the box plain and finish the top carefully. A clean edge, smooth paint, and thoughtful fabric can make modest materials feel intentional.
And leave room for the project to become yours. Your coffee tin, a stack of mail, and the bowl someone keeps stealing fruit from are signs that the corner works. That’s the whole point.
What People Always Want to Know
What is the best DIY breakfast nook bench for a small kitchen?
A simple plywood box bench with a lift-up seat is the best starting point for most small kitchens. You’ll get seating and storage without adding a bulky cabinet. An IKEA KALLAX birch-effect unit can also work as a base if your measurements fit, but secure it properly and check your table clearance.
Where can I buy breakfast nook bench pieces on a budget?
Look at IKEA, Wayfair, Target, Facebook Marketplace, and local thrift stores. You can often find a used table or solid wood shelf for less than a new piece. Your best budget finds are usually the table, brackets, and fabric, while plywood and hardware need careful measuring.
How much does a breakfast nook bench makeover cost?
A small makeover often costs about $100 to $300, depending on whether you already own tools and a table. Paint, hardware, and a basic cushion cover can stay affordable. Your existing table, baskets, and decor may cost nothing, which leaves more room for durable upholstery.
Can I create a breakfast nook bench on a budget?
Yes, and you can start with a simple frame, leftover paint, and a cushion made from remnant fabric. Use a secondhand table, repurpose baskets for storage, and keep the bench base untrimmed. Your biggest savings come from choosing a straightforward box instead of custom cabinetry.
Is a DIY breakfast nook bench worth it in a small space?
Yes, because a bench uses wall space more efficiently than several loose chairs. Your nook can seat more people while keeping the floor clearer. Choose a round table, keep the seat depth controlled, and leave a comfortable path around the bench so the corner stays useful.
Is a DIY breakfast nook bench a good idea for a rental?
Yes, if you keep the bench freestanding and use removable updates. Your options include peel-and-stick beadboard, tension-mounted shelves, removable hooks, and a table that isn’t fastened to the wall. Check your lease before using cleats, screws, or adhesive, and keep the original hardware safely stored.
Where I’d Start First
If I had to pick one, I’d start with the seat depth. A perfectly painted bench won’t feel good if your knees hit the table.
Measure, test the temporary board, and build around how you’ll sit. Pin this guide for later, then choose the cushion fabric before the saw comes out.


