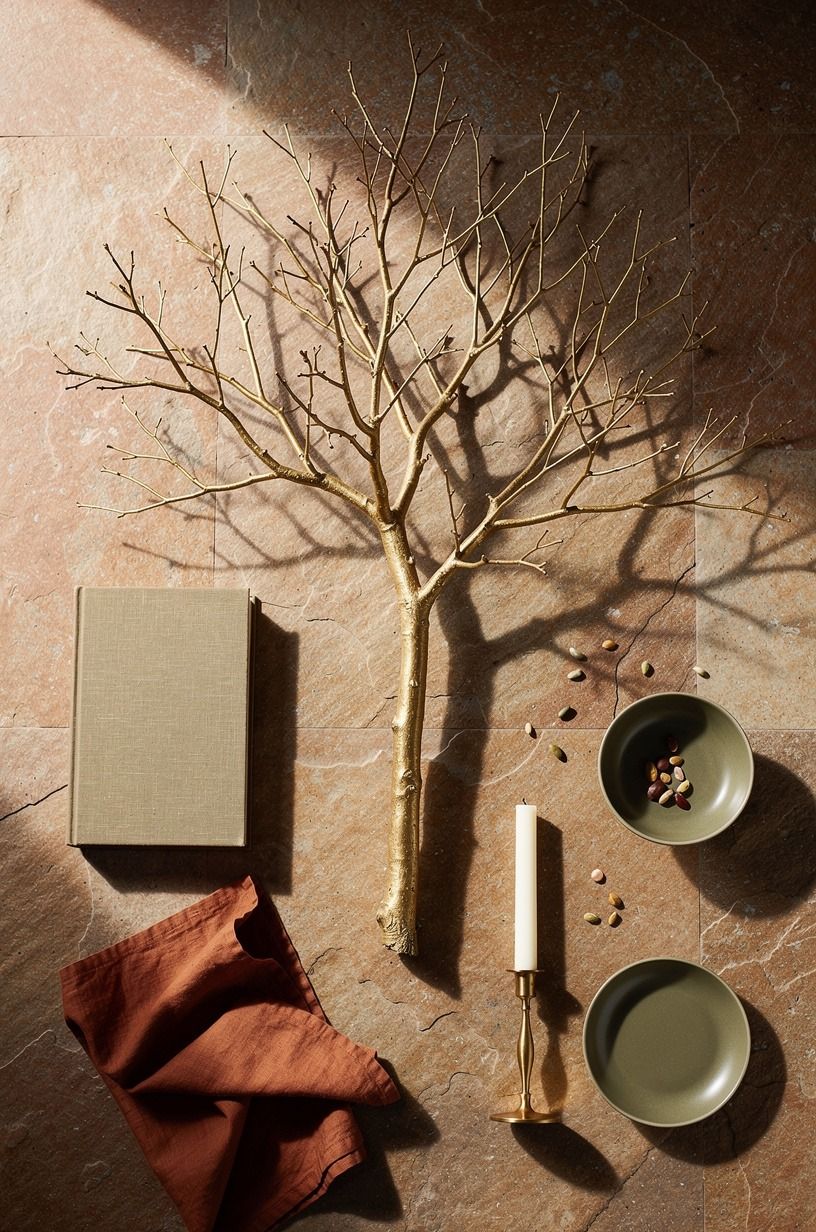
How to Make a Halloween Tree: Bare Branches, Black Ornaments and a Bucket of Plaster Without Overthinking It
18 september 2026To make a Halloween tree with bare branches, black ornaments, and a bucket of plaster, start with a stable silhouette and let the materials stay a little rough. Your tree doesn't need expensive decor. It needs height, weight, soft light, and one strong point of view. Mine took a Saturday afternoon. That was enough.
Before You Start: Gather the Halloween Tree DIY Materials
You’ll need bare branches, a sturdy bucket, plaster mix, water, protective gloves, black ornaments, ribbon, lights, and something to cover your work surface. Your branches should be dry and free from loose bark. I like pruned maple branches because the smaller twigs fork naturally and create a dramatic shape without much trimming.
Choose a container that won’t tip when your branches are dressed. A plain utility bucket works beneath fabric or paint, while a wide ceramic planter gives your tree a more finished base. Your container doesn’t have to be expensive, but it does need enough weight to hold the upper branches steady.
For a budget plan, think in three levels. Free branches from your own yard can carry the shape.
Budget ornaments can carry the color. A better light set is the one place I’d spend a little more because you’ll notice flickering or harsh blue bulbs every evening.
This broader room budget table gives you a useful US reference point while you plan the rest of your display.
Your Halloween tree should stay well below those room-level tiers. The point is the silhouette, not a shopping spree.
- Start with a Bare Branch Silhouette
- Choose the Two-Wood Rule for Branch Tree Decor
- Anchor the Tree with a Bucket of Plaster
- Paint the Base with a Pigeon and White Dove Pair
- Build the Three-Height Light Stack for Indoor Tree Decorating
- Layer Black Ornaments by Weight
- How Can You Hang a Spooky Tree Centerpiece Without Losing the Shape?
- Mix Soft Textiles Against the Hard Branches
- Choose Bare Branches Over a Full Green Tree
- Frame the Base with Rental-Safe Halloween Tree DIY Details
- Photograph the Three-Season Tree Before You Store It
1Start with a Bare Branch Silhouette
Lay your branches on the floor before you put them in the bucket. You’re looking for one tall central line, a few side arms, and enough open space for ornaments to hang without bumping into one another. I prefer an uneven outline because a perfectly symmetrical tree starts to look like a store display.
Trim the lowest twigs if they make your base look crowded. Keep the strange bends.
Those are what give the branch silhouette its character, while a little unlacquered brass can develop a warm patina beside it. Don't strip every bit of texture away.
Hold the branches at different heights and turn them slowly. Your best view may not be the first one you see. And if a branch points directly toward a doorway, rotate it now rather than discovering the problem after the plaster sets.
I’d skip artificial greenery at this stage. It softens the sharp, moody shape you want, and your black ornaments will have less breathing room. A little emptiness makes the tree feel more enchanting and less crowded.
2Choose the Two-Wood Rule for Branch Tree Decor
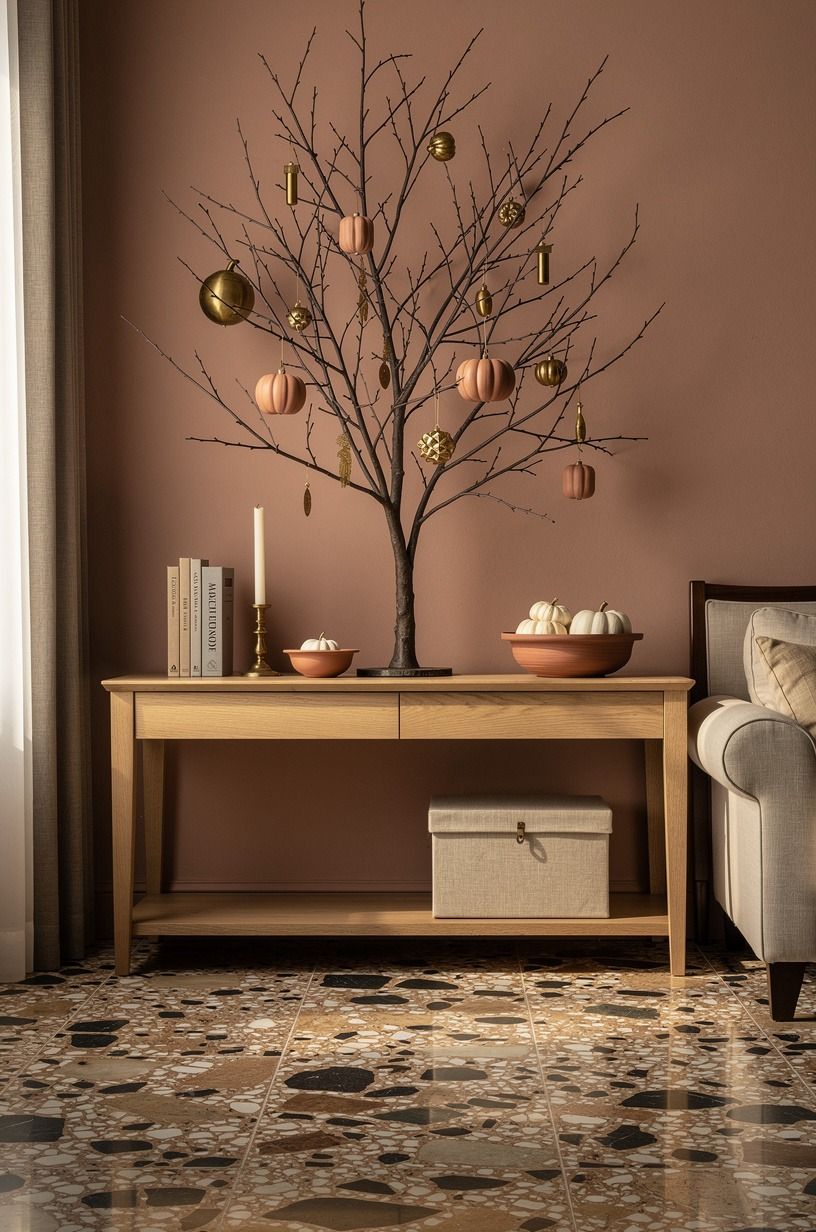
The Two-Wood Rule is simple: keep no more than two visible wood tones in the whole display, then let aged brass and oversized-chip terrazzo carry the heavier surfaces.
3Anchor the Tree with a Bucket of Plaster
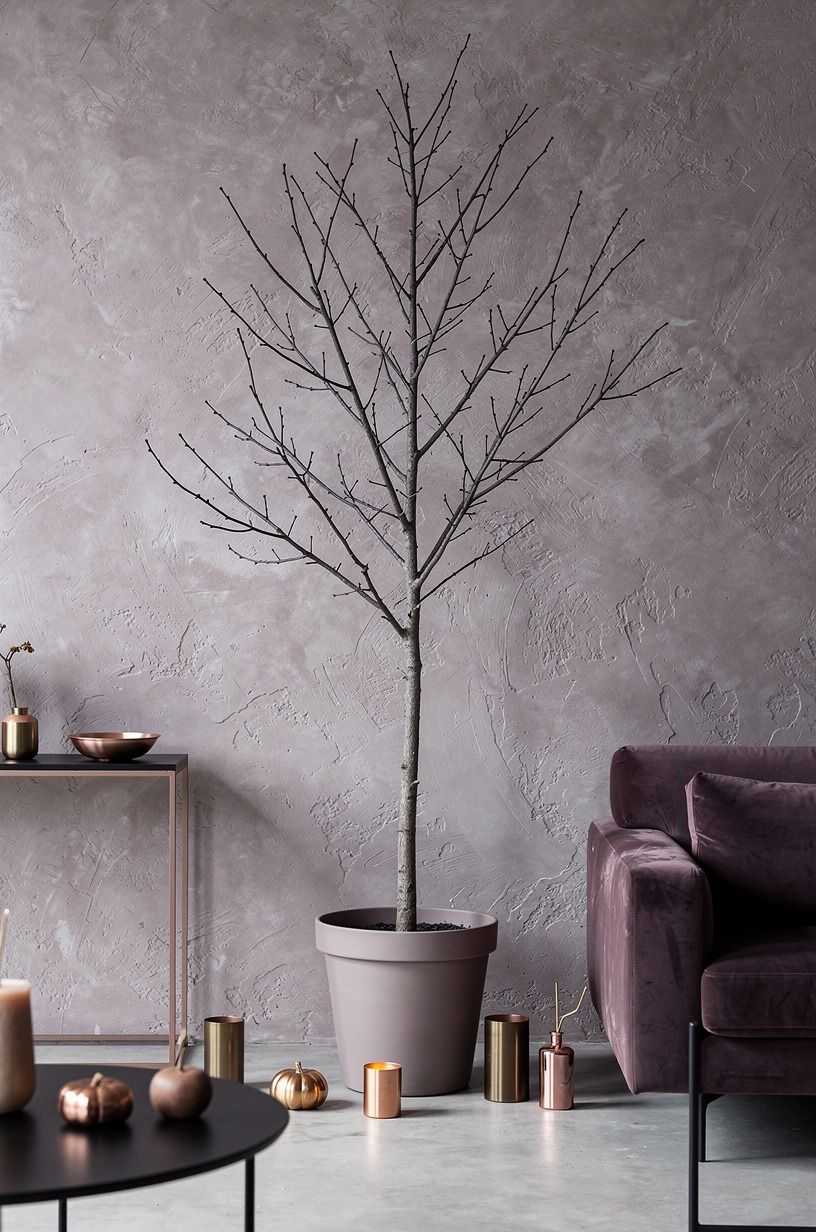
Set the branches in the empty bucket first and check the height from across the room. Your central branch should feel tall enough to command attention, but it shouldn't scrape the ceiling or block a picture frame. Once you like the arrangement, mark where each branch touches the rim.
Mix the plaster according to the package directions, using your protective gloves and keeping the work area covered. Pour carefully around the branch bases. The base should hold the lower structure firmly, so your tree won't wobble when you add ornaments later.
Keep one hand on the branches while the plaster begins to settle. I made the mistake of letting go too soon on my first attempt, and the tallest branch leaned like it was tired.
It wasn't charming. Your eye will catch even a small lean once the lights are on.
Let the base cure according to the product instructions before you move it. Don't decorate while the bucket still shifts. Stability is the unglamorous part, but it’s what makes every later step feel easy.
4Paint the Base with a Pigeon and White Dove Pair
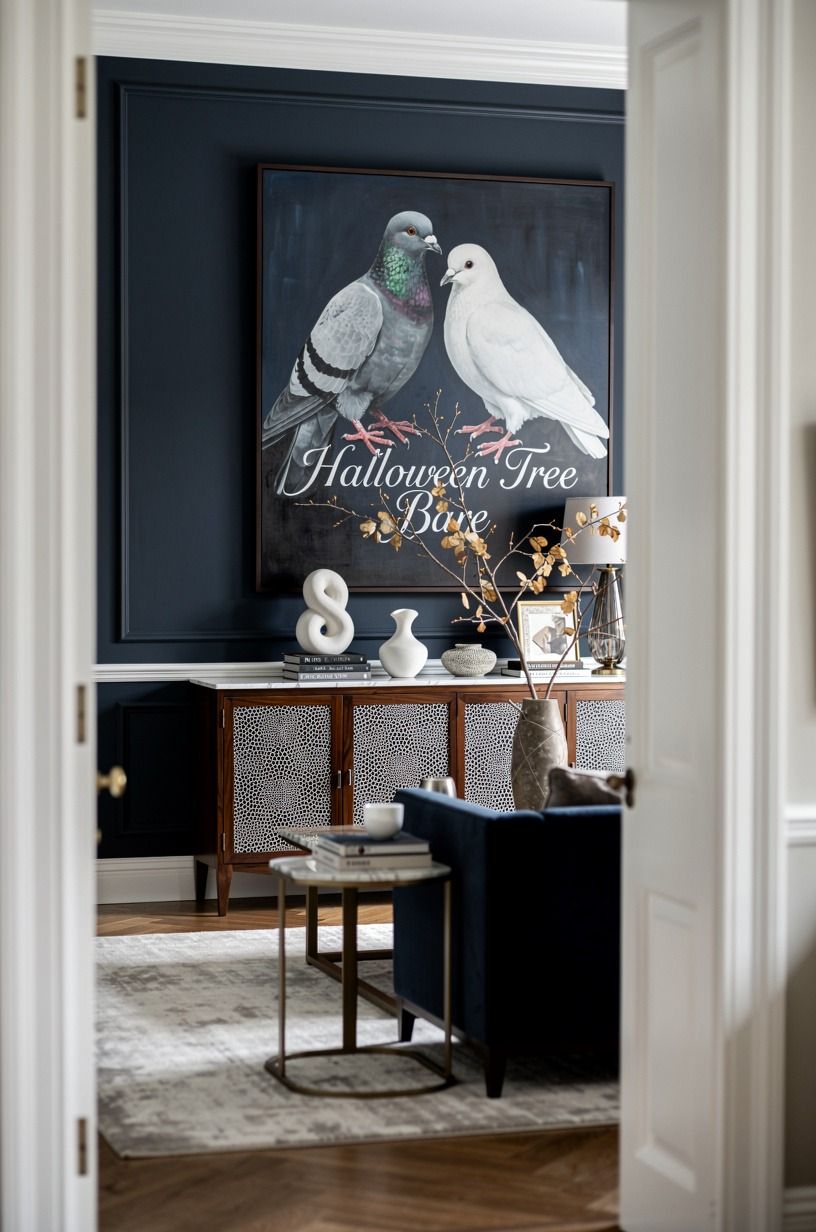
Cover the cured bucket with paint, fabric, paper, or a second container. For a soft old-house mood, use Benjamin Moore Hale Navy HC-154 on the outside and leave the branch bark visible above it. The deep blue undertone gives black ornaments a quieter setting than bright white.
You could also paint the base Benjamin Moore White Dove OC-17 if your room already has warm beige furniture. Your goal isn't to create another focal point. You want a muted pedestal that lets the branches and ornaments do the work.
I’d avoid glossy black paint on the bucket. It reflects every lamp and makes the base look plastic. A chalky or eggshell surface feels more refined, especially beside a rough plaster texture.
And if you’re styling a rental, wrap the bucket in removable fabric rather than painting it. A warm-white wrap with a small shagreen accent gives you softness without leaving a permanent mark. Your base can feel finished even when the container underneath is completely ordinary.
5Build the Three-Height Light Stack for Indoor Tree Decorating
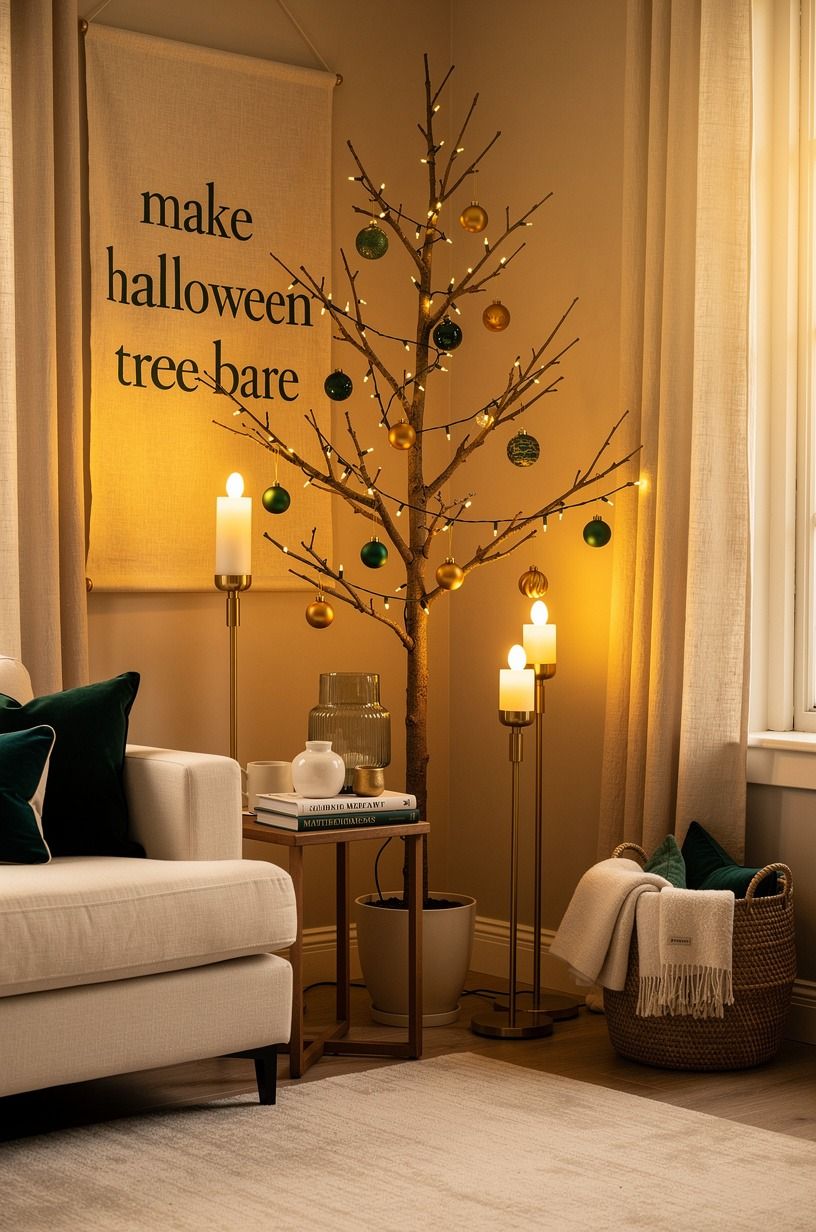
The Three-Height Light Stack uses low, middle, and high points of light. Put a small glow near the bucket, weave a few lights through the central branches, and let the highest bulbs sit close to the outer tips. Your display will feel more dimensional than it would with one bright strand wrapped evenly from bottom to top.
Choose warm bulbs rather than cool white ones. Warm LED bulbs make plaster look creamy and keep black ornaments from turning flat. If you’re placing the tree near a reading chair, angle the lowest light away from your eyes so it adds atmosphere instead of glare.
The standard room rule is three lighting sources: overhead, task, and ambient. Your Halloween tree belongs to the ambient layer. It shouldn't be responsible for lighting the whole room, and it won't look as moody if you expect it to do so.
But don't hide every wire. A small visible loop can look relaxed, especially if your display includes a rough bucket and unfinished branches. Your room will feel more inviting when the tree looks used, not sealed behind glass.
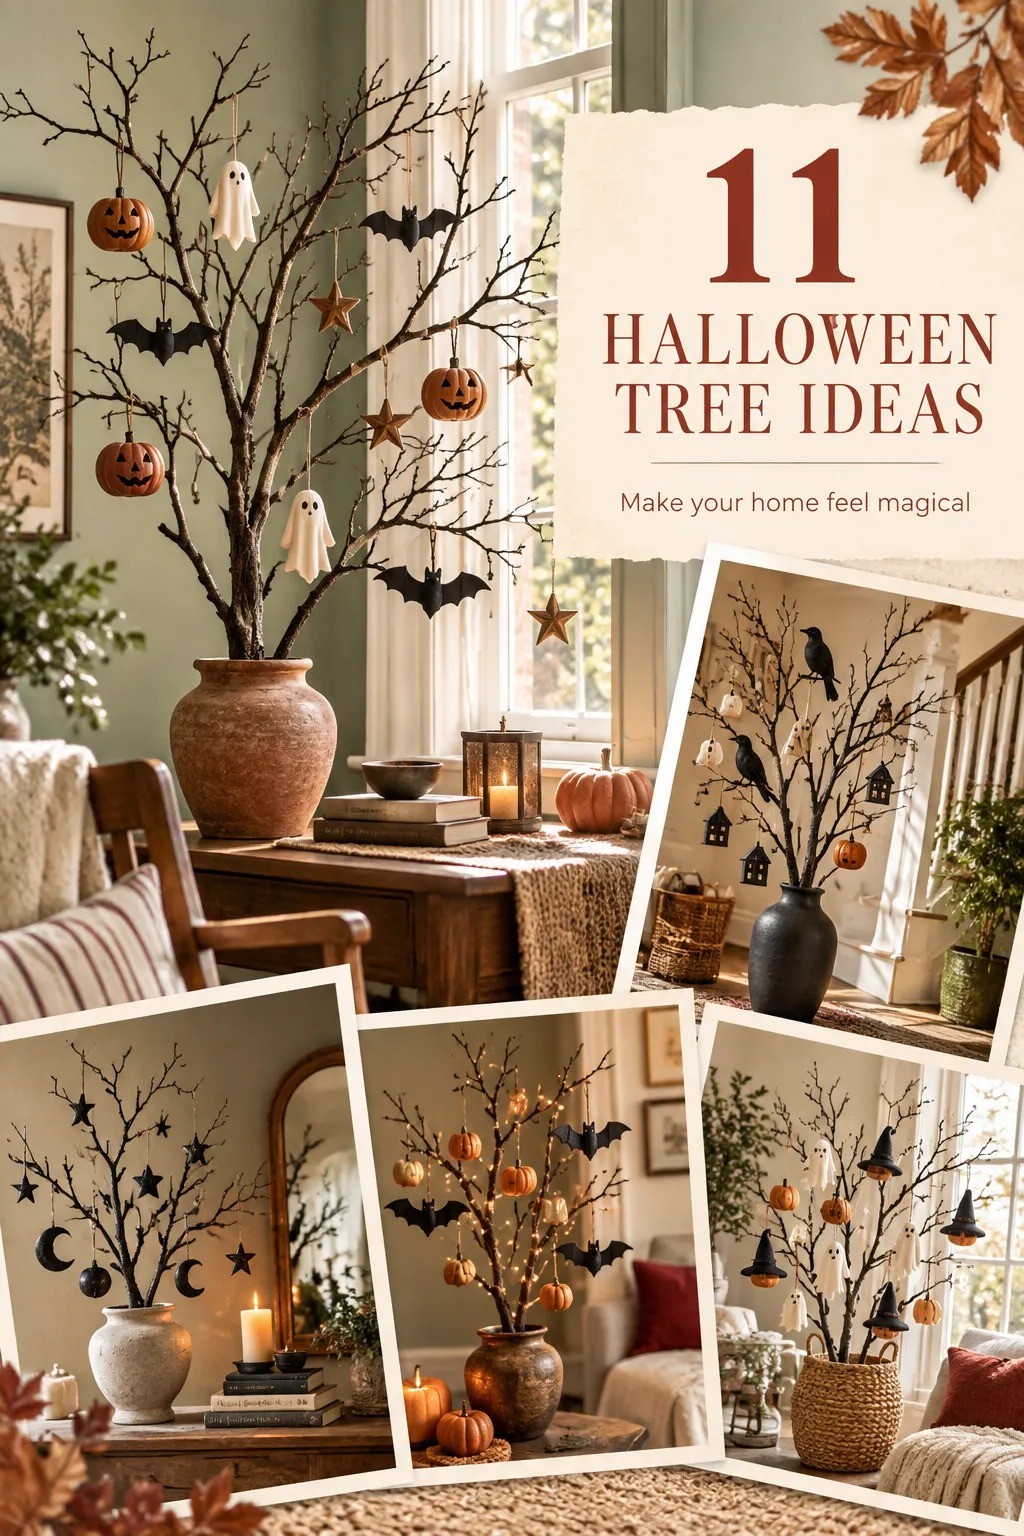
6Layer Black Ornaments by Weight
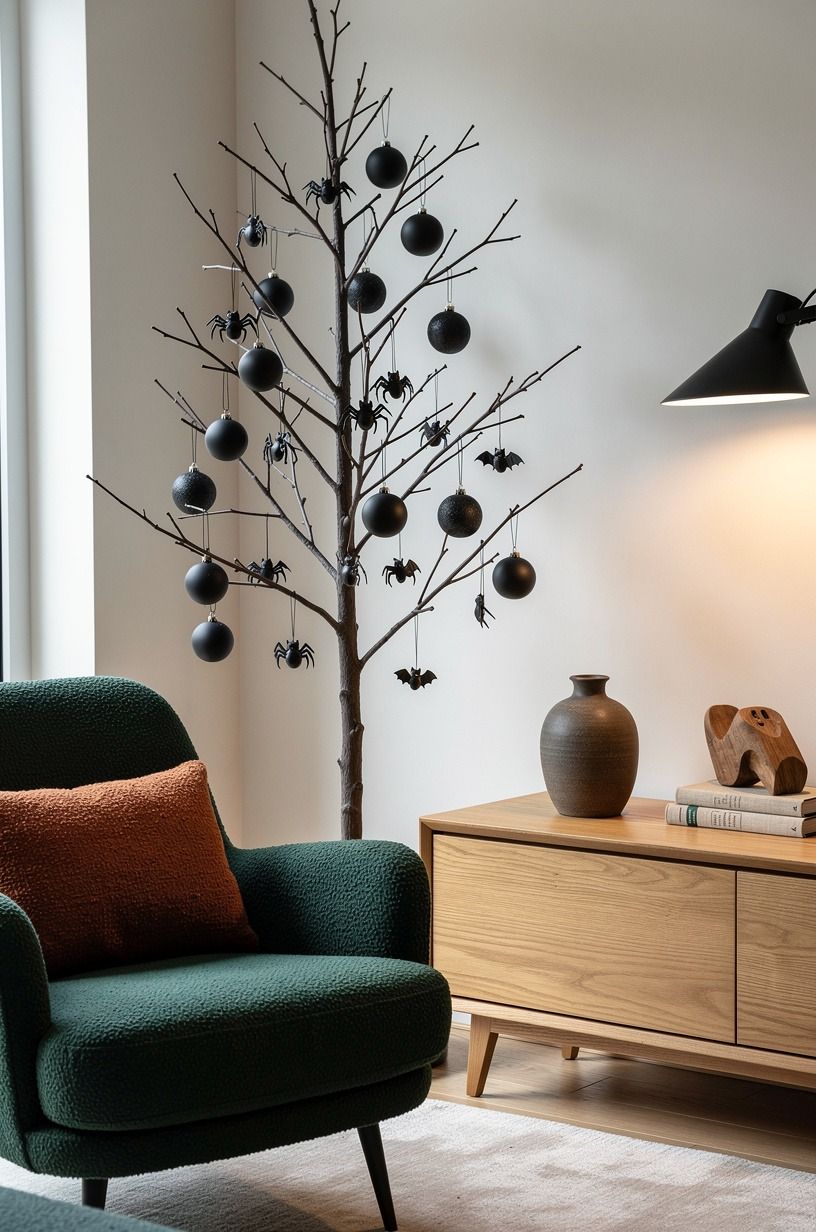
Begin with your largest ornaments near the strongest branches. Then add medium shapes around the center and save the smallest pieces for the thin tips. Your tree will look balanced when the visual weight travels from the bucket upward instead of collecting in one dark clump.
I like rust-colored glass ornaments because they reflect tiny pools of light without losing their color. Mix them with matte forest-green balls, paper shapes, or small natural-oak moons.
You don't need every finish to match. You need the rust and forest-green tones to vary enough that your eye can separate them.
Leave some branches empty. That pause is what makes the display feel airy and a little mysterious.
If you're hanging ornaments in every available gap, remove a handful and look again. The tree usually improves when you stop earlier than expected.
A small amount of natural-oak detail can help, but I’d choose one finish only. Natural oak feels warmer than bright silver and works with plaster, wood, and amber light. Your display doesn't need glitter everywhere to feel festive.
7How Can You Hang a Spooky Tree Centerpiece Without Losing the Shape?
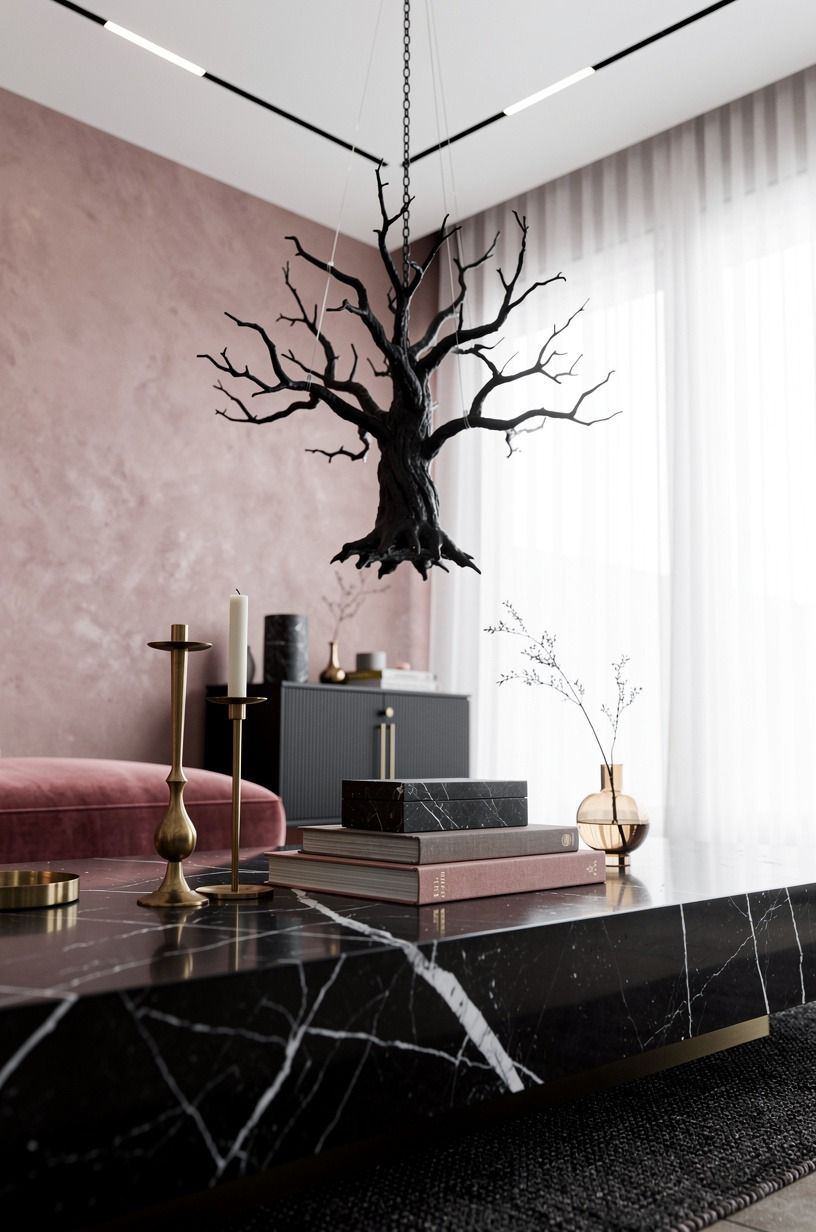
Hang the ornaments so each branch still reads as a branch. Your lowest ornaments can sit close to the bucket, while the upper pieces should follow the direction of the twigs. Use thin black cord or clear line, depending on whether you want the hanging method to disappear.
For a central focal piece, choose one charcoal velvet moon or a brass bat set against Nero Marquina marble instead of several competing shapes. I’d put it slightly off-center because a centered ornament can make your tree feel rigid. Your eye will move through the display more naturally when the strongest piece isn't placed like a target.
Keep fragile ornaments away from pathways, pets, and swinging doors. If your tree sits near a console, leave enough room for you to open drawers without brushing the lower branches. A spooky tree centerpiece still has to live in your actual home.
What’s the point of a dramatic tree if you’re afraid to walk past it? Let your ornaments move a little. That gentle motion is part of the charm, especially when a branch catches the warm light.
8Mix Soft Textiles Against the Hard Branches
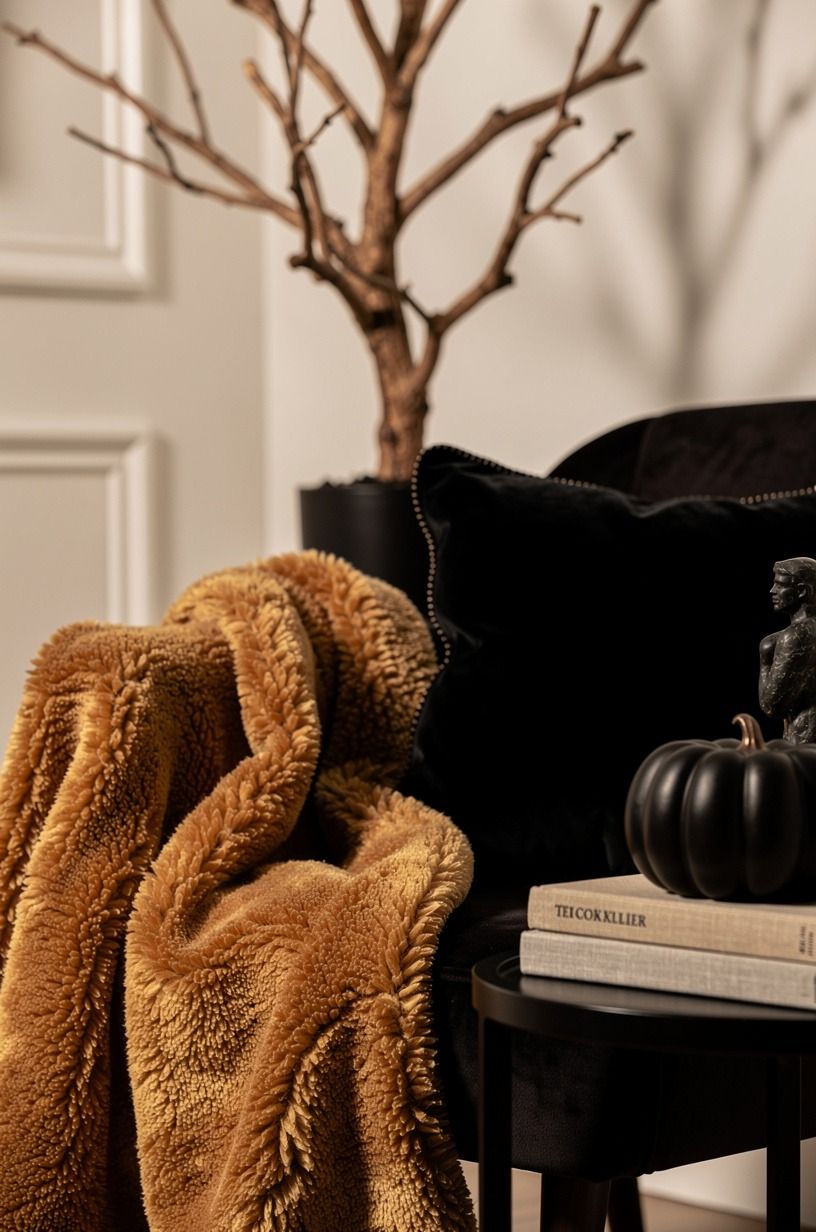
Bare branches and plaster can look severe without one soft layer nearby.
9Choose Bare Branches Over a Full Green Tree
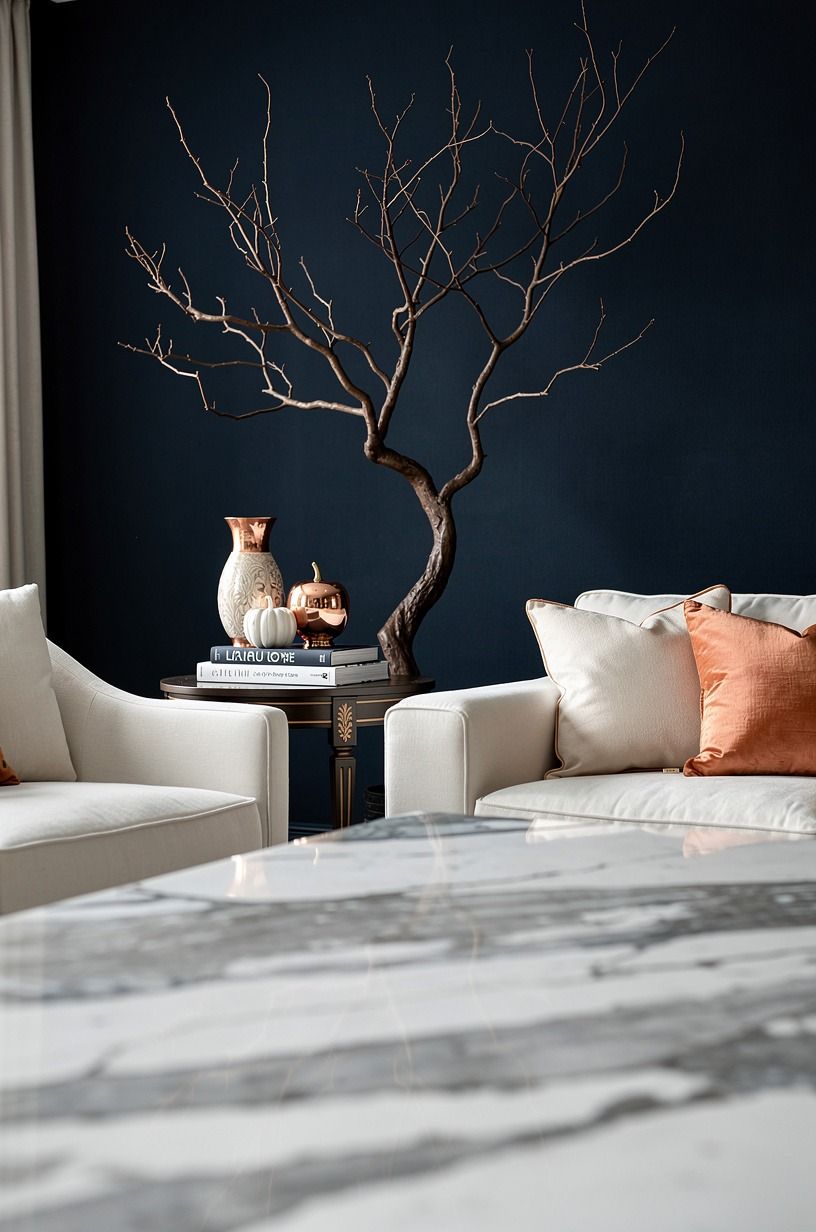
A full green tree gives you more surface for ornaments, but bare branches give your Halloween display a stronger point of view. Your copper ornaments will stand out instead of sinking into dense needles, and the open shape takes up less visual space.
I’d choose a Carrara marble base beneath a slim metal tree only if you can't source real branches. It can work in a narrow entry, but it won't have the small bends and bark marks that make a natural branch display feel personal. Your best substitute should still have irregular spacing.
Place the tree against a wall with enough contrast. A deep wall color like Farrow & Ball Hague Blue can look captivating with ivory branches, while a white wall gives you a brighter, more graphic result. Your choice depends on whether you want the tree to blend into the room or announce itself.
The full green version isn't wrong. It’s simply less interesting for this particular idea. Your materials are already strong, so let their differences show.
10Frame the Base with Rental-Safe Halloween Tree DIY Details
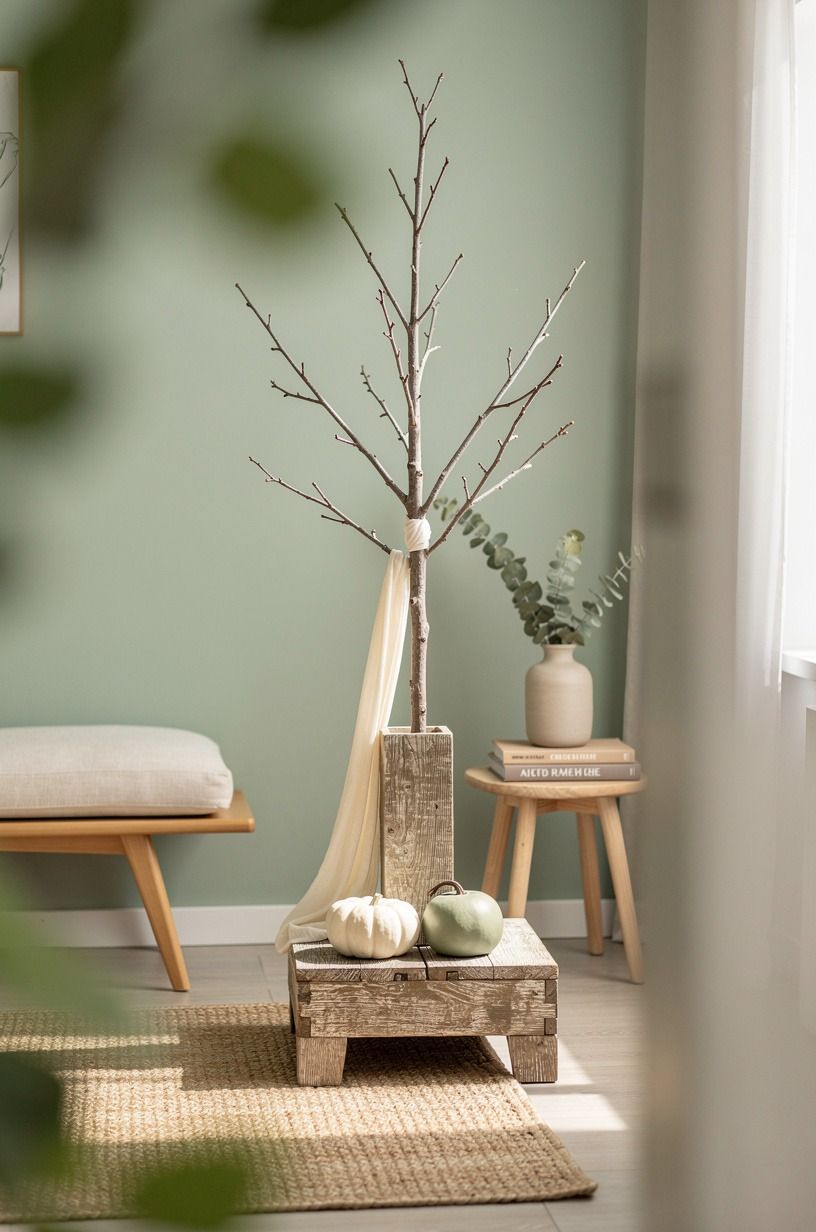
Keep the area around the bucket simple. Your base might sit on a removable mat, a reclaimed weathered teak board, or a shallow tray that protects the floor from scratches. If you’re renting, felt pads beneath the tray can help you move the display without dragging it.
A low IKEA KALLAX cube nearby can hold extra ornaments, candles, or a folded textile without adding another tall shape. I wouldn't put a large mirror directly behind the tree because it doubles every branch and can make a small room feel busy.
For a wall accent, use removable hooks or a tension rod rather than permanent hardware. Your Halloween tree can feel anchored by a small sage-green and warm-cream paper garland, a framed print, or a fabric backdrop. Keep the backdrop lower than the highest branch so the silhouette remains clear.
And remember the floor. A rug should be large enough that nearby furniture overlaps it, which helps the tree feel connected to the room. Your display will look more intentional when it belongs to a seating area instead of floating beside it.
11Photograph the Three-Season Tree Before You Store It
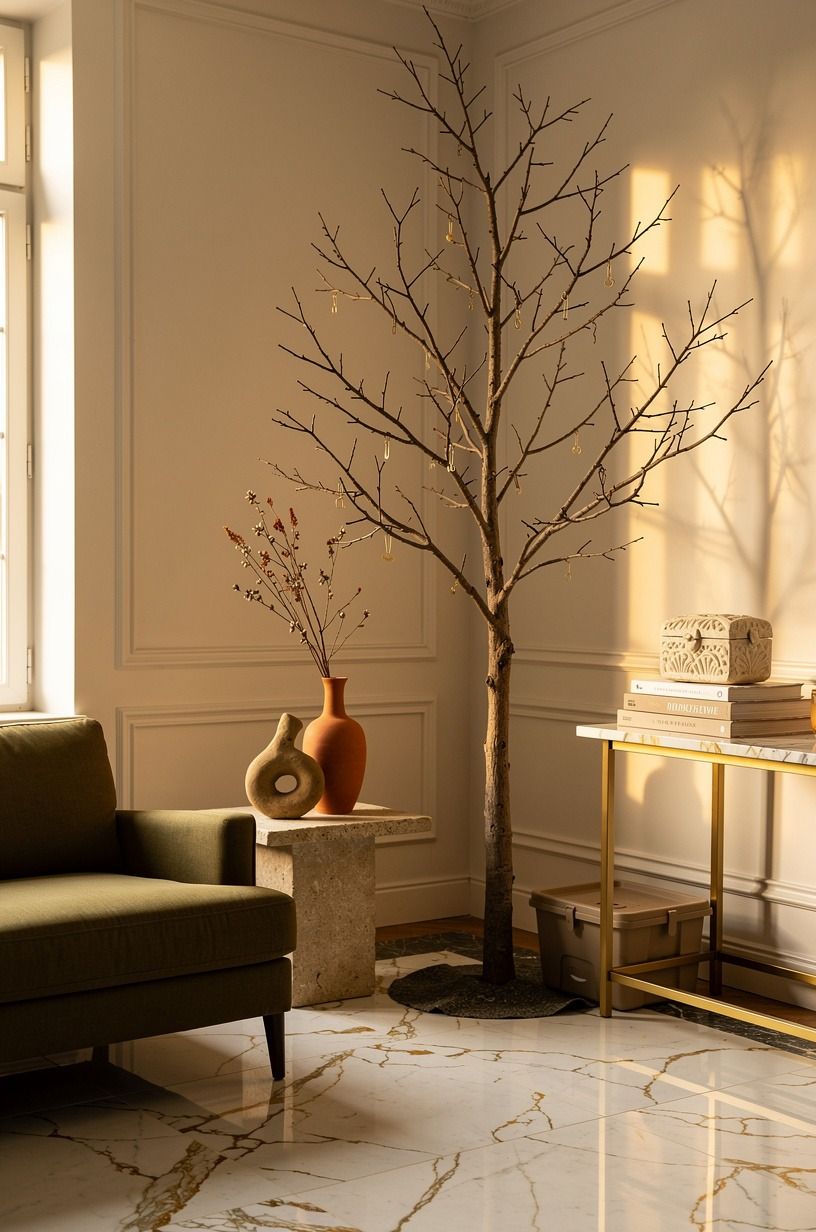
Take a photo in daylight, then take another after the room gets dark. Your daytime image will show branch gaps, crooked ornaments, and the true bucket color. The evening image will tell you whether the lights are warm enough and whether the upper branches disappear.
I like terracotta ribbon in photographs because it gives the camera a few crisp lines to follow. Tie short pieces to selected branches rather than making uniform bows. Your display should still look good from the side, not only from the angle of the photo.
Store ornaments by type in shallow boxes, and keep the branches wrapped loosely so they don't snap or bend. Label the box with the room where you used the tree. Next year, you won't have to remember whether the smallest ornaments belonged on the tips or near the base.
If you're tempted to add more after photographing it, wait and look at the image first. The camera is honest about clutter. Your best version may be the one with three ornaments removed and one light strand shifted lower.
My Honest Take on Making This Tree
I like this project because it asks you to make a decision before you buy anything. You’re choosing a silhouette, a color limit, and a level of roughness.
That’s more satisfying than filling a cart with seasonal pieces and hoping they’ll form a room once they arrive. Your tree gets its personality from what you leave out.
I’ve tried making Halloween displays with too many signs, too much orange, and a basket of unrelated little objects at the base. The result felt busy by nightfall. The plaster bucket changed that for me because it gave the branches physical weight and visual focus.
I wouldn't replace it with a lightweight pot unless I had no other choice.
There’s also something appealing about using bare wood during a season that usually leans toward dense decoration. The open twigs catch shadows on the wall.
The black ornaments pick up the amber glow. Your room feels moody without becoming gloomy, and that distinction matters when you live with the display every day.
My only real warning is to respect the base. I rushed the first one, moved it before the plaster had cured, and spent the evening rearranging a leaning tree.
Your patience is worth more than another ornament. Once the structure is solid, the rest is playful. That’s when this little project becomes warm, dramatic, and genuinely yours.
The Questions Worth Answering First
What is the best Make a Halloween Tree: Bare Branches, Black Ornaments and a Bucket of Plaster for a small make halloween tree bare?
The best version for a small room is a narrow branch arrangement in a weighted bucket with black glass ornaments and warm lights. Your tree should stay open at the sides, and an IKEA KALLAX nearby can hold supplies without adding another tall object.
Where can I buy Make a Halloween Tree: Bare Branches, Black Ornaments and a Bucket of Plaster pieces on a budget?
Look at IKEA, Wayfair, and Target for seasonal black ornaments, then check Facebook Marketplace or a thrift shop for containers. Your branches may be free from your yard. Don't buy a full matching set when mixed finishes will give your display more texture.
How much does a Make a Halloween Tree: Bare Branches, Black Ornaments and a Bucket of Plaster makeover cost?
A small makeover usually lands around $100 to $300, depending on what you already own. Your branches, bucket, and fabric may cost nothing, while lights and ornaments make up the flexible portion. A plaster mix is the practical purchase that keeps the tree stable.
Can I create a Make a Halloween Tree: Bare Branches, Black Ornaments and a Bucket of Plaster on a budget?
Yes, and your cheapest route is clear: gather free branches, reuse a container, and make paper ornaments from supplies you have. Add one warm light strand and a can of paint only if your base needs help. The result can still look refined.
Is a Make a Halloween Tree: Bare Branches, Black Ornaments and a Bucket of Plaster worth it in a small space?
Yes, because the open silhouette uses less visual space than a full green tree. Your best placement is beside a wall or console, with the largest branches turned toward the open side. A narrow cerused white oak board beneath the bucket can define the footprint.
Is Make a Halloween Tree: Bare Branches, Black Ornaments and a Bucket of Plaster a good idea for a rental?
Yes, especially if you keep the display freestanding. Use a tension rod, removable hooks, a fabric backdrop, and felt pads beneath the tray. Your plaster bucket should stay on a protected surface, and you won't need to drill into the wall.
Where I’d Start First
If I had to pick one step, I’d start with anchoring the branches in the plaster bucket. A stable base gives your tree its shape, and every ornament will look better because the branches won’t sag or lean. Pin this Halloween tree idea for later, then gather your branches before buying anything.


