12 Dinosaur First Birthday Party Steps for a ONE-asaurus Weekend
17 november 2026A dinosaur first birthday party can feel thoughtfully designed without turning your home into a construction project. Choose one color palette, one main display, and a few activities that suit a one-year-old’s limited attention span. You can use household baskets, trays, books, textiles, and sturdy toys for much of the styling.
Use Saturday for gathering materials, preparing food, checking safety, and setting up anything that doesn’t need refrigeration. Sunday can stay short and flexible, with open floor space, supervised eating, and a quiet place where your birthday child can pause. Any cost below is an illustrative planning allowance, not a researched price.
- Choose a Three-Color Fossil Palette
- Layer a Leafy Canopy Above the Cake
- Frame the ONE-asaurus Name Moment
- Mix Natural Leaves With Sturdy Dinosaurs
- What Belongs on a First-Birthday Snack Table?
- Hang Dinosaur Art at Adult Height
- Build a Three-Height Light Stack
- Anchor the Gift Area With a Soft Rug
- Set an Illustrative Party Budget
- Stage a Simple Photo Corner
- Reusable Layers Instead of Permanent Changes
- Finish With a Small Fossil Favor Station
1Choose a Three-Color Fossil Palette
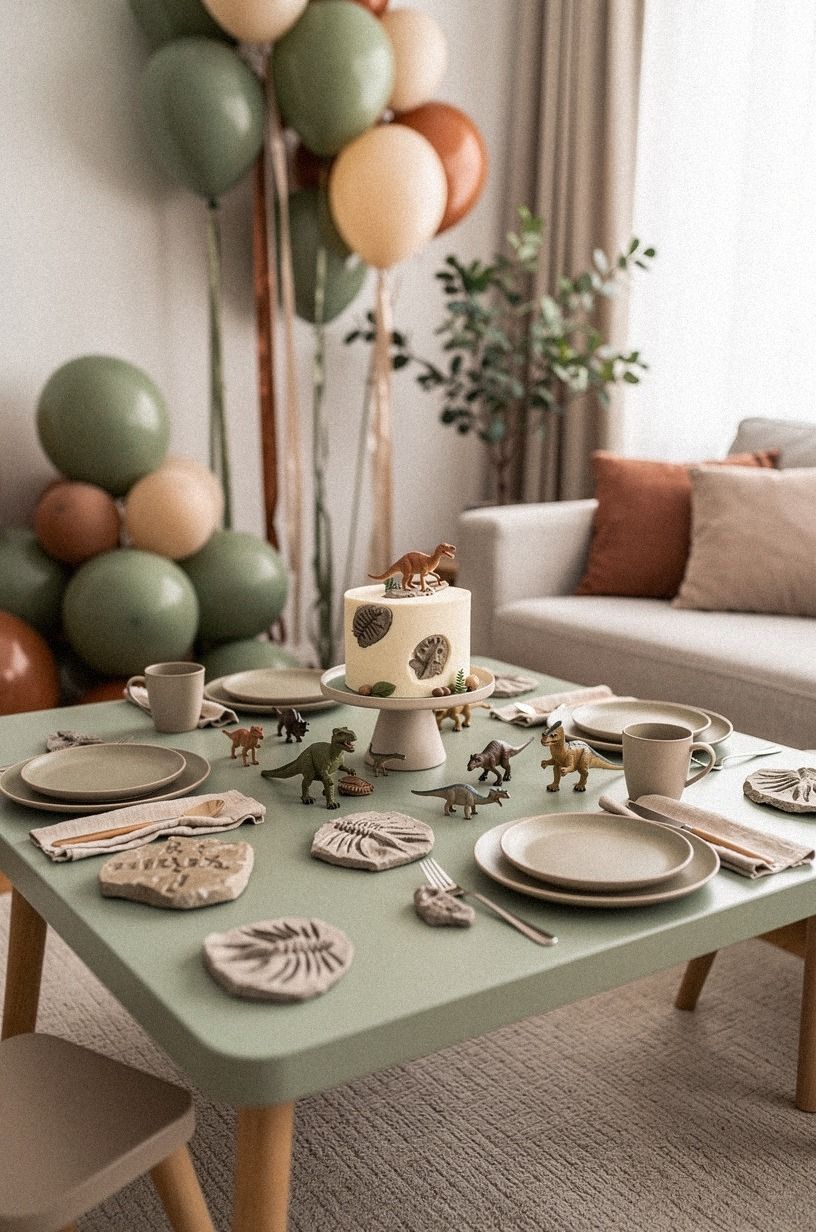
Choose three colors before you shop or make decorations: sage green, warm cream, and terracotta. Use cream as the visual base, sage for leaves and paper details, and terracotta for small accents such as napkins, tags, or a serving bowl. You’ll create an earthy dinosaur setting without requiring every item to match.
On Saturday, walk through your home with a basket. Gather suitable pieces you already have, such as cream napkins, a brown tray, a woven basket, a wooden cutting board, or a terracotta plant pot.
Place everything together before you buy anything. You’ll see gaps more clearly this way.
Avoid neon green if you want a softer look. It can compete with food and photographs. You can choose olive, mustard, and cream instead, especially if your room has darker wood or warm lighting.
If you’re short on time, use only green and natural kraft paper.
Keep the palette away from your child’s eating area if colored pieces are difficult to clean. Washable cloths and plain white servingware give you a practical base while themed colors stay on signs and table details.
2Layer a Leafy Canopy Above the Cake
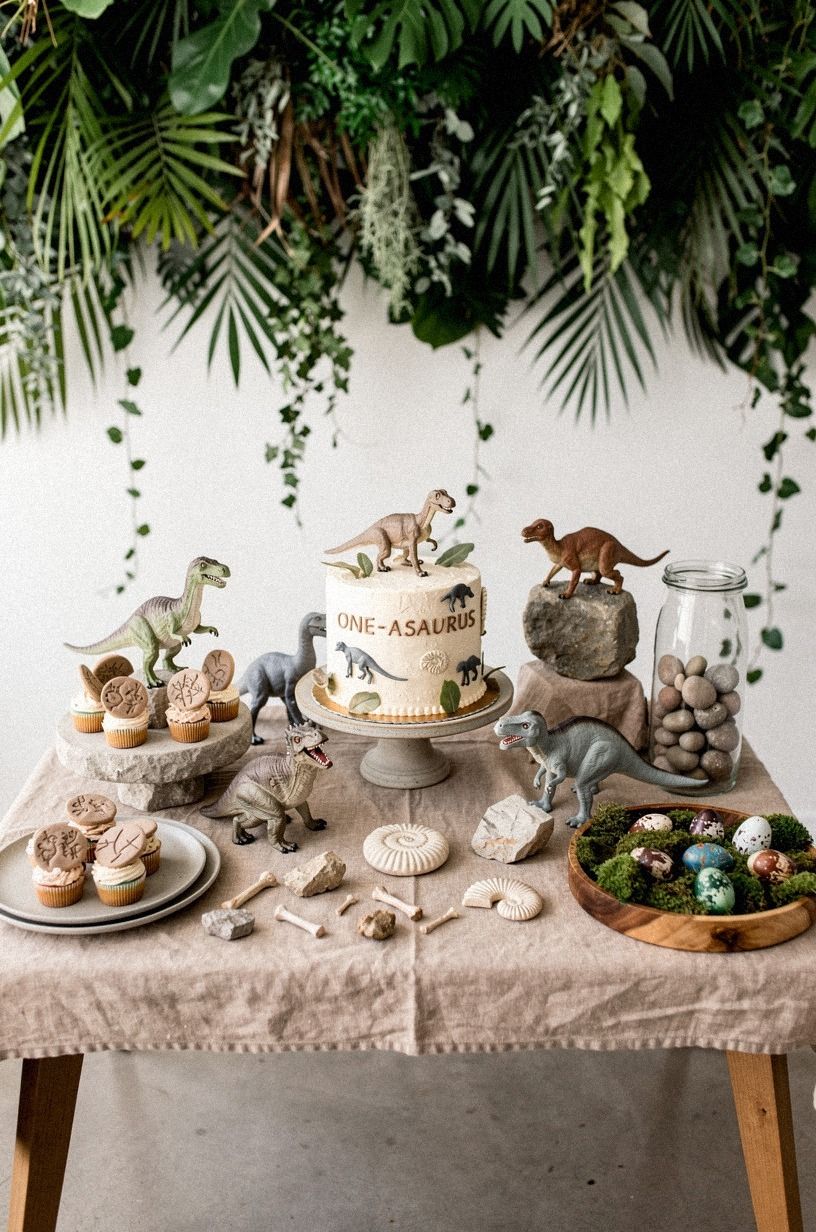
Create a paper leaf canopy above the cake table to add height while keeping the floor open for crawling and walking. Cut large leaf shapes from kraft paper, sage cardstock, or recycled paper bags. Vary the sizes slightly, then attach them to cotton string with paper tape or small clips.
Three short strands will usually look more deliberate than one crowded garland.
On Saturday, assemble the canopy on the floor and check its length against your wall or table. You’ll want it high enough for adults to pass comfortably and far beyond your child’s reach.
Keep string, tape, and paper out of reach during the party. Don’t leave the canopy unsecured while children are nearby.
A canopy gives your cake area a clear visual boundary, but it can look busy if the table already contains many objects. Limit the display to the cake, serving knife, napkins, and one sturdy dinosaur figure placed well away from your child. You don’t need extra props to make the theme clear.
For a quicker alternative, drape a sage or cream cloth over a freestanding backdrop stand, curtain rod, or tall piece of furniture. You can also use a simple leafy branch in a weighted container.
Check that the container is stable and that the leaves are non-toxic and inaccessible. If you’re using furniture, keep the cloth from trailing onto the floor.
3Frame the ONE-asaurus Name Moment
Make your child’s name and the phrase “ONE-asaurus” the clearest written detail in the room. A canvas pennant, paper banner, or cardboard sign can sit behind the high chair, dessert table, or photo area. Use large cream lettering on sage or kraft paper so the wording stays readable in photographs.
On Saturday, sketch the letters with pencil before you paint or cut them. Leave generous space around the words rather than filling every corner with footprints, leaves, and eggs. You’ll get a calmer sign that can be reused as nursery or playroom decoration.
A painted canvas lasts longer but takes more preparation. Cardstock can be finished quickly and recycled afterward. If you’re renting, place a framed sheet of paper on a table or easel.
Keep the sign away from the cake flame, food spills, and your child’s hands.
4Mix Natural Leaves With Sturdy Dinosaurs
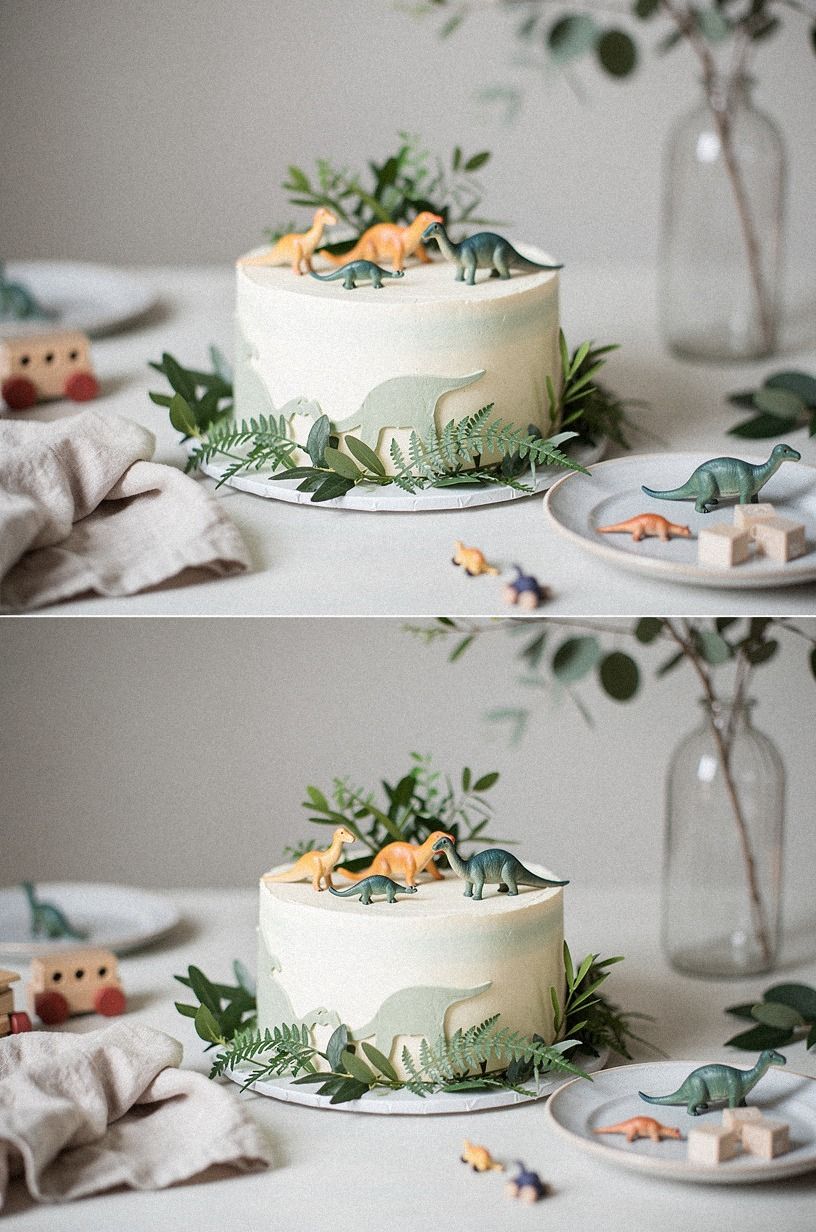
Use a few sturdy dinosaur toys as characters in your display, then soften the scene with natural textures. A linen runner, wooden tray, paper leaves, and a stable plant can make the cake table feel warm without covering it in plastic. Place one larger dinosaur near the back and two smaller, age-appropriate figures farther from your child.
Inspect every toy before Saturday’s setup. Remove detachable accessories, loose parts, or figures small enough to fit in a child’s mouth. Keep decorative dinosaurs on an adult-height surface during the party unless you’re handing a particular toy directly to your child under supervision.
The tradeoff is visual abundance versus safety and cleanup. More figures create a fuller photograph, but fewer pieces make the table easier to wipe and less tempting to grab. You can use dinosaur illustrations, cut-paper silhouettes, or a fabric dinosaur instead of small plastic figures.
Avoid live greenery that sheds leaves, has thorns, or needs frequent watering during the event. A large leafy houseplant positioned well behind the table can provide the same organic effect. Keep serving surfaces stable and heavy pots away from edges where your child could pull them down.
5What Belongs on a First-Birthday Snack Table?
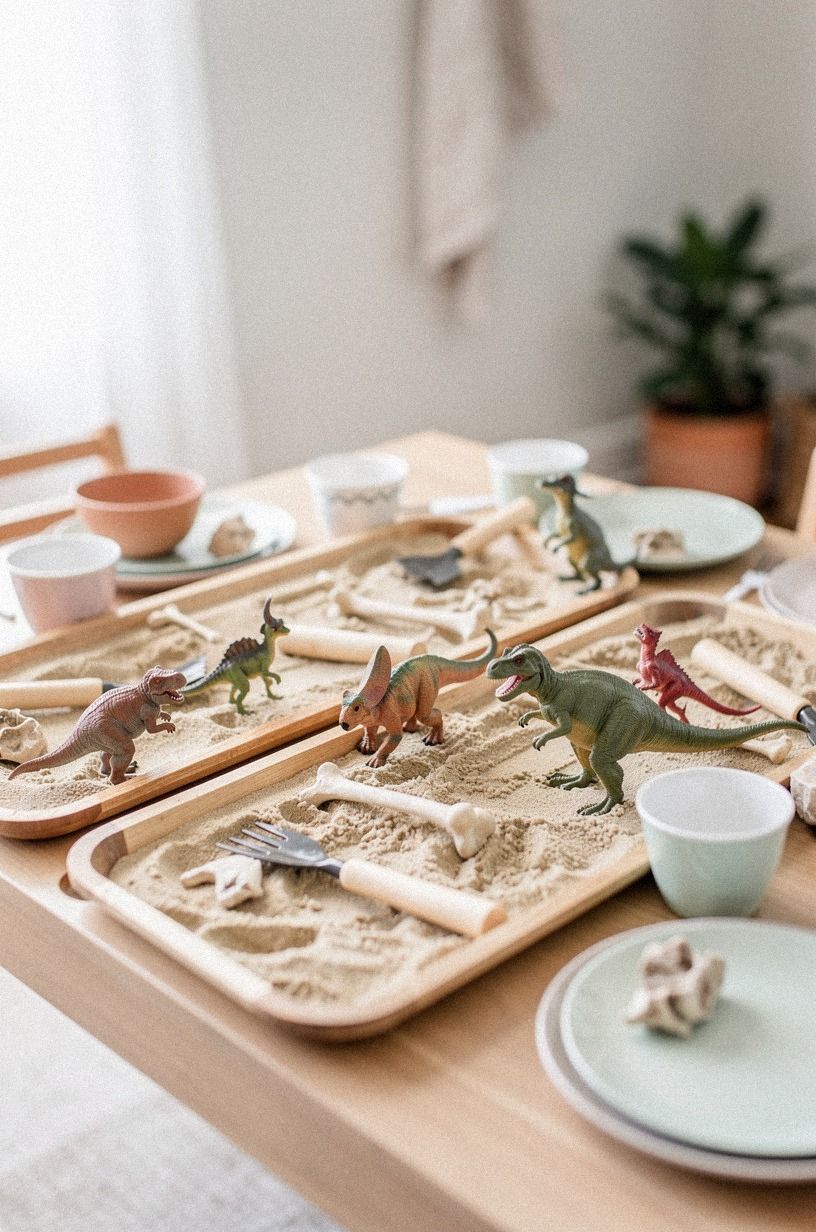
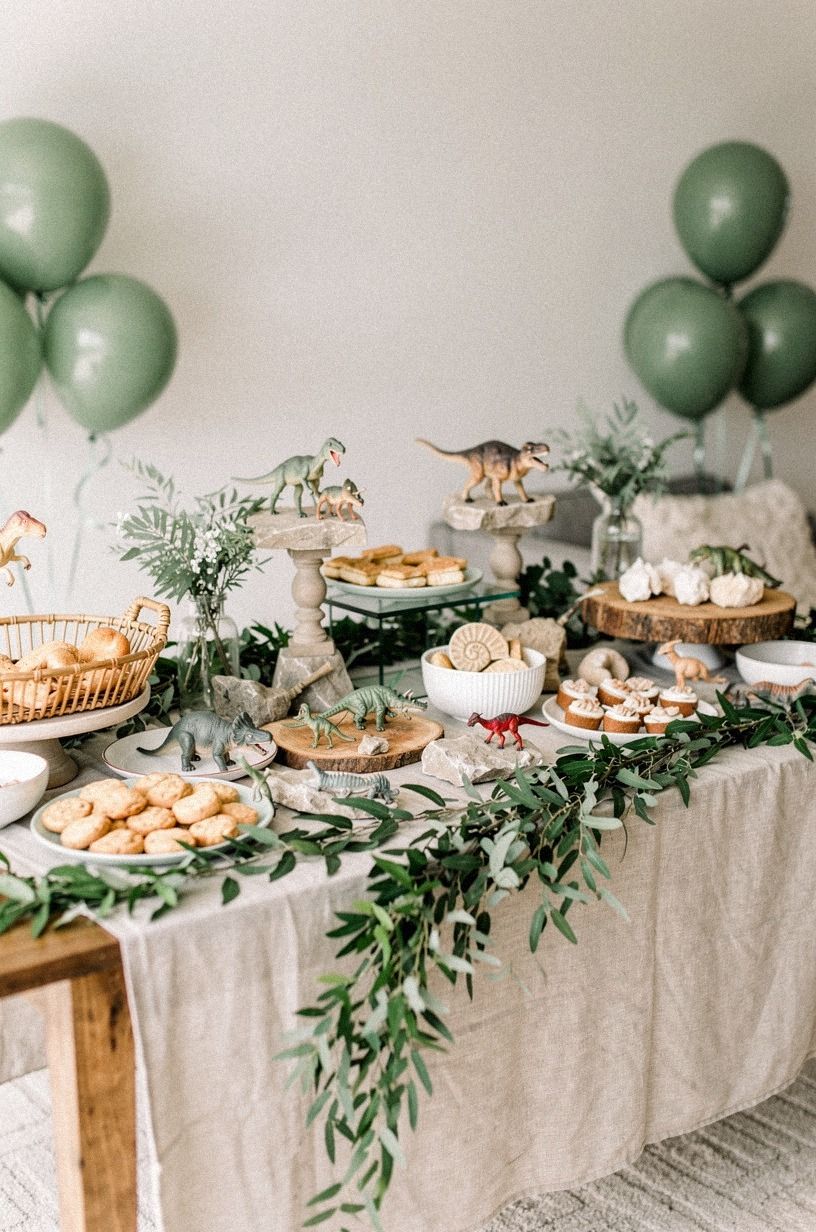
Turn the snack table into a simple fossil display without using sand, beads, loose small fossils, or anything that can be swallowed. Use plain serving bowls, kraft-paper labels, and large food shapes such as dinosaur-shaped sandwiches, fruit slices, cheese portions for older guests, and crackers for older children. Keep foods separated by age and dietary needs.
On Saturday, prepare labels and arrange the servingware while leaving perishable food refrigerated. On Sunday, place adult food toward the back of the table and keep your child’s portions with a supervising adult. A fossil tray can hold large paper cutouts or printed dinosaur footprints instead of loose decorative objects.
Matching plates aren’t necessary. Plain cream, wood, or stainless-steel serving pieces create a calmer table and can be reused.
Themed paperware gives stronger immediate impact, while household pieces reduce waste. You’ll also have fewer special items to store afterward.
A snack station with one large labeled tray and cups of water can keep serving simple. Avoid unattended eating, hard foods that aren’t suitable for your child, and decorative picks within reach. Keep wipes, bibs, and a lined wastebasket nearby so you can respond quickly to spills.
6Hang Dinosaur Art at Adult Height
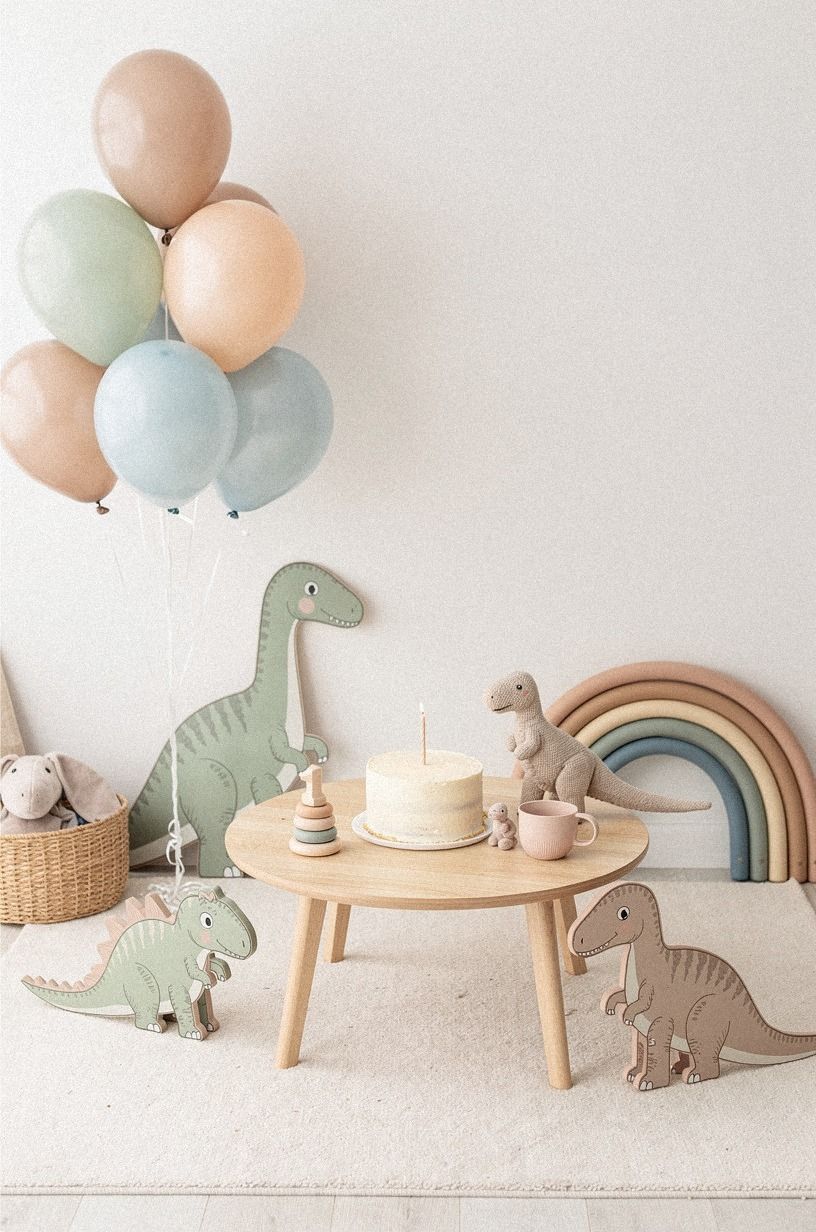
Create a small gallery of dinosaur prints, fossil drawings, or botanical illustrations behind the food table or seating area. Use lightweight frames, paper, or cardstock mounted to a board. Align the pieces along one horizontal line so your display looks intentional, even when the artwork is playful.
Place framed art at an adult viewing height rather than within a toddler’s reach. Secure anything that could fall, and avoid glass frames near the crawling or walking area. On Saturday, check your wall for cords, protruding hooks, and unstable furniture before adding the display.
Framed art can be reused after the party, while taped paper prints are faster and lighter. You can also use a floor-standing easel or a large poster leaned against a wall behind a table, provided it can’t tip forward. After Sunday, move the prints to your child’s nursery, playroom, or hallway.
7Build a Three-Height Light Stack
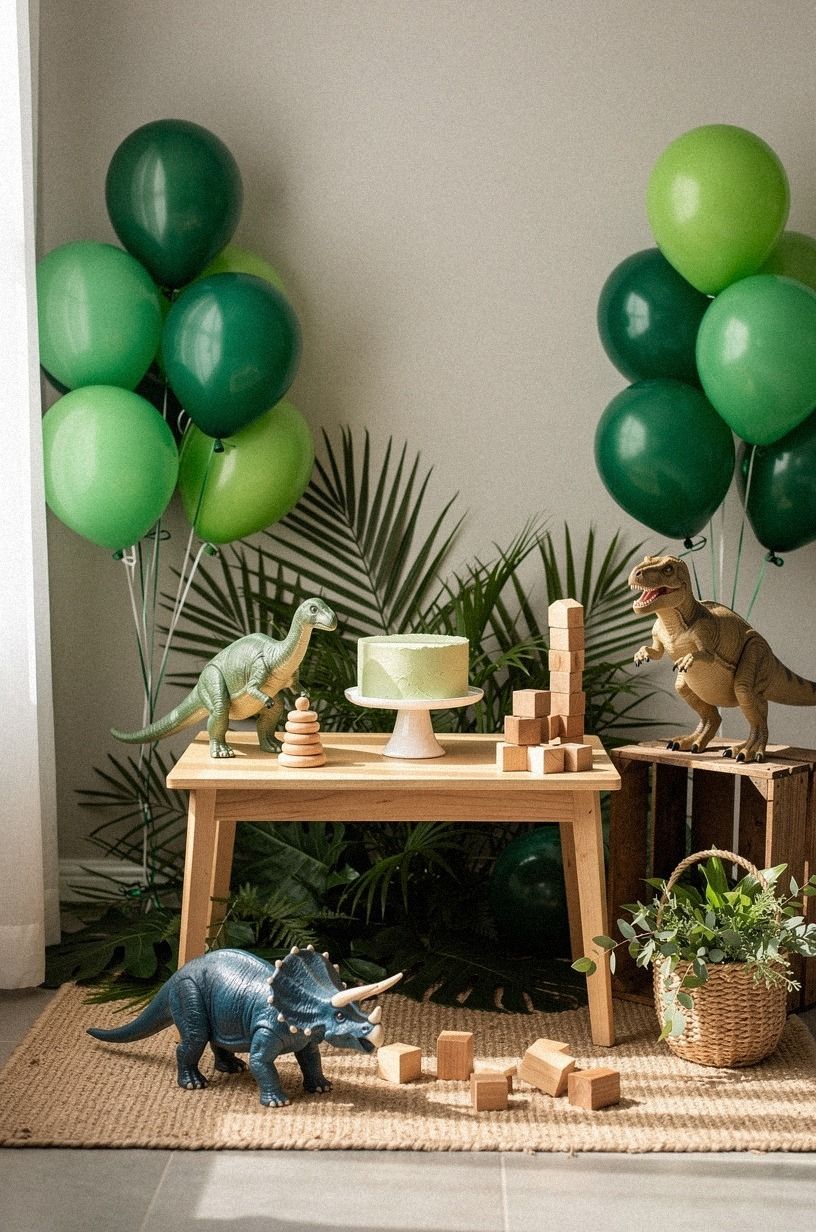
Use three lighting levels to make your party area comfortable and easy to photograph: existing overhead light, a table lamp or floor lamp, and a low visual accent such as a lantern with an enclosed battery light. Keep every cord secured, lamps stable, and lighting equipment away from places where children can pull or climb.
On Saturday evening, test the lighting from the expected photo position. Look for glare on frames, strong shadows across the cake, or a bright window behind the high chair. You’ll often improve the scene by moving one lamp instead of adding more decorations.
Candles and open flames create warmth, but they aren’t suitable around toddlers, food, and loose paper. You can use a battery-operated light inside a stable, enclosed lantern on a high surface. Turn it off when adults aren’t nearby.
Avoid colored bulbs that change food and skin tones in photographs. Warm white light supports your earthy palette without making the room look orange.
Keep the area bright enough for adults to see the floor, food, and child clearly. If you’re hosting in the afternoon, check how sunlight changes across the room.
8Anchor the Gift Area With a Soft Rug
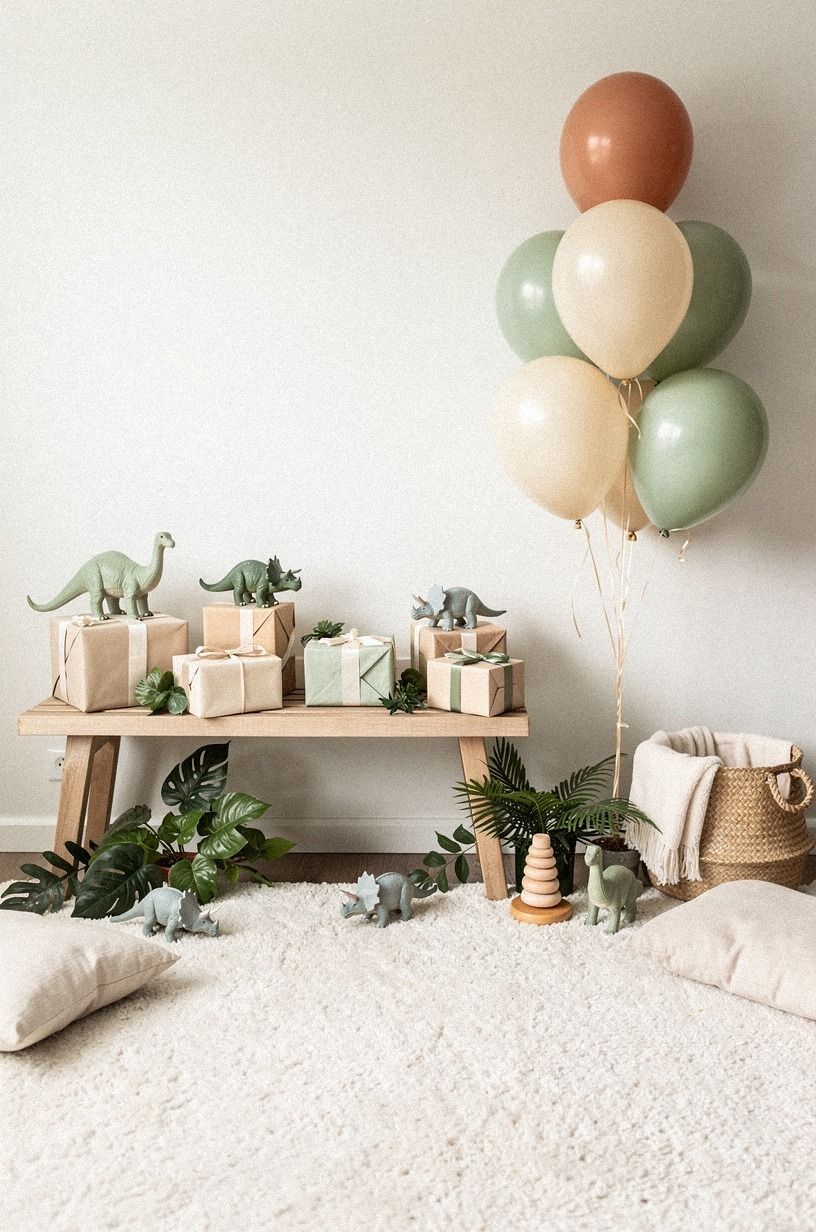
Define your gift-opening area with a flat-weave rug, washable cotton mat, or clean blanket already used elsewhere in your home. Choose a surface that lets your child sit, crawl, or stand without catching toes. Place it beside, rather than directly across, the main path from the entrance to the food.
On Saturday, clear wrapping paper, cords, and fragile objects from the surrounding floor. Put a basket at one edge of the rug for cards, and leave the center open. Adults can sit nearby without placing gifts underfoot.
A shag rug catches paper scraps, toy pieces, and crumbs. A thin washable mat may look less luxurious, but you’ll clean it faster and inspect it more easily. You can use a folded quilt or play mat covered with a clean cotton sheet.
Keep gift opening brief and flexible. Your one-year-old may prefer the wrapping paper to the presents, and older children may need reminders not to leave ribbons or packaging on the floor. A nearby waste bag makes removal immediate.
9Set an Illustrative Party Budget
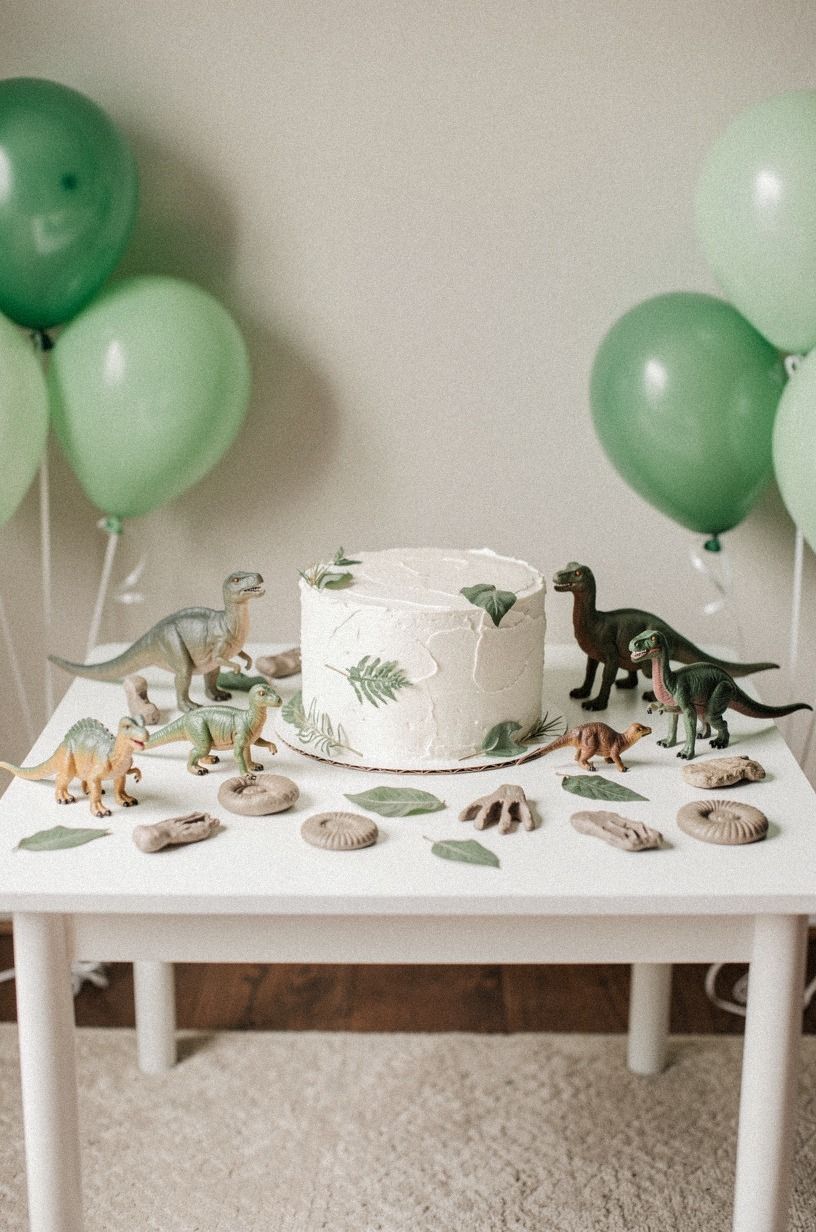
Plan your budget around food, the cake, child comfort, and cleanup rather than permanent room changes. The table below gives illustrative planning estimates, not researched prices. Adjust each amount to your guest count, location, and the supplies already in your home.
On Saturday, list everything you already have before purchasing supplies. Count baskets, trays, serving bowls, blankets, books, toys, and lamps. Borrowing a folding table or backdrop stand can be more useful than buying a themed item you’ll use once.
The tradeoff is convenience versus reuse. A decorated cake and matching tableware save time but may cost more and create additional waste. A grocery bakery cake, plain plates, and homemade paper leaves can keep your display attractive with fewer specialty purchases.
Reserve a small contingency amount for forgotten practical items such as extra ice, food containers, stain remover, or replacement batteries. You don’t need renovation, furniture purchases, or paint. A dinosaur birthday needs a safe gathering area, not a redesigned room.
10Stage a Simple Photo Corner
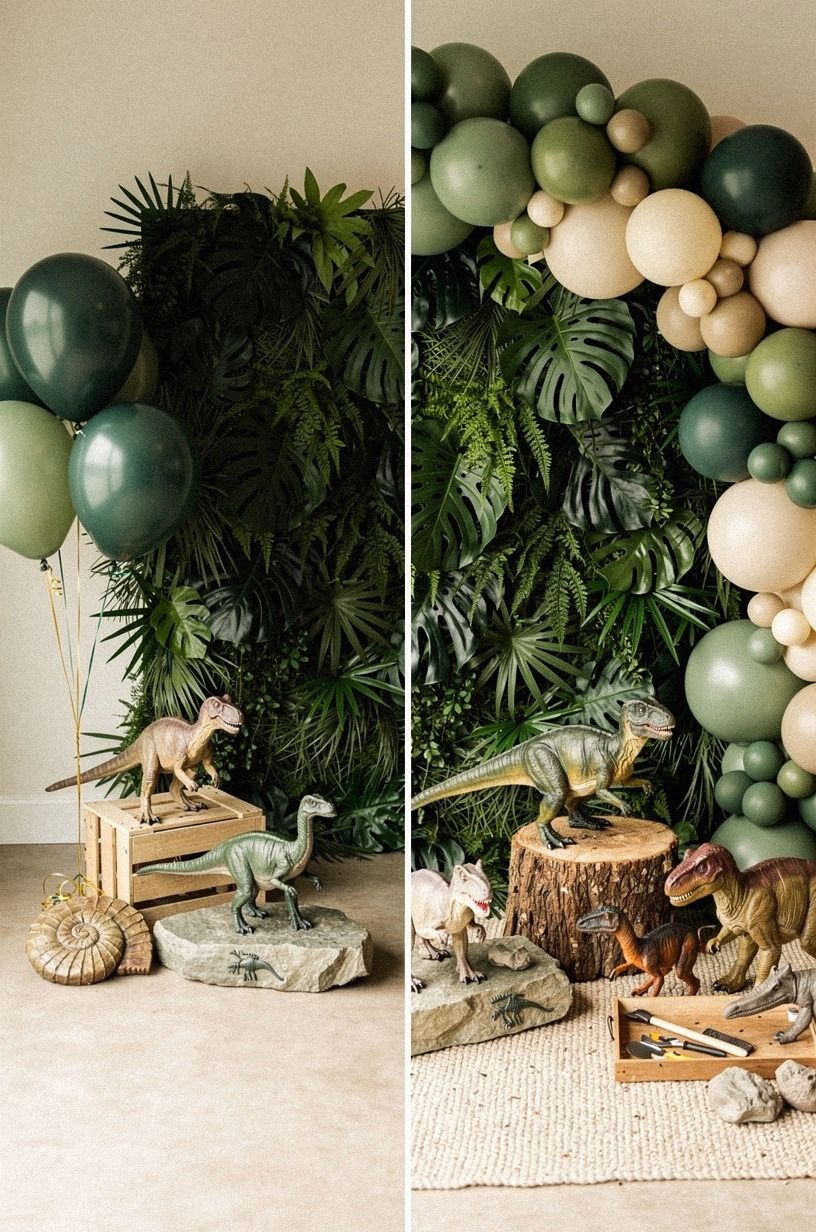
Choose one wall for photographs and keep the background calm enough that your child remains the focus. Hang a cream cloth, paper leaf canopy, or lightweight fabric from a secure freestanding support. Add the ONE-asaurus sign and one stable prop, such as a large stuffed dinosaur or a leafy branch placed well out of reach.
On Saturday, take a test photograph from approximate adult eye level. Move the chair or high chair away from bright windows, outlet plates, and cluttered shelves. Leave enough floor space for a parent or another supervising adult to sit beside your child.
Avoid balloon arches and any balloons within a child’s reach. Uninflated or broken balloons are especially unsuitable around young children. A simple cloth backdrop creates a quieter image, and you can use an outdoor wall, shaded porch, or plain blanket instead.
Keep a spare outfit, wipes, and a towel nearby. Ask one trusted guest to take photographs during a short ten-minute window. You’ll keep the gathering relaxed and avoid repeatedly repositioning your child.
11Reusable Layers Instead of Permanent Changes
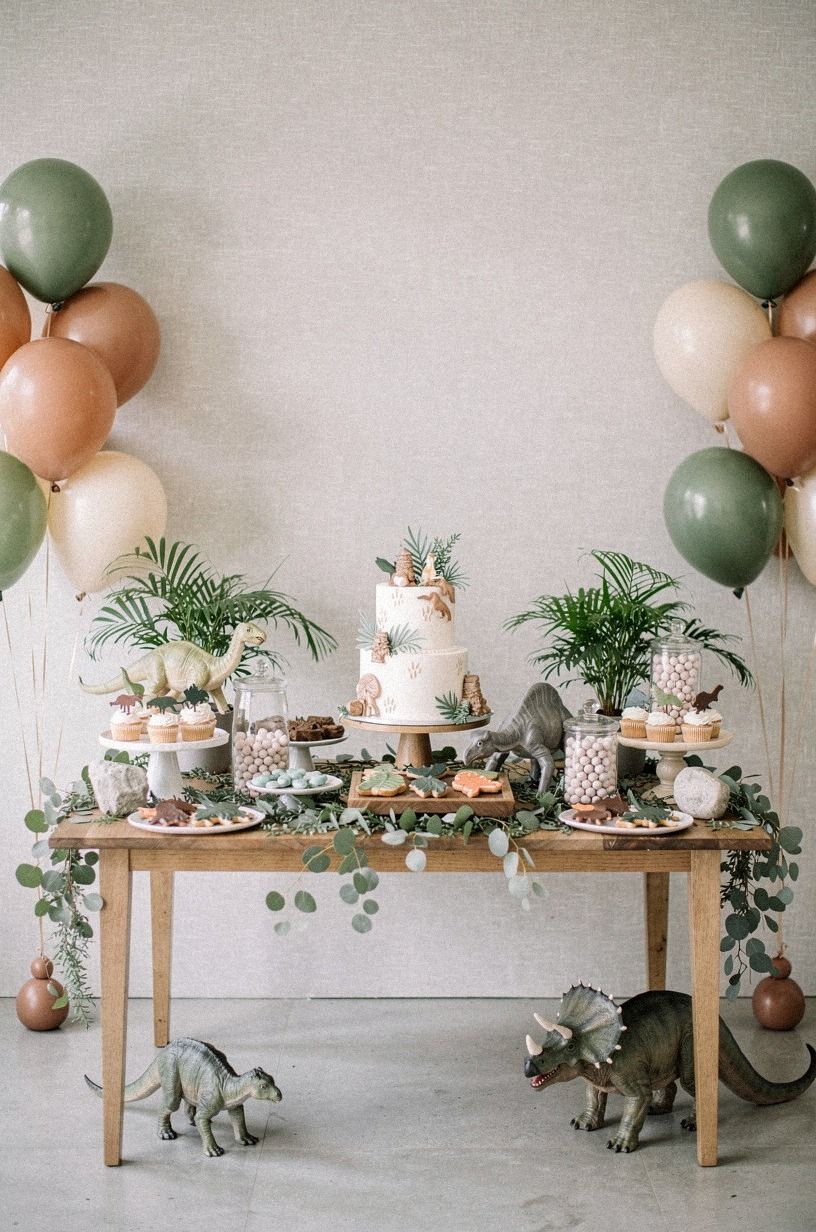
Create a rental-friendly display with freestanding elements instead of paint, nails, or permanent fixtures. Use a tension rod for fabric, a tabletop easel for the name sign, and a basket or console for art. Removable hooks may work for lightweight paper, but test each adhesive on an inconspicuous area before Saturday.
Freestanding pieces need more floor space and can tip if poorly positioned. You can use a dining table, bookshelf, or existing cabinet as the backdrop instead. Drape fabric over the front only if it can’t catch feet or be pulled down.
Avoid peel-and-stick materials on uncertain paint or wallpaper. Protect the high-chair area with a washable mat or tablecloth rather than a floor covering that curls at the edges. Keep cords, scissors, tape, and packaging in a closed room during the party.
Before guests arrive, inspect the room from toddler height. Secure unstable baskets, move breakable objects, cover sharp corners, and remove loose small decorations. Reusing household items keeps your setup flexible and leaves fewer repairs after the weekend.
12Finish With a Small Fossil Favor Station
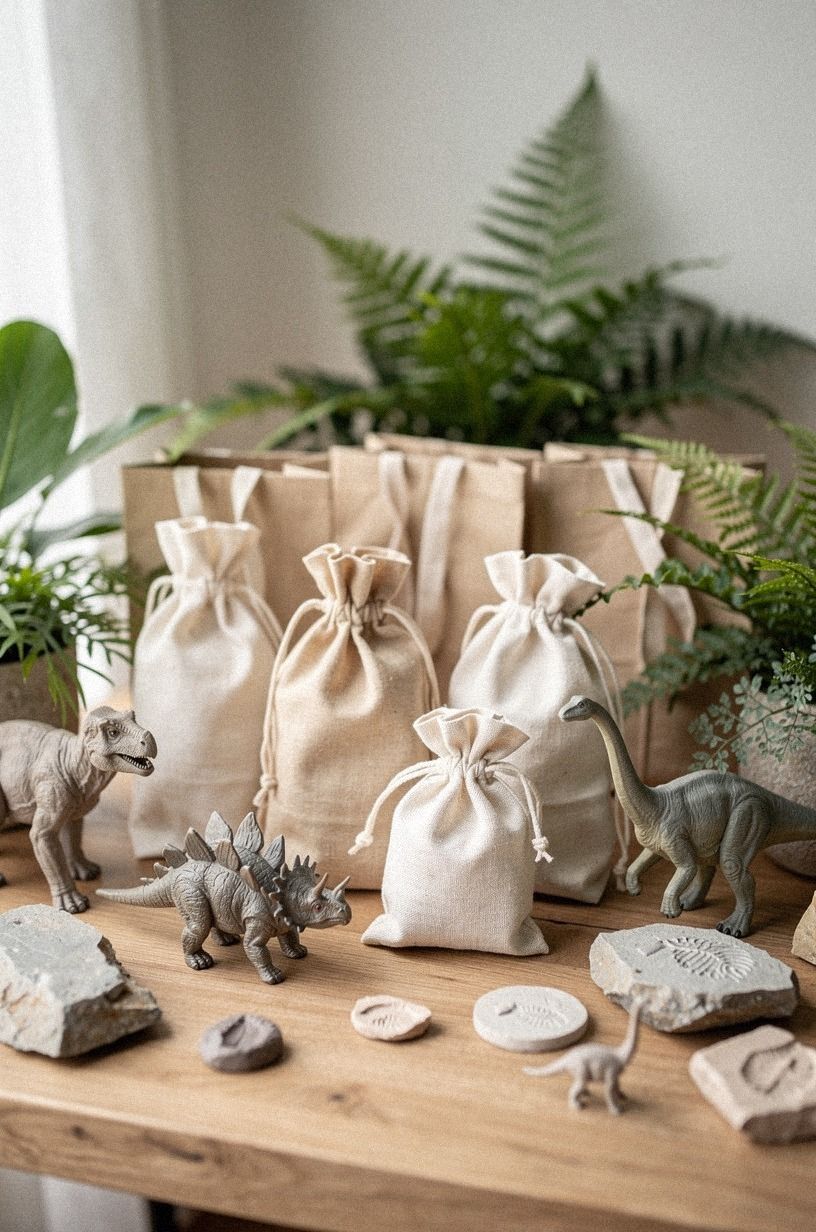
Set up a favor basket near the exit with items suitable for the guests receiving them. A large dinosaur sticker sheet, coloring pages, a board book, or a sealed packet of age-appropriate crayons can work for older children. Keep all favors inside packaging and away from your birthday child unless an adult checks each item.
Avoid beads, loose small fossils, tiny plastic dinosaurs, candy, and anything with detachable parts. These items can create supervision and choking concerns, especially when several children are moving around. You can skip a physical favor and send guests home with a printed dinosaur coloring page or a slice of cake in a labeled container.
On Saturday, prepare one simple sign such as “Thanks for stomping by!” and place the basket on a stable adult-height surface. A small favor station feels less elaborate than individually arranged gifts, but it takes less time and produces less waste.
Keep extra bags, labels, and a marker nearby for leftovers. Adults can choose suitable items at departure while your child remains away from the station. The final detail should support the gathering, not add another display that requires constant supervision.
Practical Preparation Checklist
Saturday
- Confirm the guest list, arrival window, food needs, and allergies shared by guests. - Choose the three-color palette and gather household baskets, trays, textiles, books, toys, and servingware. - Make the name sign, paper leaves, artwork, food labels, and coloring pages. - Assemble the canopy and test its height before attaching it. - Wash serving bowls, wipe toys, and inspect every decorative object for loose or small parts. - Prepare foods that keep well, refrigerate the cake, and label items requiring adult distribution. - Set aside bibs, wipes, towels, a first-aid kit, trash bags, food containers, and stain-removal supplies. - Clear cords, fragile objects, unstable furniture, sharp edges, and reachable small decorations. - Set up the rug, photo corner, gift basket, and favor station without blocking the main walkway. - Test lighting and take one sample photograph. - Charge the phone or camera and designate a guest for short photo coverage. - Prepare a quiet corner with familiar board books, a clean mat, and a favorite comfort item.
Sunday
- Finish the food table and keep perishable items chilled until needed. - Check the floor and toddler-height areas immediately before guests arrive. - Put balloons, craft supplies, scissors, packaging, and small favors away from children. - Serve the birthday child with an attentive adult nearby; don’t leave eating unsupervised. - Keep the schedule flexible around nap time and stop activities when your child becomes tired. - Clear wrapping paper, ribbons, and food scraps as soon as they appear. - Take the main photographs early, before the room becomes busy. - Pack leftovers and favors before beginning cleanup.
What People Always Want to Know
How long should a first birthday party last?
About two hours can allow time for arrivals, food, photographs, and a short cake moment. A shorter gathering may suit your child if naps or regular meals are firm parts of the day. You don’t need to fill every minute with an activity.
Can the party work in a small room?
Yes. Use one wall for the cake and sign, keep the center open, and place gifts along one edge. You can remove nonessential furniture temporarily if it narrows the walkway.
Leave enough room for an adult to sit beside your child.
Are balloons suitable for this party?
Balloons shouldn’t be within a one-year-old’s reach. Uninflated or broken balloons can be especially unsafe. You can use a paper canopy, fabric backdrop, or large stuffed dinosaur to provide height without loose balloon material.
What should replace a sand fossil dig?
Use large paper fossils, printed footprints, dinosaur artwork, or a labeled snack tray. Don’t use sand, beads, loose small fossils, or other small objects. You’ll still have a clear fossil theme without adding a play material that requires constant monitoring.
What is the easiest cake-table setup?
Use a washable runner, the cake, one serving utensil, plain plates, and the ONE-asaurus sign. Keep decorative toys and plants away from your child’s reach. If you’re short on time, household serving pieces are enough.
What should happen if the child becomes overwhelmed?
Move your child to the quiet corner, reduce noise, and pause photographs or activities. Guests can continue chatting while your child follows a familiar routine. You don’t need to restart the celebration when your child is ready to return.
Your Next Step
Choose your three colors today, then walk through your home with a basket. Gather one tray, one textile, one sturdy dinosaur, and the serving pieces you already own. On Saturday, make the ONE-asaurus sign and check the room from toddler height.
On Sunday, keep food supervised, photographs brief, and the dinosaur theme playful without crowding the space.