Lease Rules Banning Balcony Drills? These 14 Christmas Light Fixes Help
22 october 2026A 10-foot balcony front with two short returns can need about 16 feet of illuminated coverage, which makes the wrong strand surprisingly easy to spot. The most workable setup is a removable LED line kept inside the balcony footprint, but a product cannot make an exterior display lease-compliant on its own.
These rules focus on measured layouts, approved attachment methods, outlet safety, and products that fit a modest renter budget. The goal is a warm holiday outline that looks deliberate from the street and leaves no evidence behind in January.
What you will find inside
- Read the Lease Before Buying Lights
- Keep Every Strand Inside the Footprint
- Measure the Rail Before Choosing Length
- Choose an Outdoor-Rated LED String
- Favor a Simple Railing Outline
- Use Rope Light for a Continuous Line
- Attach Lights Without Damaging the Finish
- Route the Cord to an Approved Outlet
- Keep Icicle Drops on the Inward Side
- Set One Calm Color and Pattern
- Reserve Net Lights for Wider Railings
- Protect Doors, Drains, and Walking Space
- Plan Removal Before Installation
- Get Written Approval for Gray Areas
Read the Lease Before Buying Lights
Start with the building rule, not the shopping cart. A balcony may allow seasonal decor behind glass while banning anything attached to the outside of a railing, so a $15 string can become wasted money before it ever reaches the outlet.
Look for language about exterior decorations, visible lighting, electrical devices, adhesive products, and shared facades. Home Depot is useful for comparing options, but no retailer can promise that a particular light or attachment method meets your lease.
Keep Every Strand Inside the Footprint
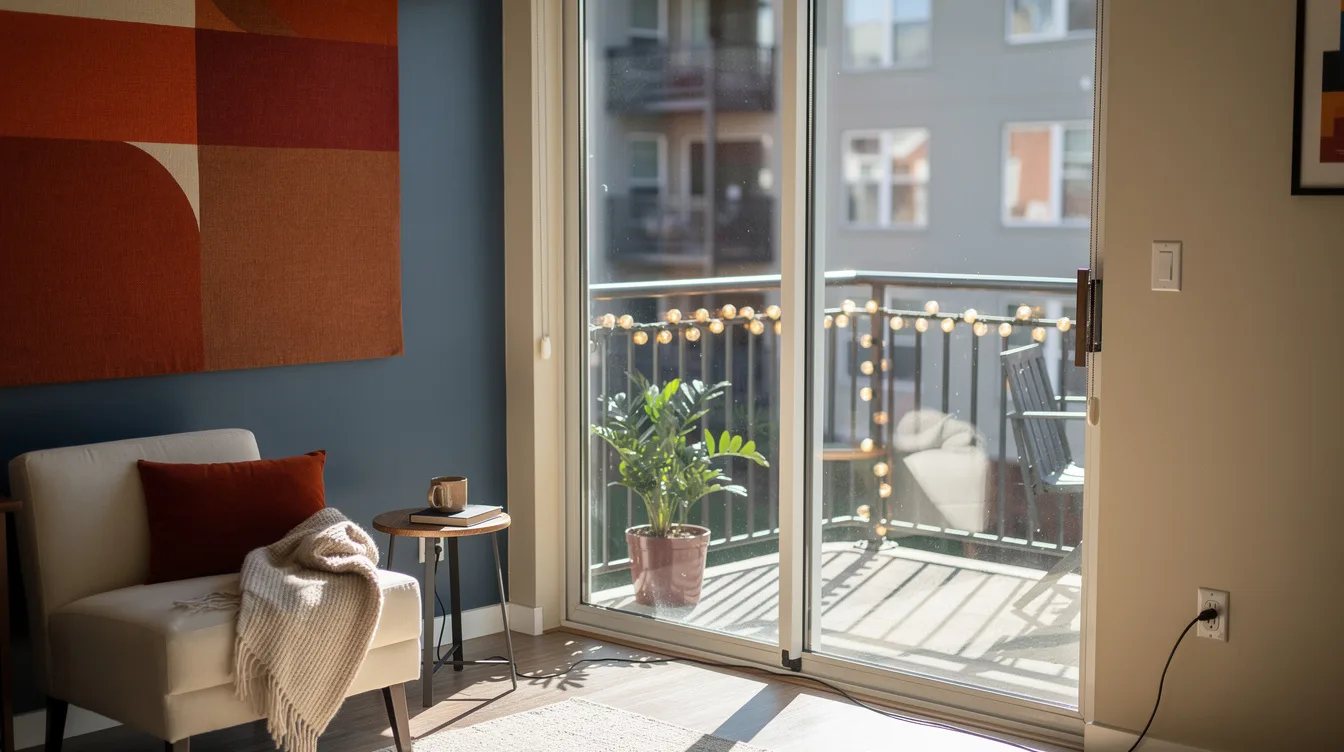
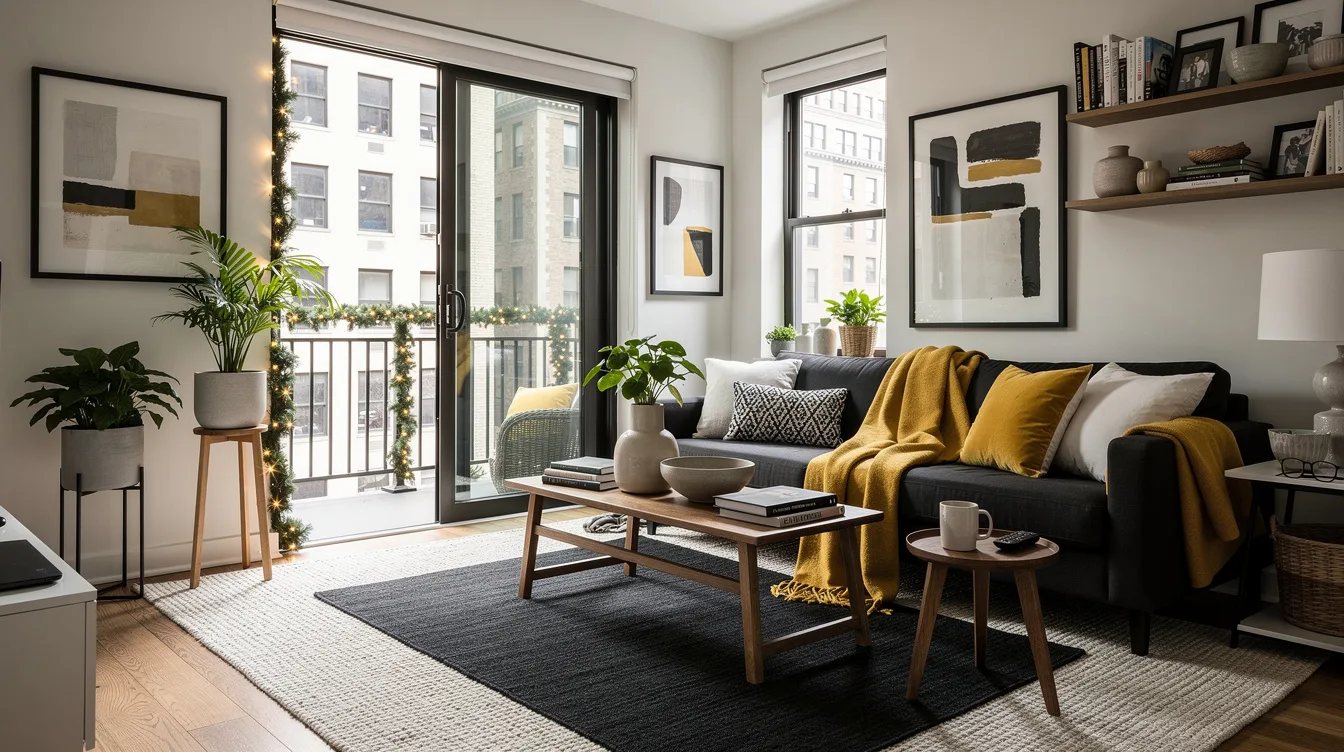
The safest layout stays within the balcony’s own floor plan and follows the inside edge of the railing. A strand that hangs over the exterior changes the building’s appearance and can create a falling-object concern, even when the lights themselves are lightweight.
Designers favor a clean line along the inner top rail because it reads clearly from the street without crossing into another unit’s visual space. Use brown wire against a dark railing or match the wire to the railing finish when the lease permits the display.
Measure the Rail Before Choosing Length
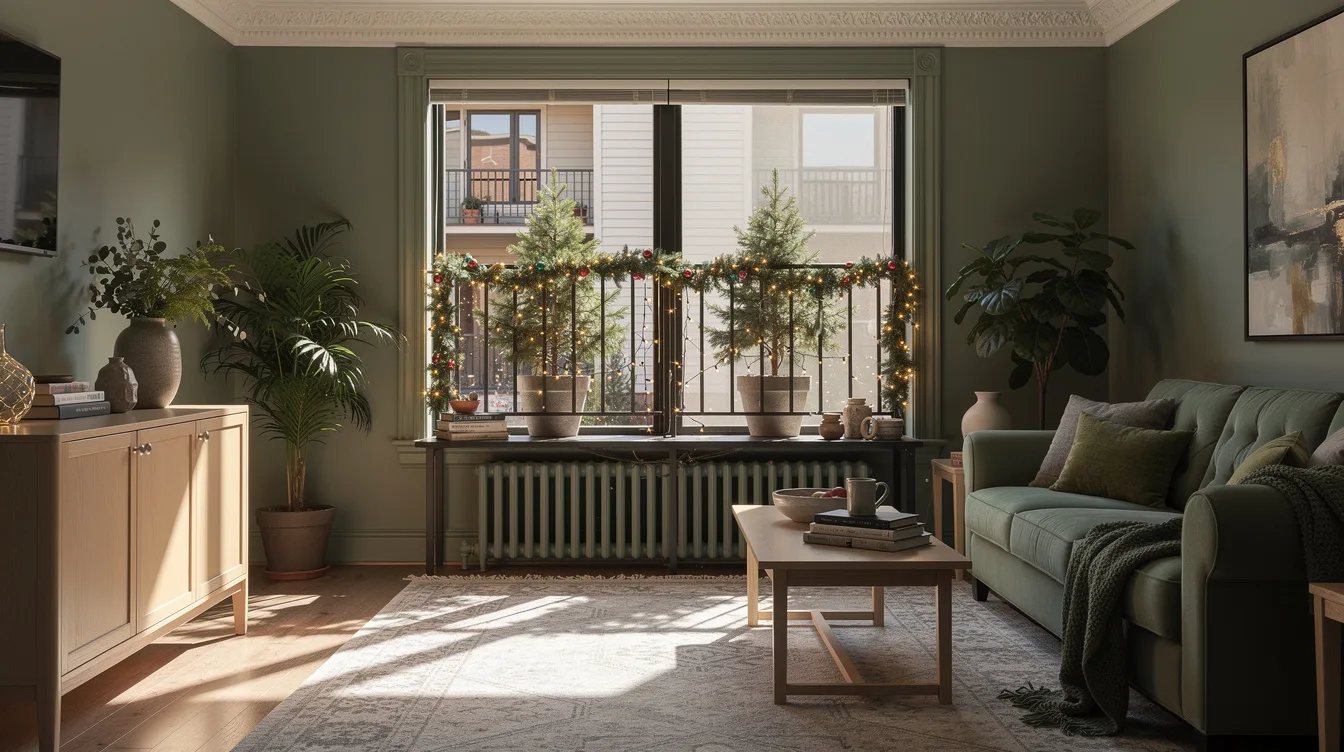
Measure the front rail and both returns, then add the route to the approved outlet separately. A hypothetical 10-foot front rail with two 3-foot returns totals about 16 feet, which closely matches the listed 16.25-foot illuminated length of a 50-count mini-light string.
That leaves little room for a loose loop, so do not count the cord that runs toward the outlet as illuminated coverage. The listed Northlight model 32605410 costs about $14.98 in the supplied Home Depot snapshot and uses bulbs spaced about 4 inches apart.
Choose an Outdoor-Rated LED String
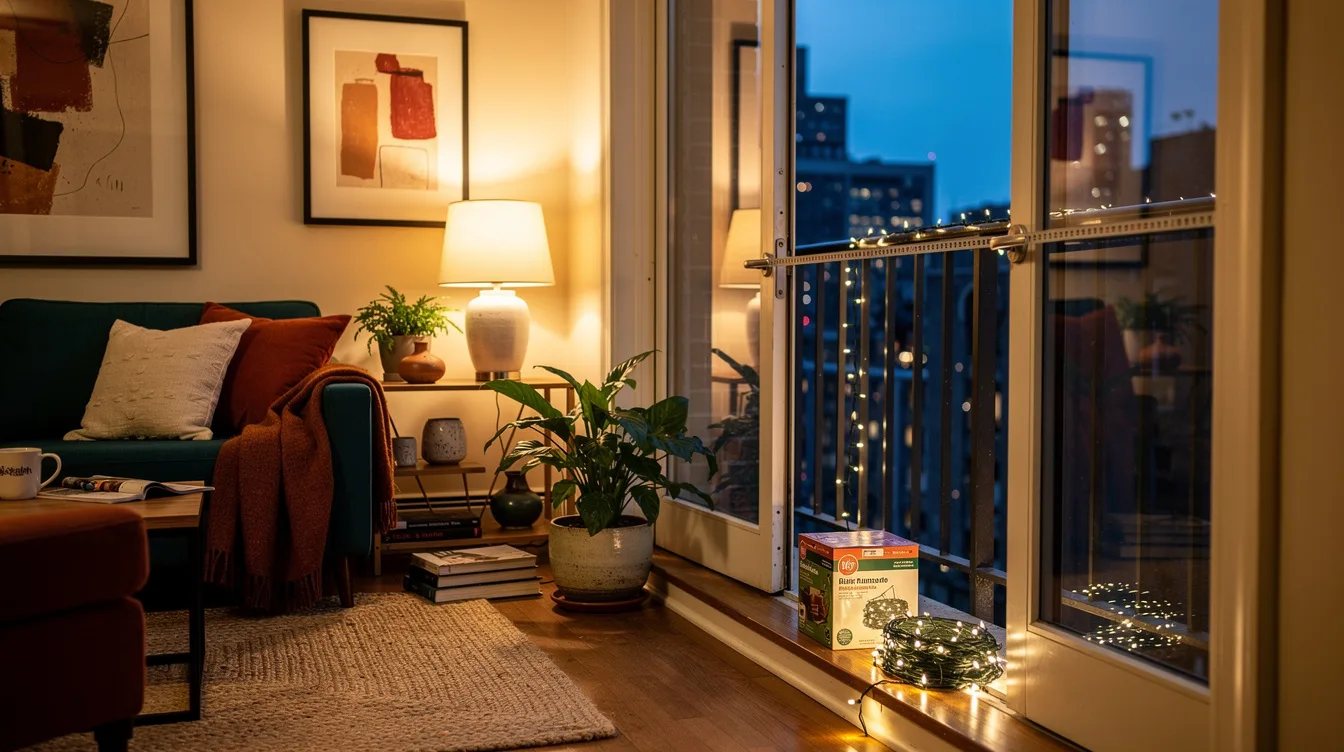
For an exposed balcony, select lighting marked for indoor and outdoor use, then follow the product instructions for moisture, connections, and storage. LEDs are the practical choice because they produce a small, steady display without the heat and energy demand associated with older incandescent strands.
A 50-count warm-white set with a listed illuminated length of 16.25 feet is enough for many modest railings, and a typical lights-only budget remains roughly $15 to $35. Warm-white LEDs also look calmer against brick, concrete, and glass than rapidly changing colors.
Favor a Simple Railing Outline
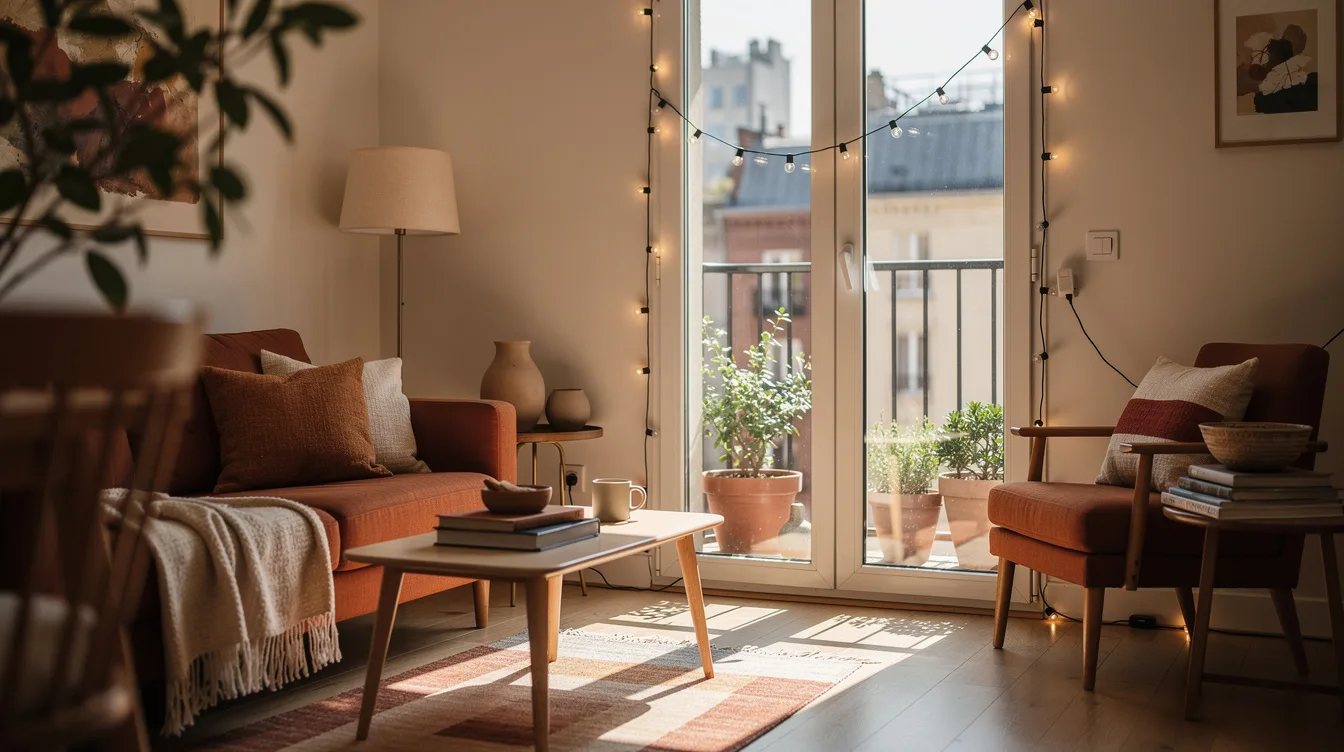
One line along the inside of the top rail gives a balcony a finished edge without making the railing look crowded. Run the strand in a straight path, keeping the plug and excess cord near the approved outlet rather than bunching them at the corners.
The listed 50-count LED mini lights use brown wire and carry an outdoor-use label, making them a strong starting point when the building allows railing decor. For a traditional holiday profile, green wire on a 50-count C6 faceted set creates a brighter outline at about the same listed $14.98 price.
Use Rope Light for a Continuous Line
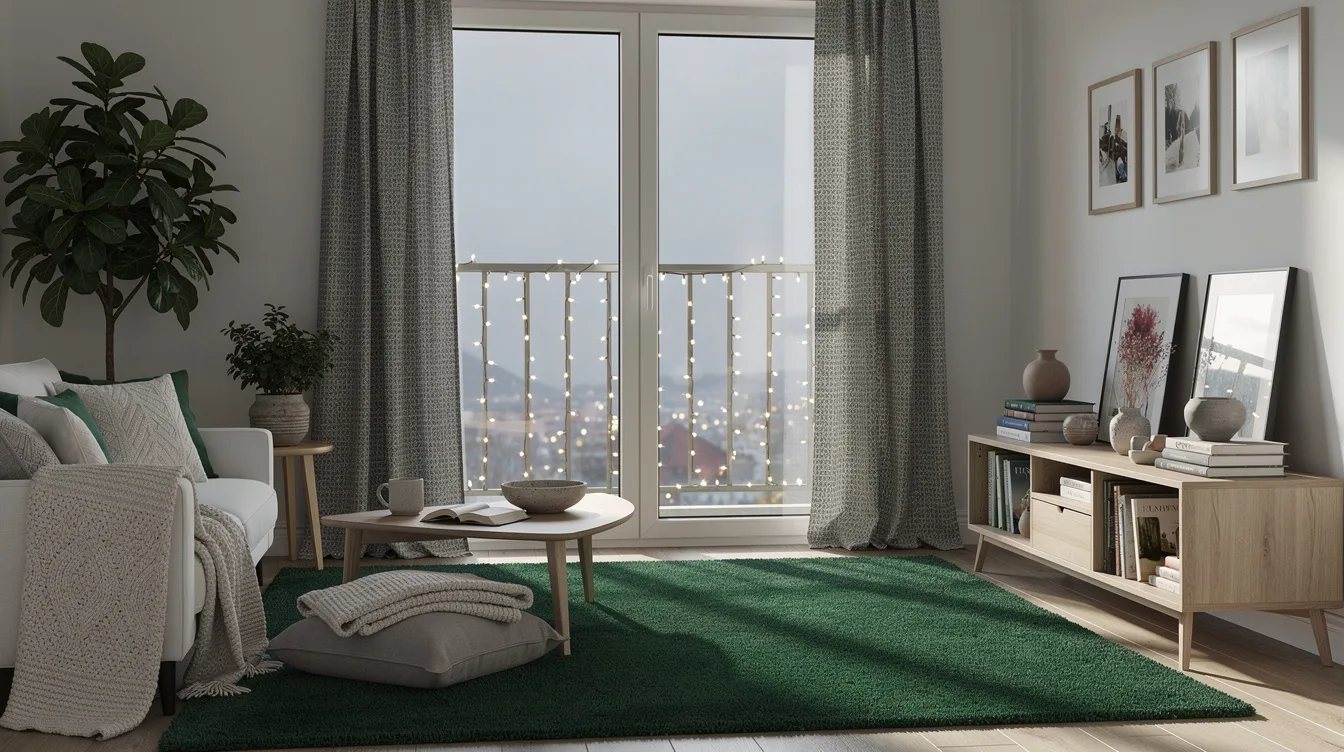
Choose rope light when visible individual bulbs feel too busy or when the balcony has a narrow railing that cannot support dangling accents. An 18-foot outdoor LED rope light can follow the inside perimeter as one uninterrupted luminous line, provided the attachment points and bend radius follow the instructions.
The supplied listing places this clear exterior tubing option at about $29.99 before tax and shipping. Its longer illuminated run may suit a wider balcony, but measure first because excess length should never be forced into sharp bends or wrapped around a railing post.
Attach Lights Without Damaging the Finish
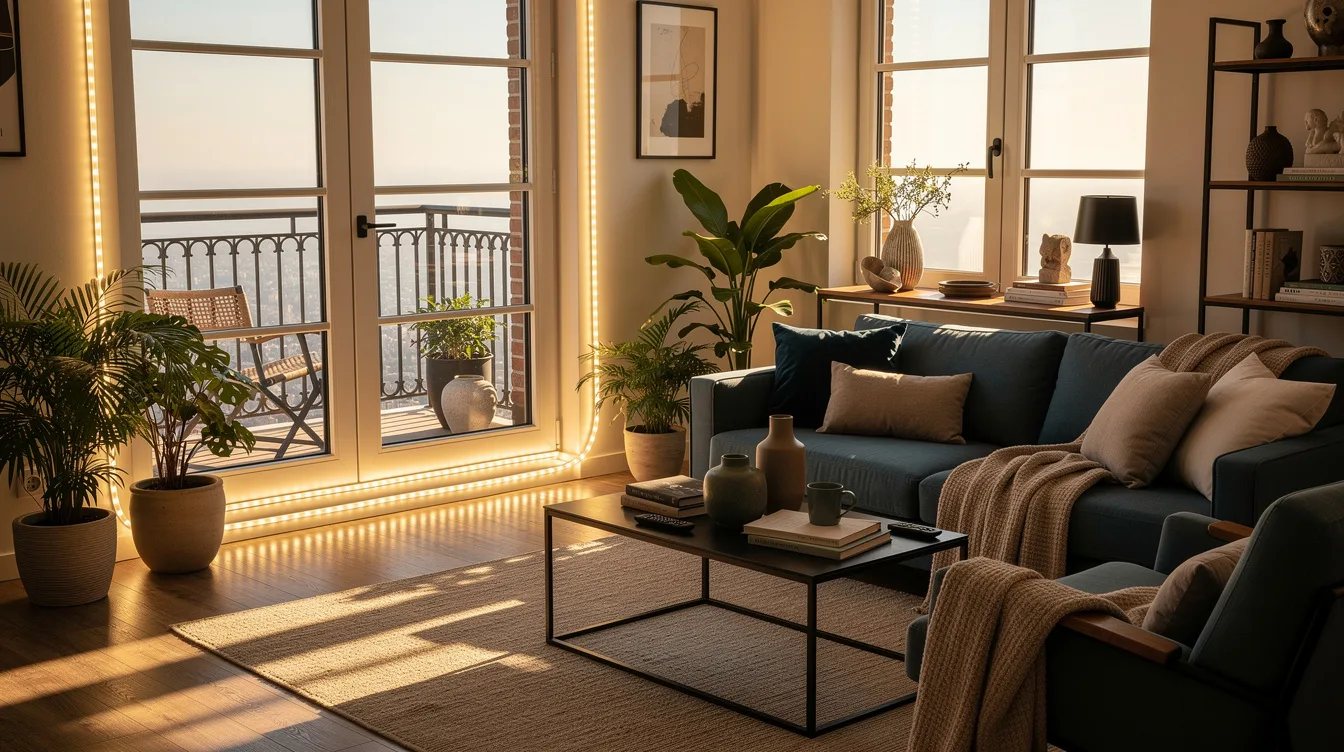
Use only attachment hardware your building permits, and test one small location before installing the full display. Removable ties may be acceptable on some railings, while adhesive clips can stain, lift paint, or leave residue on powder-coated metal.
Choose a method that releases cleanly and keeps the strand secure in wind, with no tight knots around the railing. Removable outdoor ties are a better direction than nails, screws, staples, or any hardware that penetrates siding, drywall, masonry, or the balcony frame.
Route the Cord to an Approved Outlet
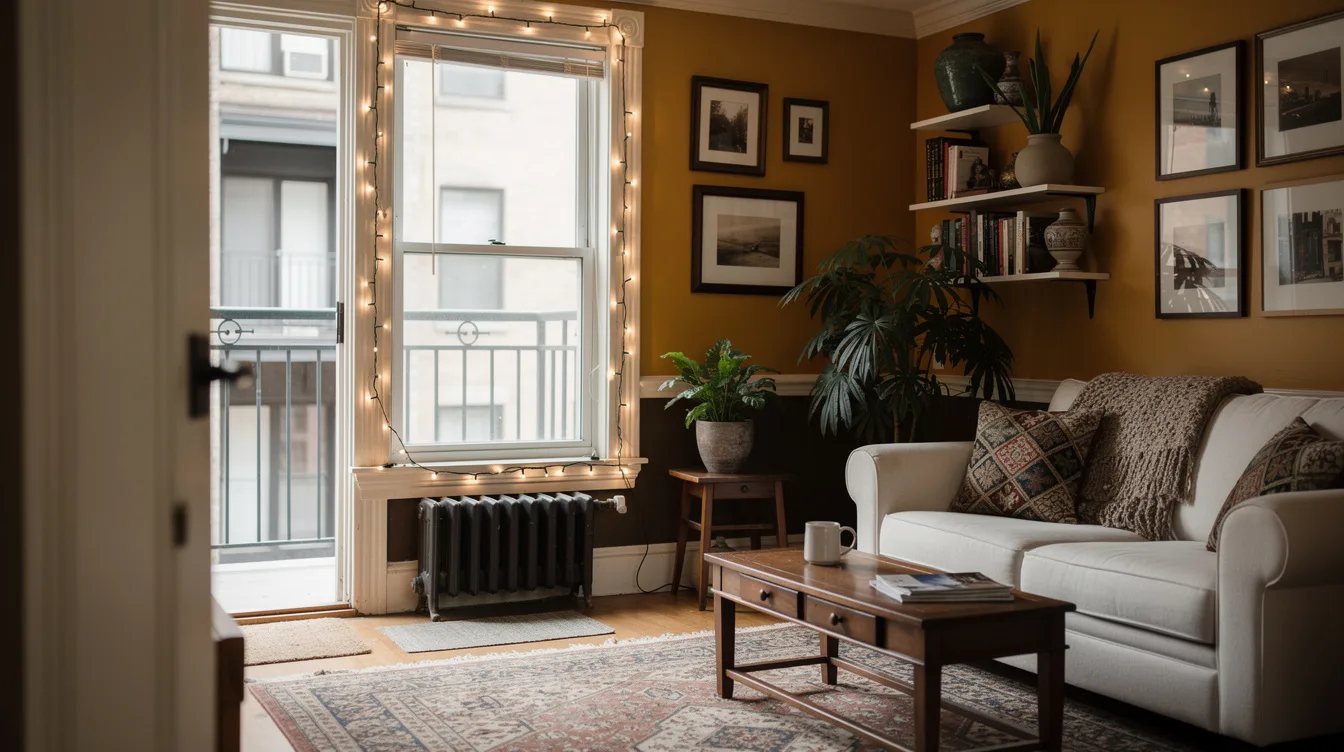
Keep the power path short, visible, and clear of the balcony door. Do not pinch a cord in a sliding door, run it across a walking route, or connect outdoor lighting to an outlet that the building has marked for another purpose.
Use the product’s listed outdoor-rated extension guidance when one is allowed, and protect every connection from standing water. Black outdoor cord can disappear against a dark frame, but the route still needs to remain accessible for inspection and removal.
Keep Icicle Drops on the Inward Side
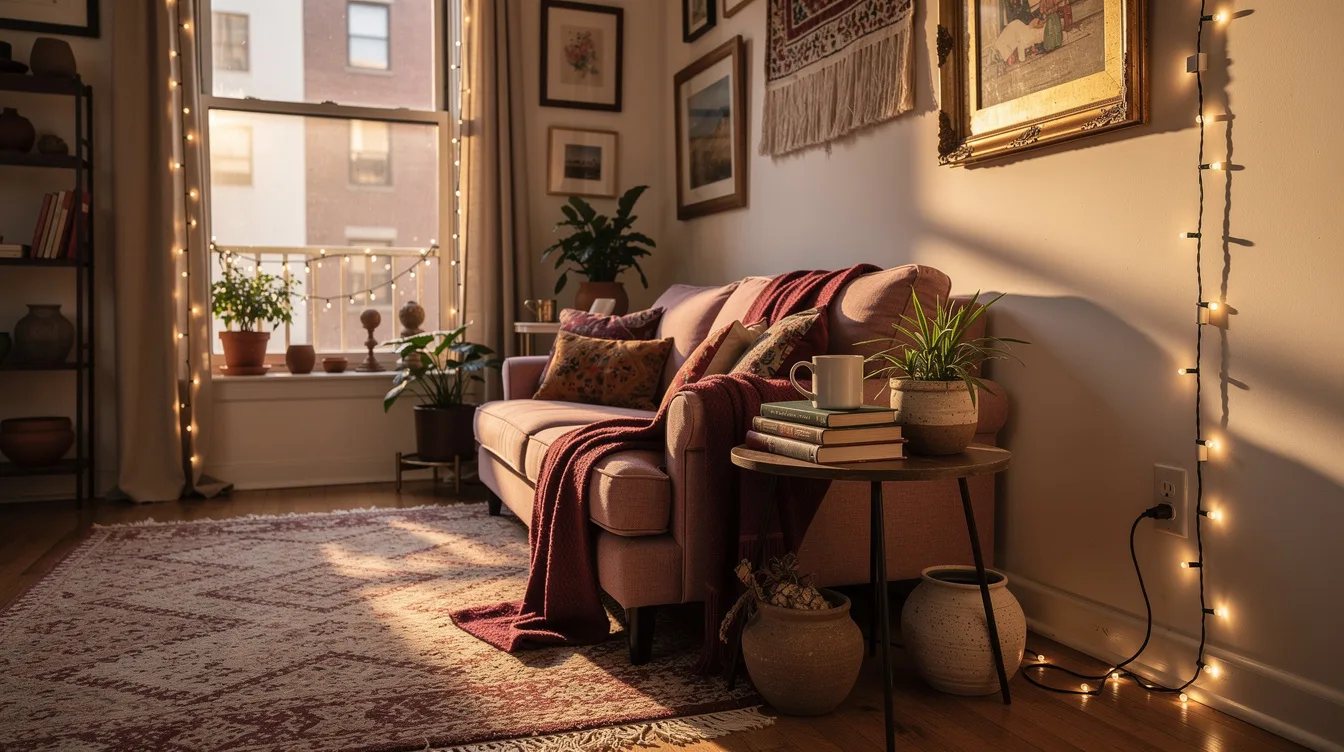
Icicle lights create more visual movement than a straight outline, but their drops can cross the railing line or blow into the space below. Hang them only on the inward-facing side when the lease allows them, and verify the drop length before ordering because the supplied listing does not specify those lengths.
A 15-foot, 150-LED M5 set with about 30 drops is listed across variants from roughly $24.98 to $61.98. White wire can blend with a pale railing, yet the safest arrangement keeps every drop inside the permitted balcony footprint.
Set One Calm Color and Pattern
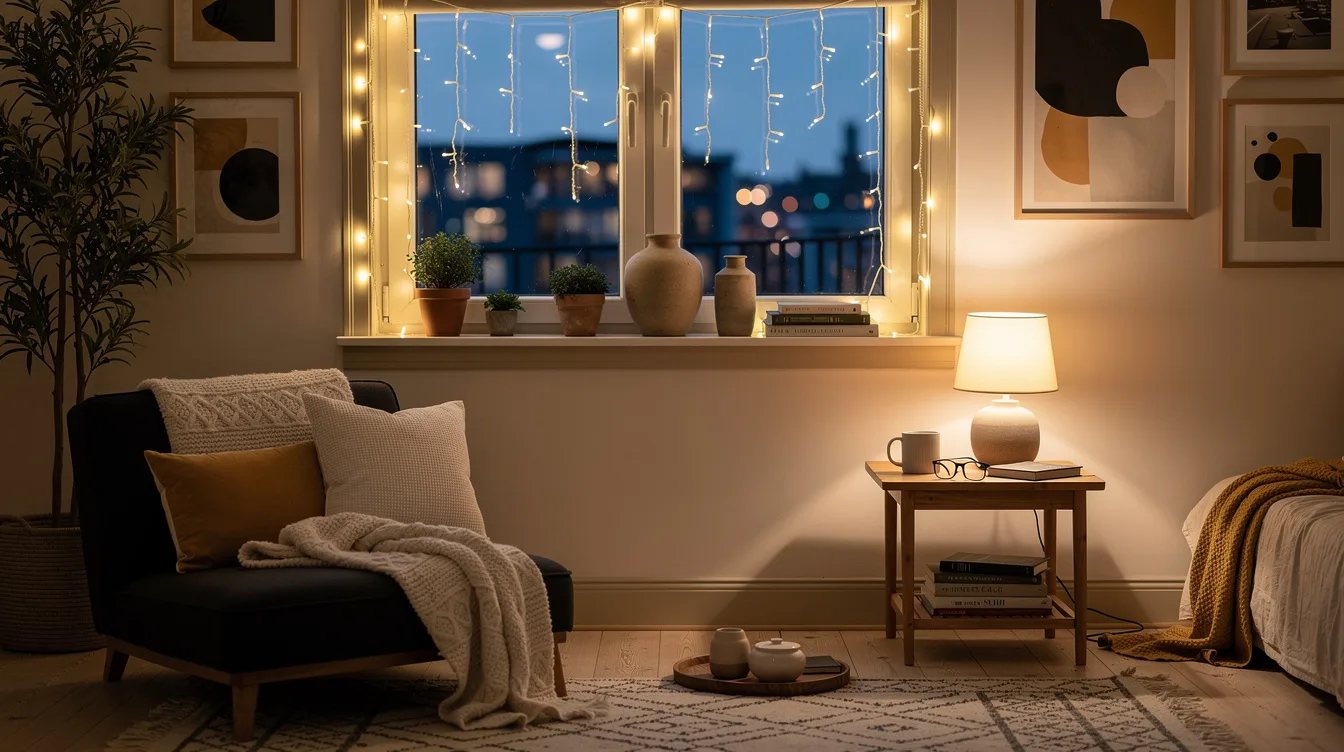
Most apartment balconies look more intentional with one color and a steady or gently fading setting. Flashing patterns can be visible through neighboring windows, and some buildings restrict brightness, color effects, or animated displays even when basic lighting is allowed.
Warm white works with wood, brick, metal, and winter greenery, while a single cool-white line can suit a glass-heavy facade. Skip the rotating effects on a smart set unless written rules allow them, and choose steady warm-white light when the lease language is unclear.
Reserve Net Lights for Wider Railings
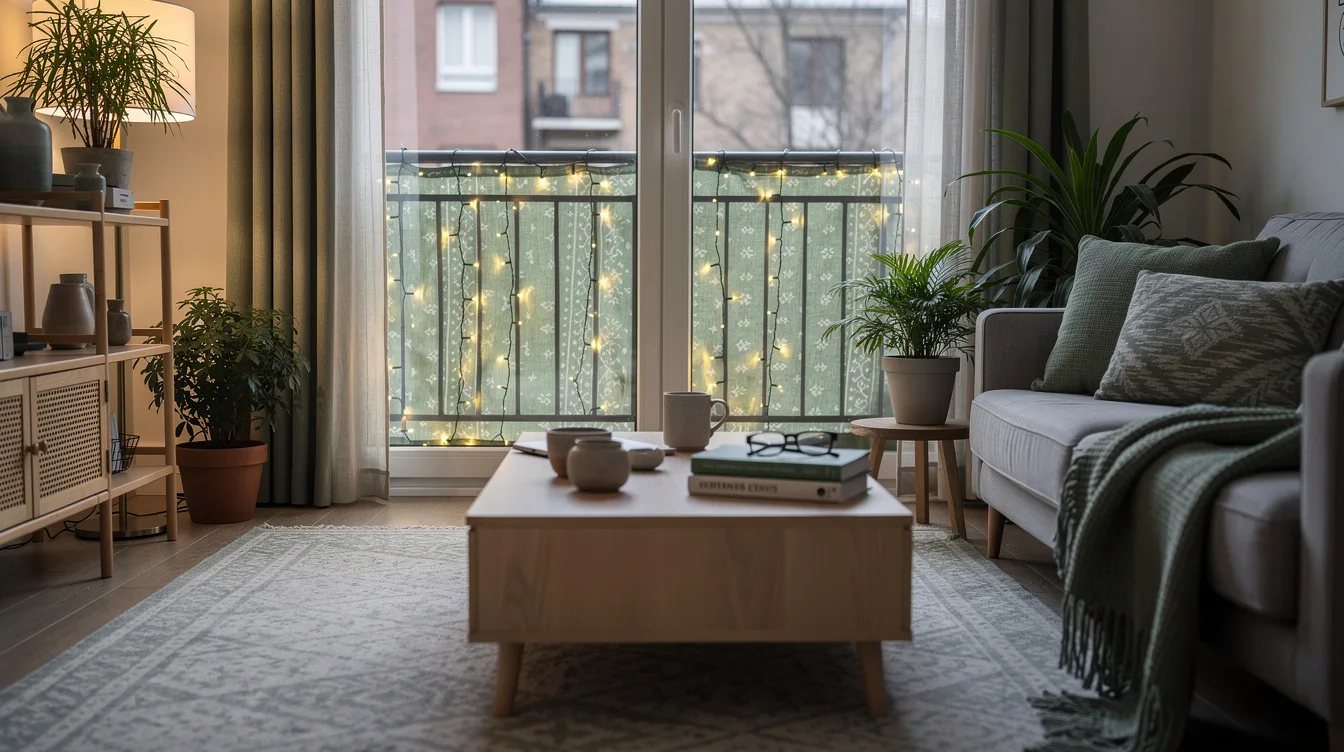
Net lighting can cover a broad railing quickly, but it needs a flat, stable surface and more attachment points than a single strand. A listed outdoor smart net light measures about 2.8 by 9.4 feet and contains 480 LEDs, which may suit a railing close to 10 feet wide.
At about $149.99, the Amazon smart net light option is a substantial purchase rather than a necessary upgrade for a small balcony. Measure the railing height, confirm that a visible panel is allowed, and turn off color effects if the building limits brightness or motion.
Protect Doors, Drains, and Walking Space
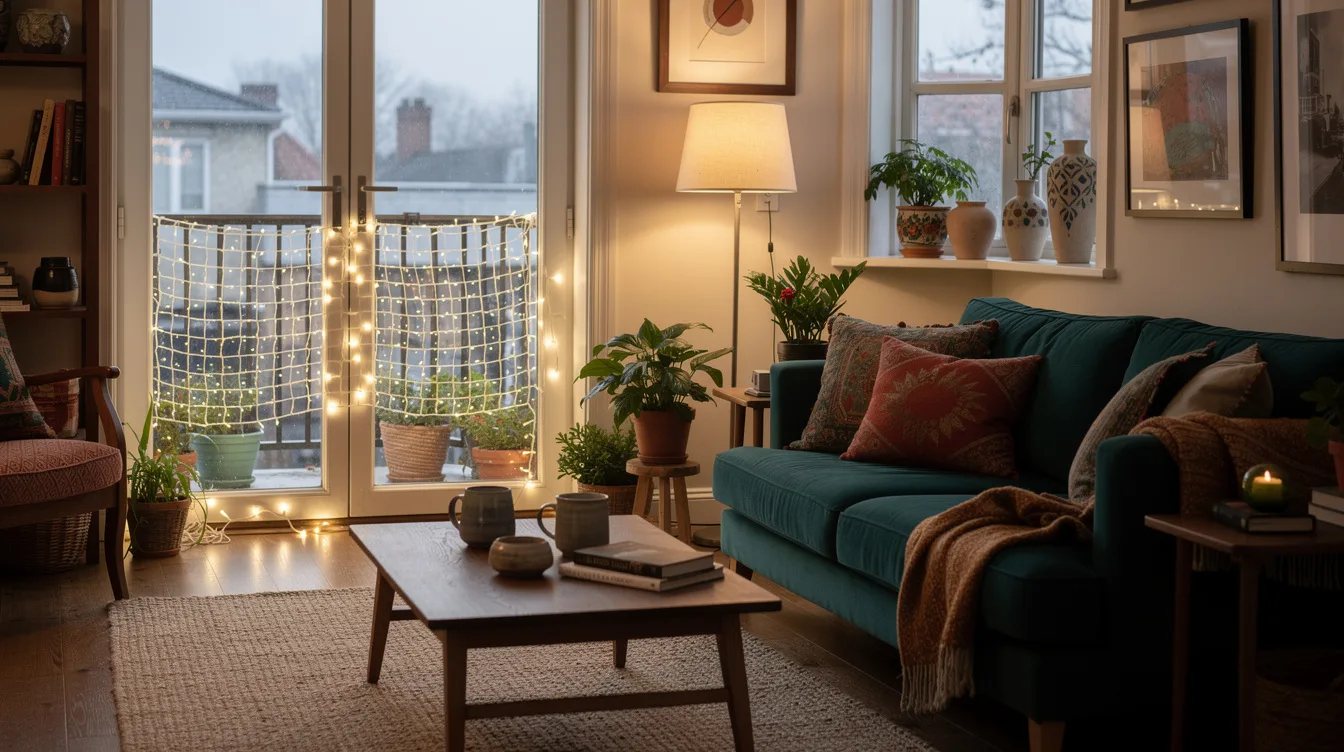
Keep lights away from the balcony door track, drainage openings, sprinkler equipment, and any route used for emergency access. A tidy display still fails the practical test if a cord blocks the door or a loose strand collects water against the threshold.
Leave enough slack for normal door movement without creating a loop underfoot. Clear mounting clips may be less noticeable than dark ones, but visibility should never take priority over a dry connection and an unobstructed exit.
Plan Removal Before Installation
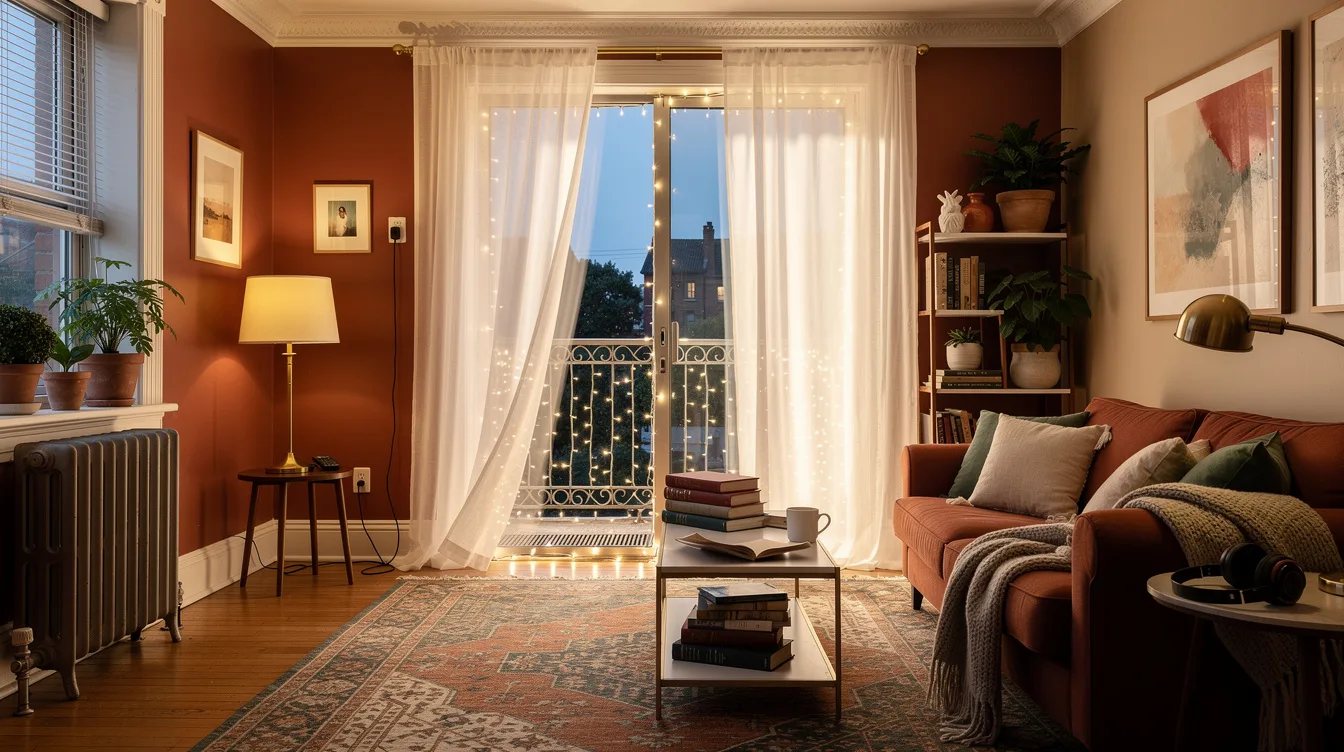
Lease-friendly decorating includes the way the display comes down. Photograph the original railing condition, label the plug end, and remove each attachment slowly so the finish is left clean when the holiday season ends.
Store the lights loosely in a dry container instead of winding them tightly around a hanger or baluster. Cardboard storage reels protect the wire at little cost, and they make it easier to reuse a correctly measured strand next year without adding new holes or adhesive residue.
Get Written Approval for Gray Areas
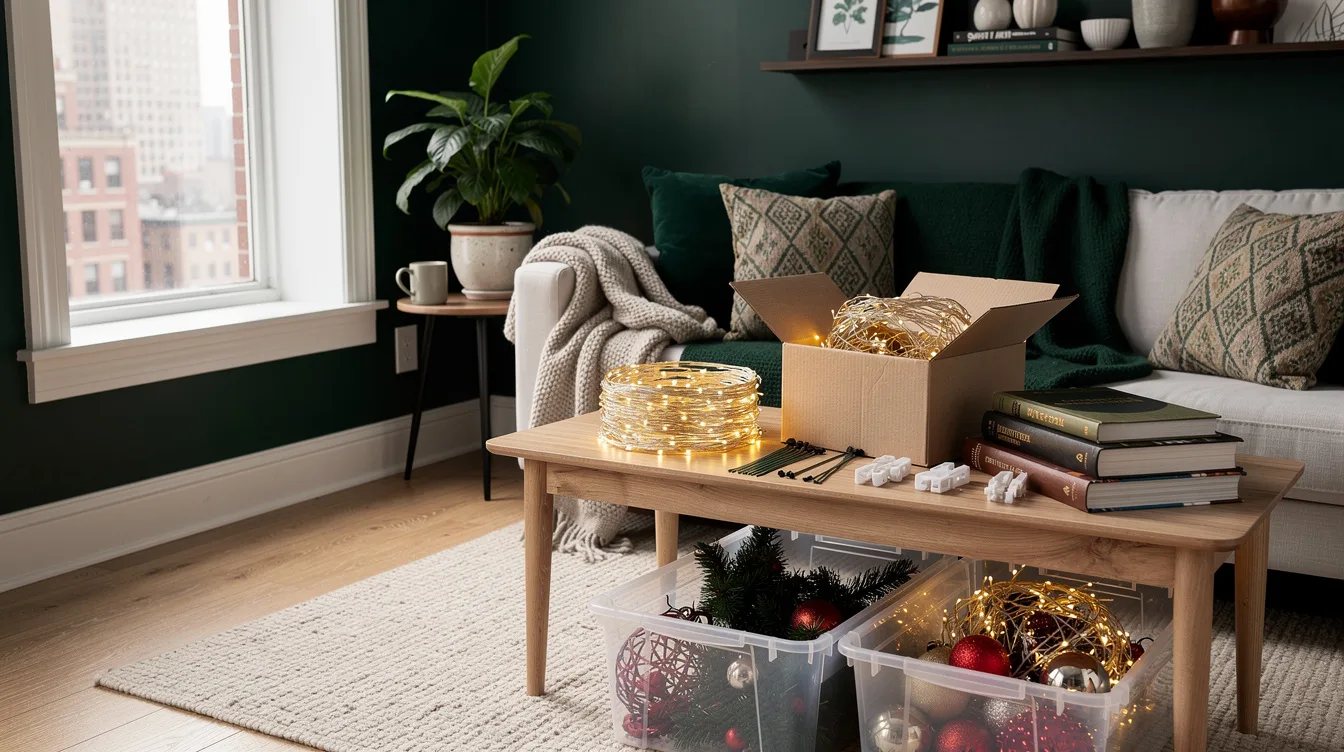
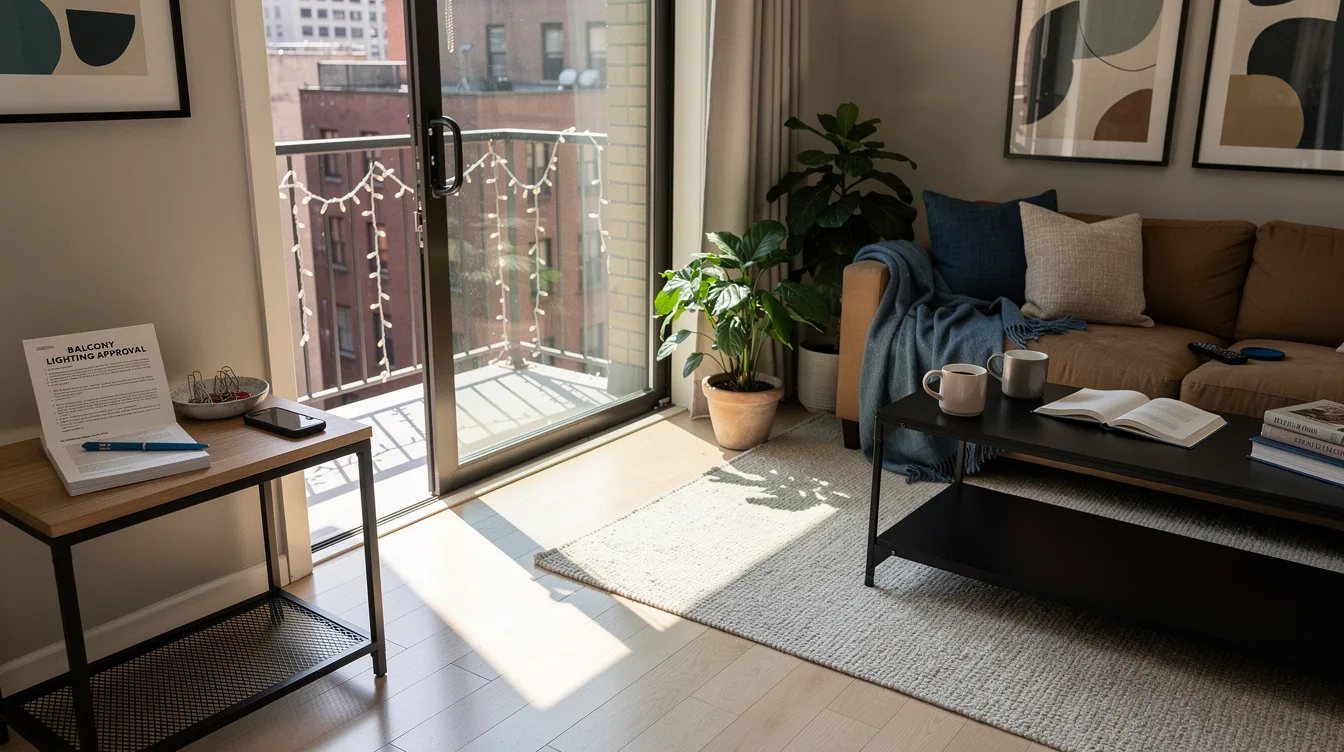
When the rules are vague, send management a short description with the exact location, attachment method, light color, and whether the strand stays inside the railing. Include a photo or simple sketch showing that the display will not hang over the edge or obstruct access.
Written approval is especially valuable for smart lighting, rope light, icicle drops, and anything visible from the street. Warm-white mini lights are usually the least visually demanding choice, but only the property’s written policy can establish permission for that building.
Keep reading
- No Holes, No Deposit Drama: Amazon Christmas Lights for Windows
- Countertops Screaming for Help? 12 Small-Space Styling Fixes for $9.99
- Small Apartment Christmas Clutter? 12 IKEA Finds
Begin by asking management where lights may go, then measure the approved path before choosing the strand. A simple warm-white outline around $15 to $35 is usually enough; spend more only when the balcony, lease, and power setup genuinely support a smart panel.